The 'coffeetable' subwoofer
DESIGN
You can't have proper home cinema without a subwoofer. Honey, look me in the eyes. You can't.
It was never going to work, but by misdirection, outright lying and heaps of browny points (not to mention a deal on renting a very expensive apartment) managed to get some sort of agreement on purchasing a subwoofer.
So since I could only afford the small- I mean crappy- ones, obviously I needed to build my own.
Since I was looking to get the CerAl 4.2 speakers at one point in the future (one stage in my ongoing search for a diy speaker set perfect for me) I decided to get the matching sub with hypex amp. Hypex had long been on my list regarding an old amplifiyer project, and I also hoped to save some watts with their design.
My own design attempts using TangBand's W8Q-1071 data did not return an enclosure smaller than 75 liter. This while Klang+Ton's design had 66 liter- outer dimensions! After recalculating a few evenings I decided to put my faith in the practical example. The 45 liters I ended up designing might be pushing it, but then I won't be pushing the sub.. often.
Because my home theatre (which my SO stubbornly keeps referring to as 'living room') was going in an 'asian' direction, my design was cleverly intended to fit the room.
 The idea was to make it look like a mix between a massive Go board and a small cabinet. I intended to build two more cabinets later on, to place my media center components on.
 The green part is the Hypex 1.2 plate amplifier, the red is the Tangband W8Q-1071 driver and the purple bit is the bass port. basspoort. If you look carefully you can see some blue between the pedestal and the enclosure. This is acoustic foam, used to dampen vibrations.
We'd get to test this theory soon enough.
The whole bottom part is removable, to make the whole thing at least theoretically luggable
I was originally planning to have a lot of thin bracing, in a sort of honeycomb. This with irregular spacing, to minimize echo distortion. But I ended up going with fewer and sturdier bracing after looking into the technical side of things. My thick multiplex isn't exactly the stuff of violins. I was worried about flexing, but what it really needs is the ability not to blow apart...
Another thing is that I ended up adding a bass reflex pipe (tube) to get a bit more oomph out of the small enclosure.
Delivery
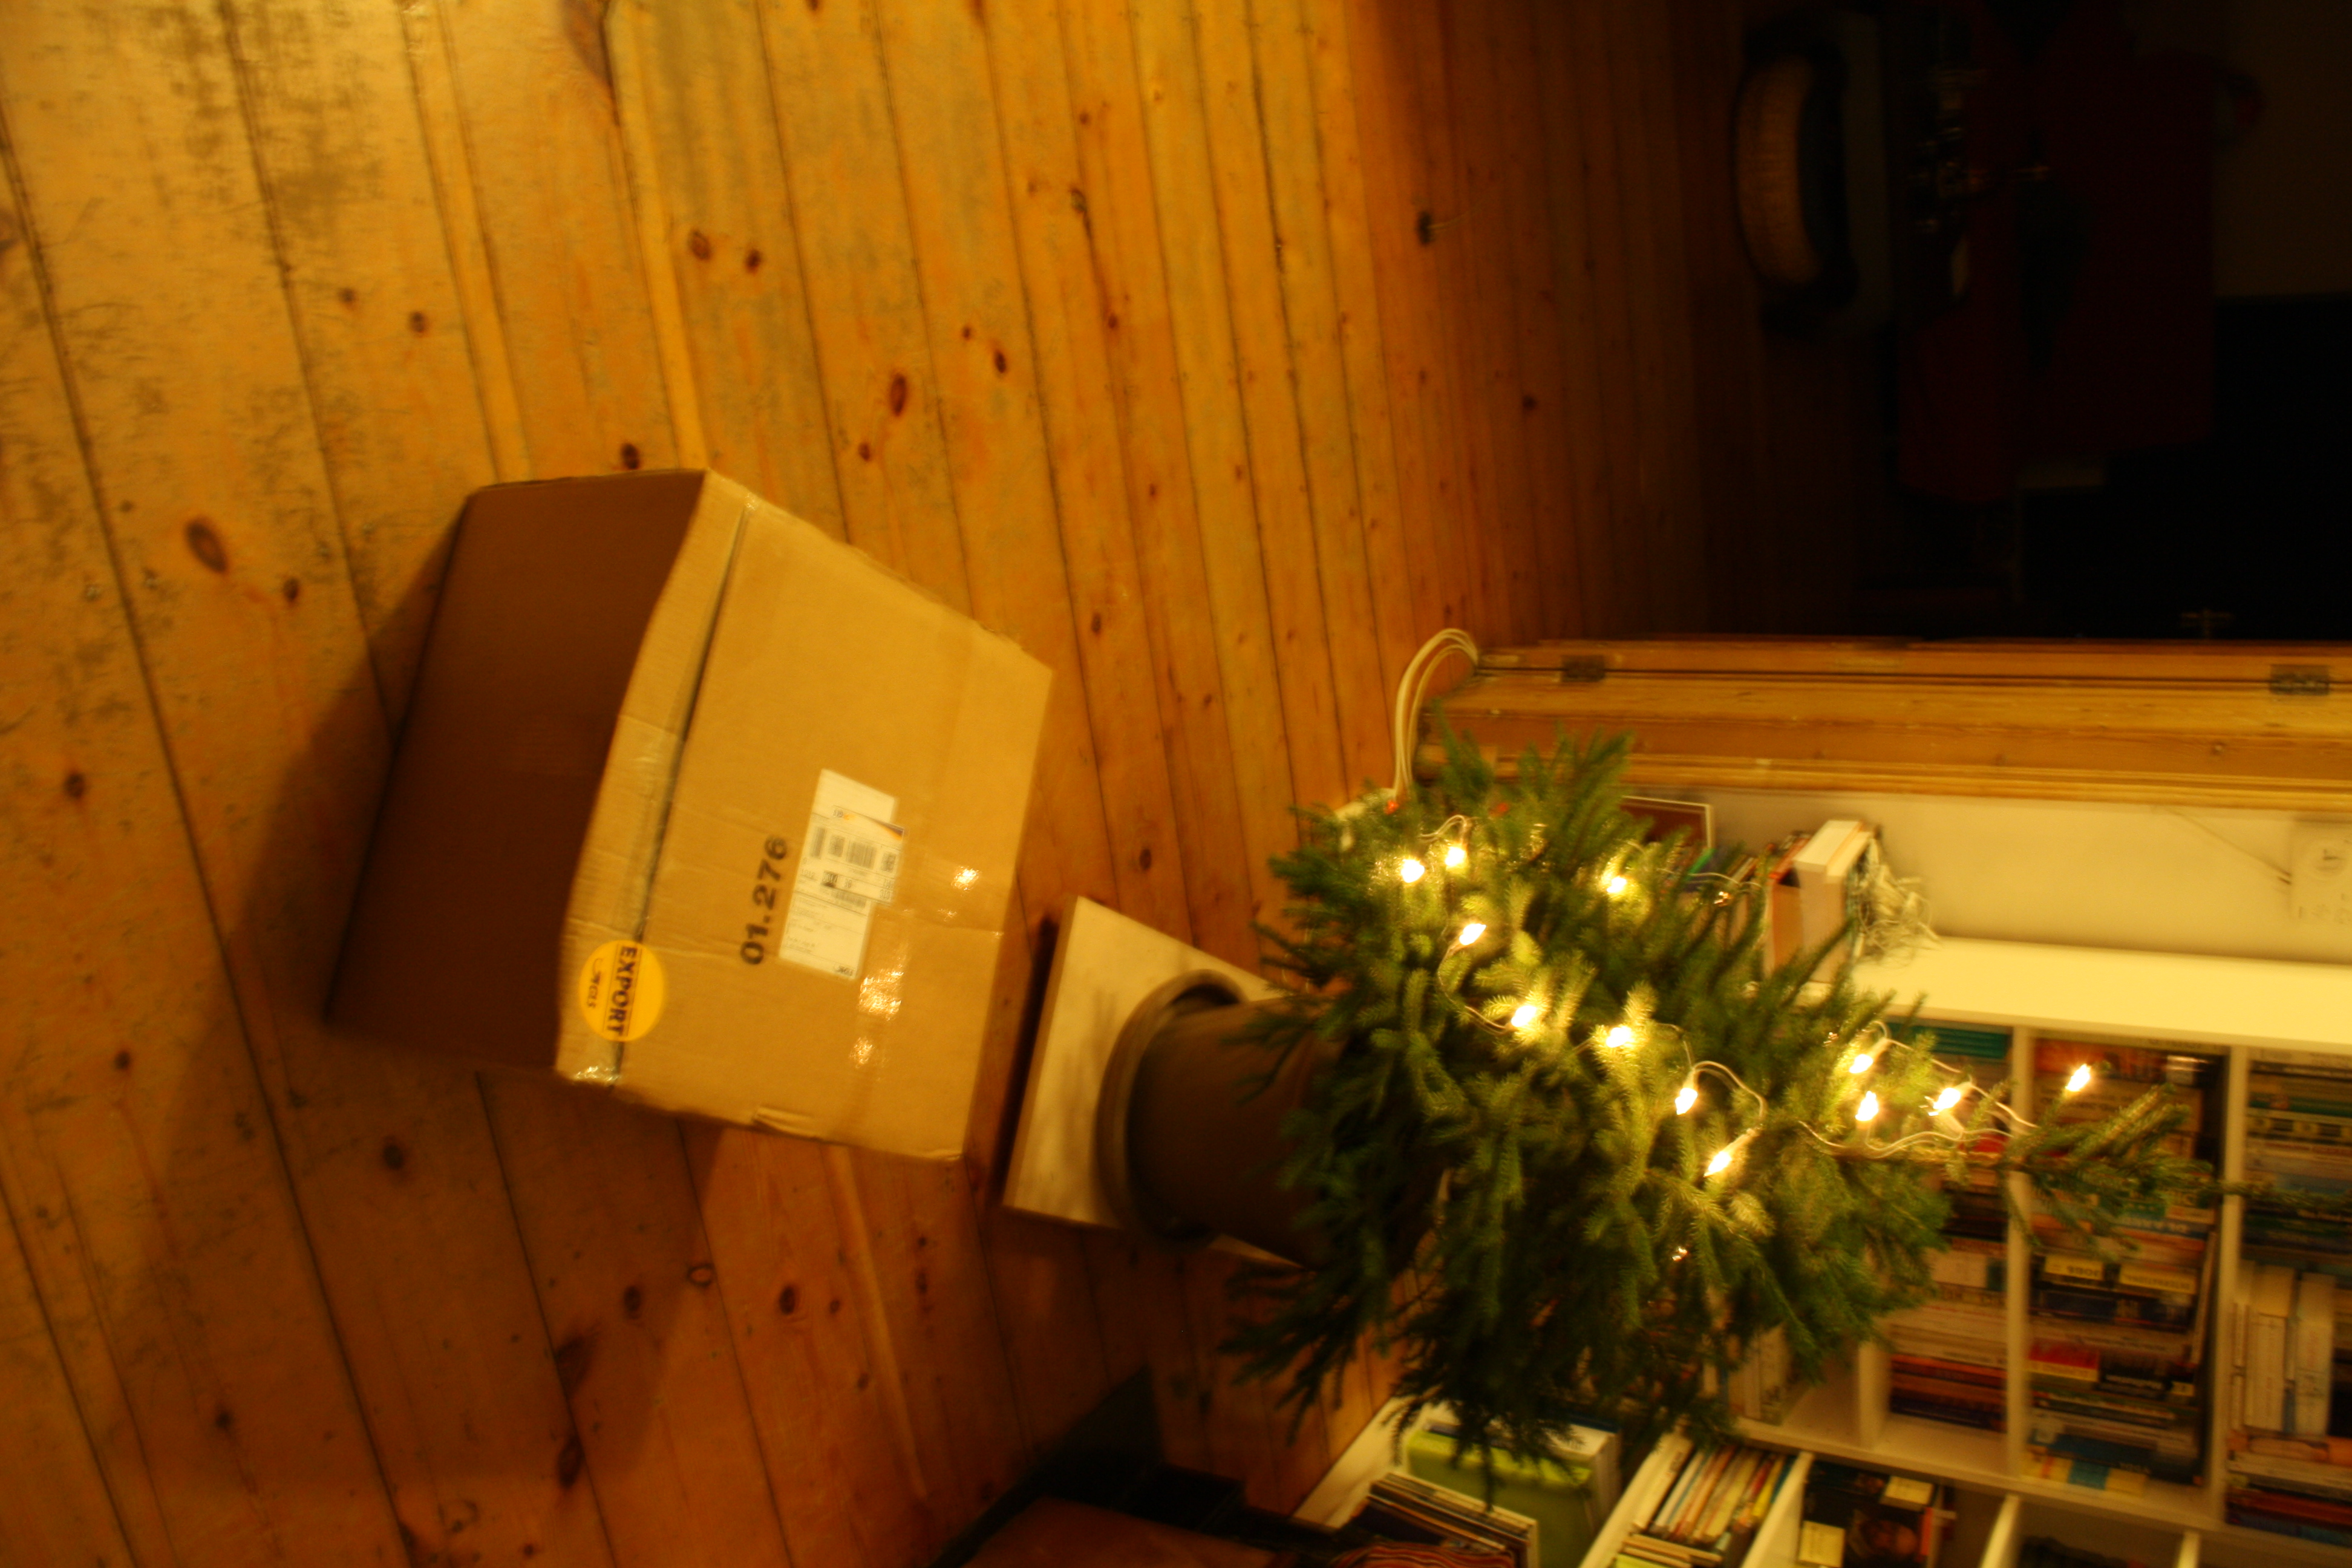 Christmas!
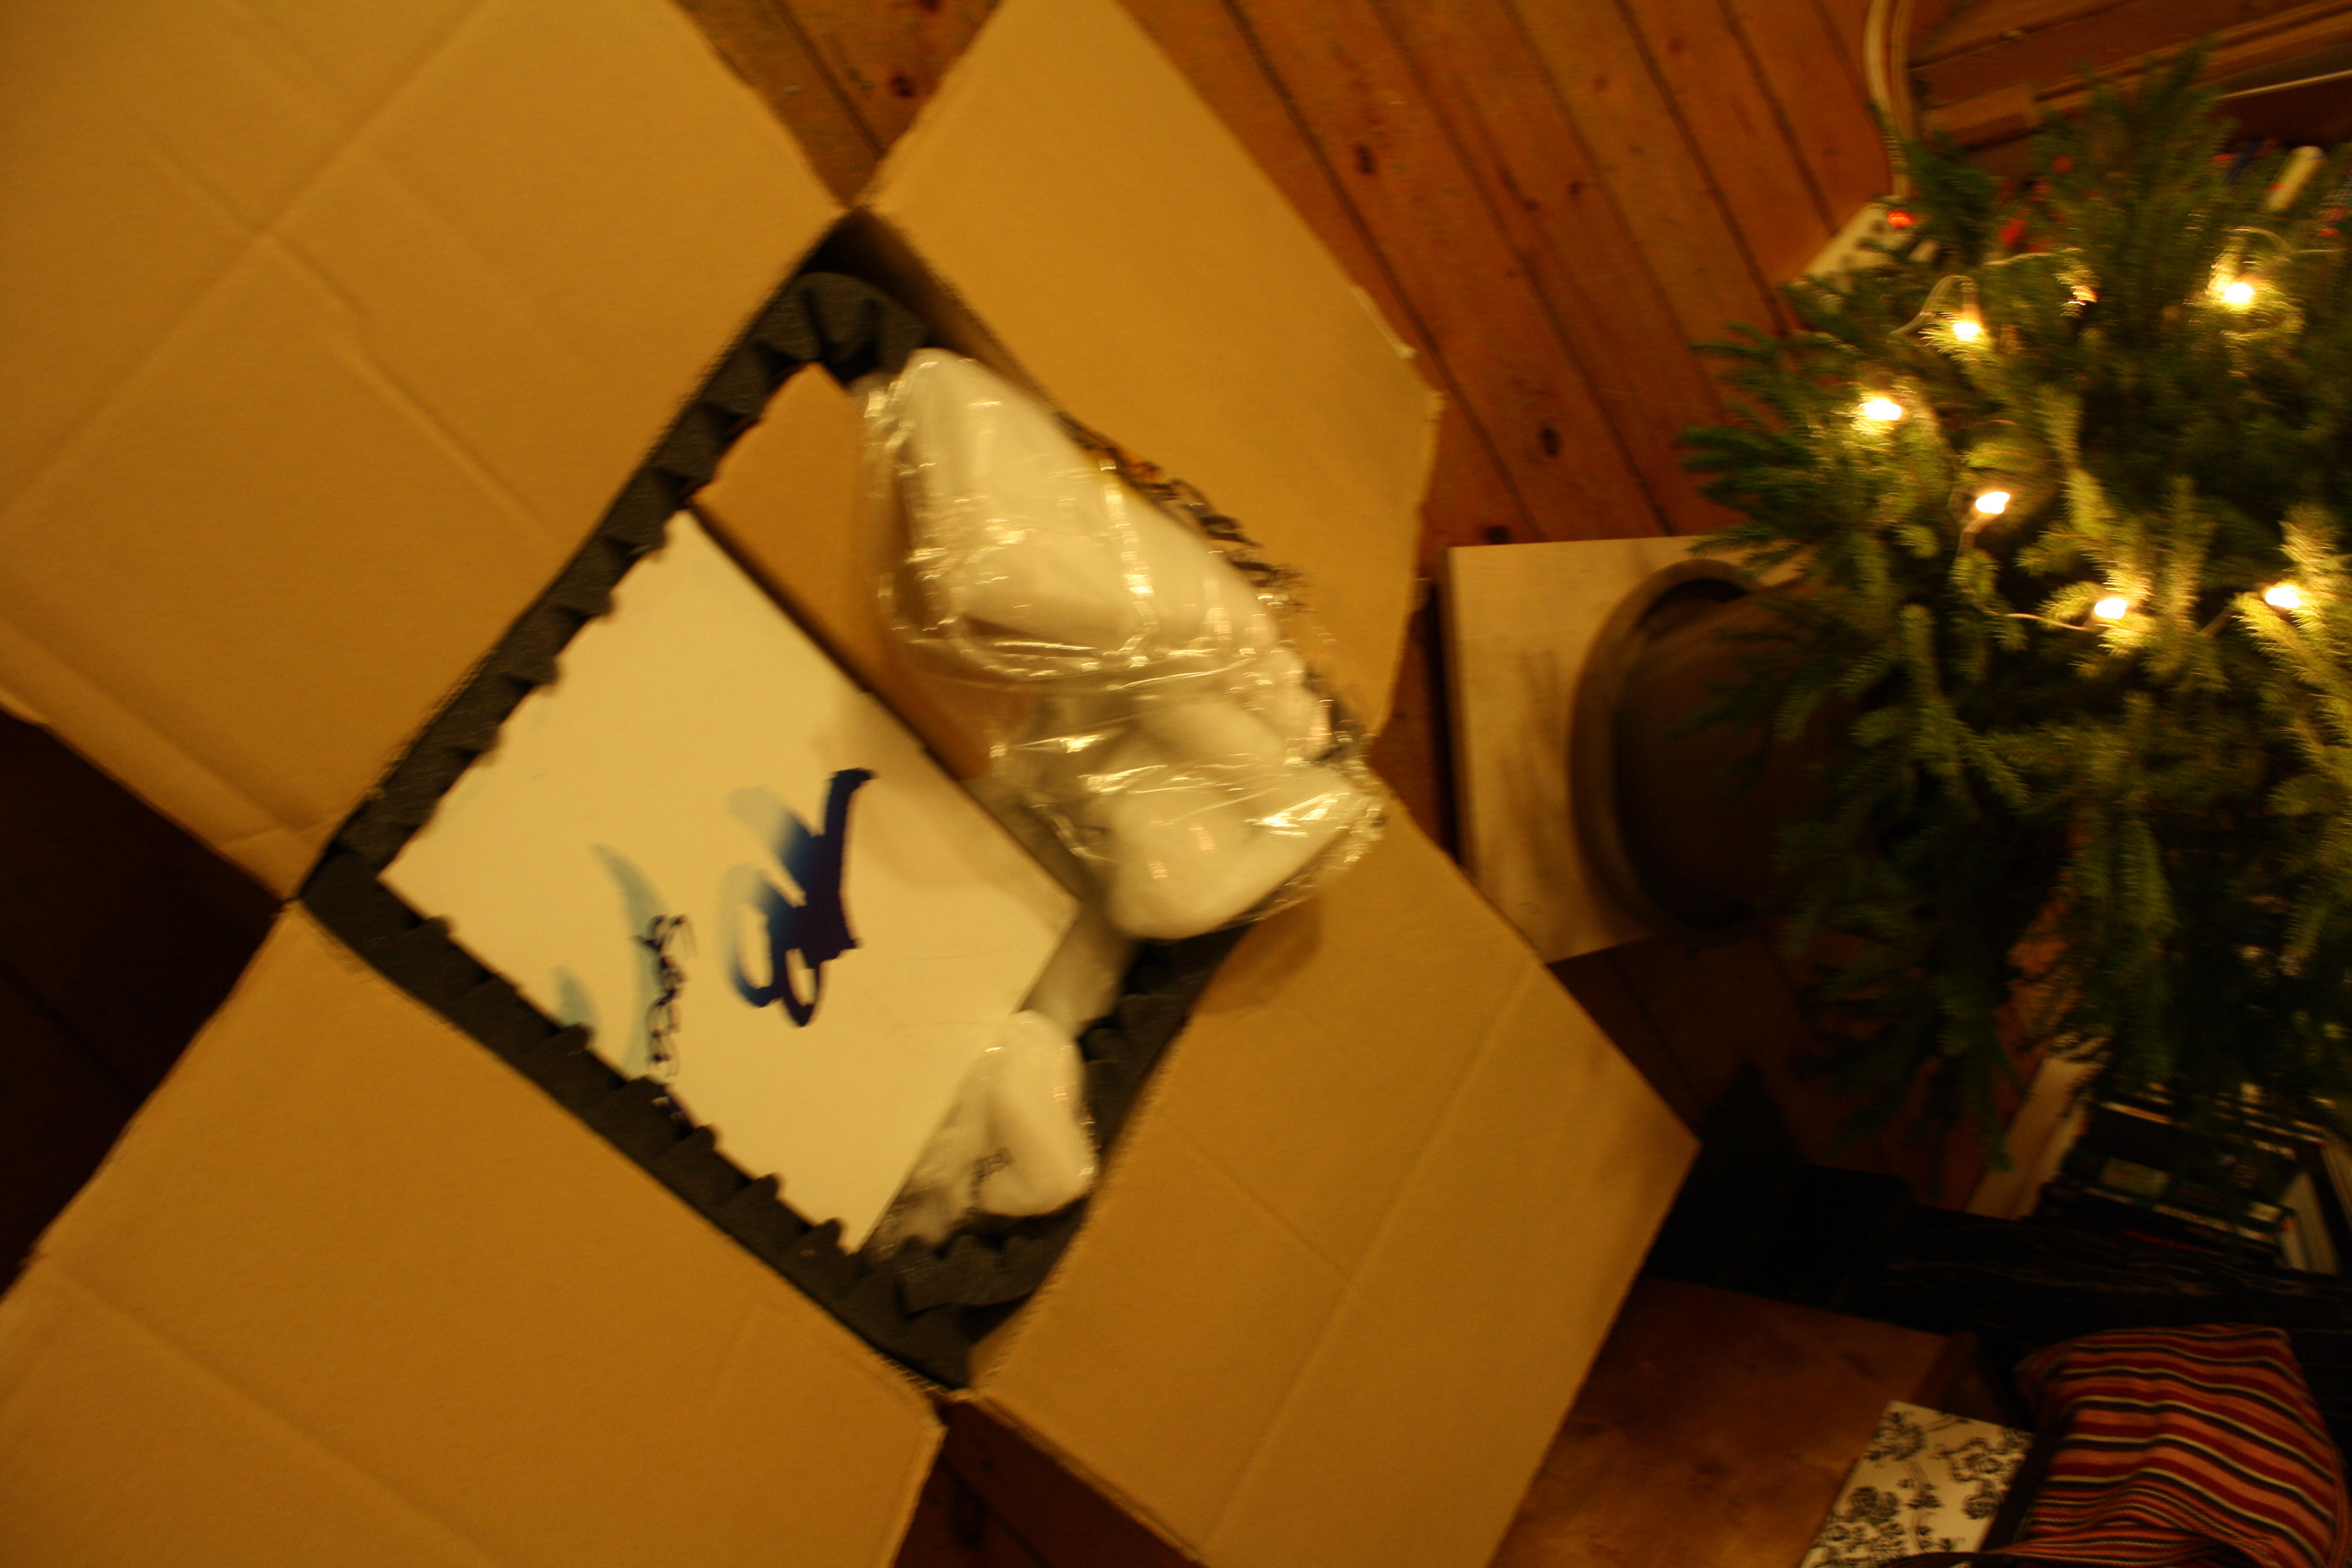 Unwrapping!
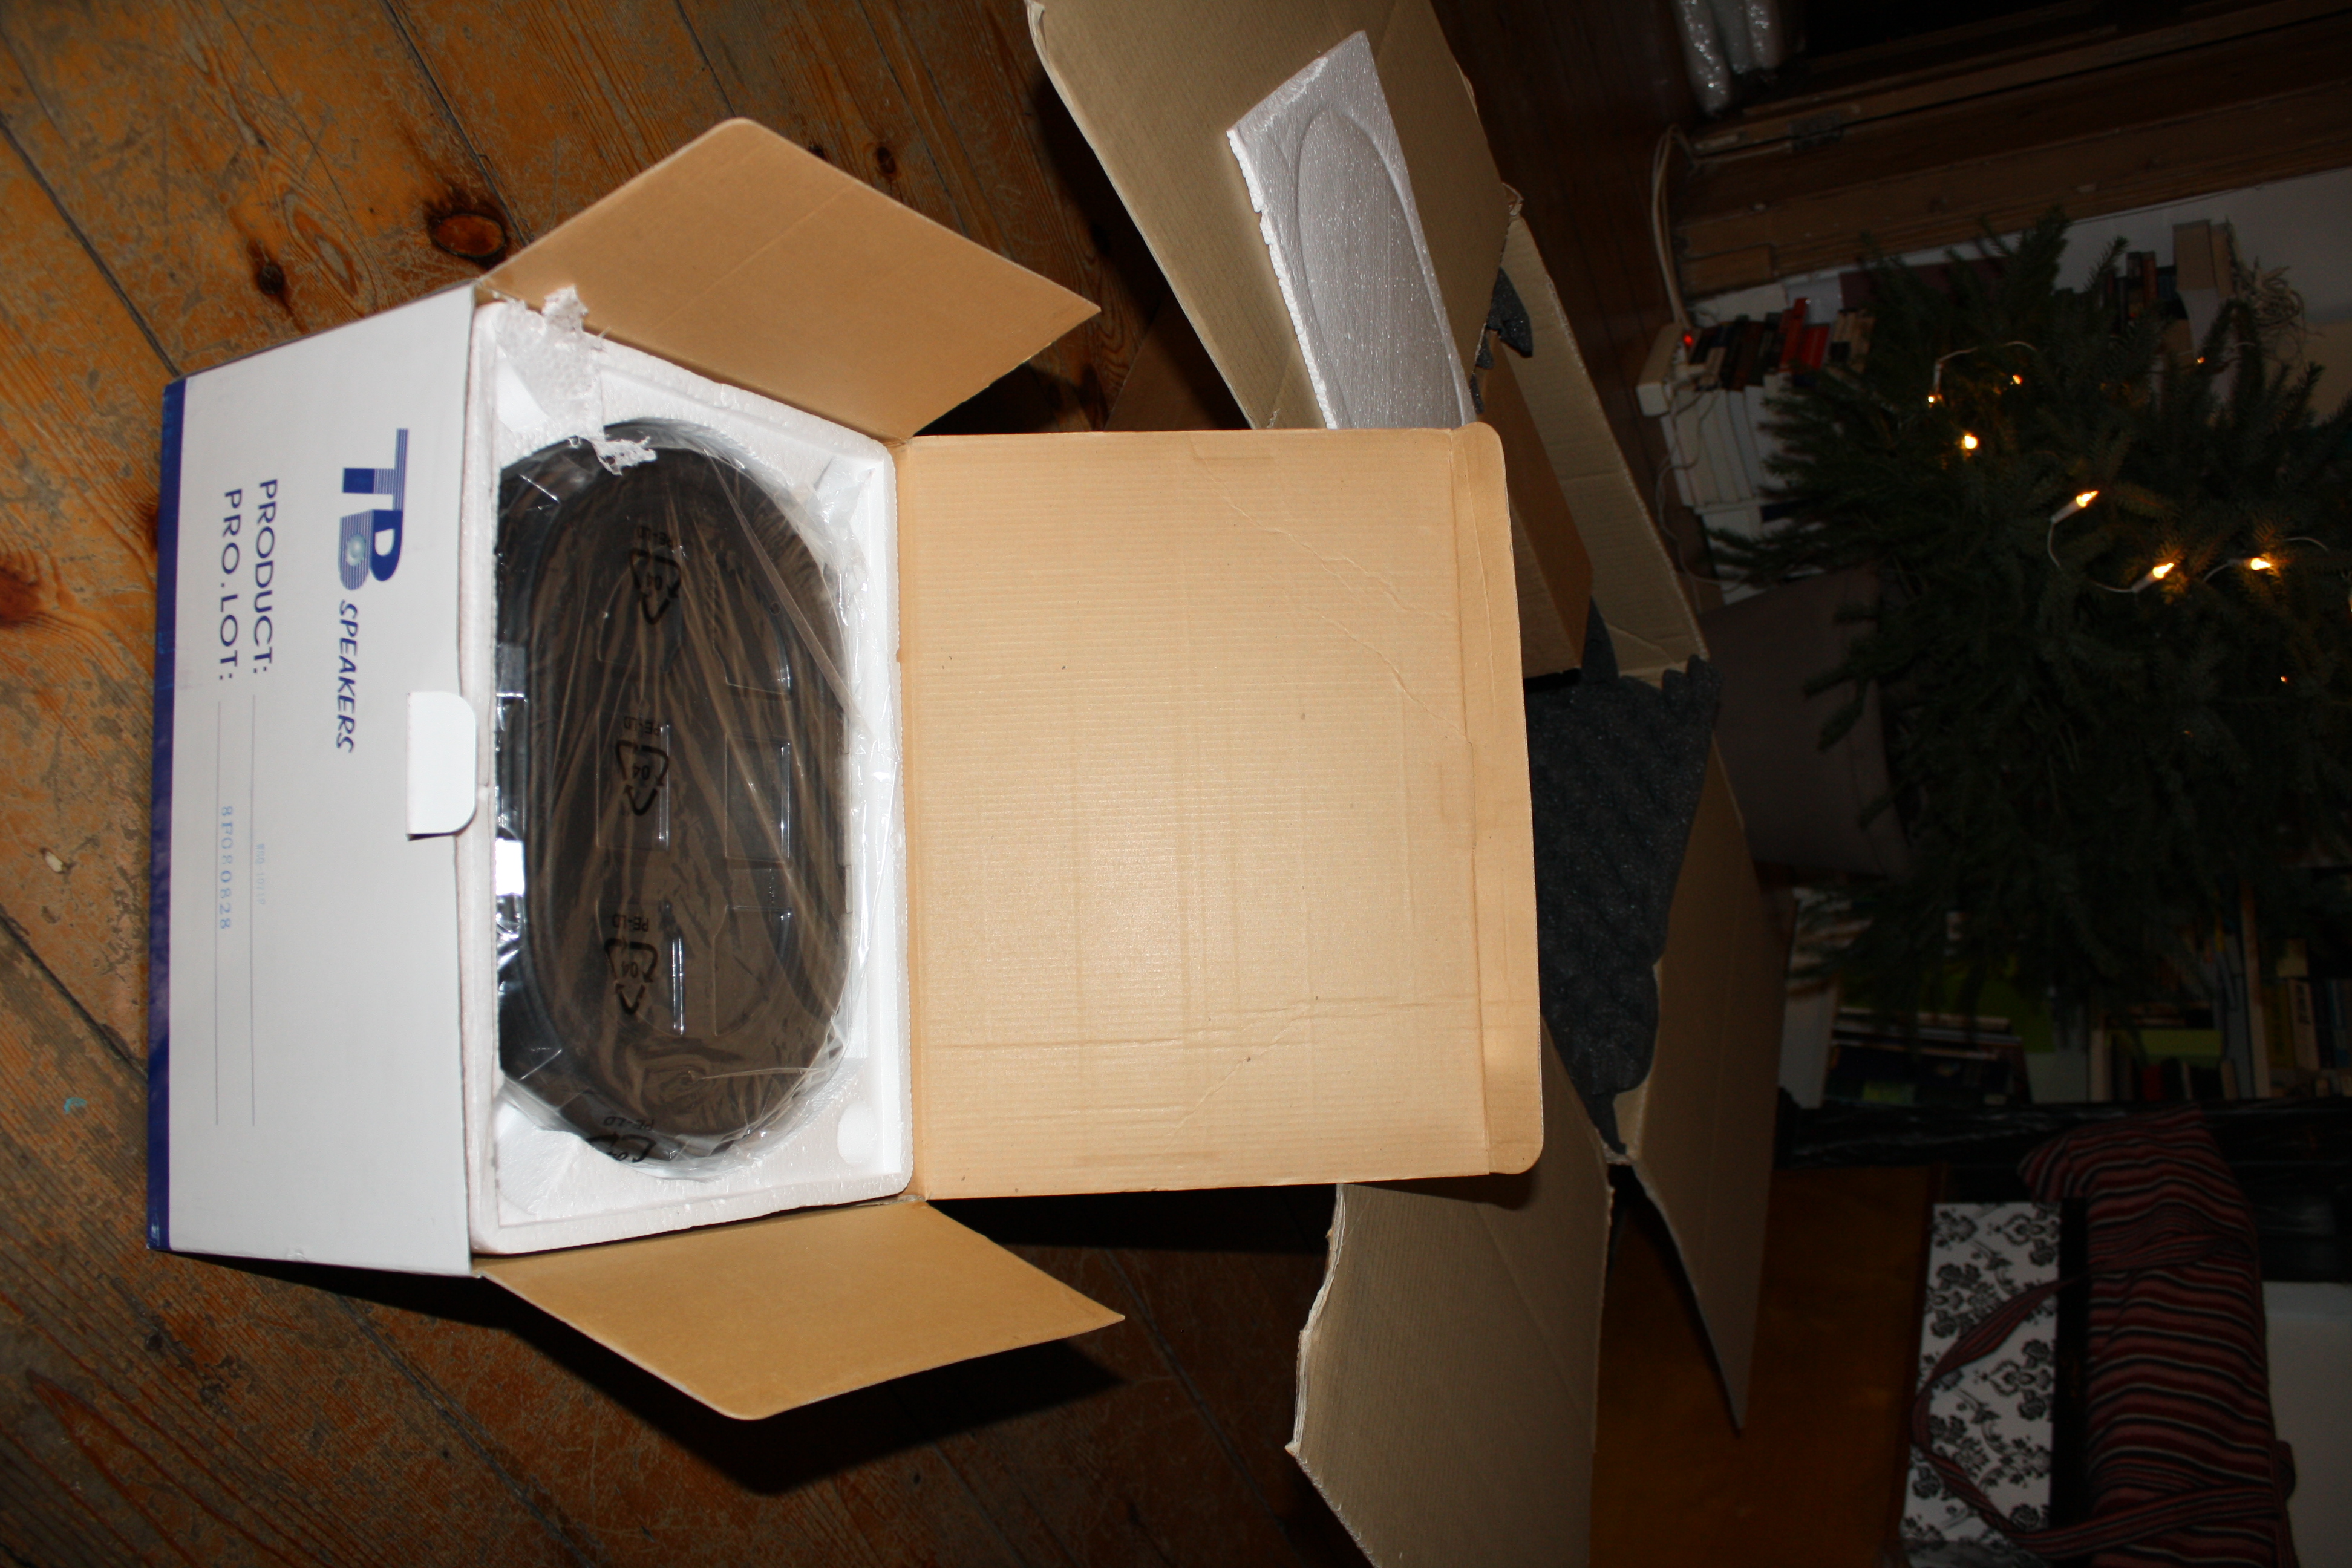 Toys!
Toys!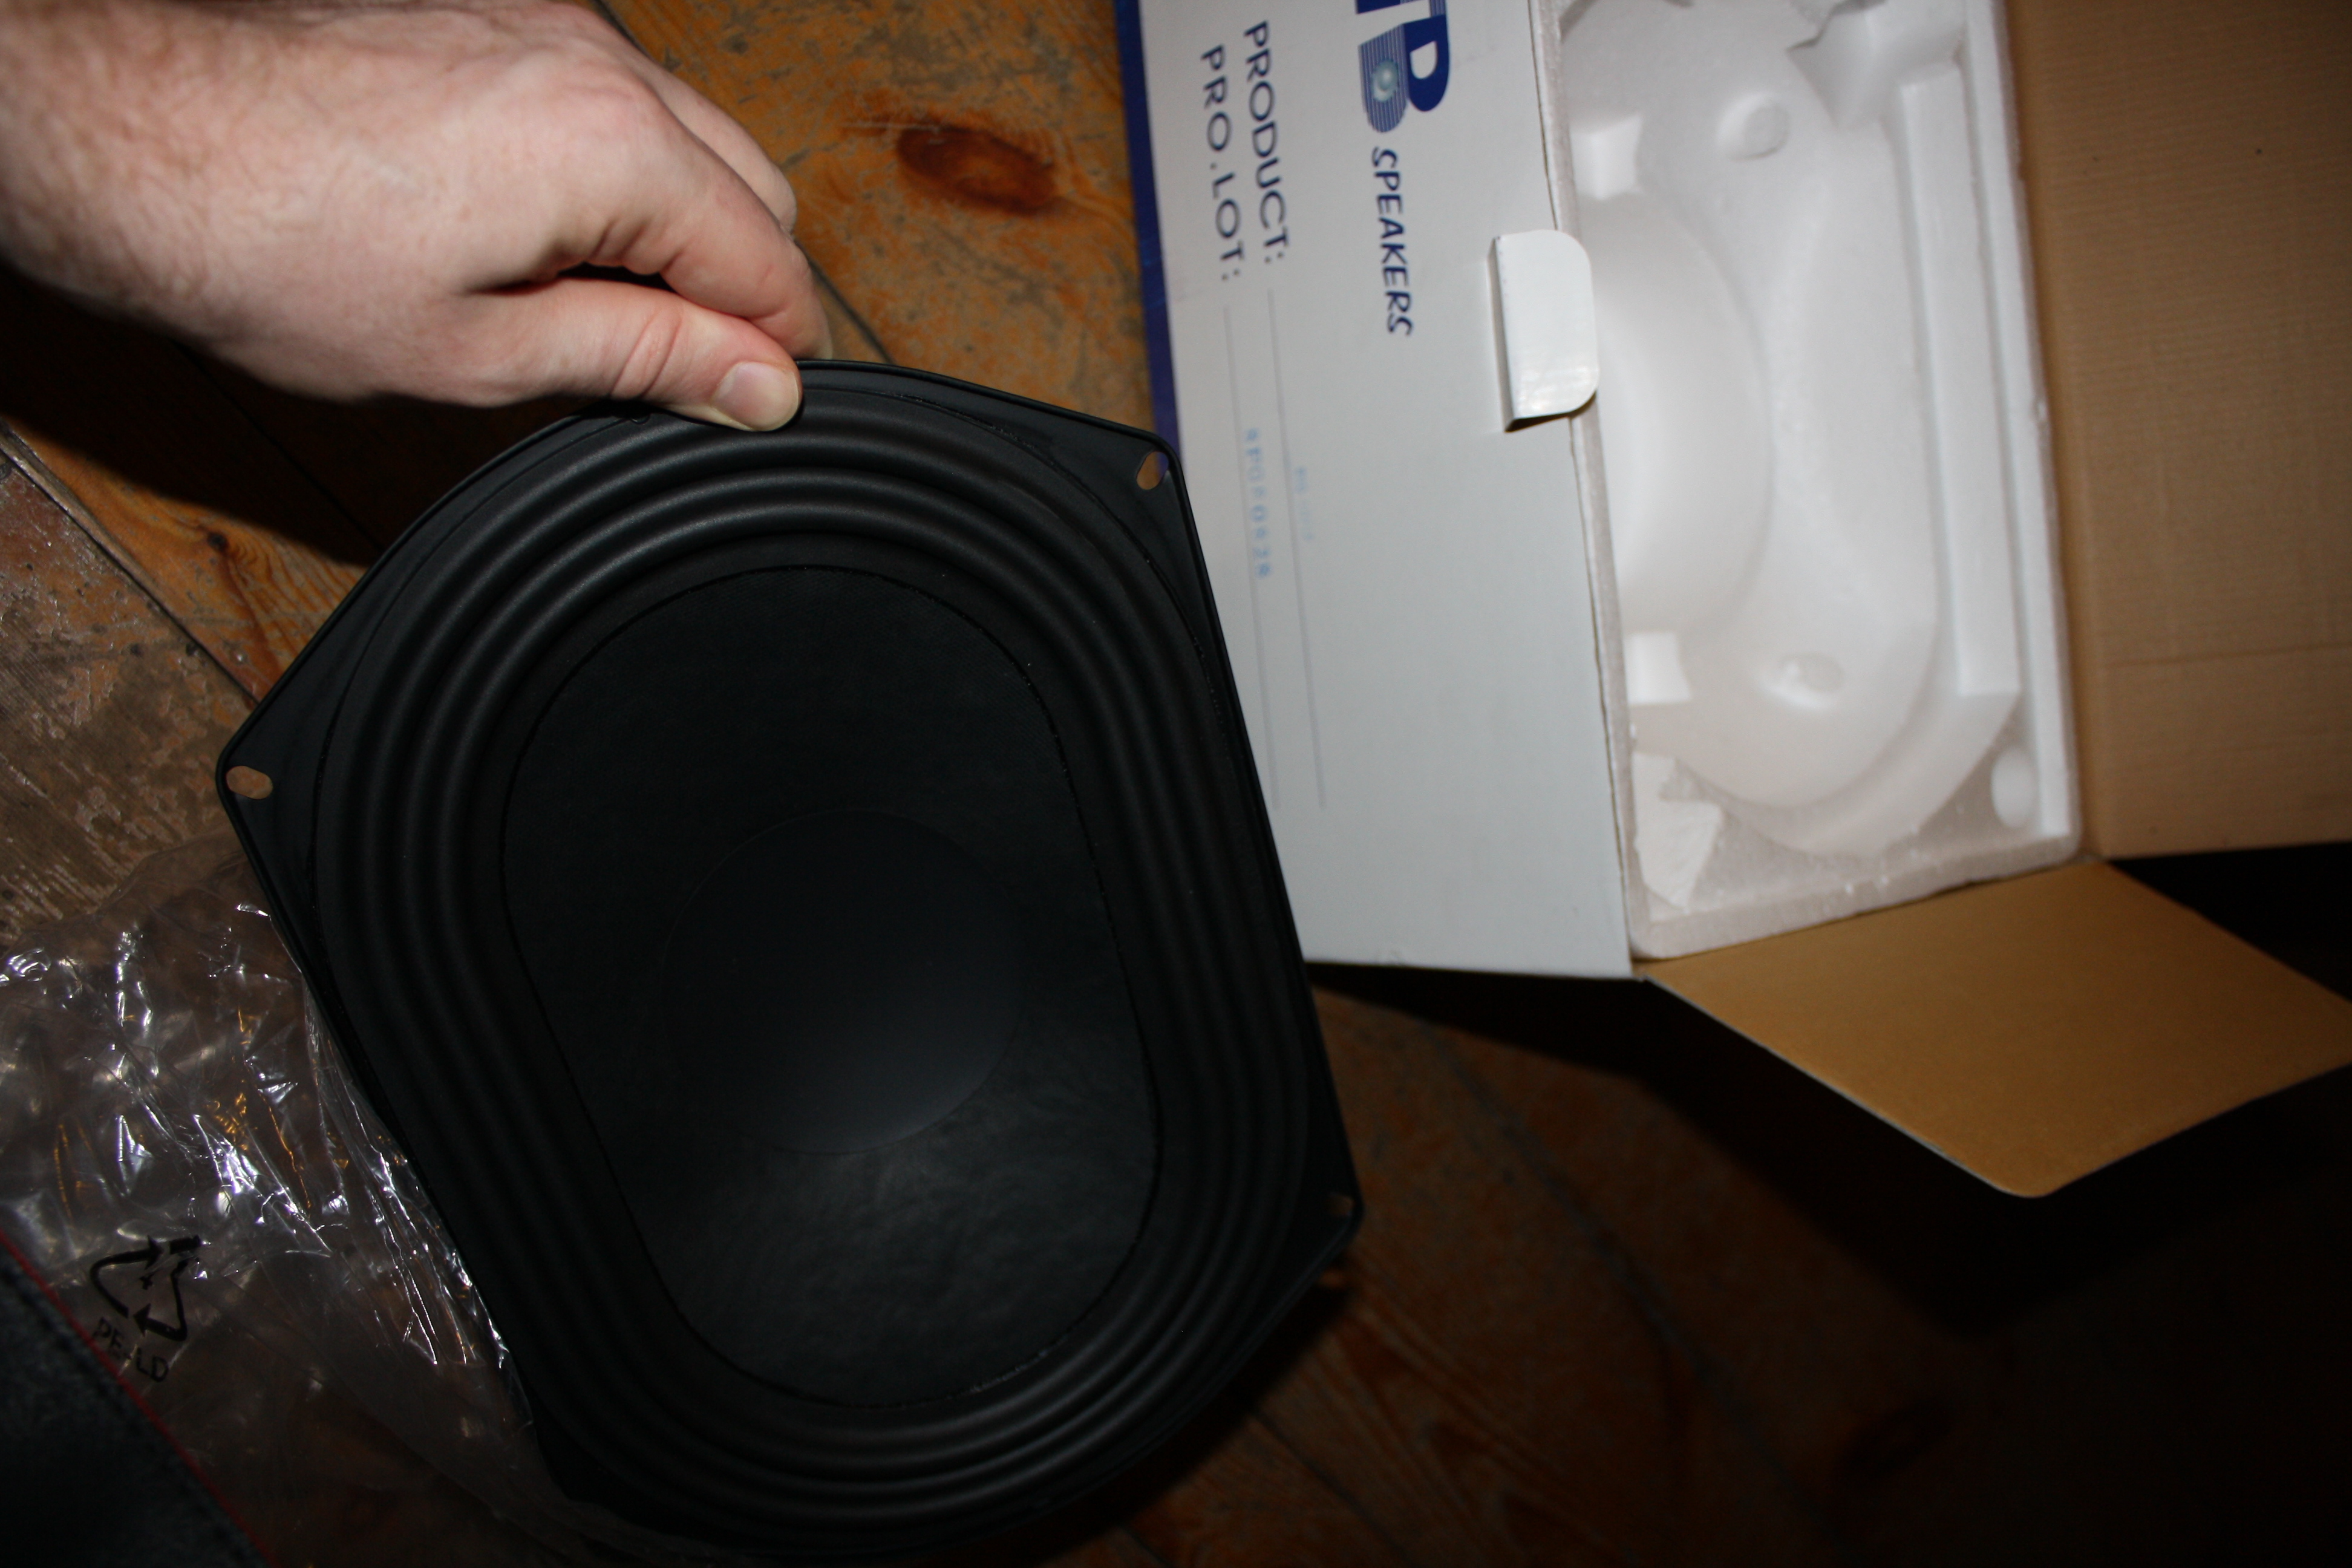 Cis guys like their presents heavy. The heavier, the better. This complies very very much.
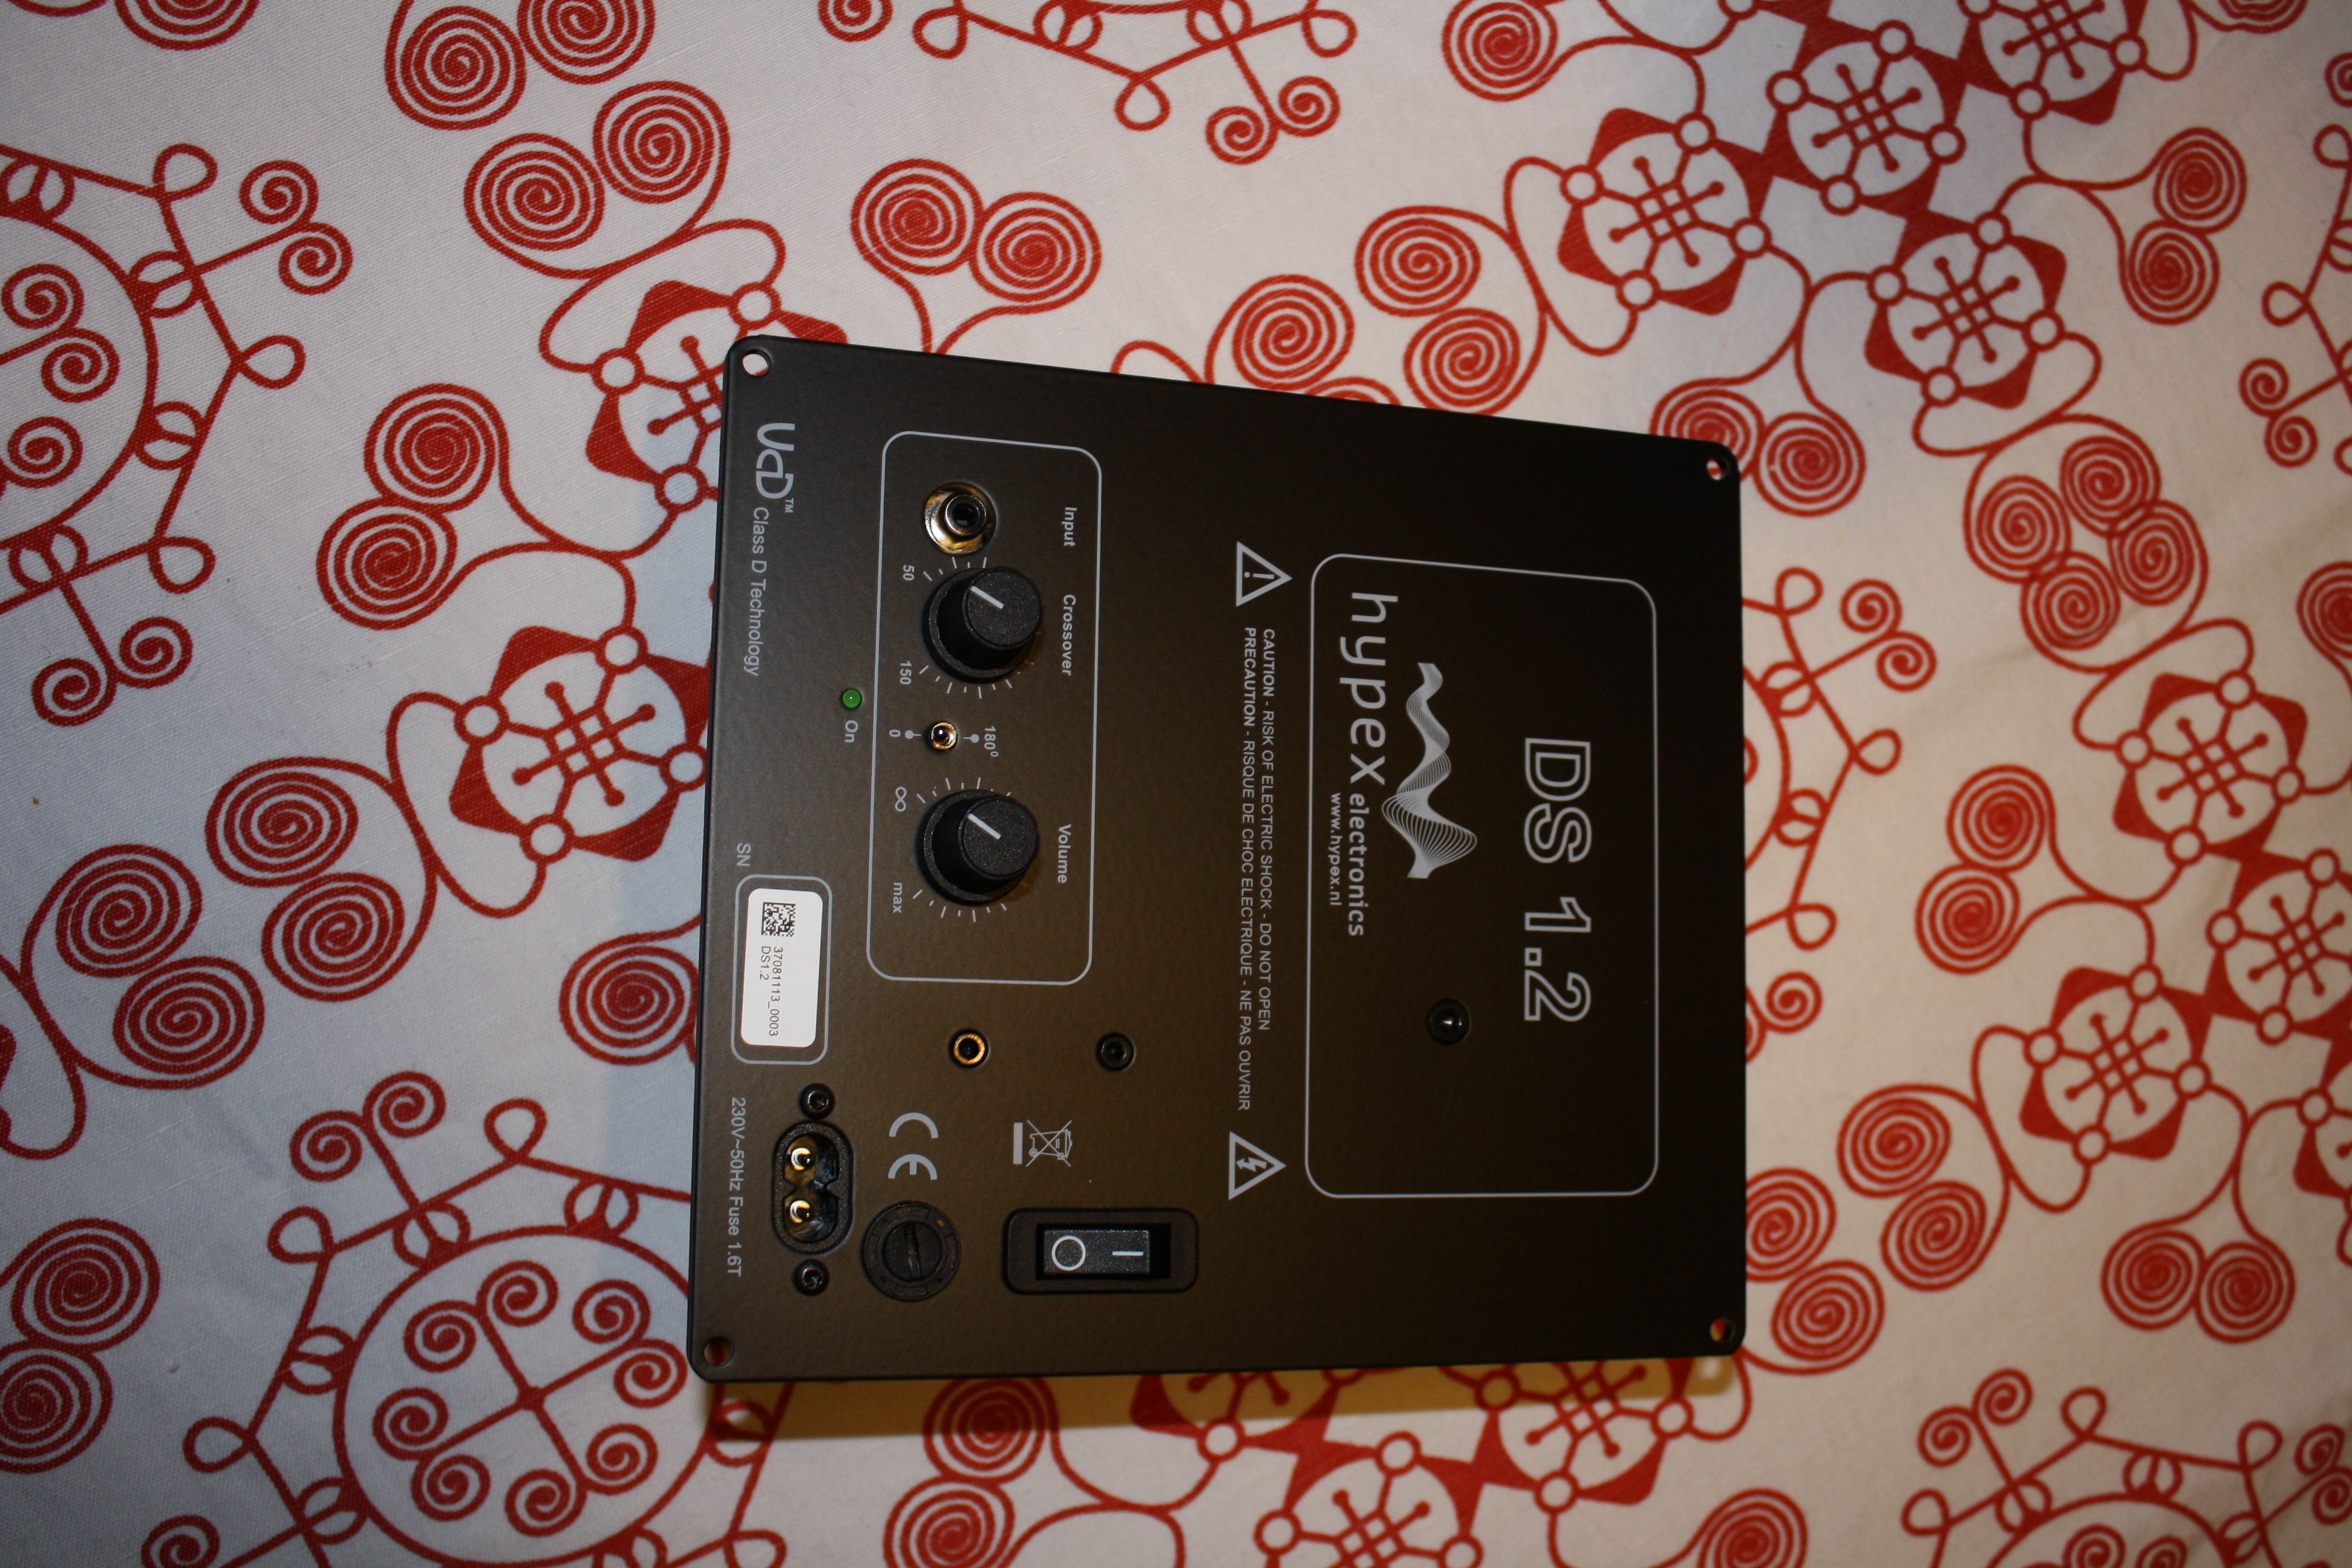 The Dutch know their amps.
Build
 Starting work on the main baffle, the one holding the driver.
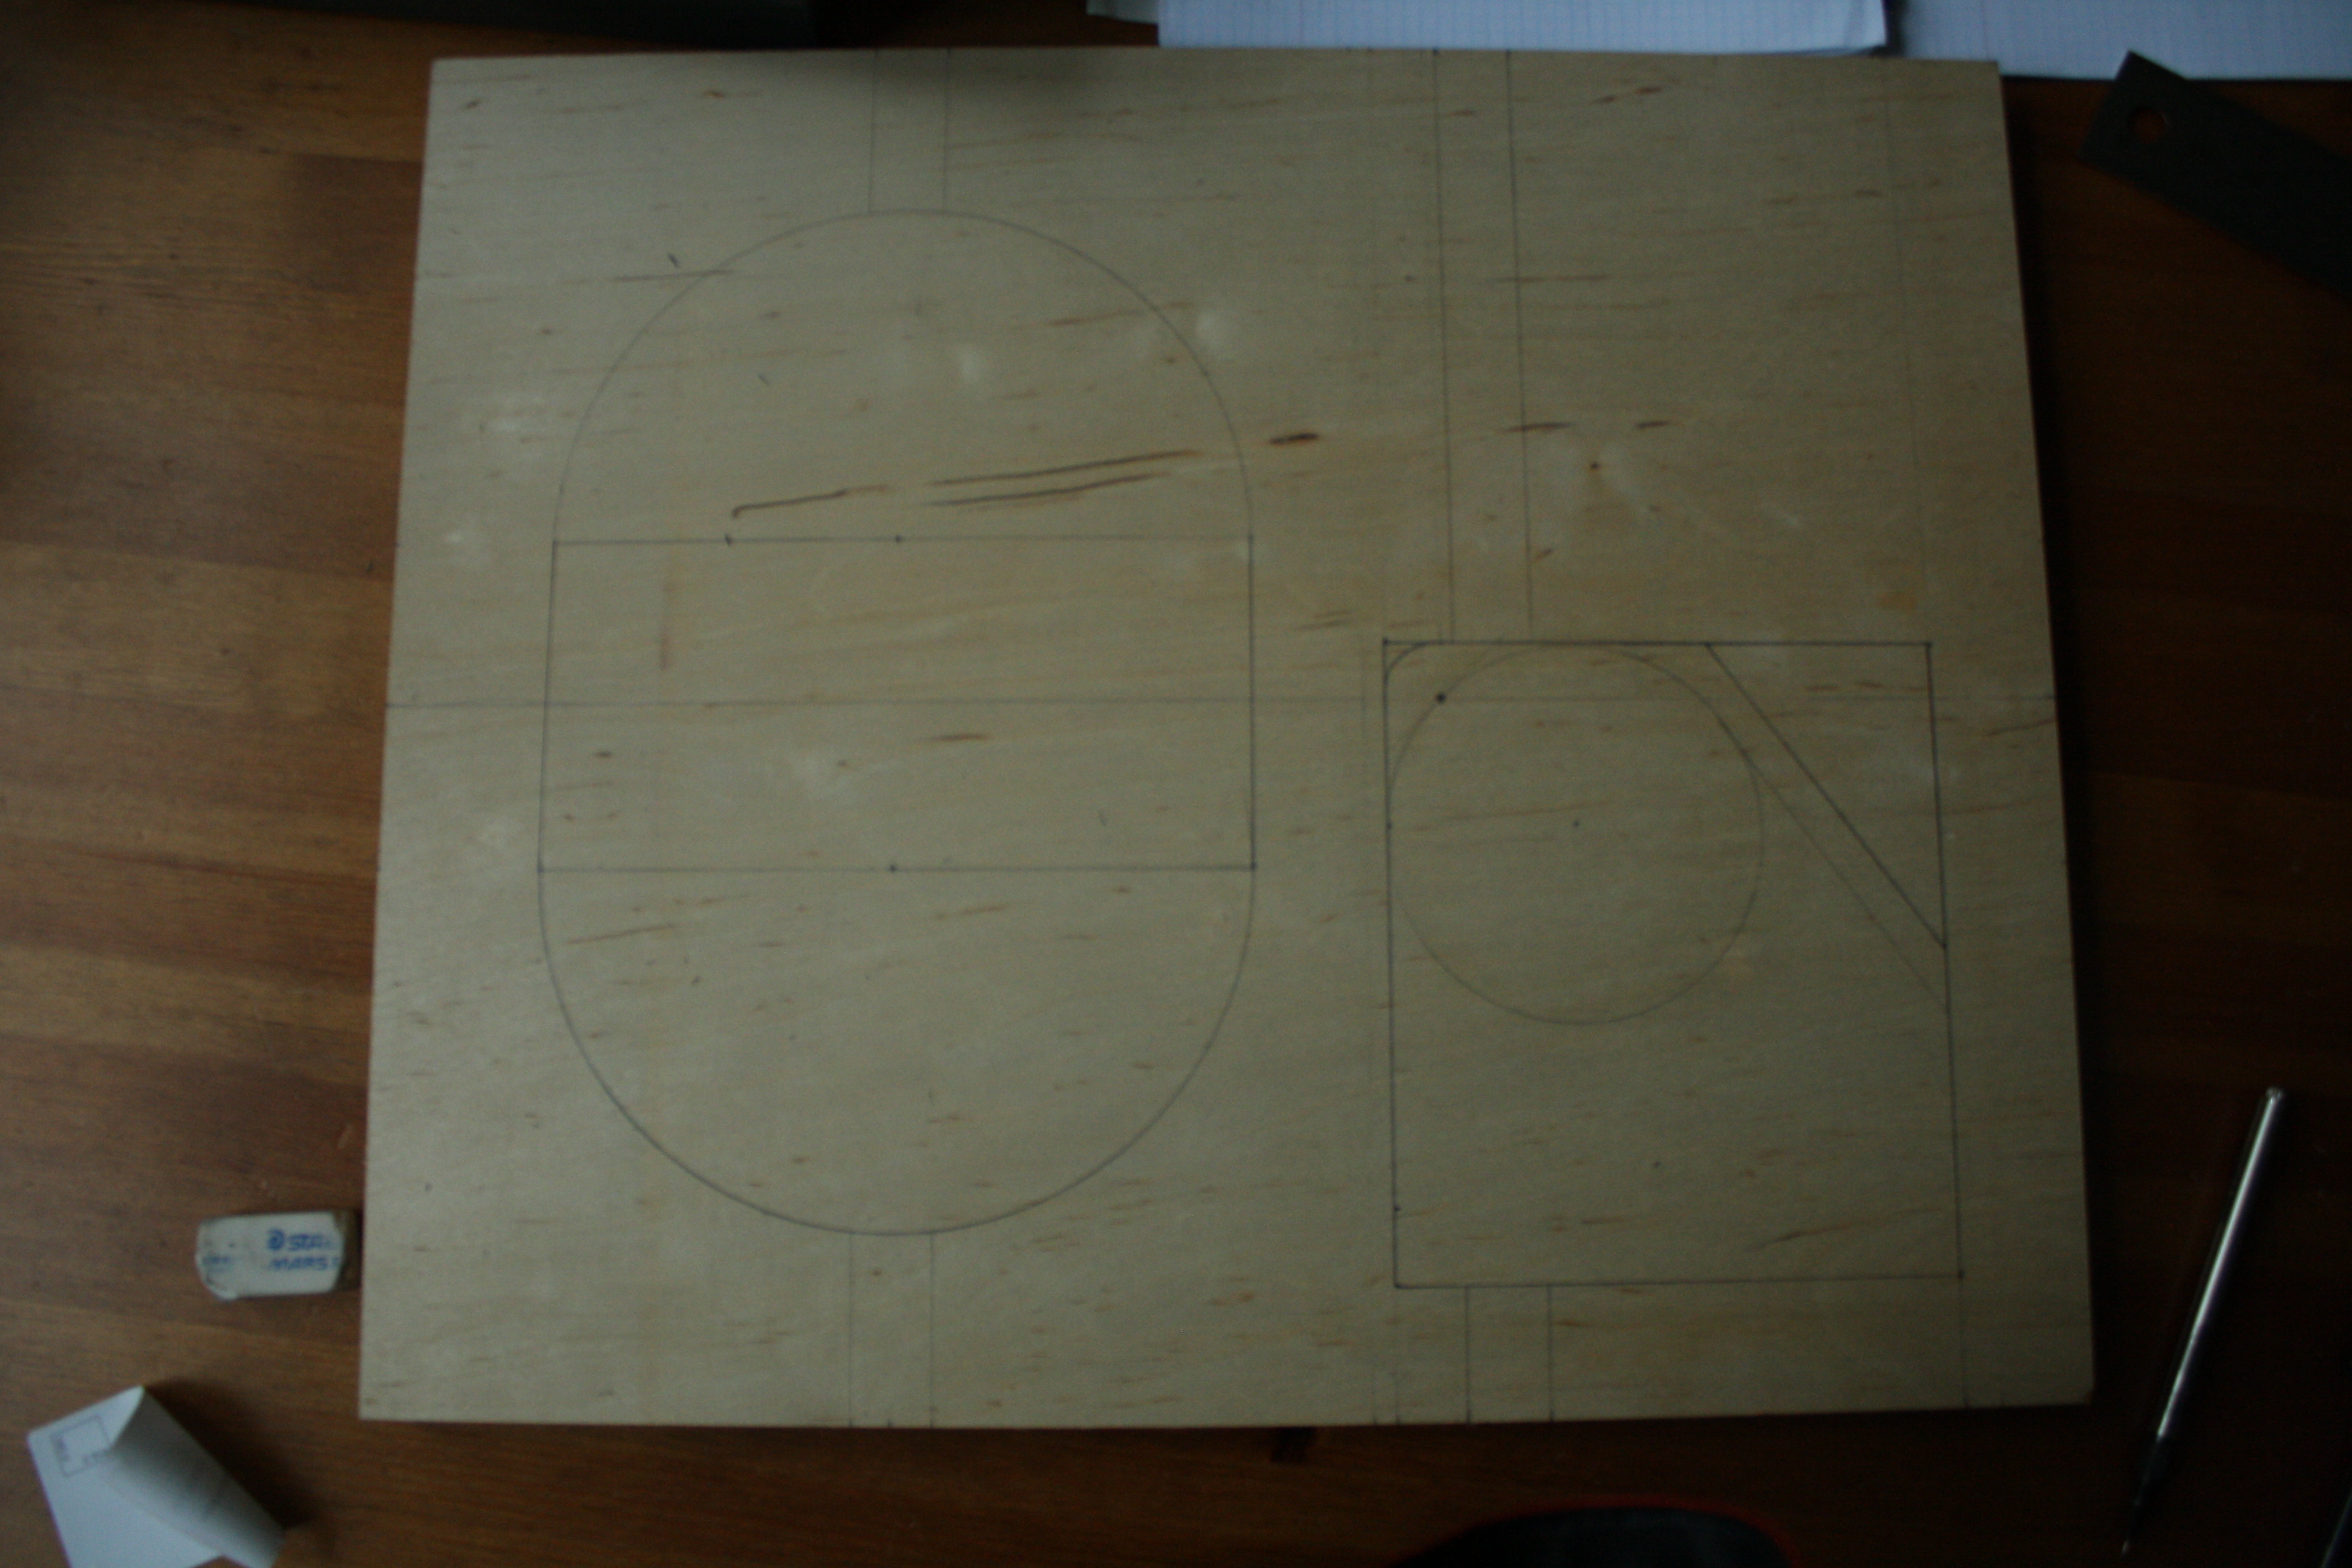 The back of the amplifyer plate with the torus for the power block indicated.
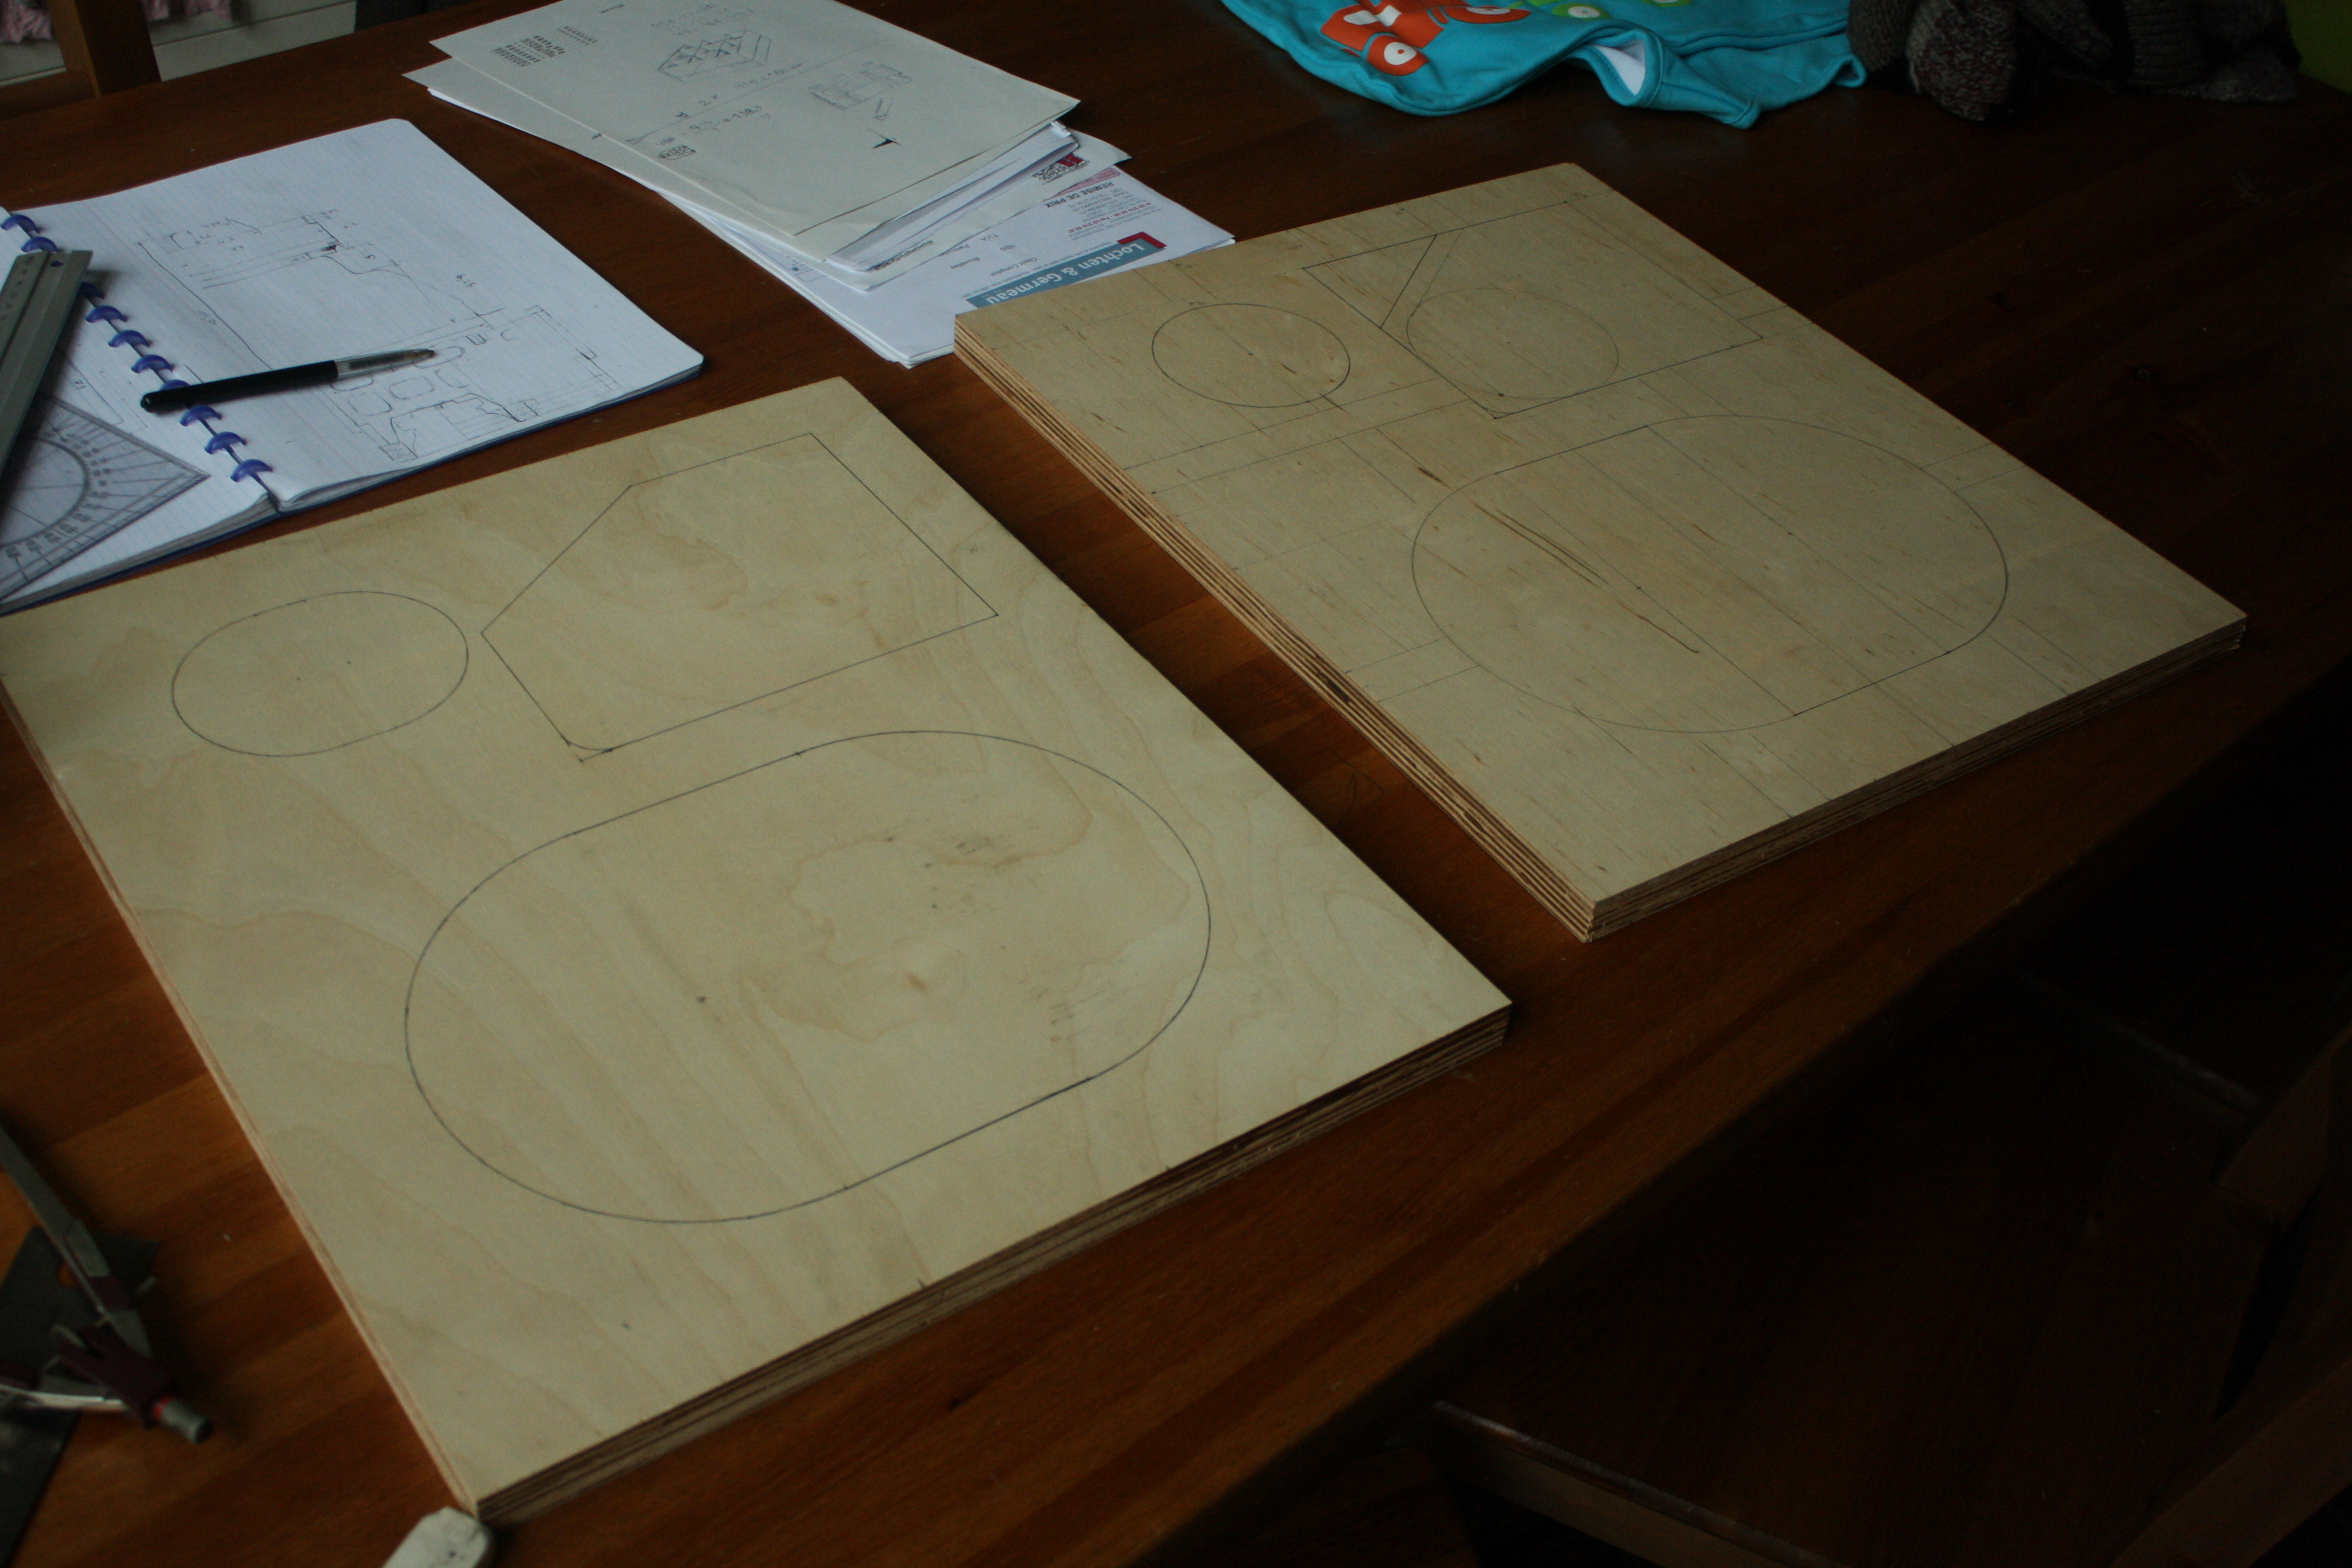 93
93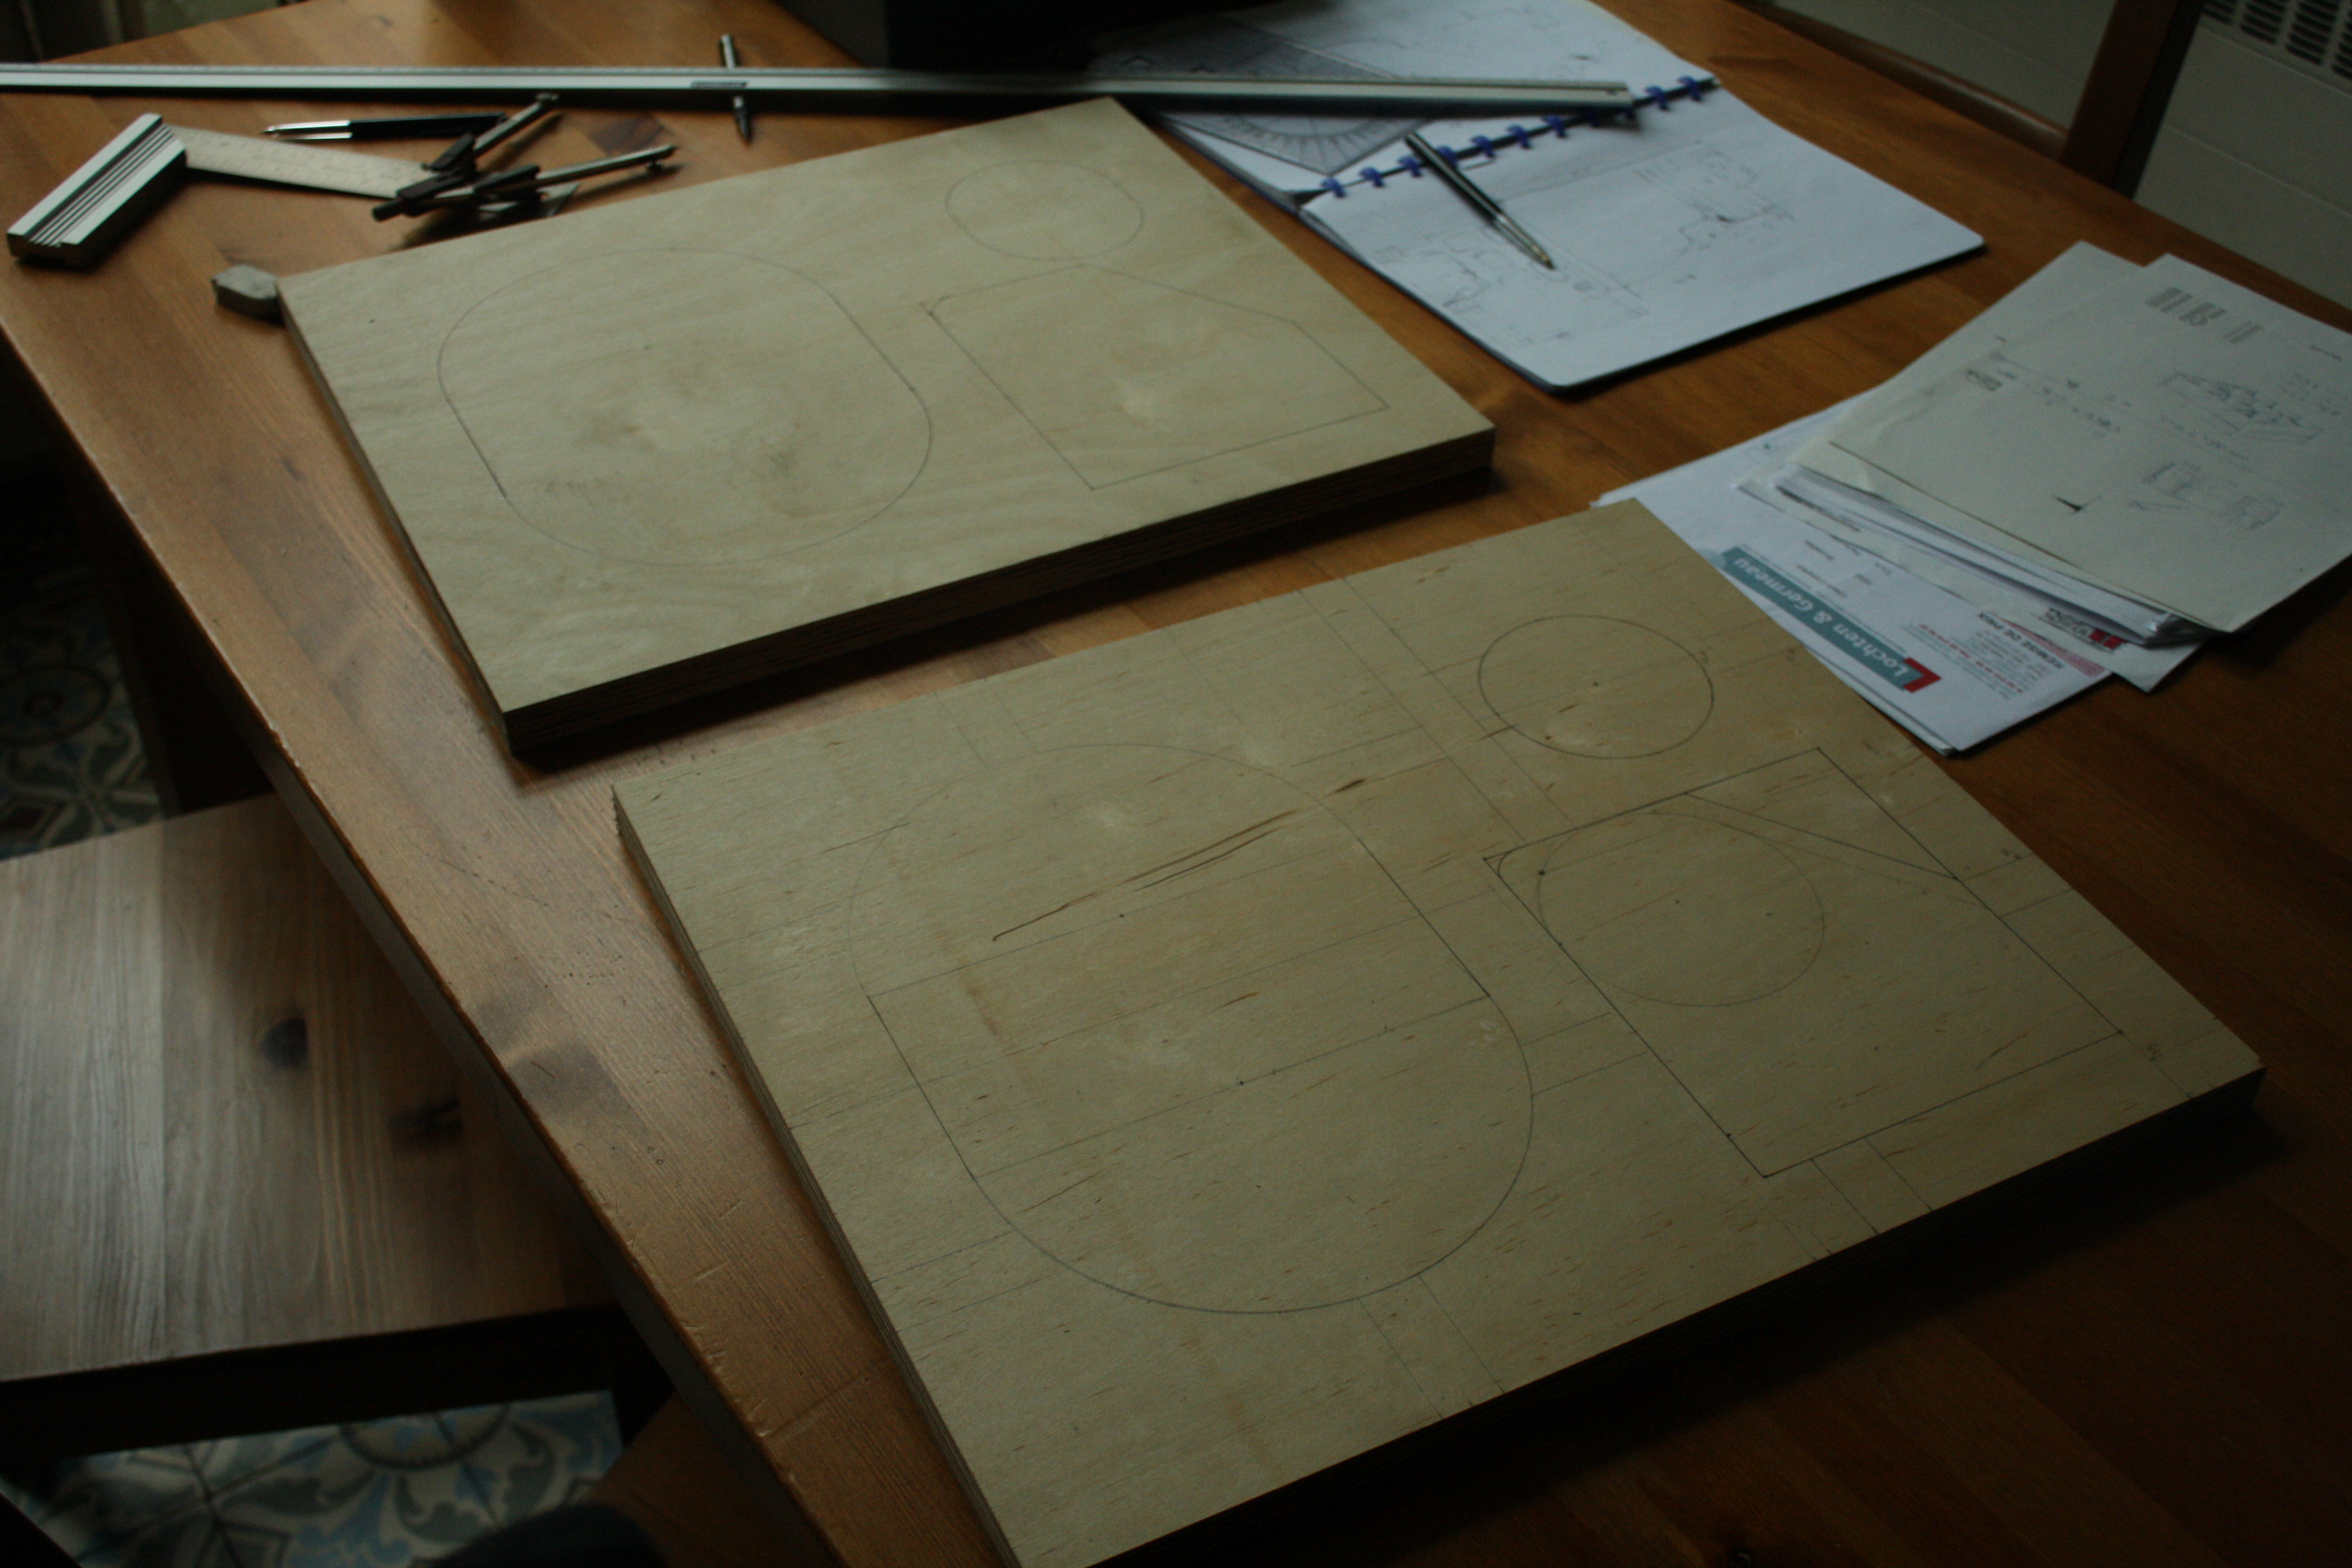 94
94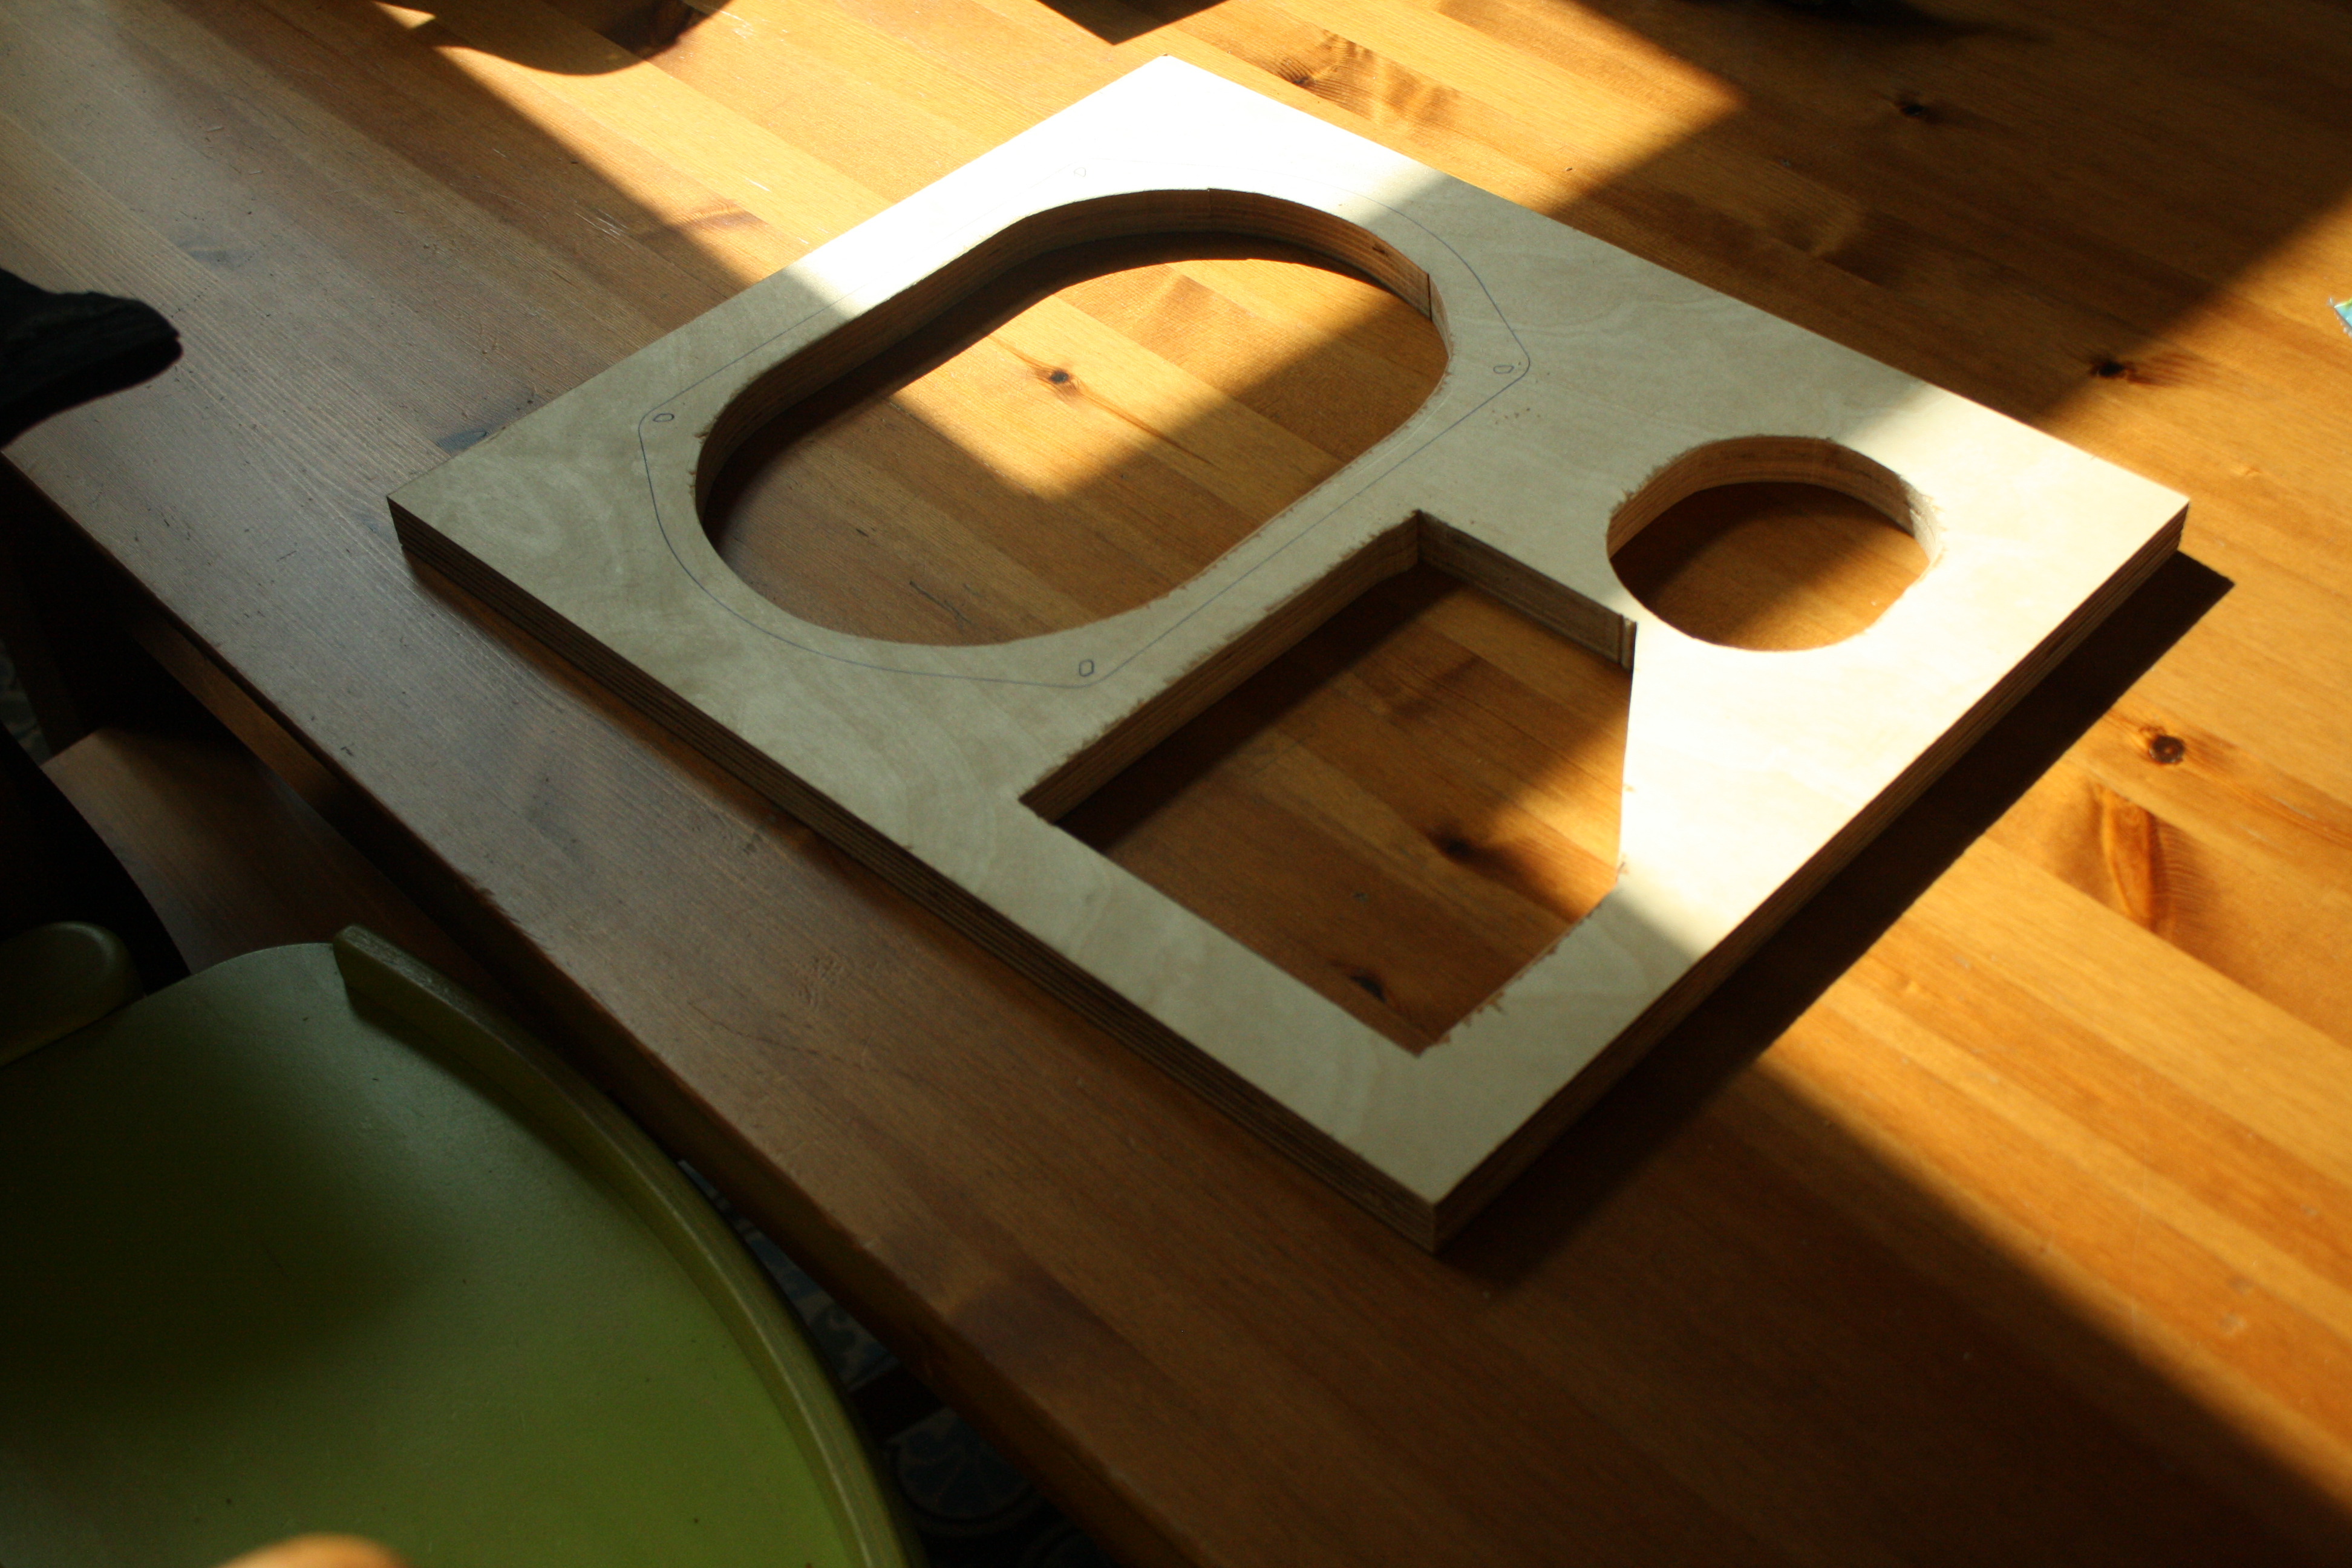 Cut. Driver hole, amp hole, pipe hole.
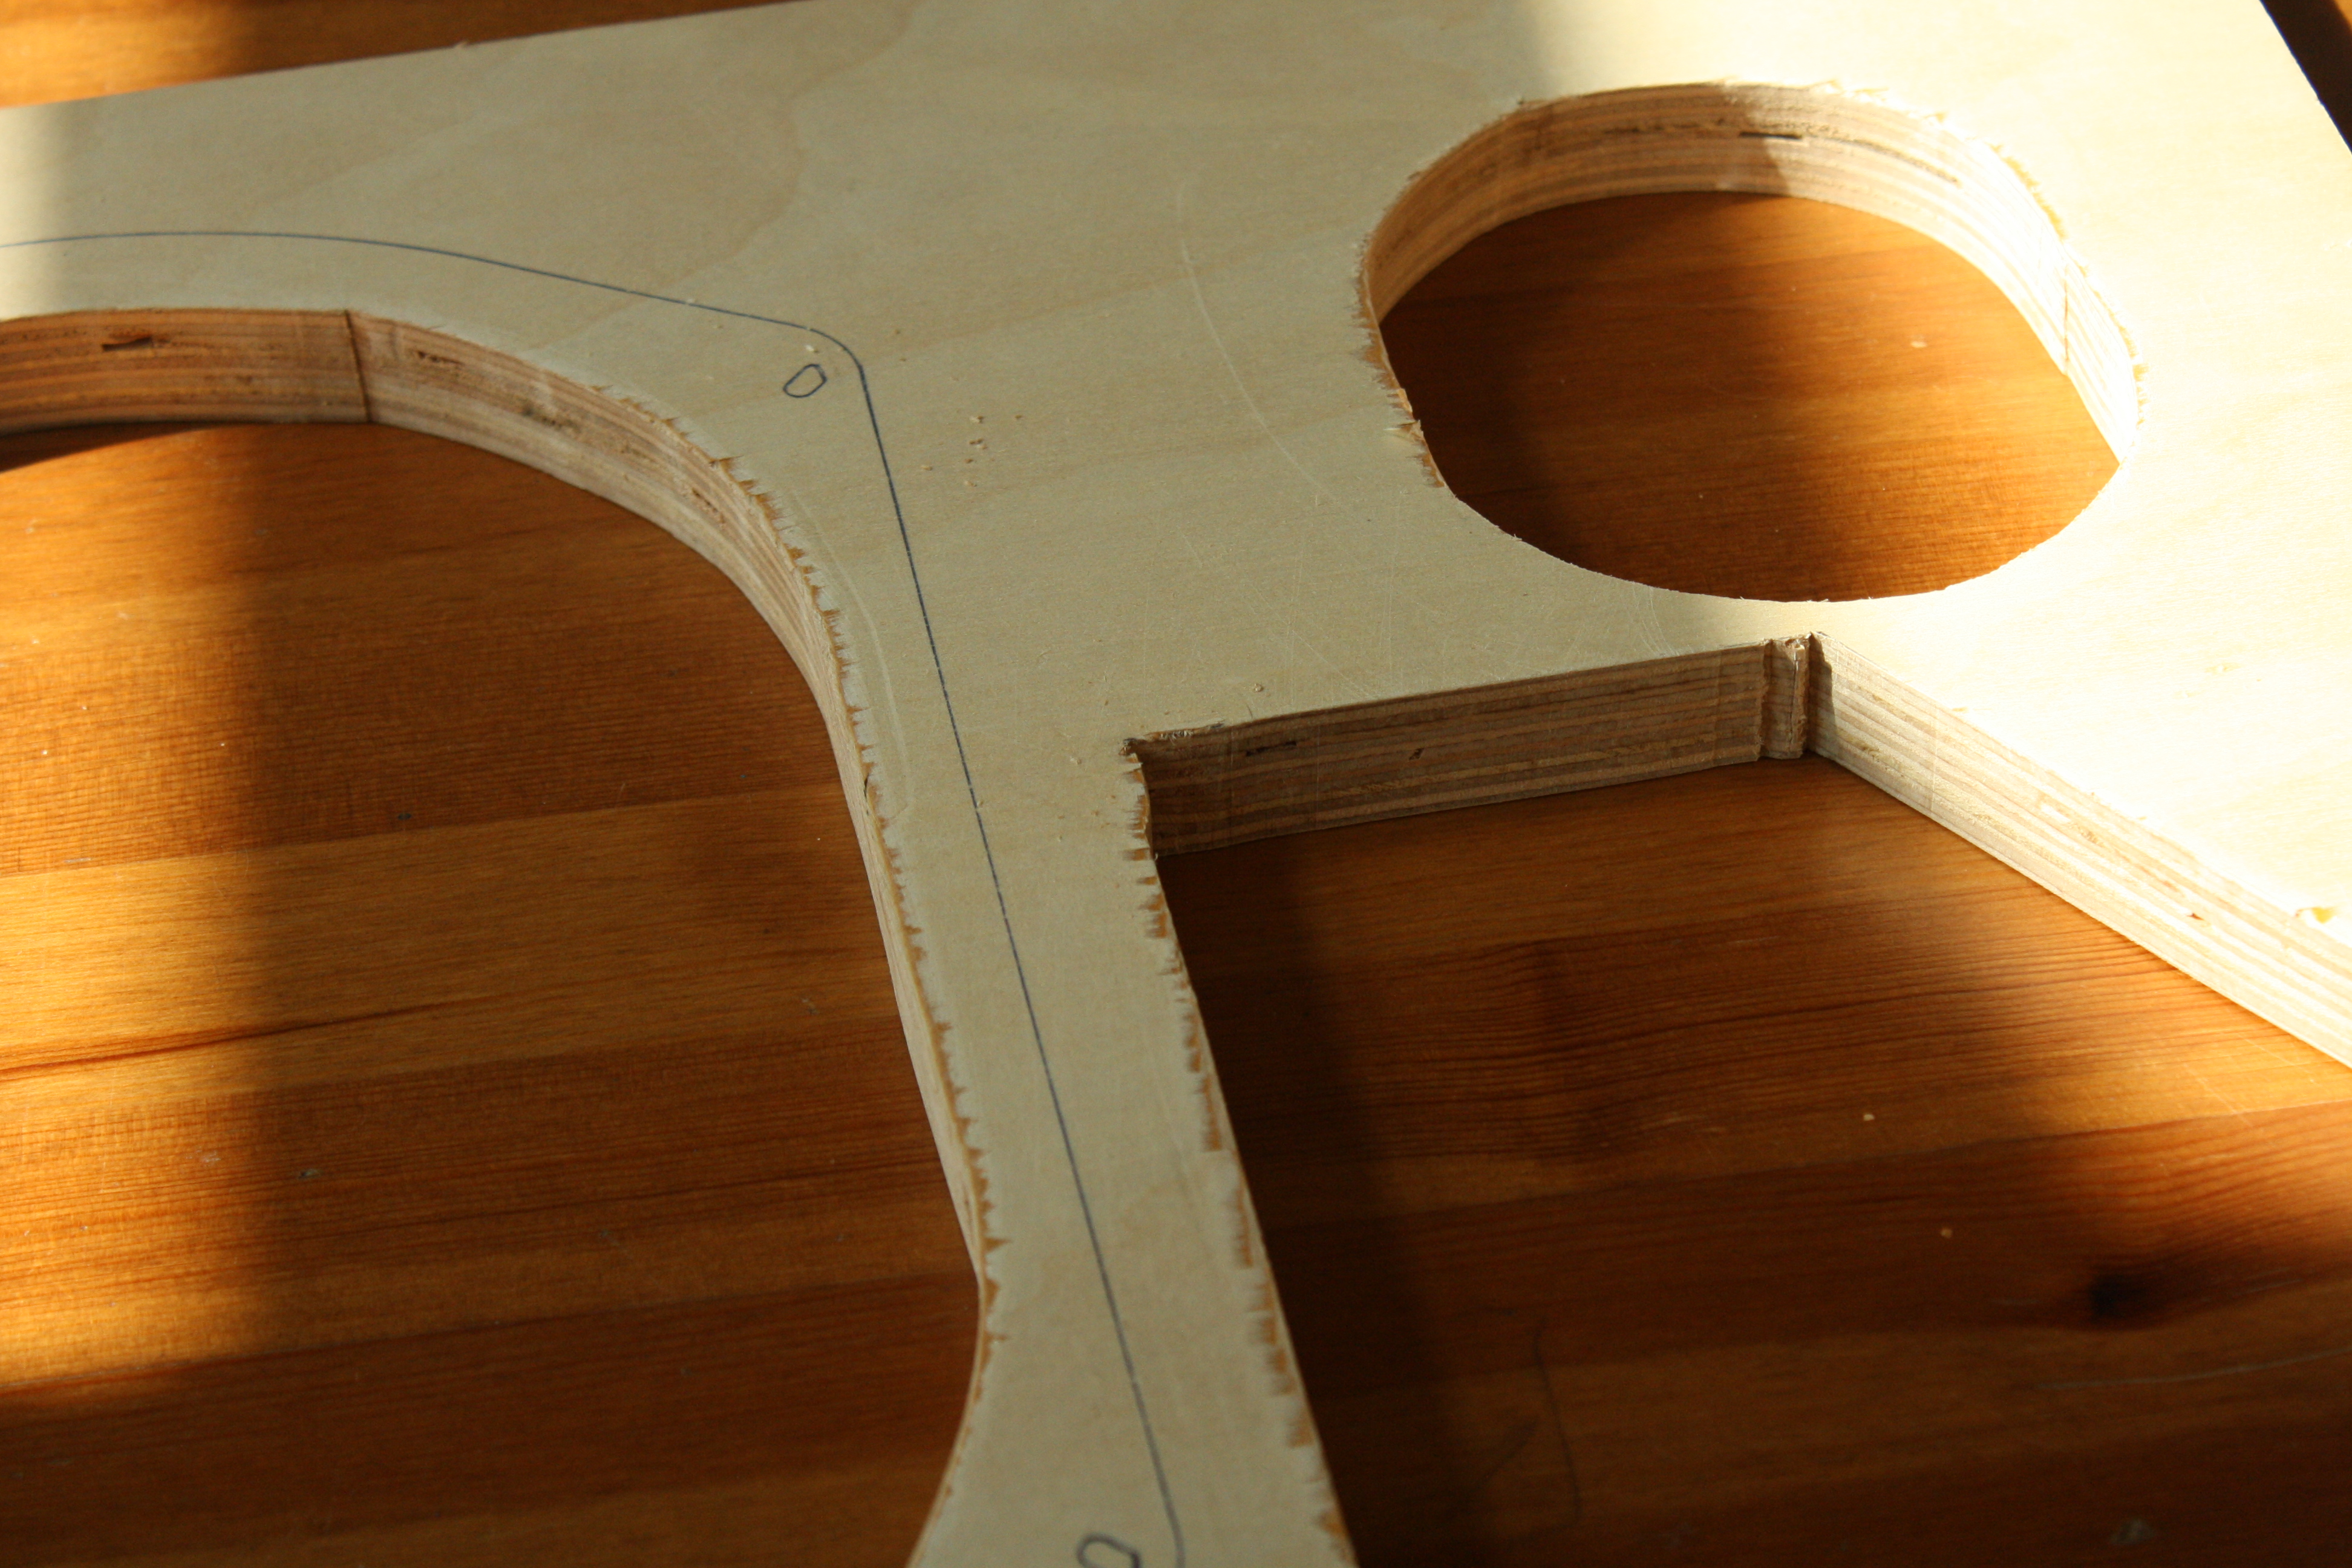 Beatutiful multiplex, crappy sawblades.
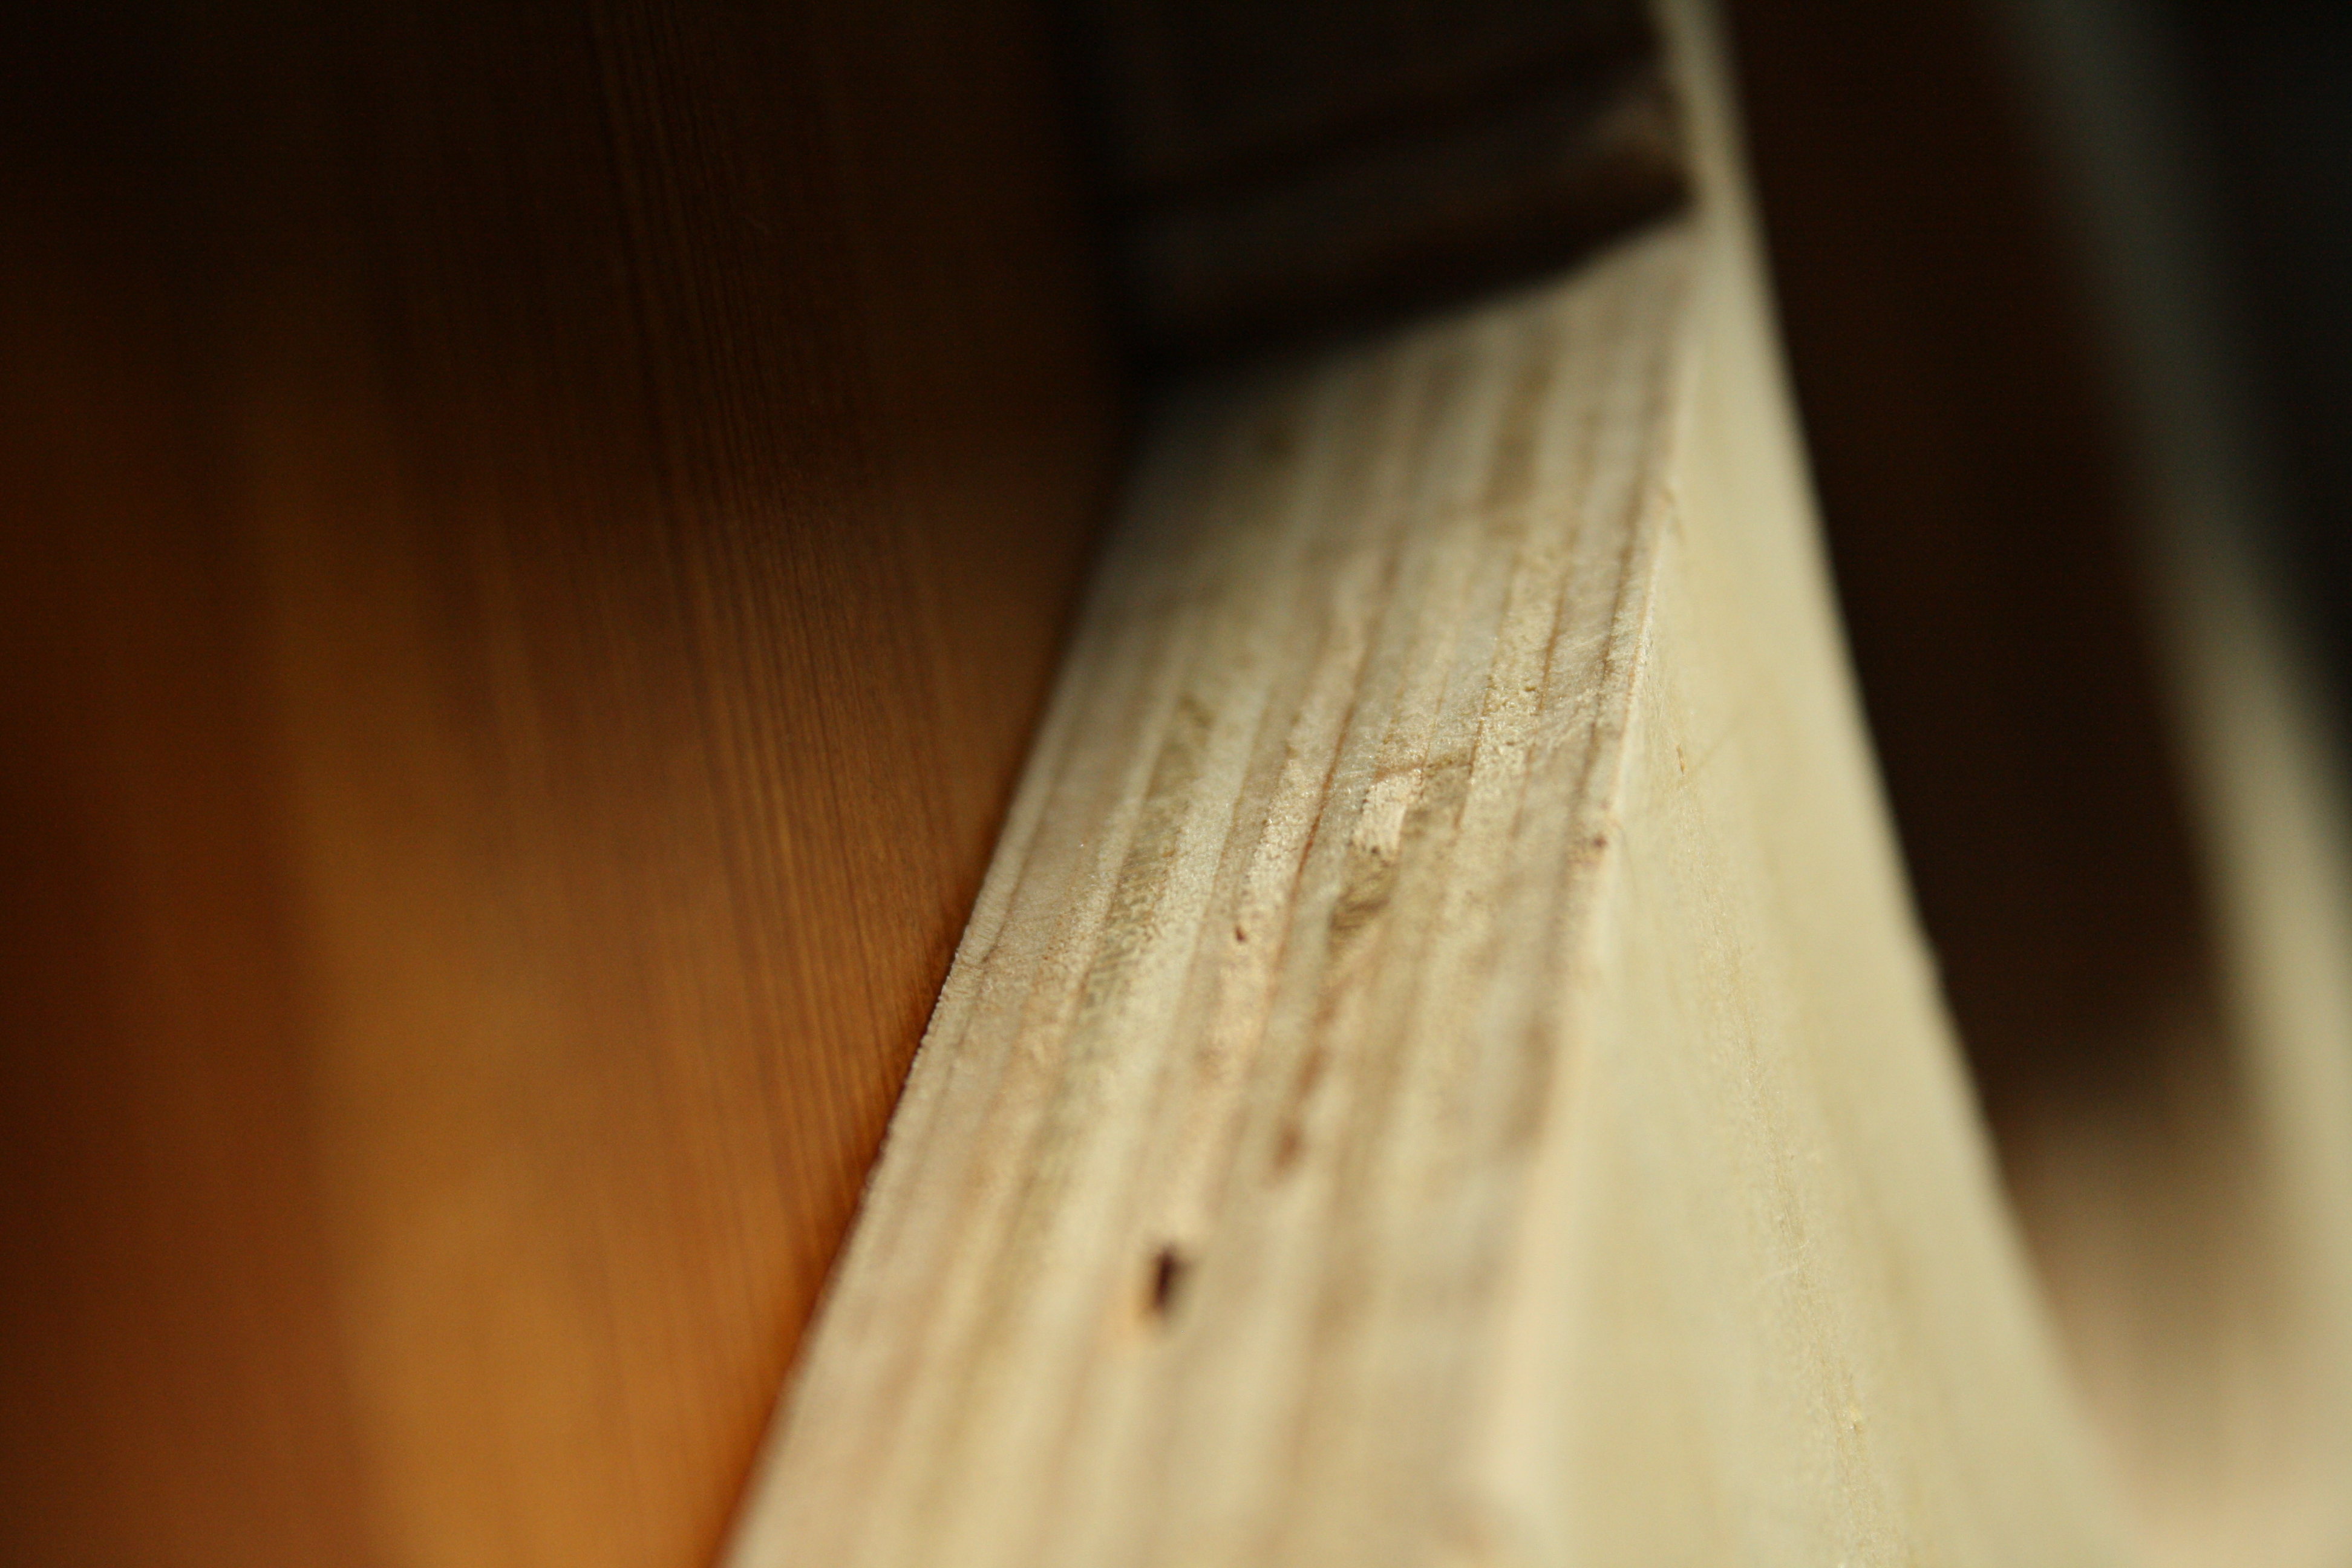 101
101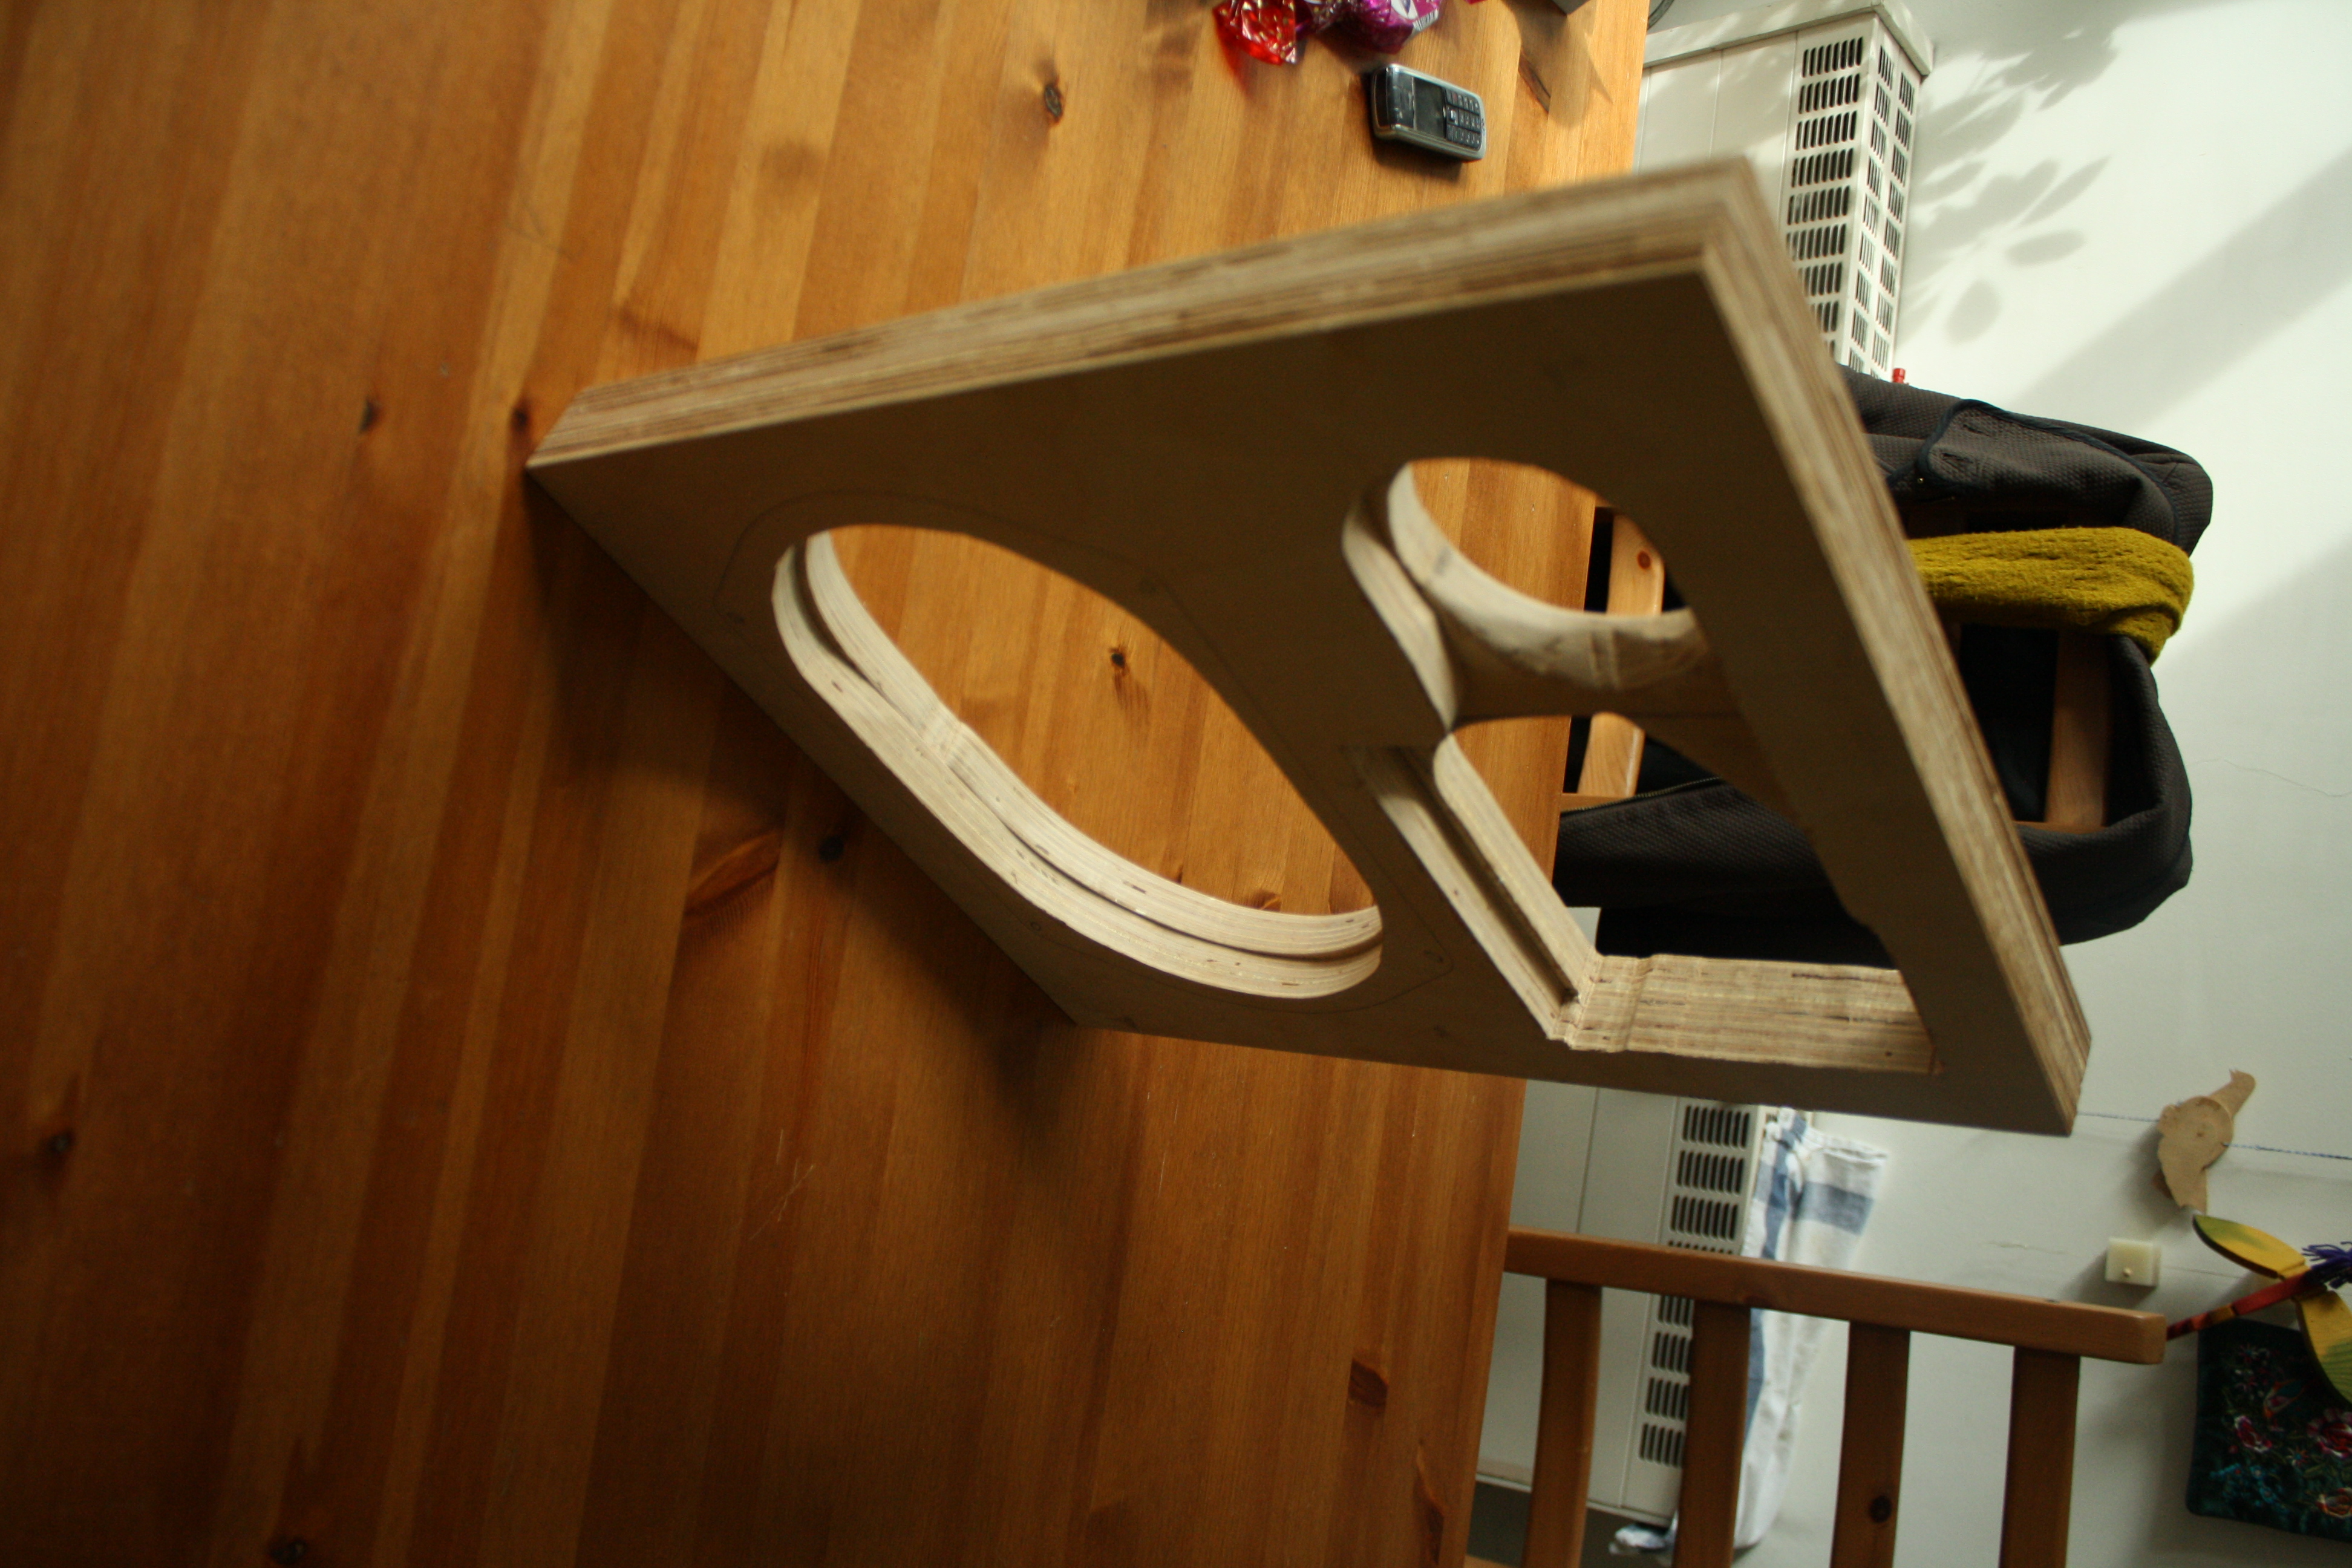 Matching more or less.
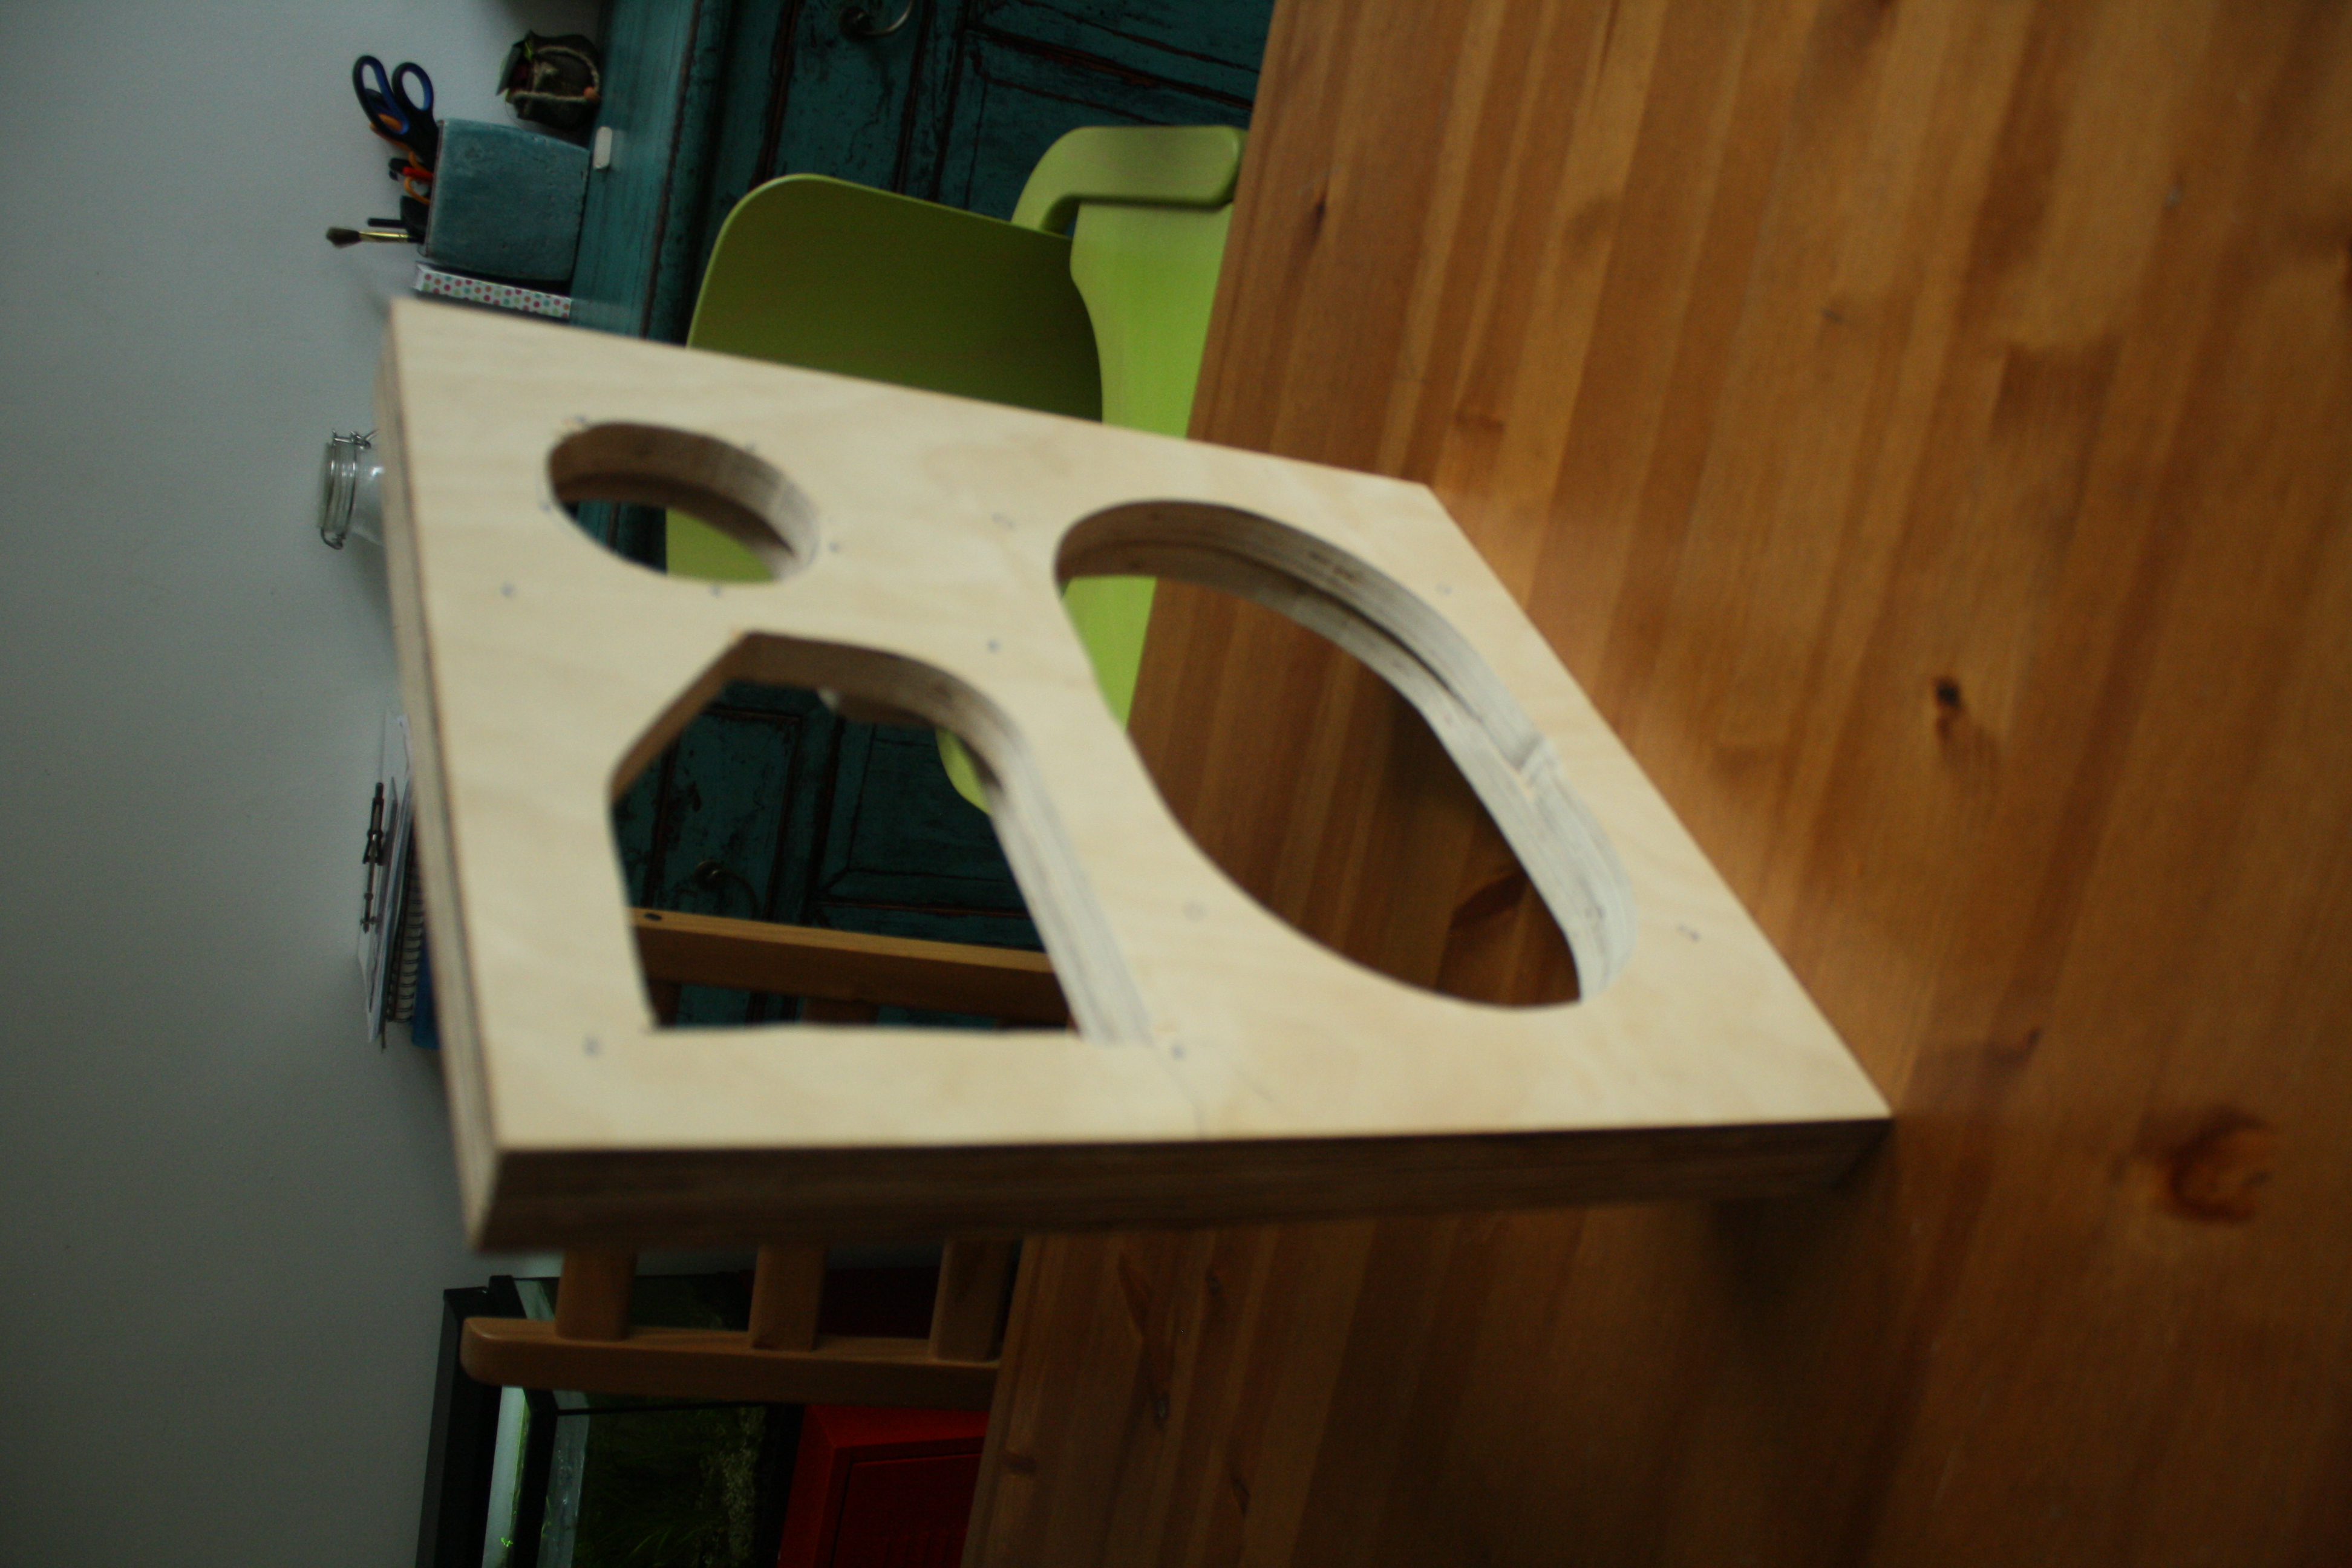 103
103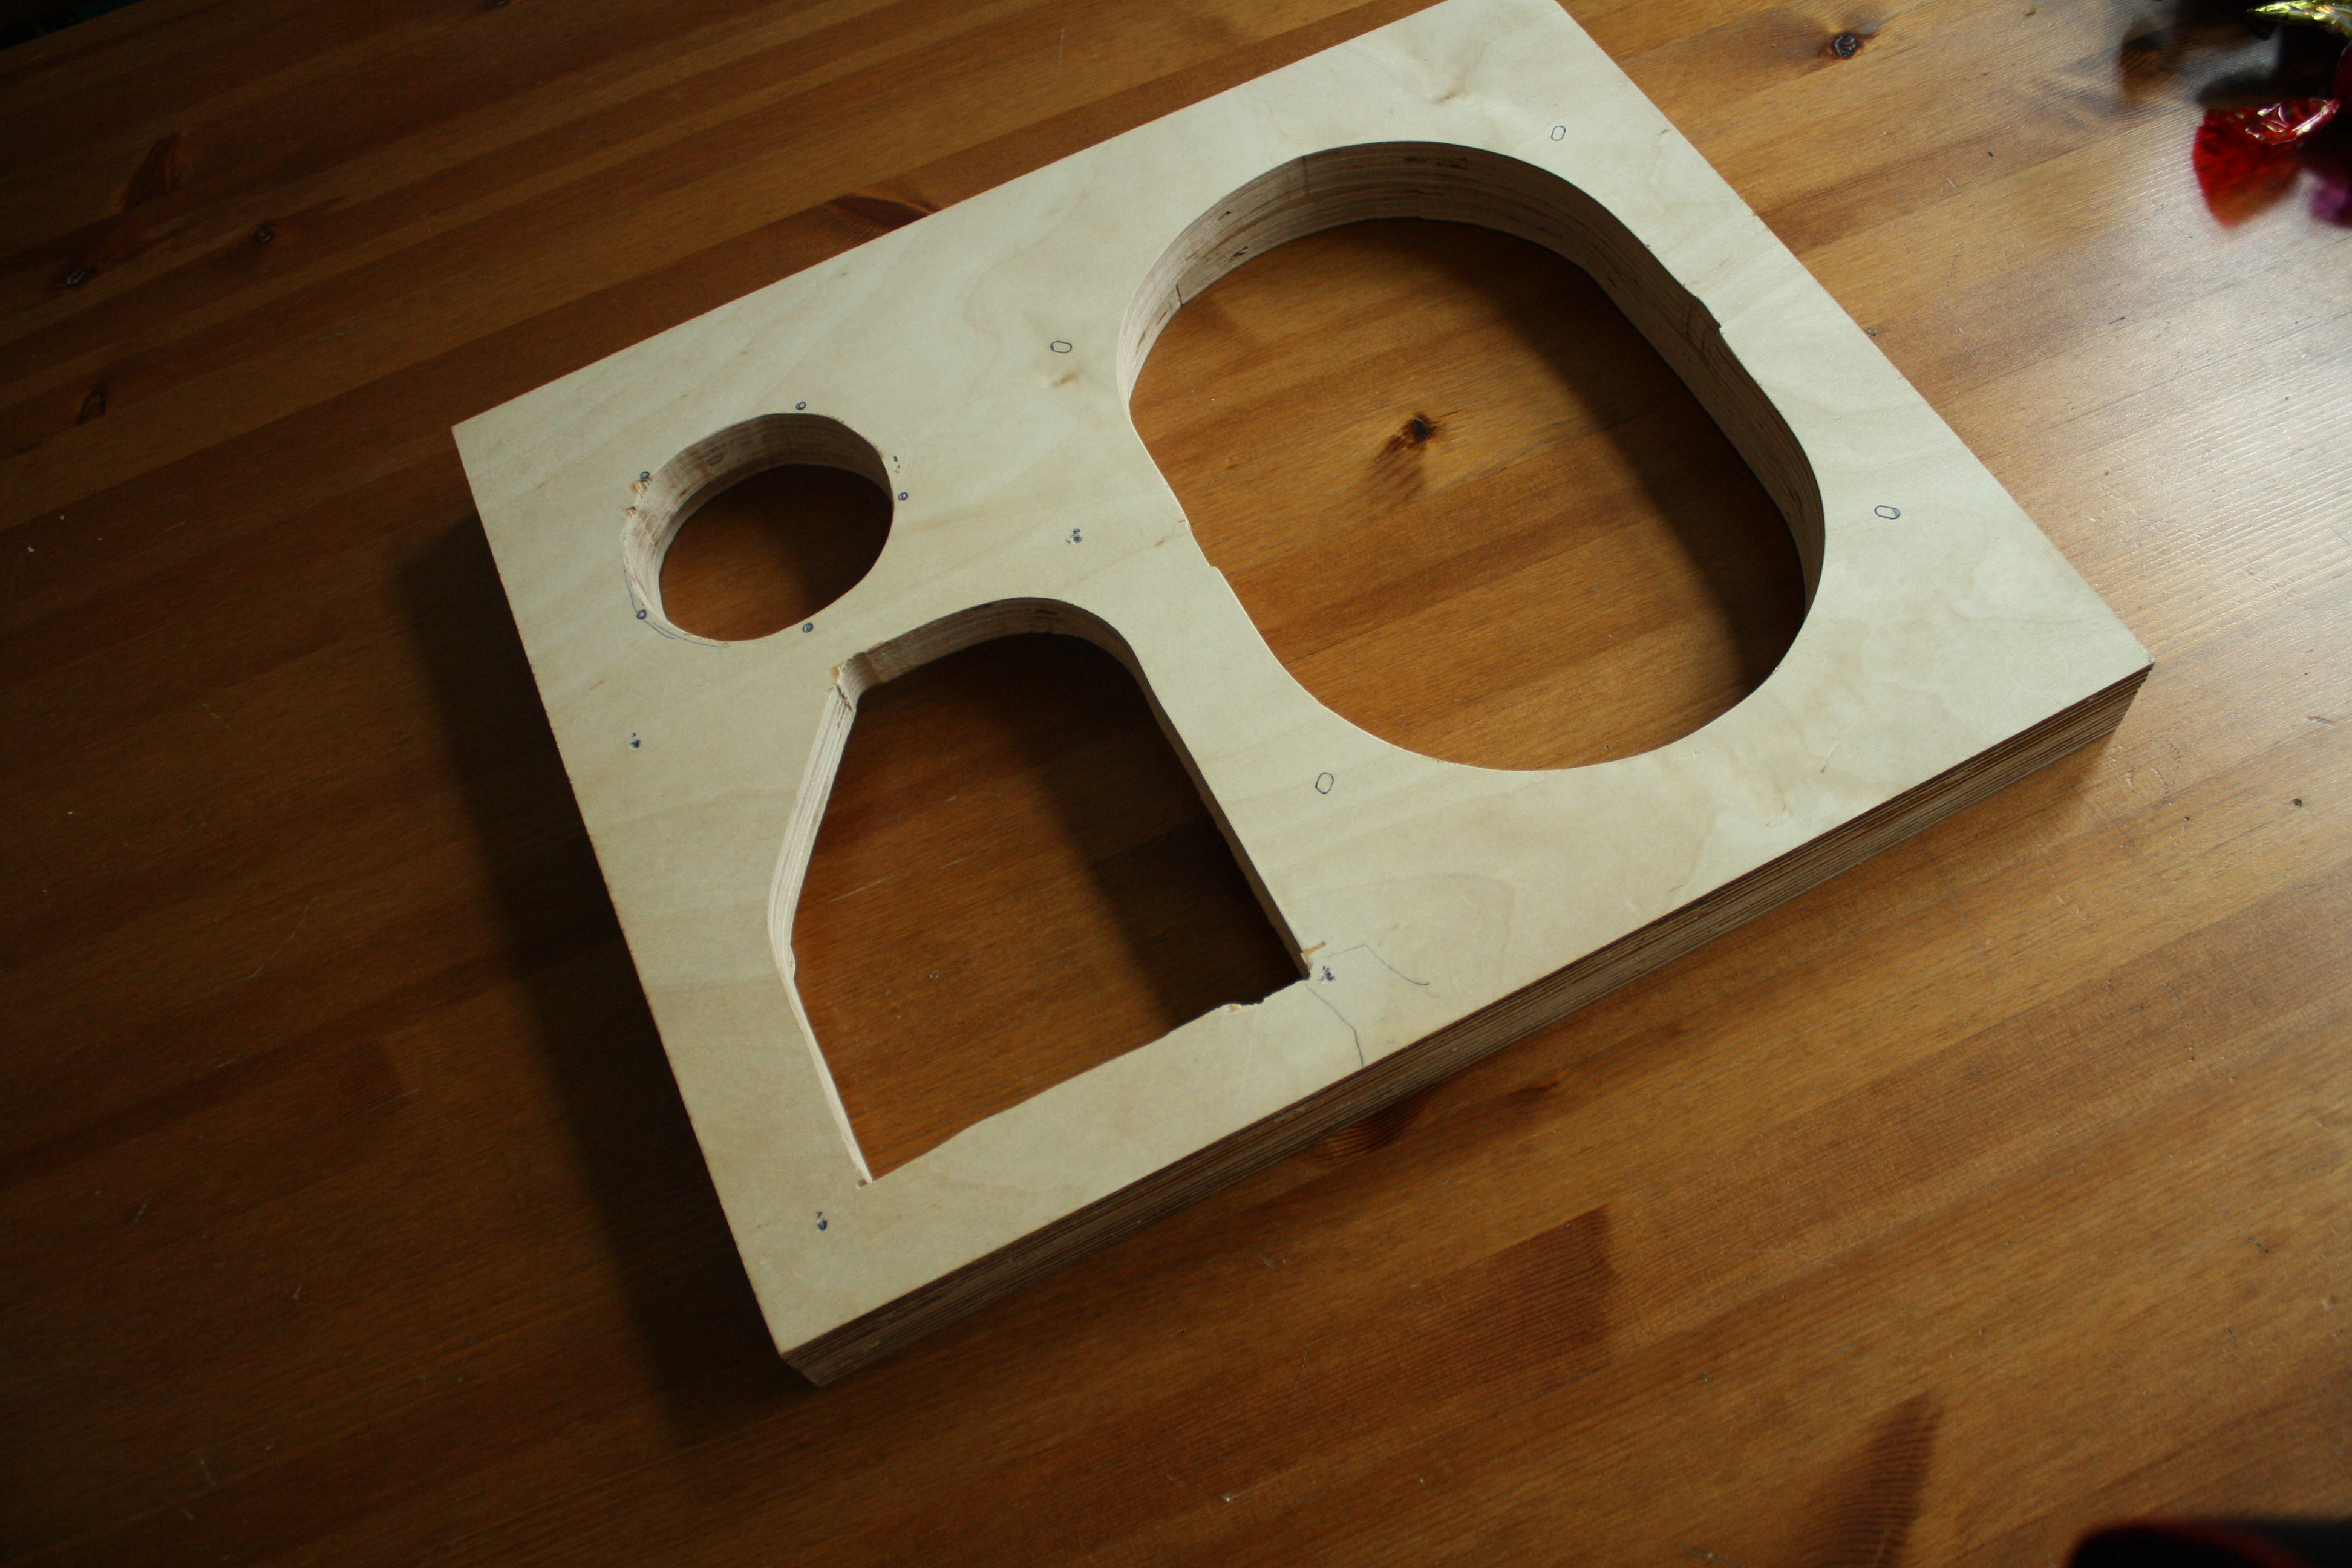 104
104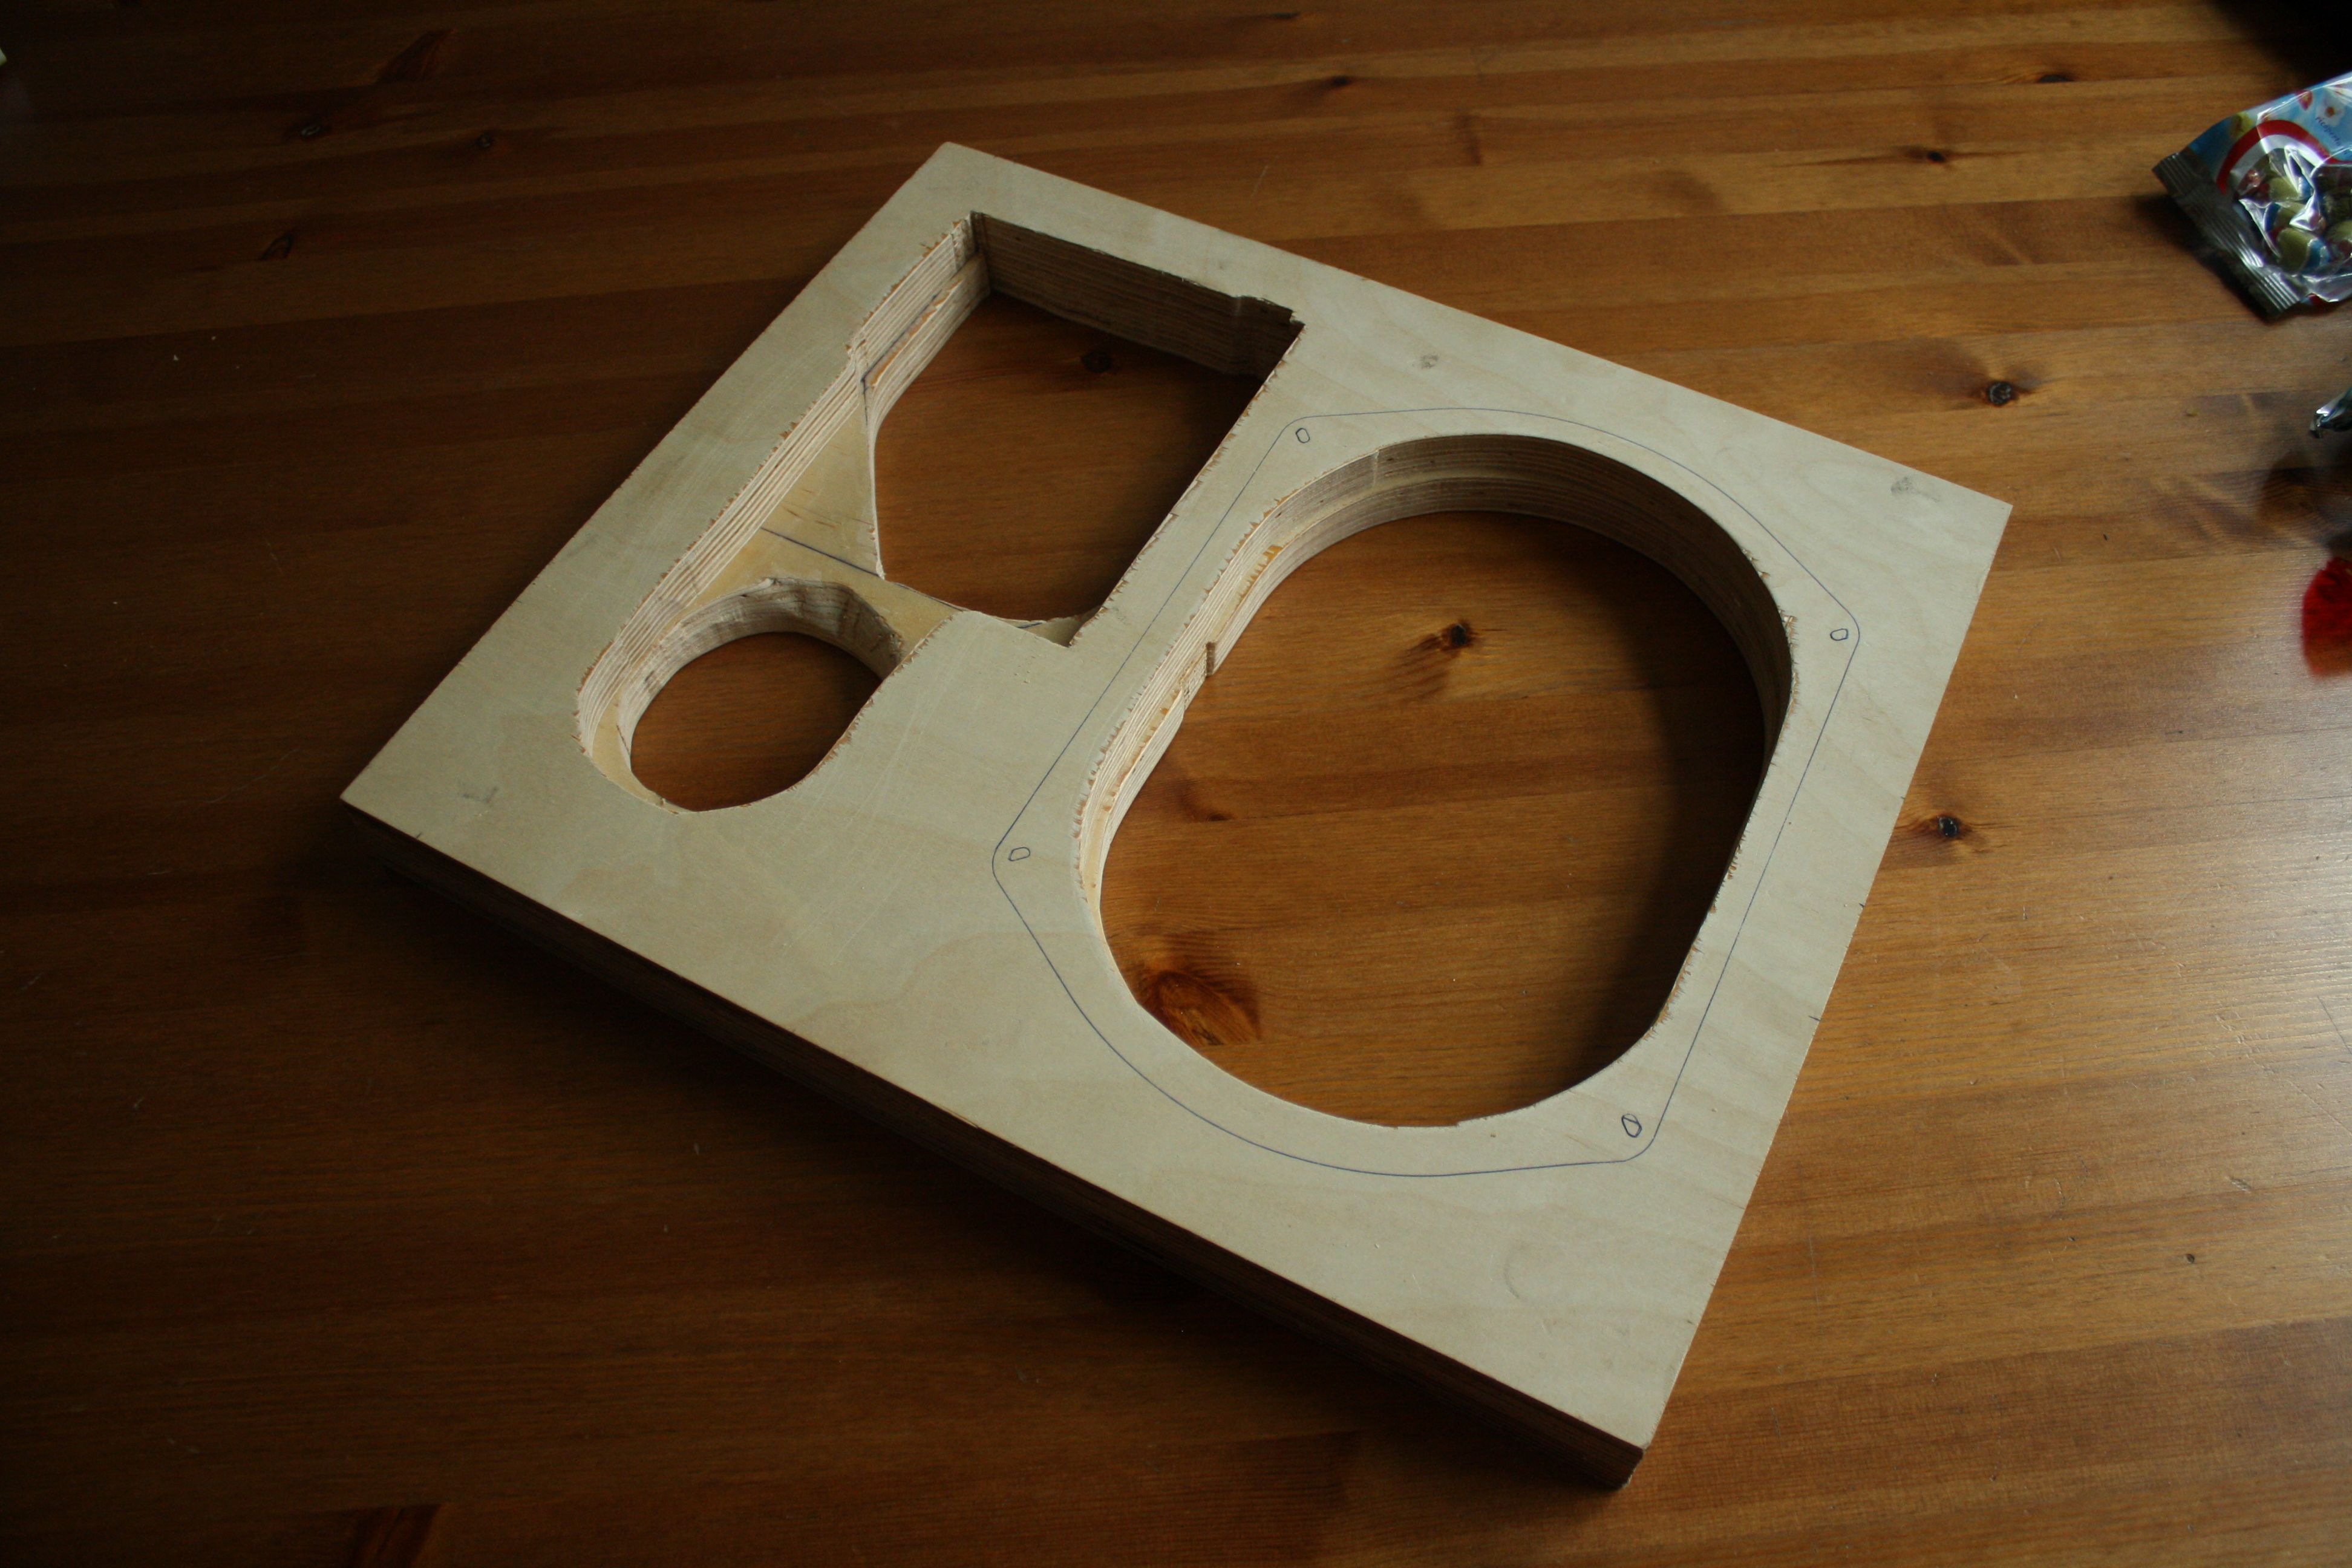 105
105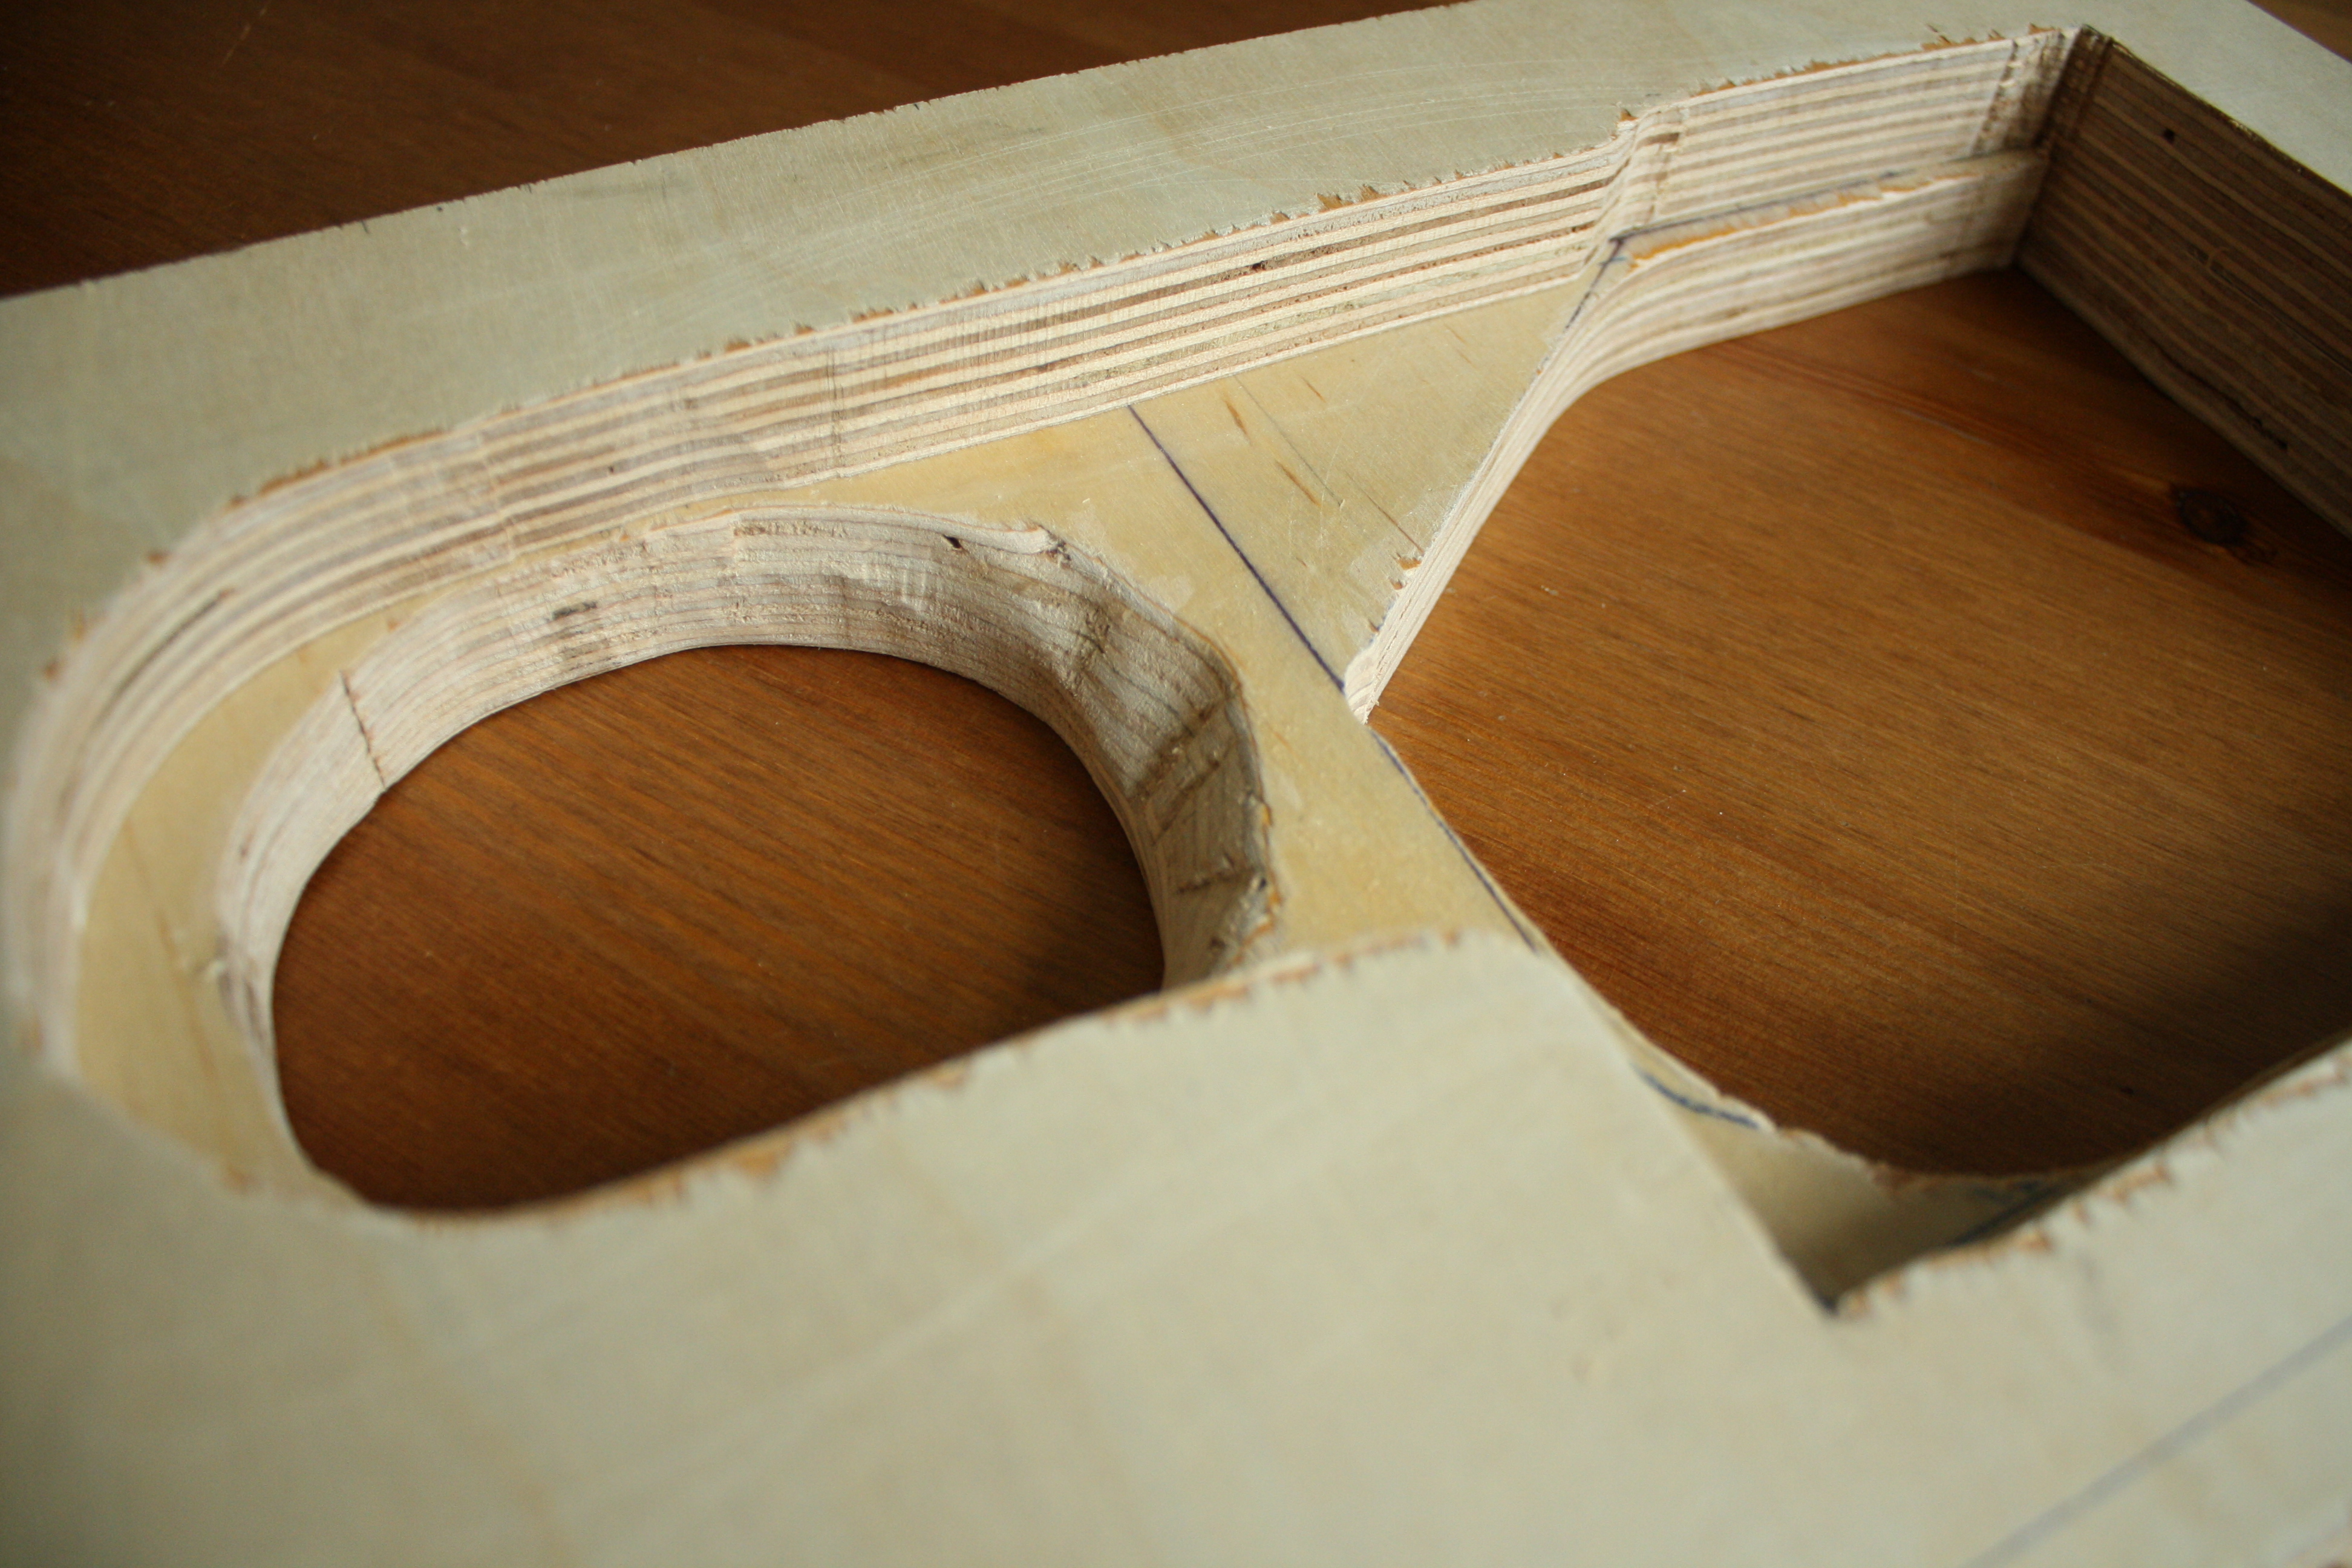 Some modelling to make room for the curve on that pipe.
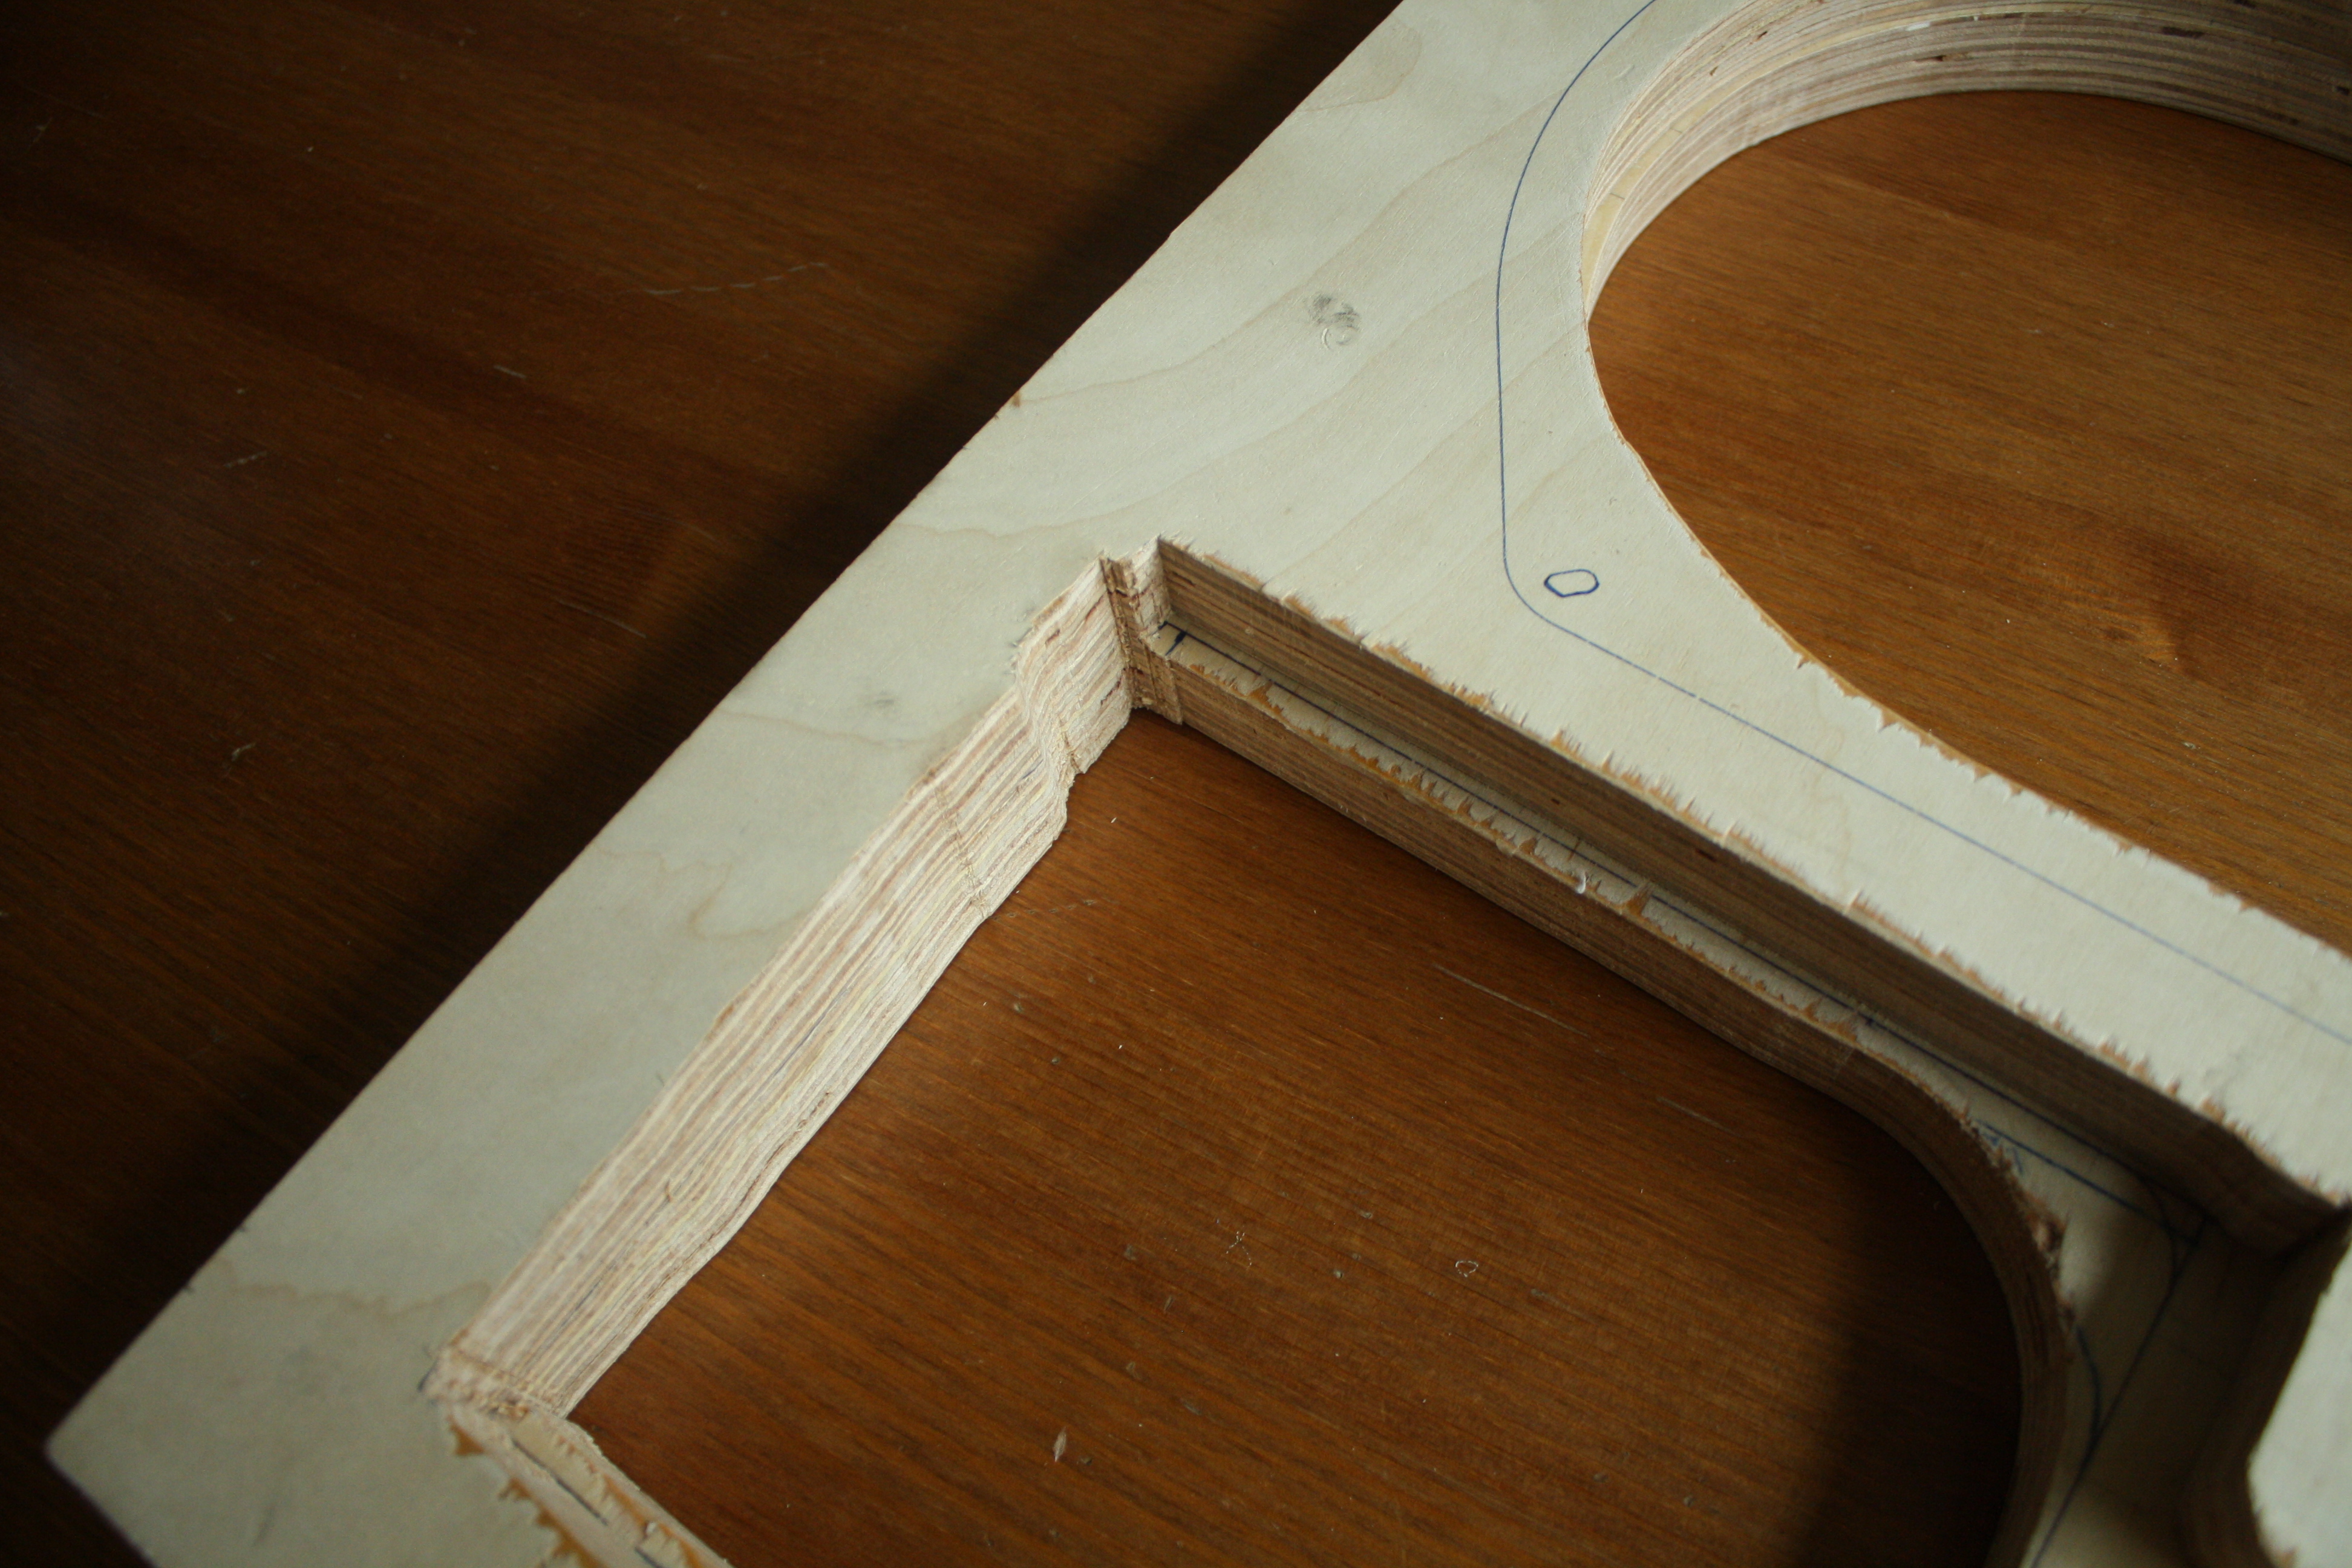 And another layer.
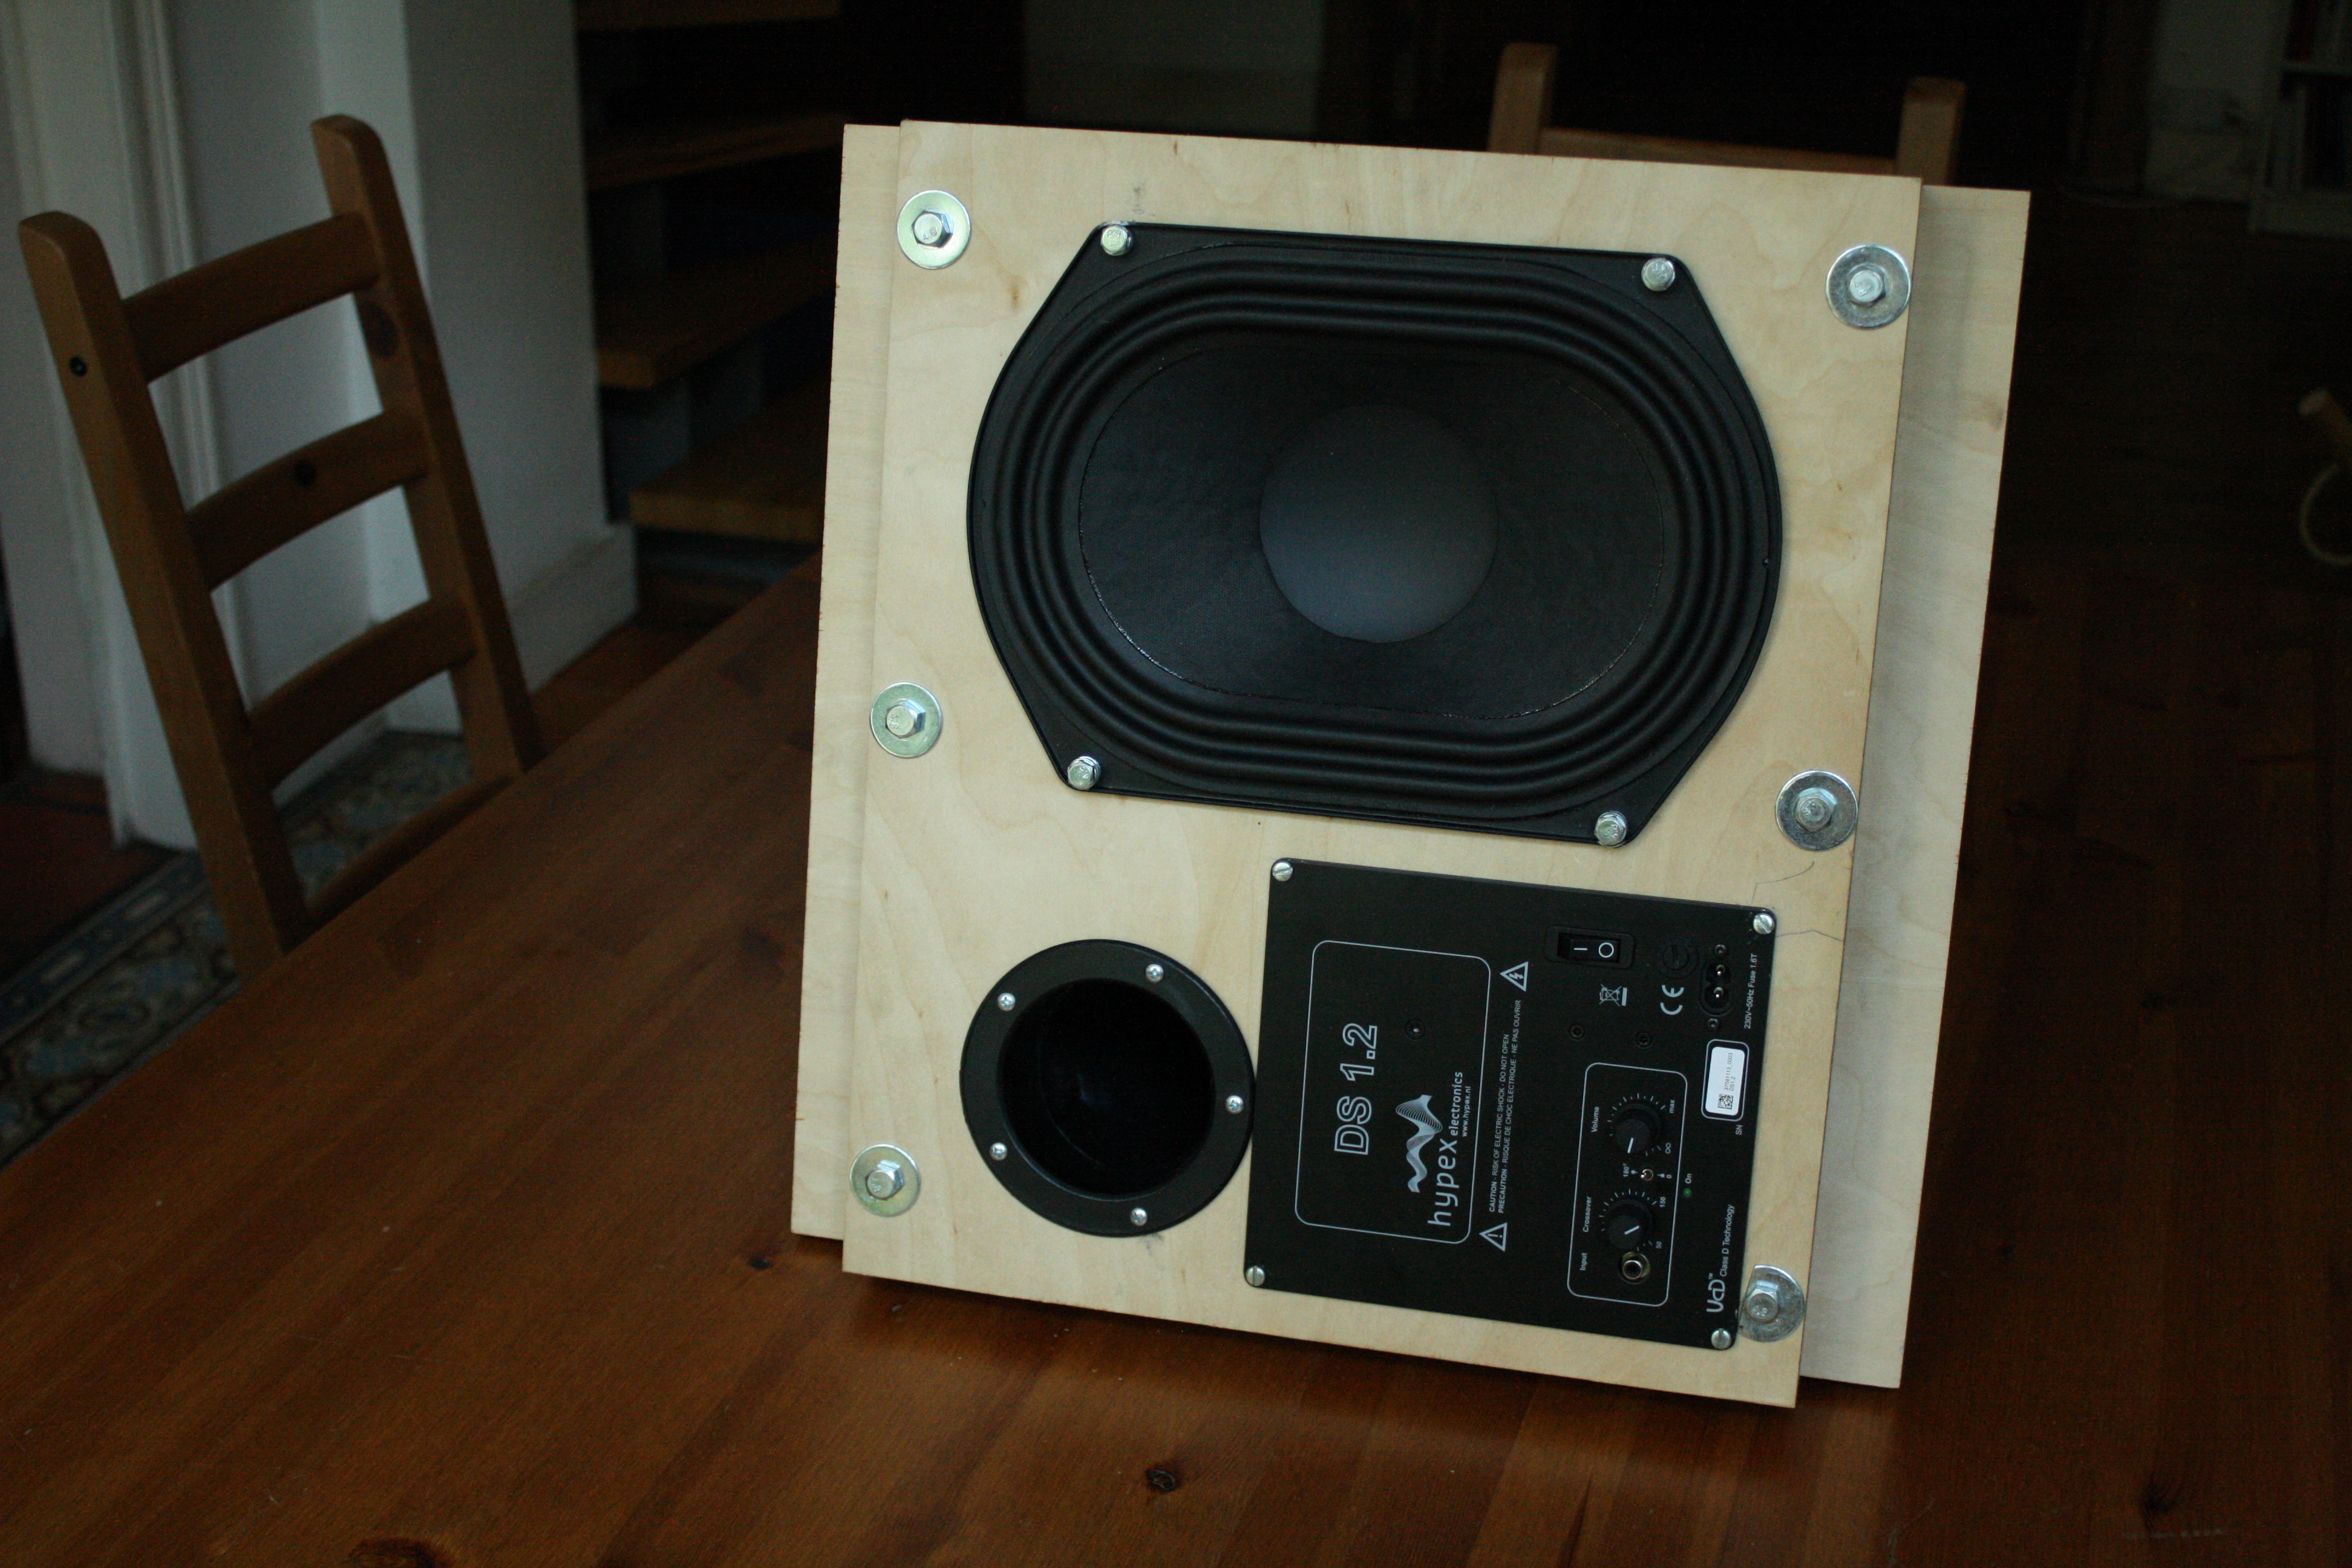 The whole bottom baffle is removable. As this is a build-up piece, and incredibly heavy. It's better to only move the whole sub in two parts.
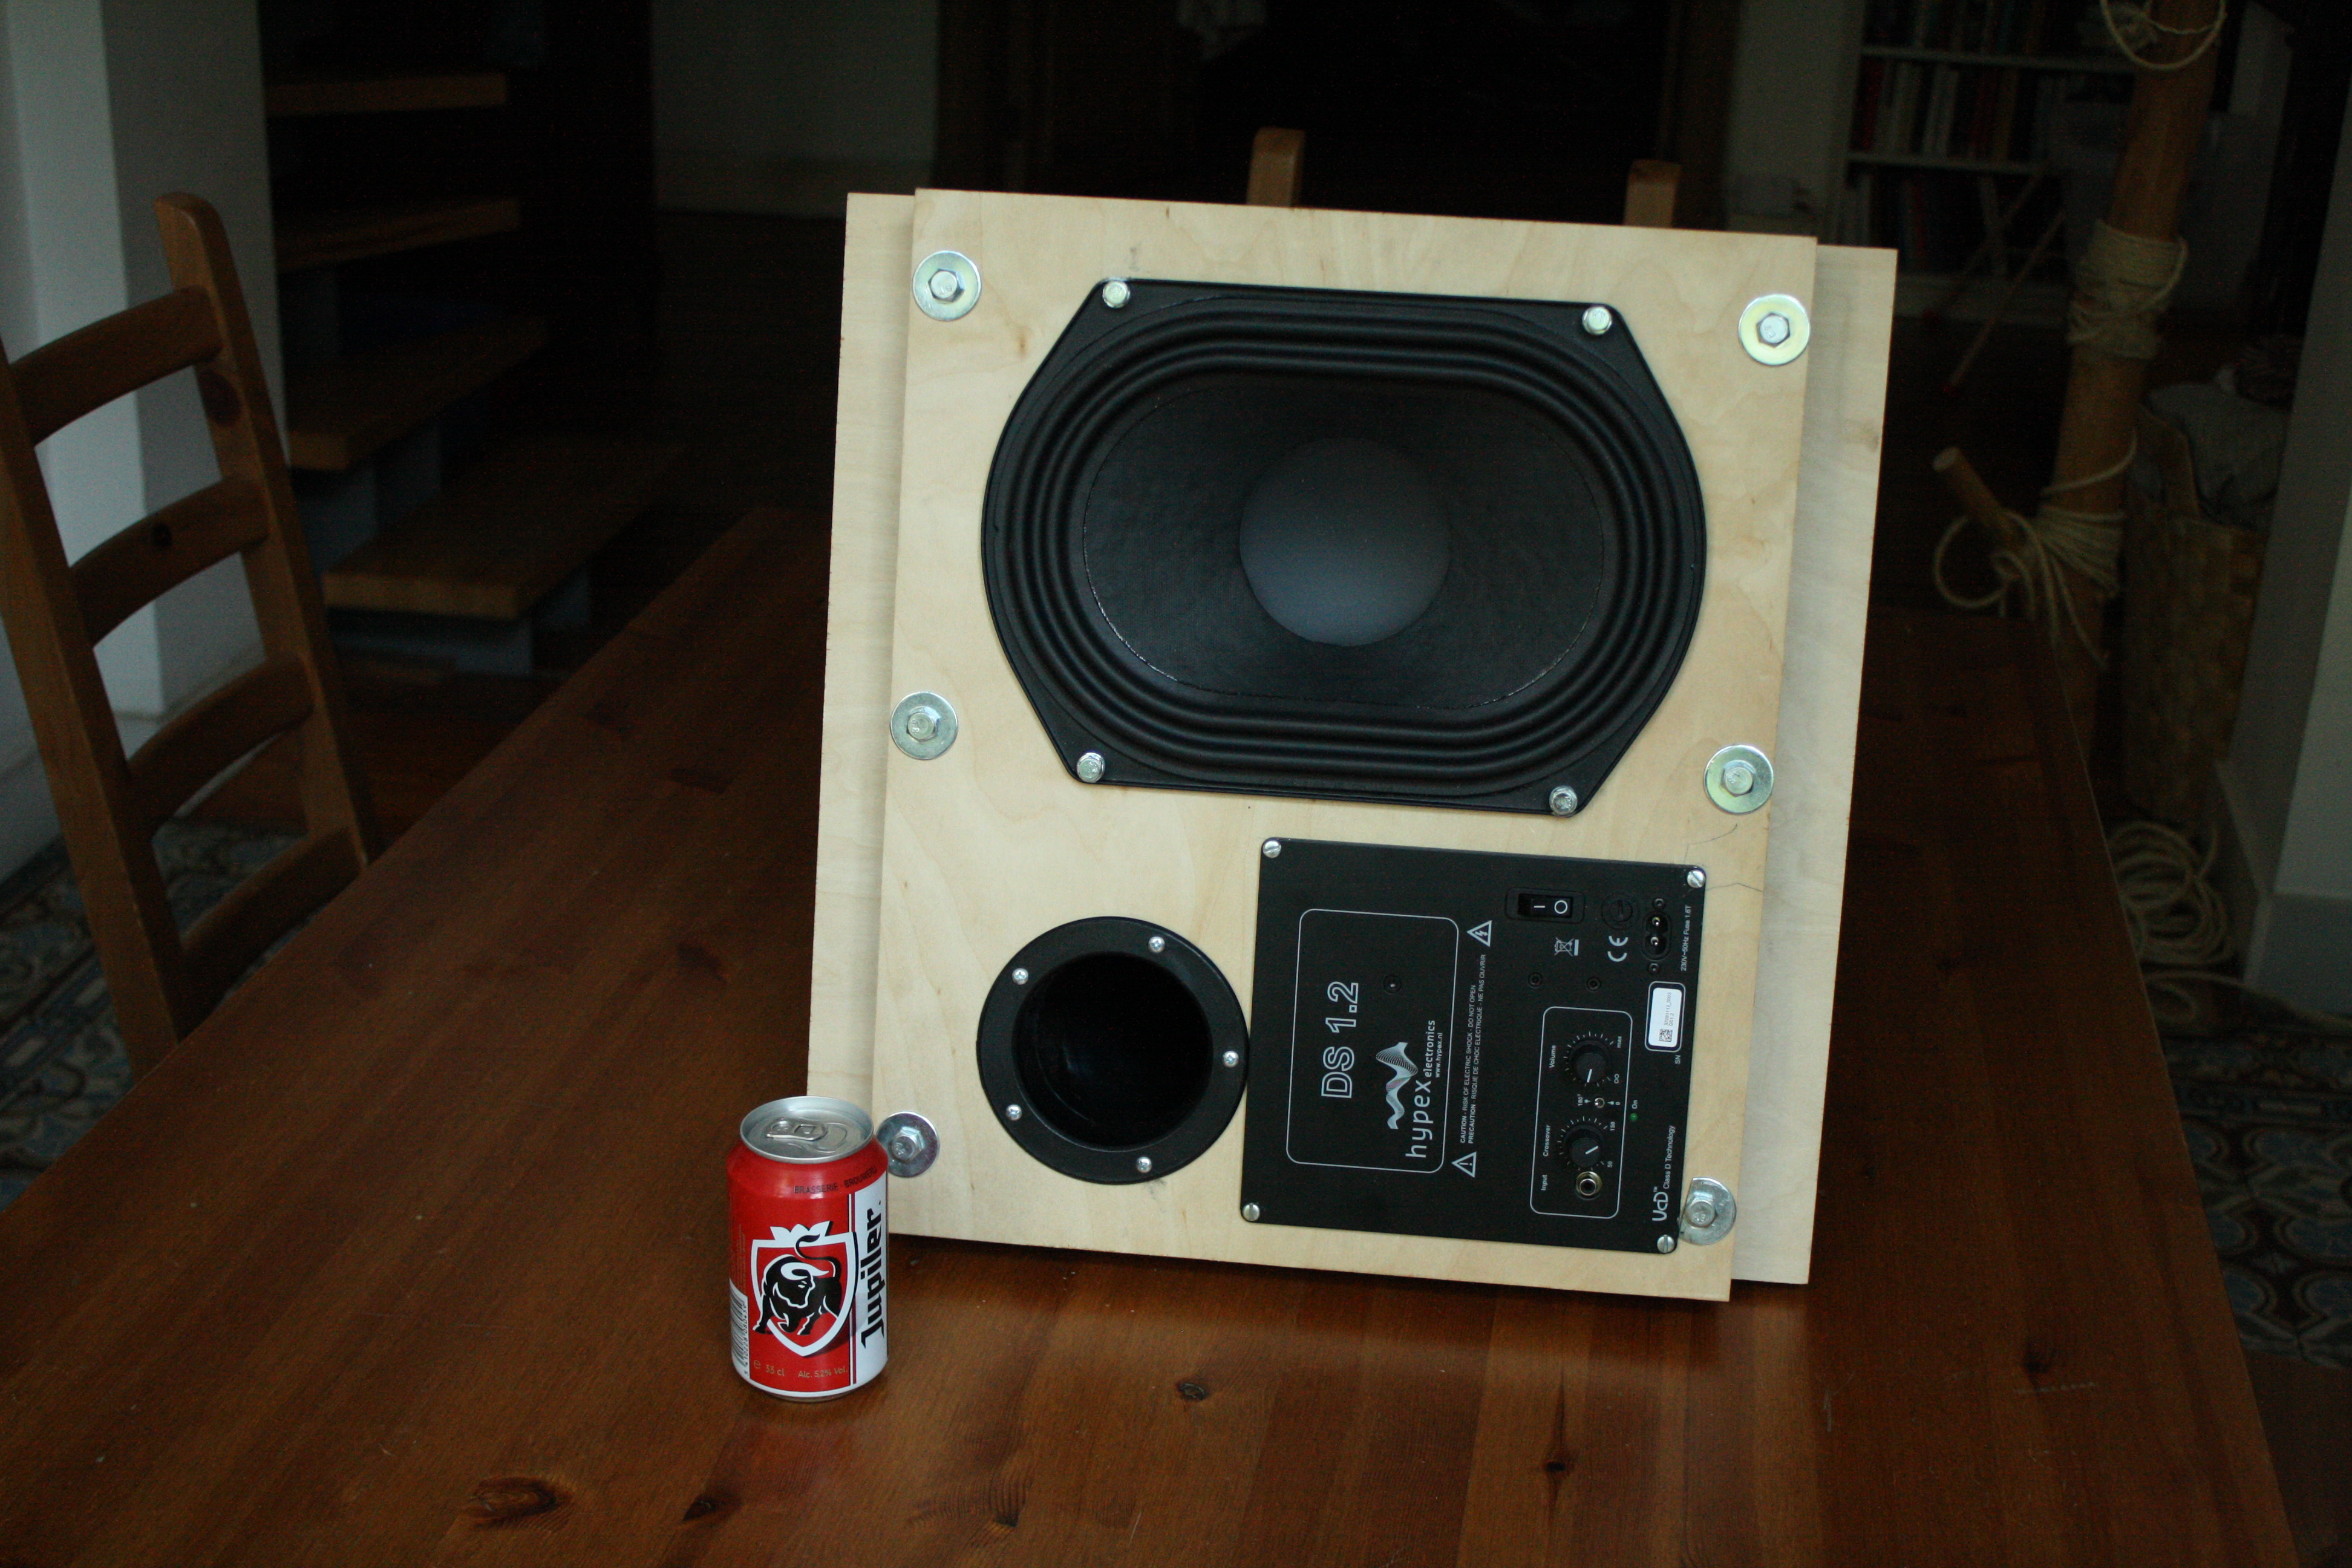 For comparison
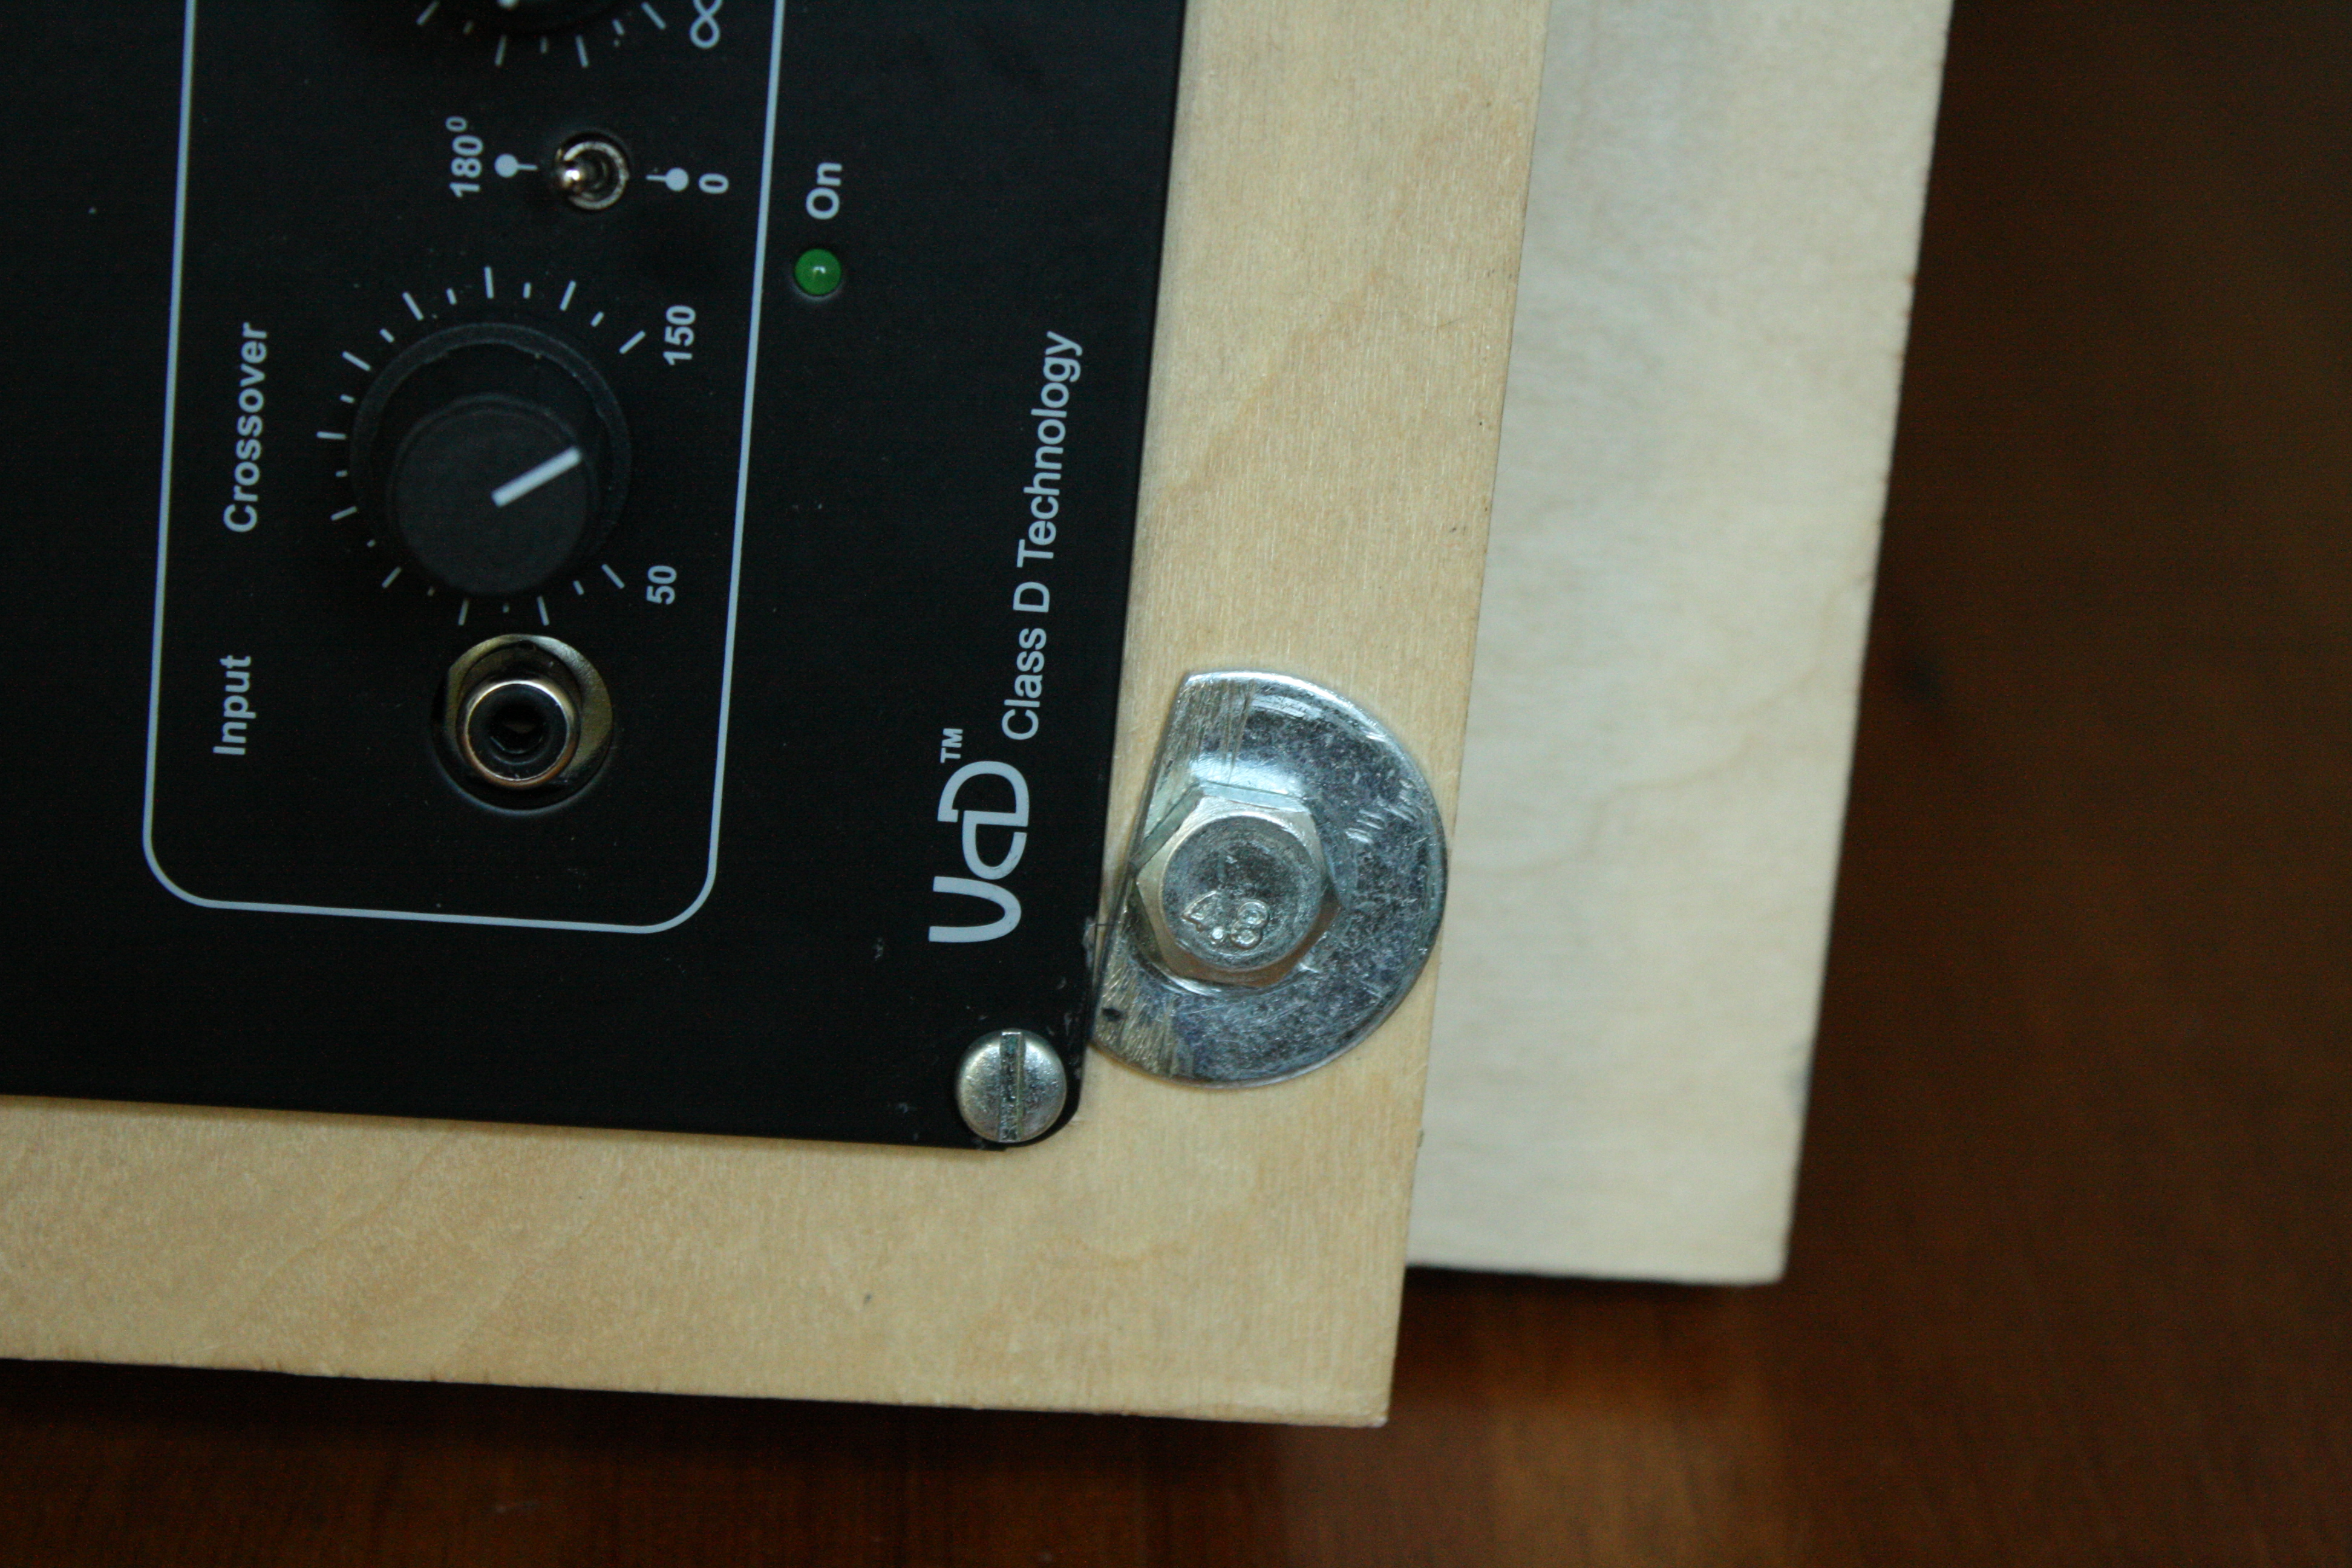 I was working really tight even when designing this, and ended up having to cut some corners... I know. I'll get my coat.
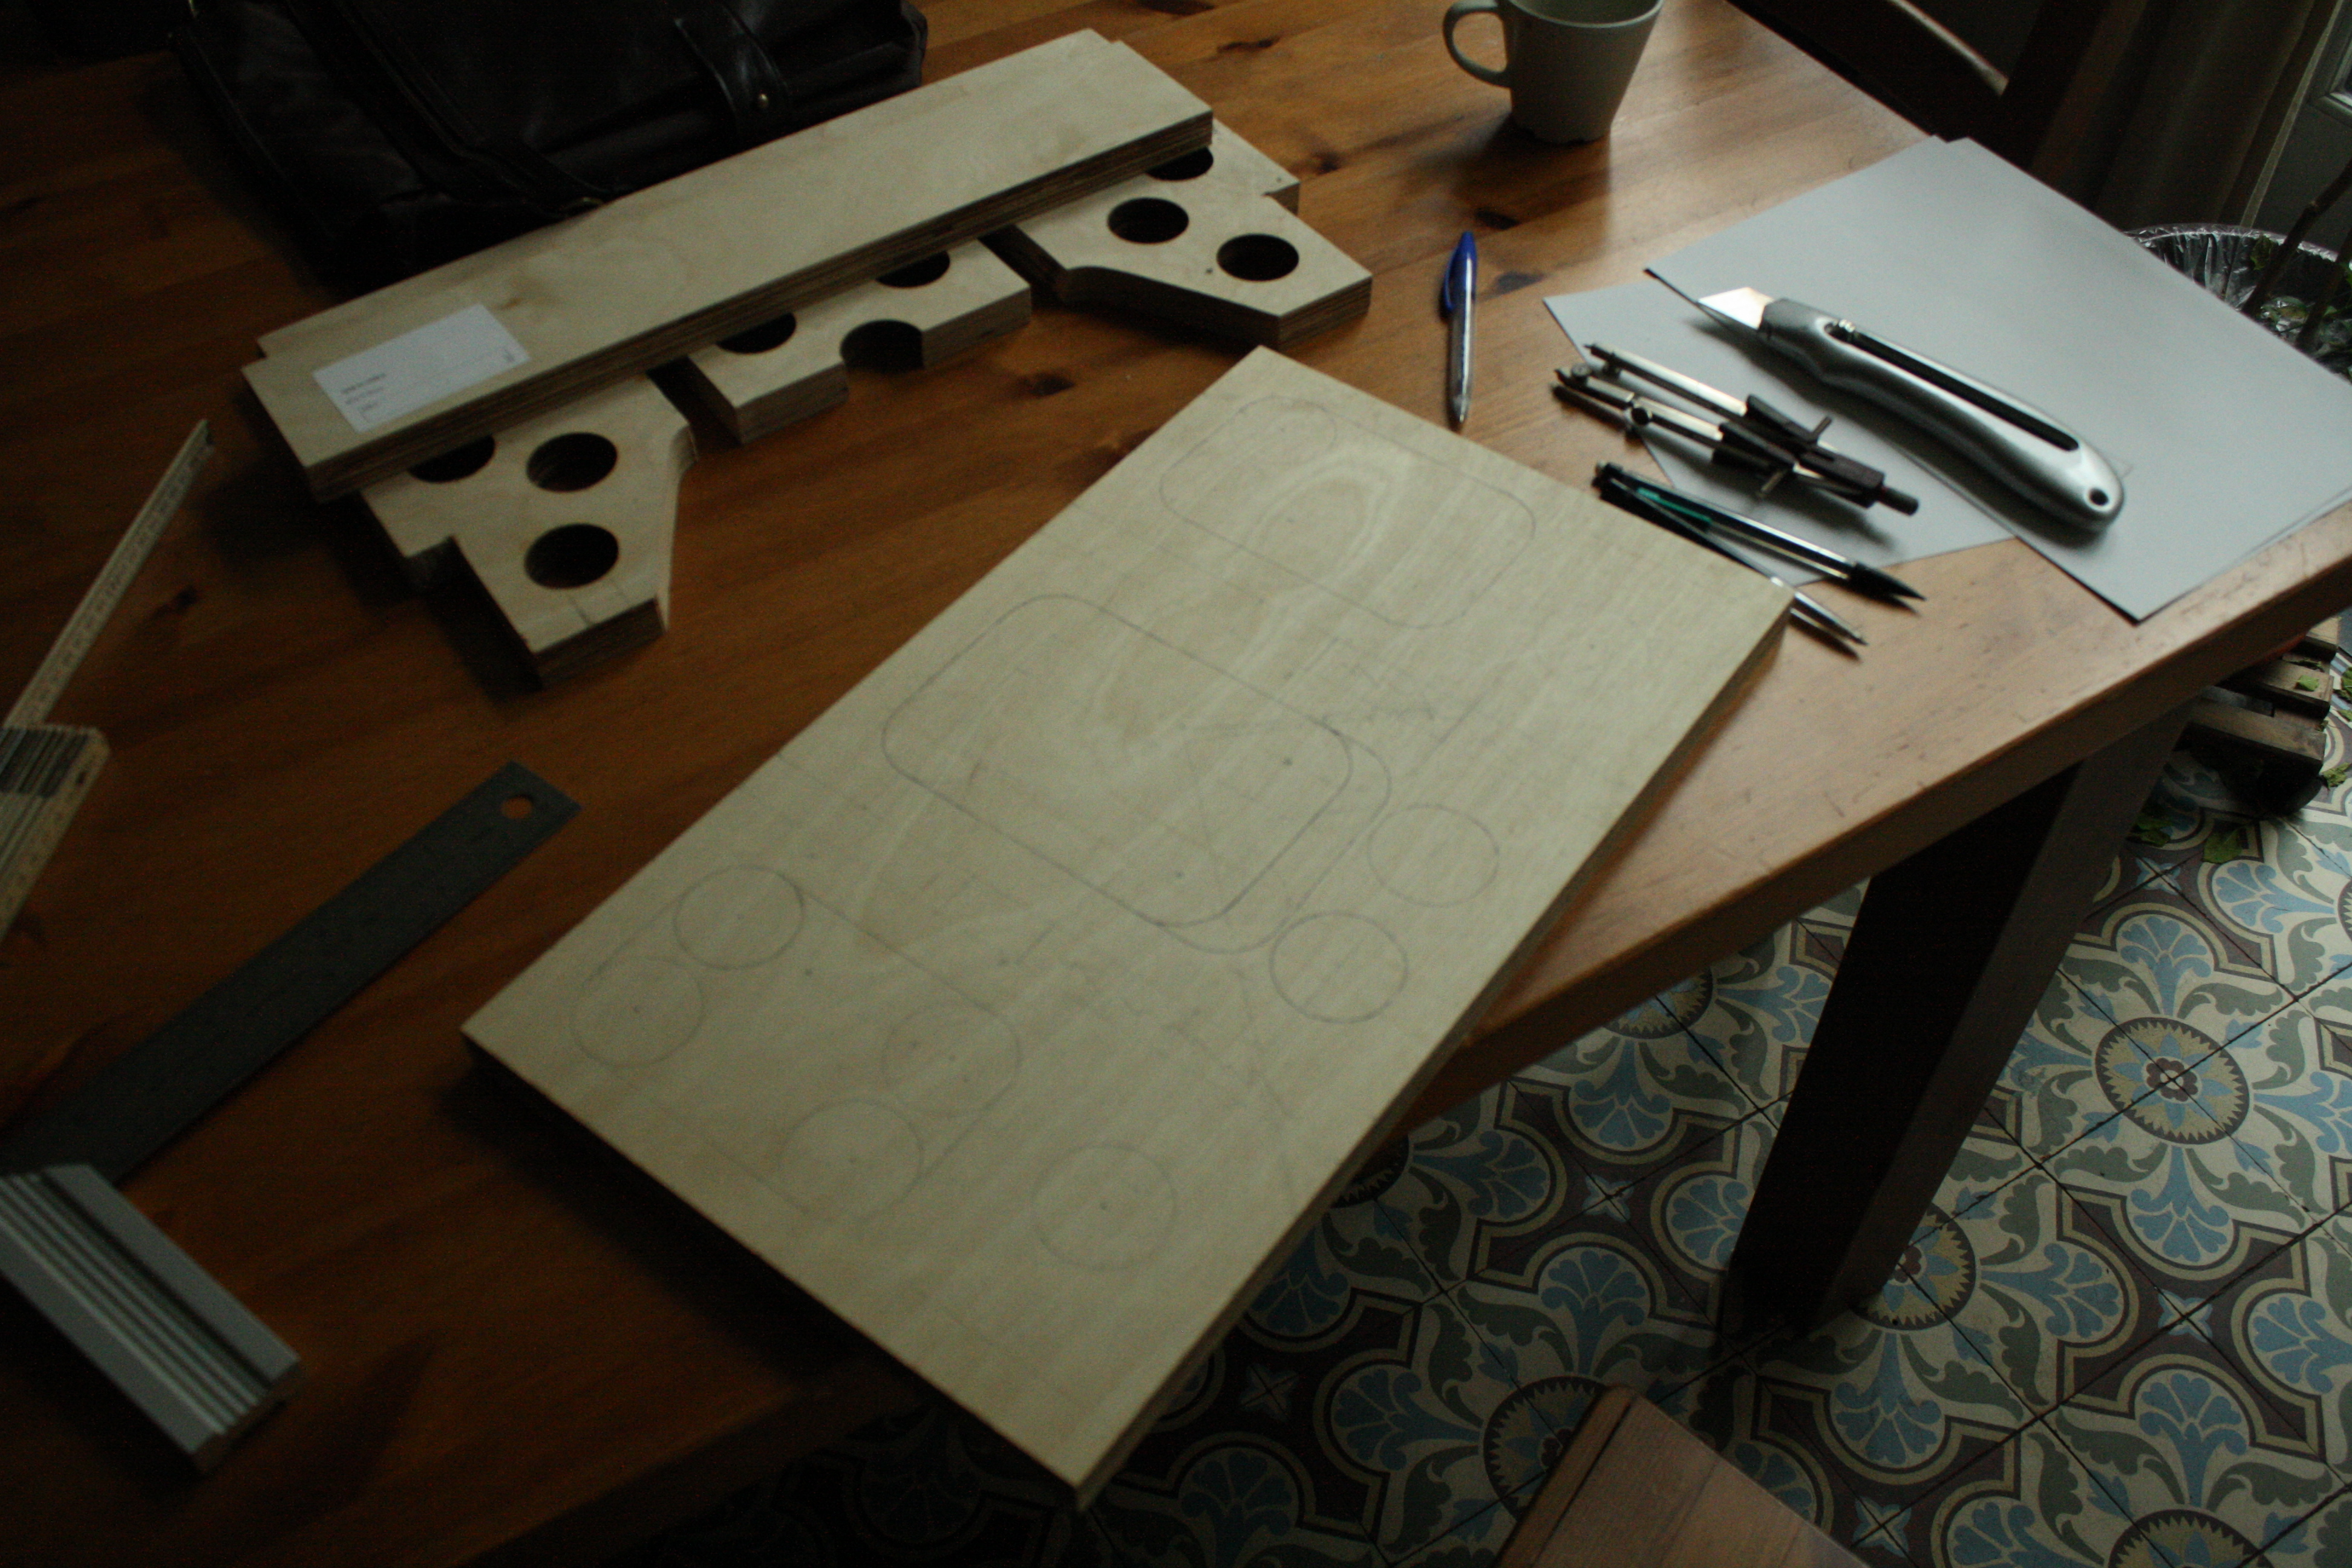 The back of the removable bottom.
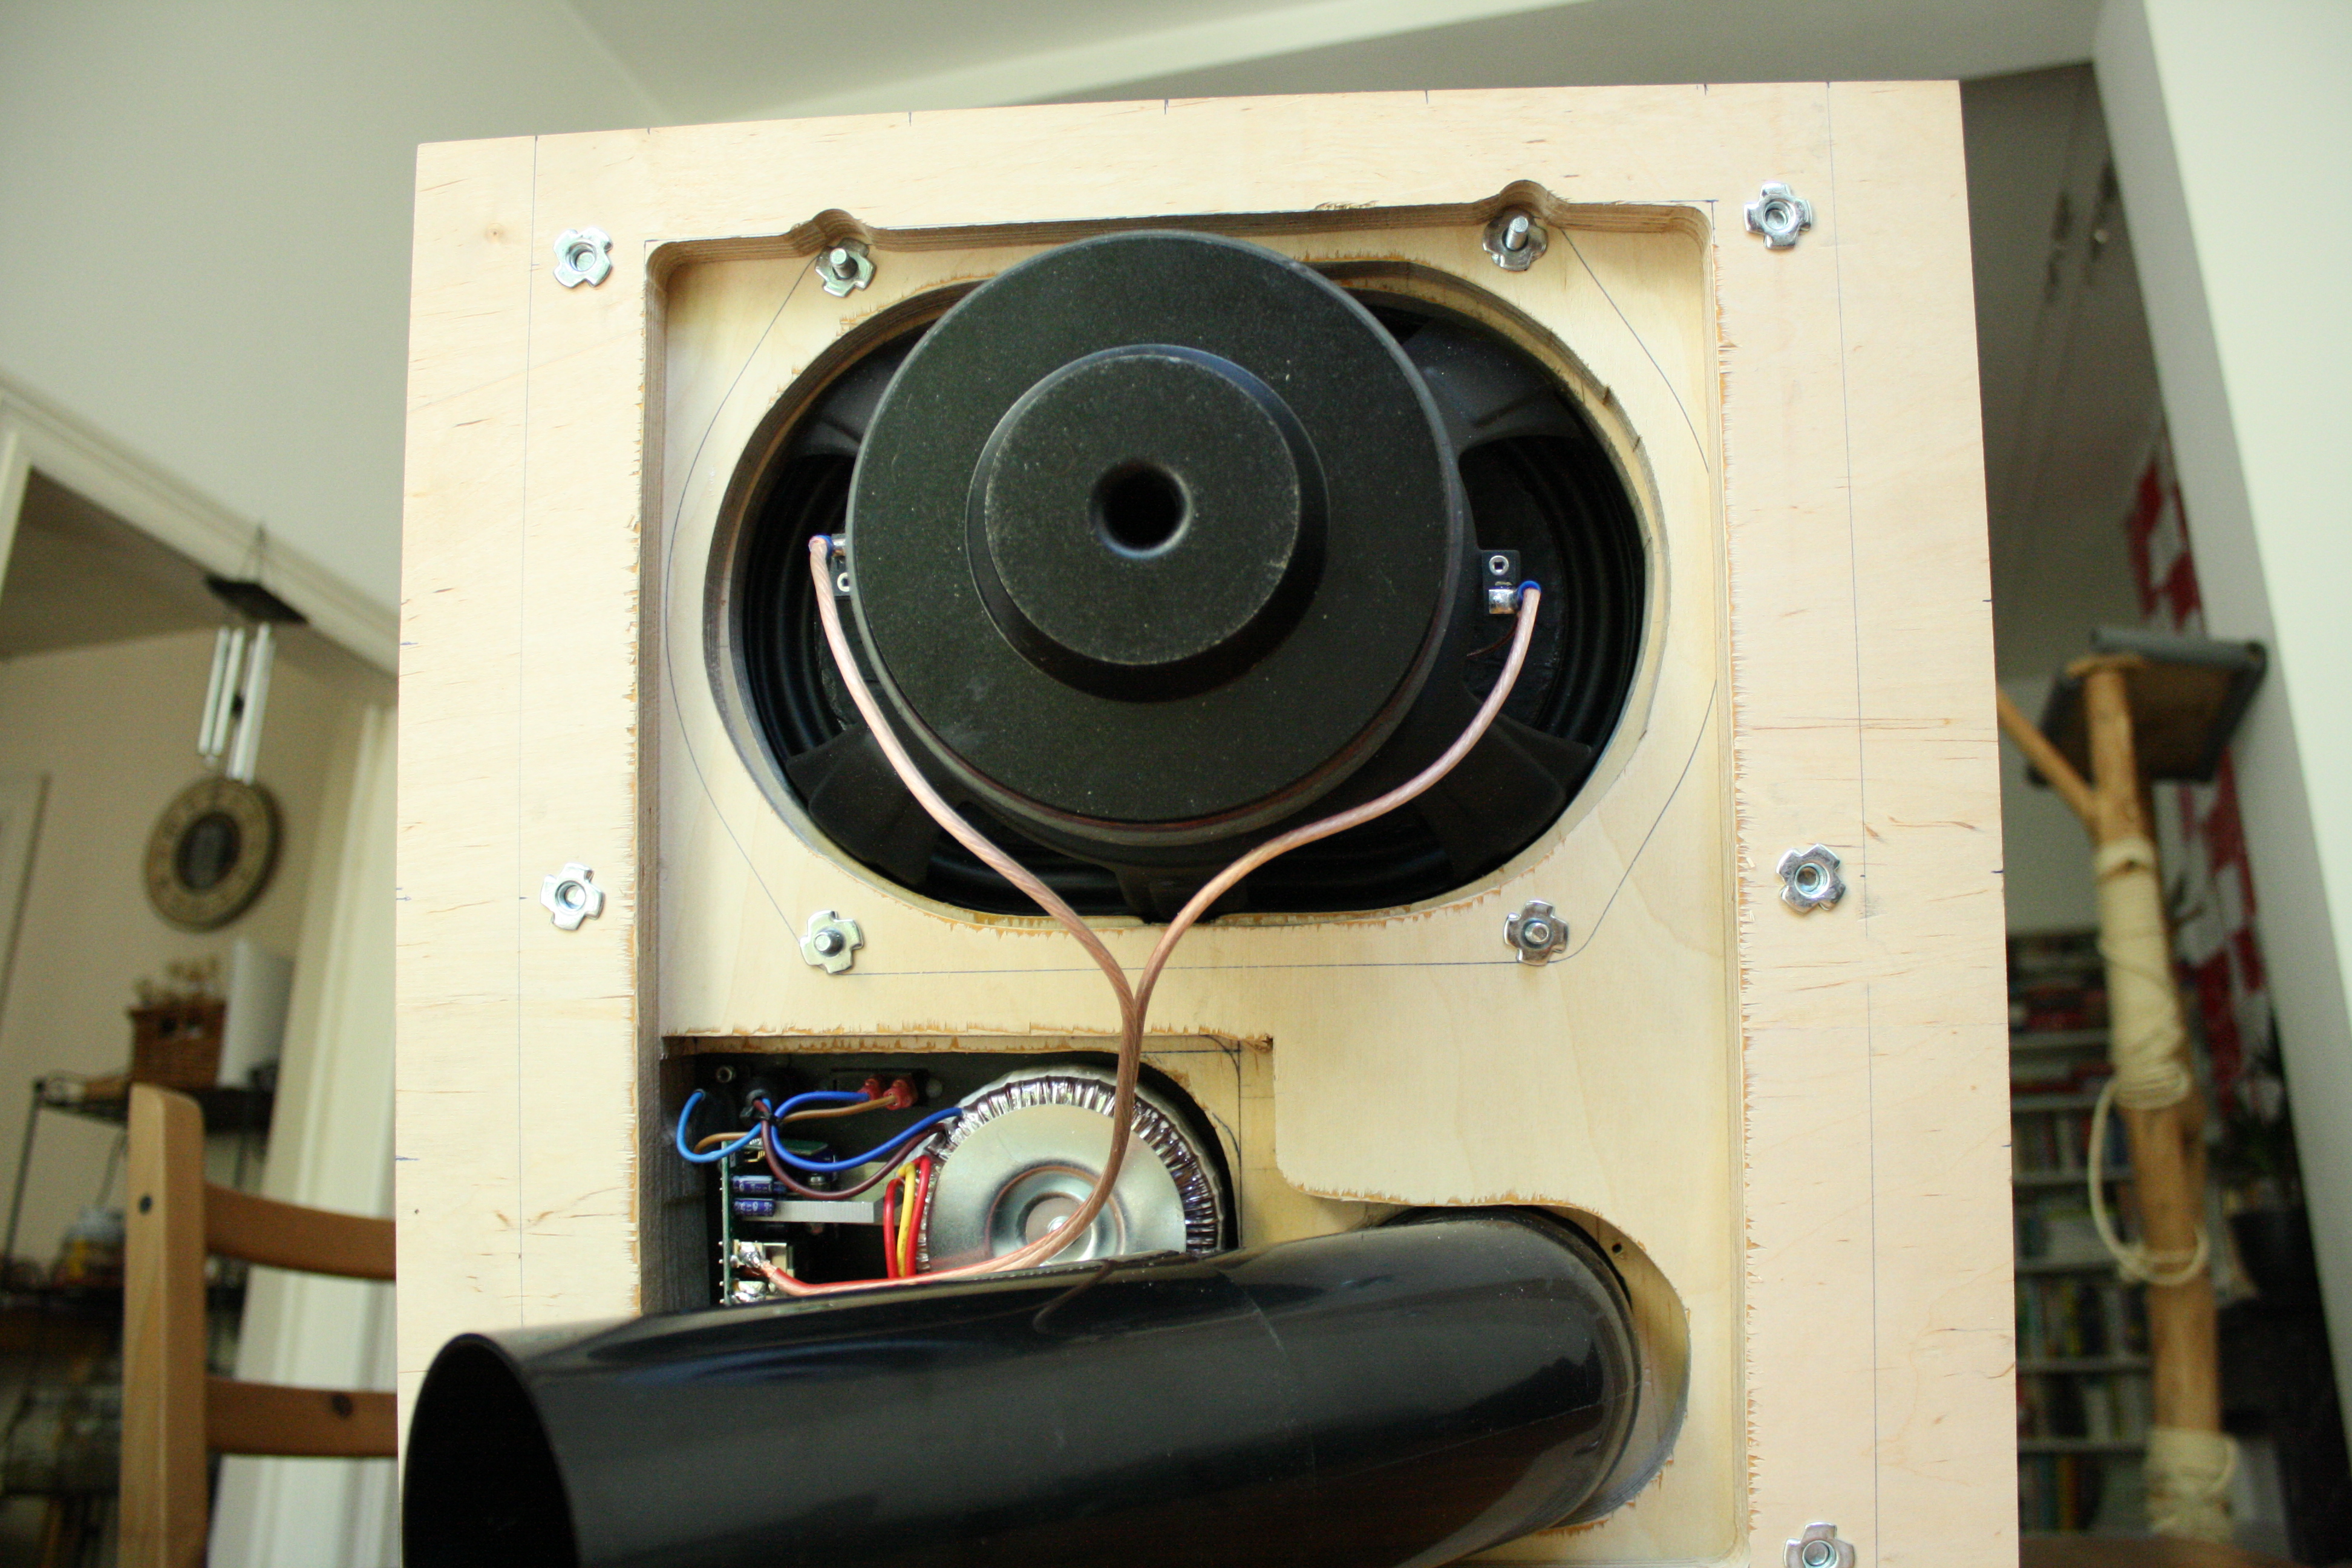 You can clearly see the build-up, with the cutouts a not insignificant part of the total volume.
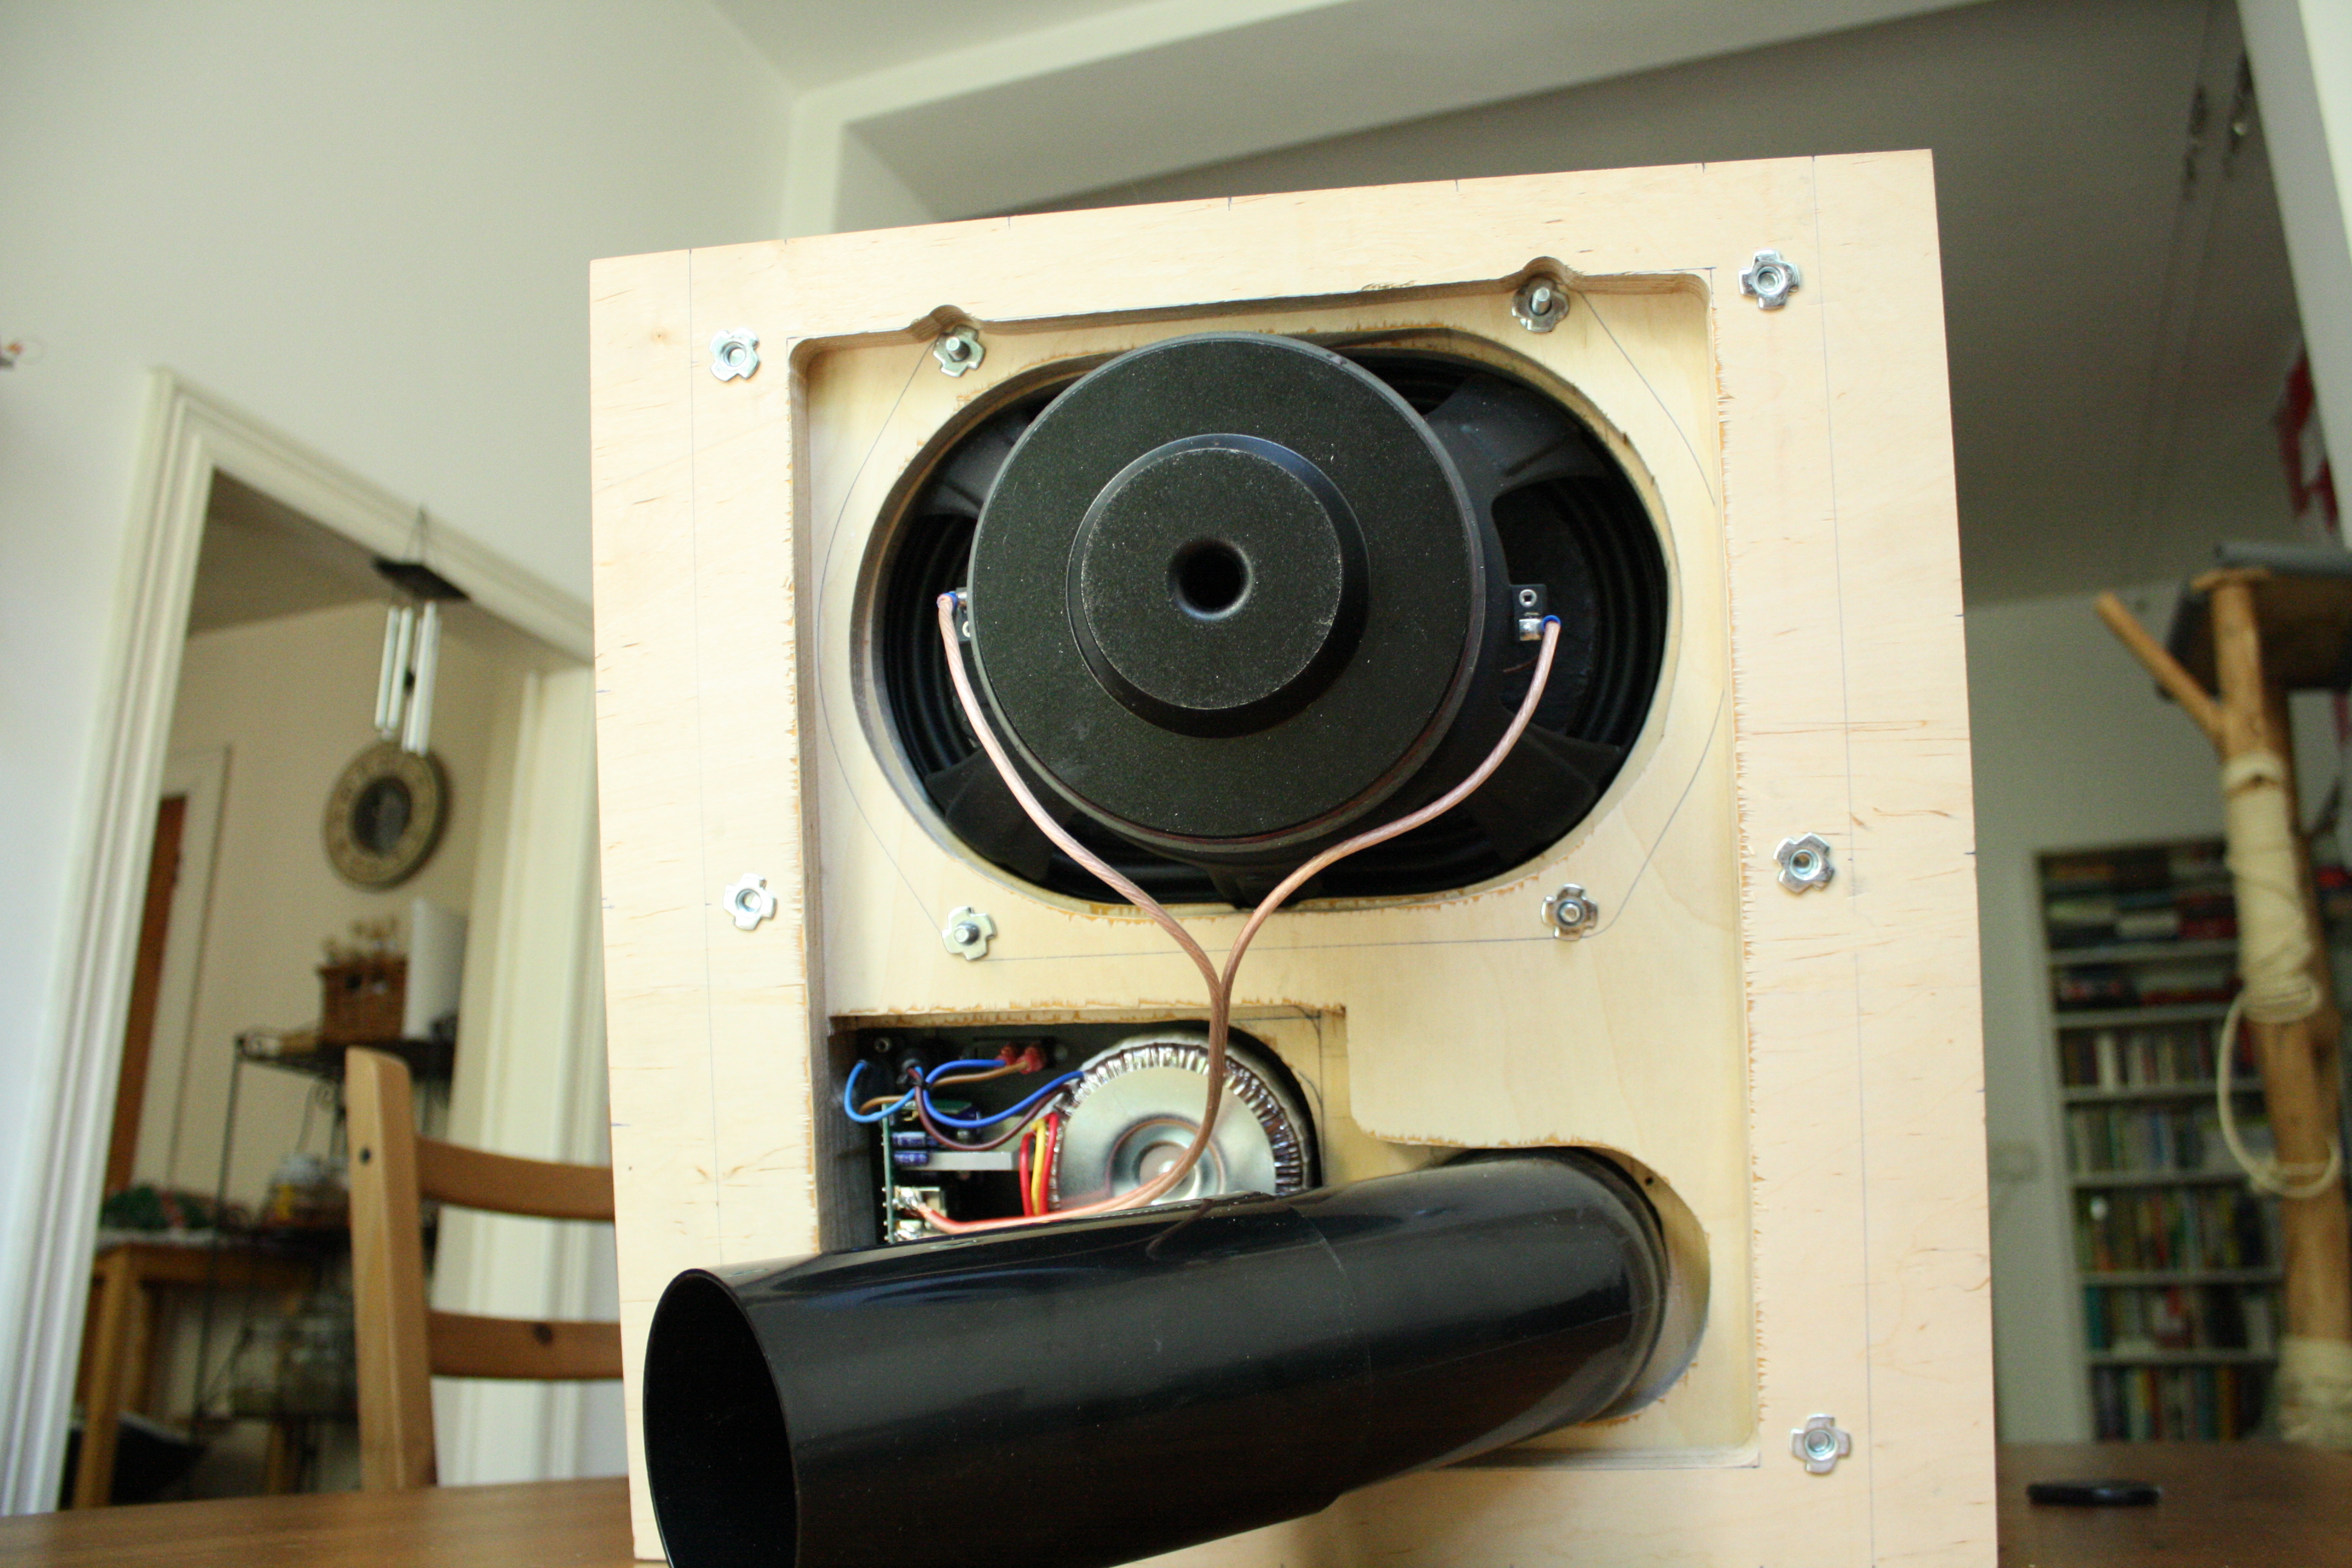 The pipe can be extended to tweak the sound.
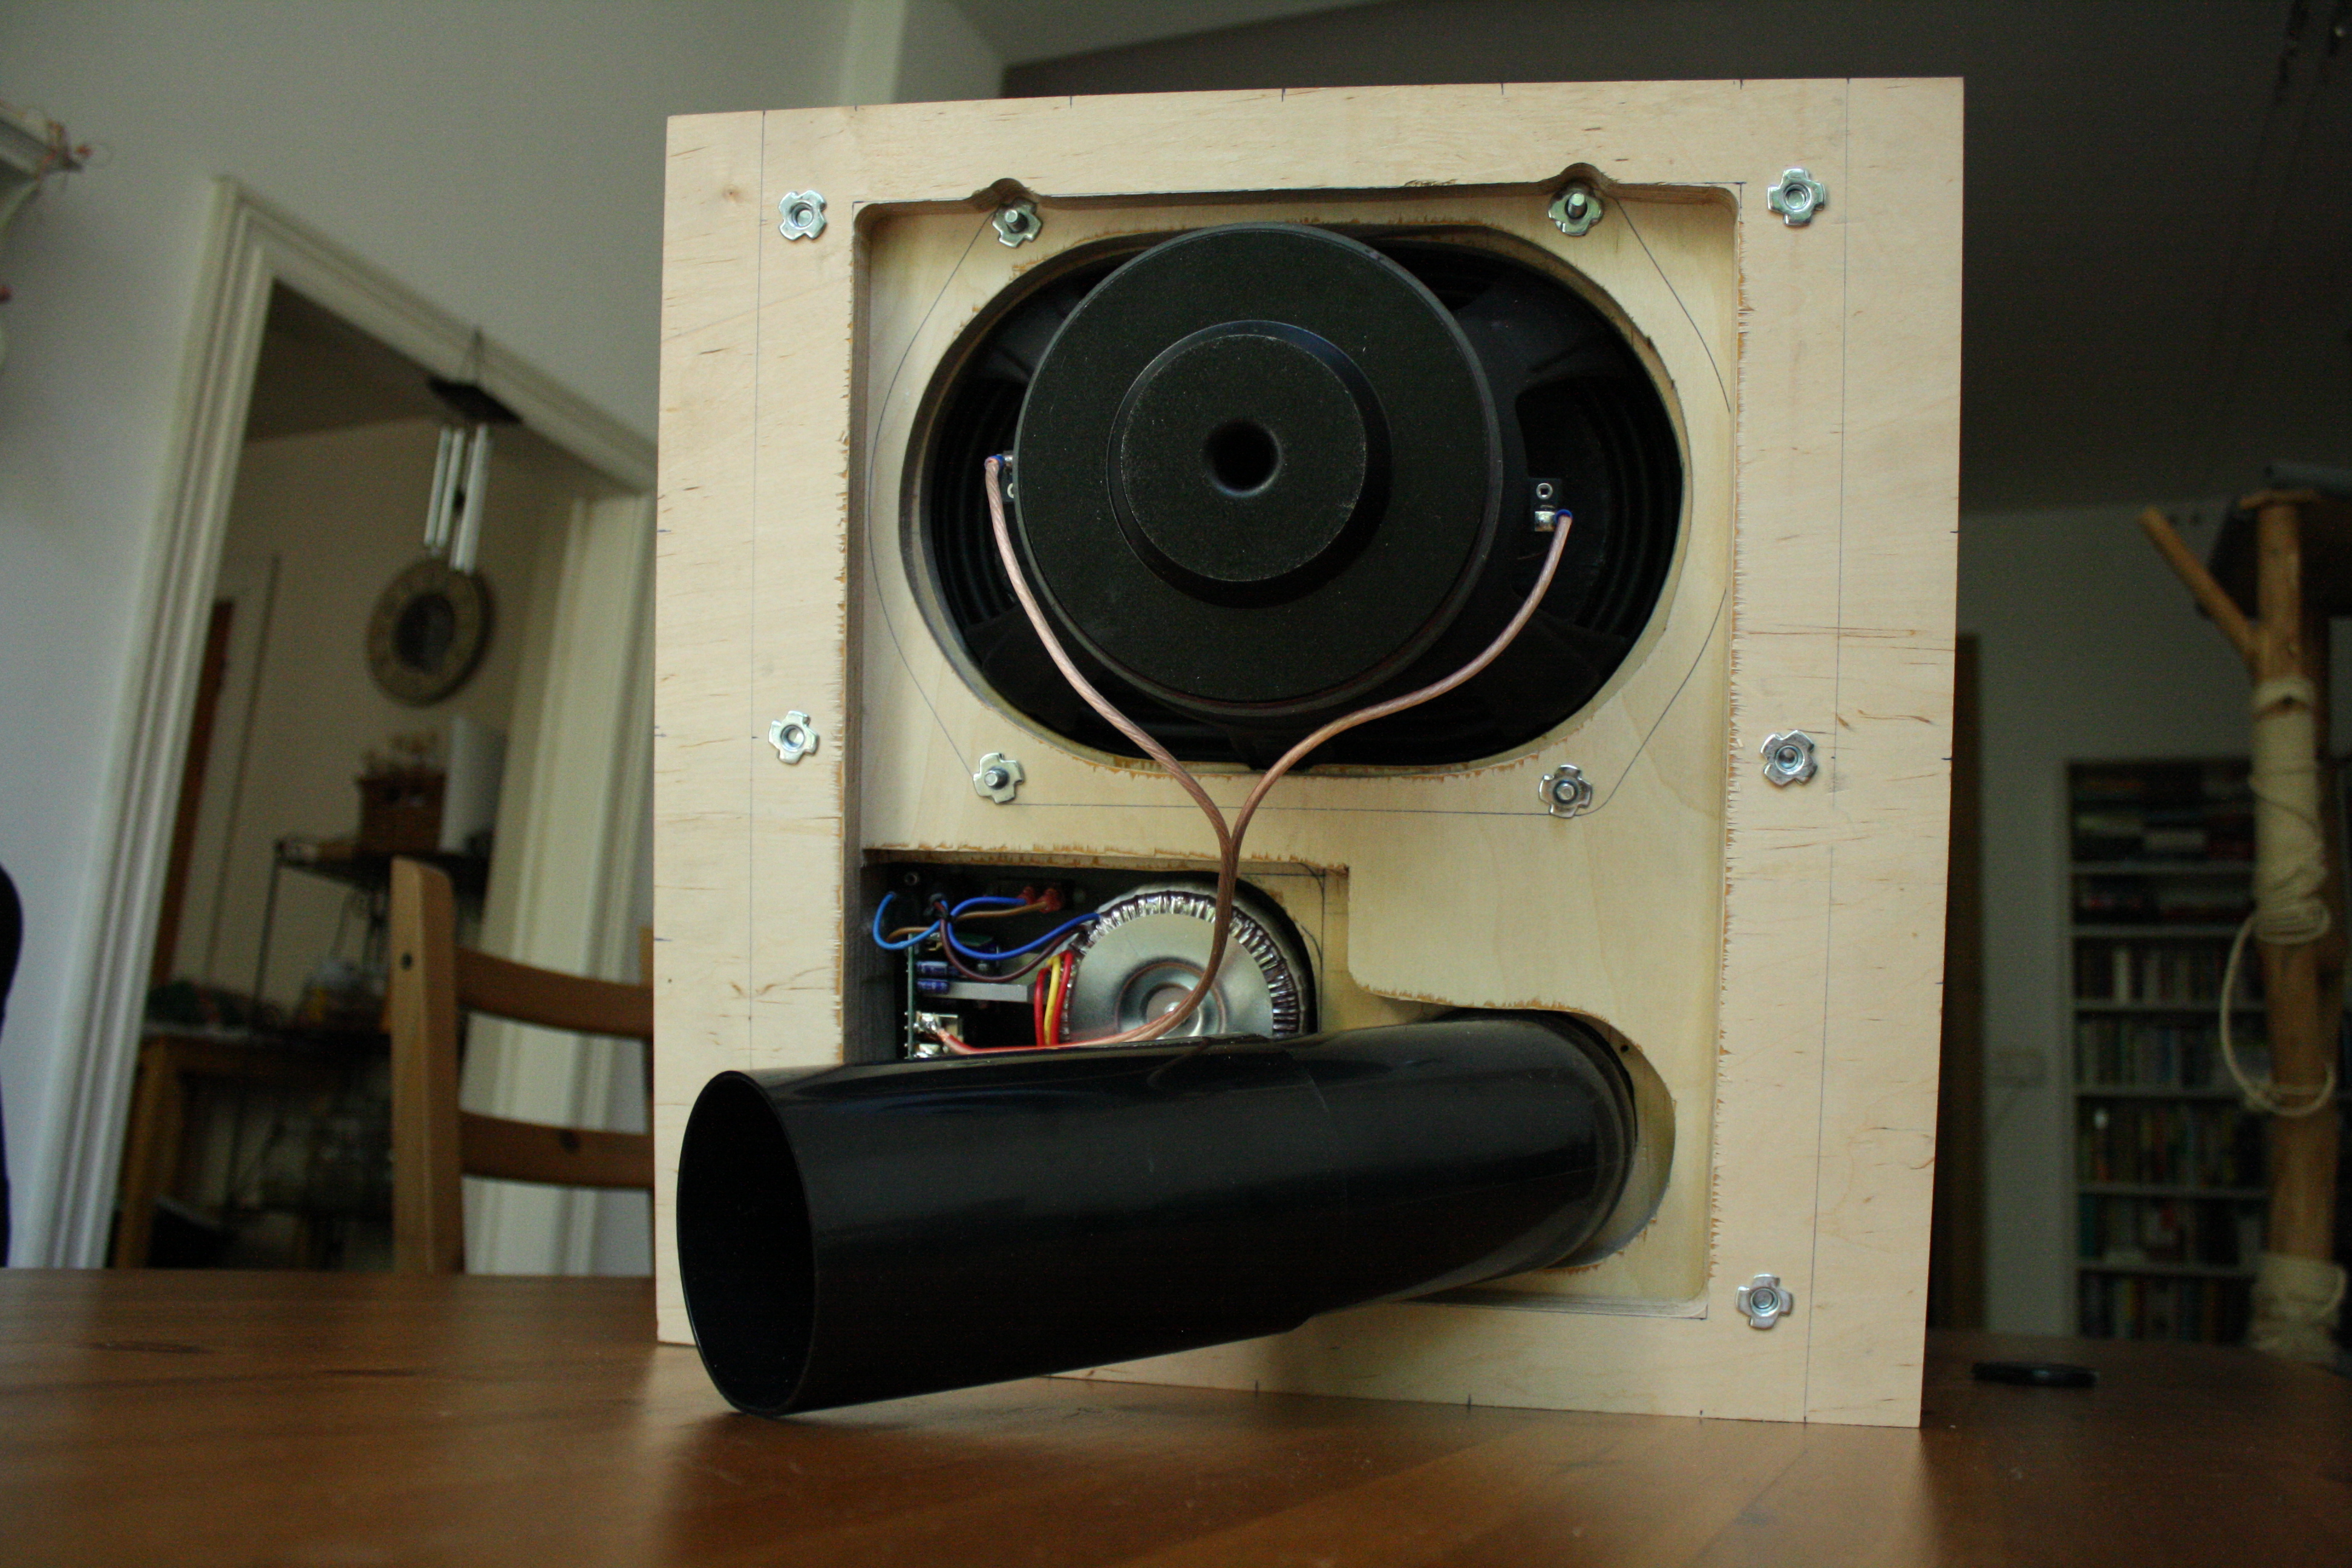 Bloody heavy magnet on that driver.
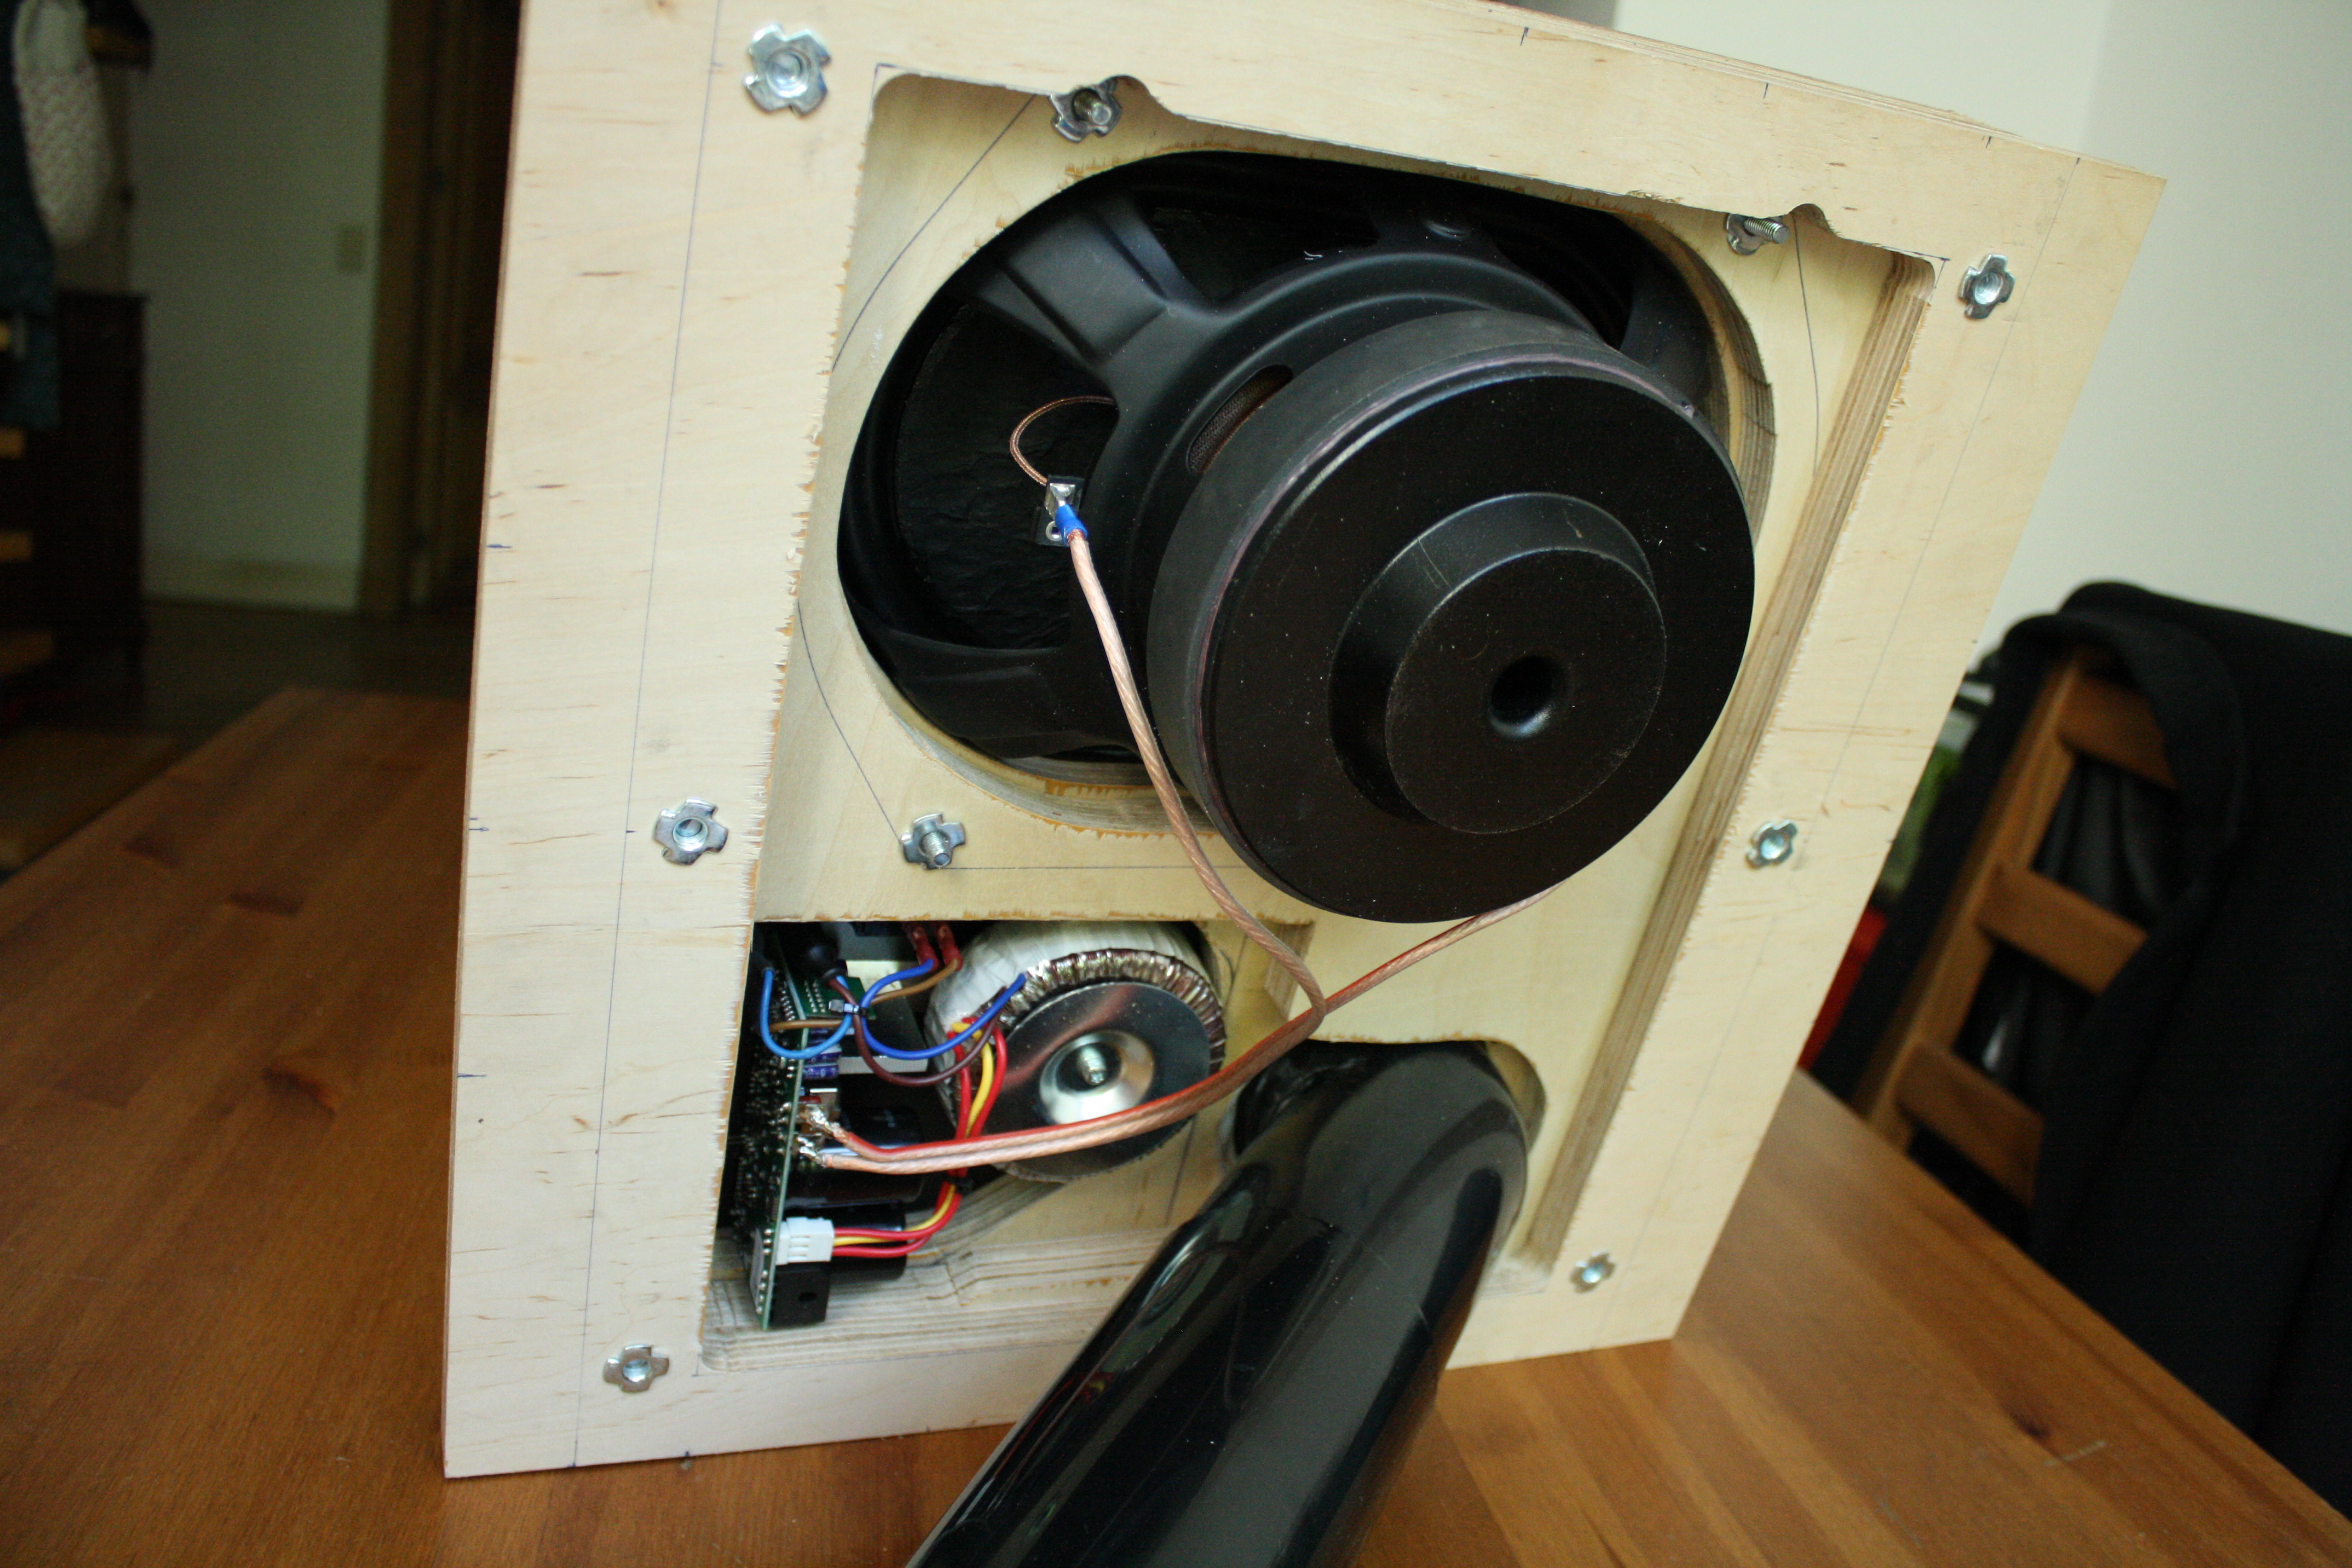 My oldest inspects daddy's work.
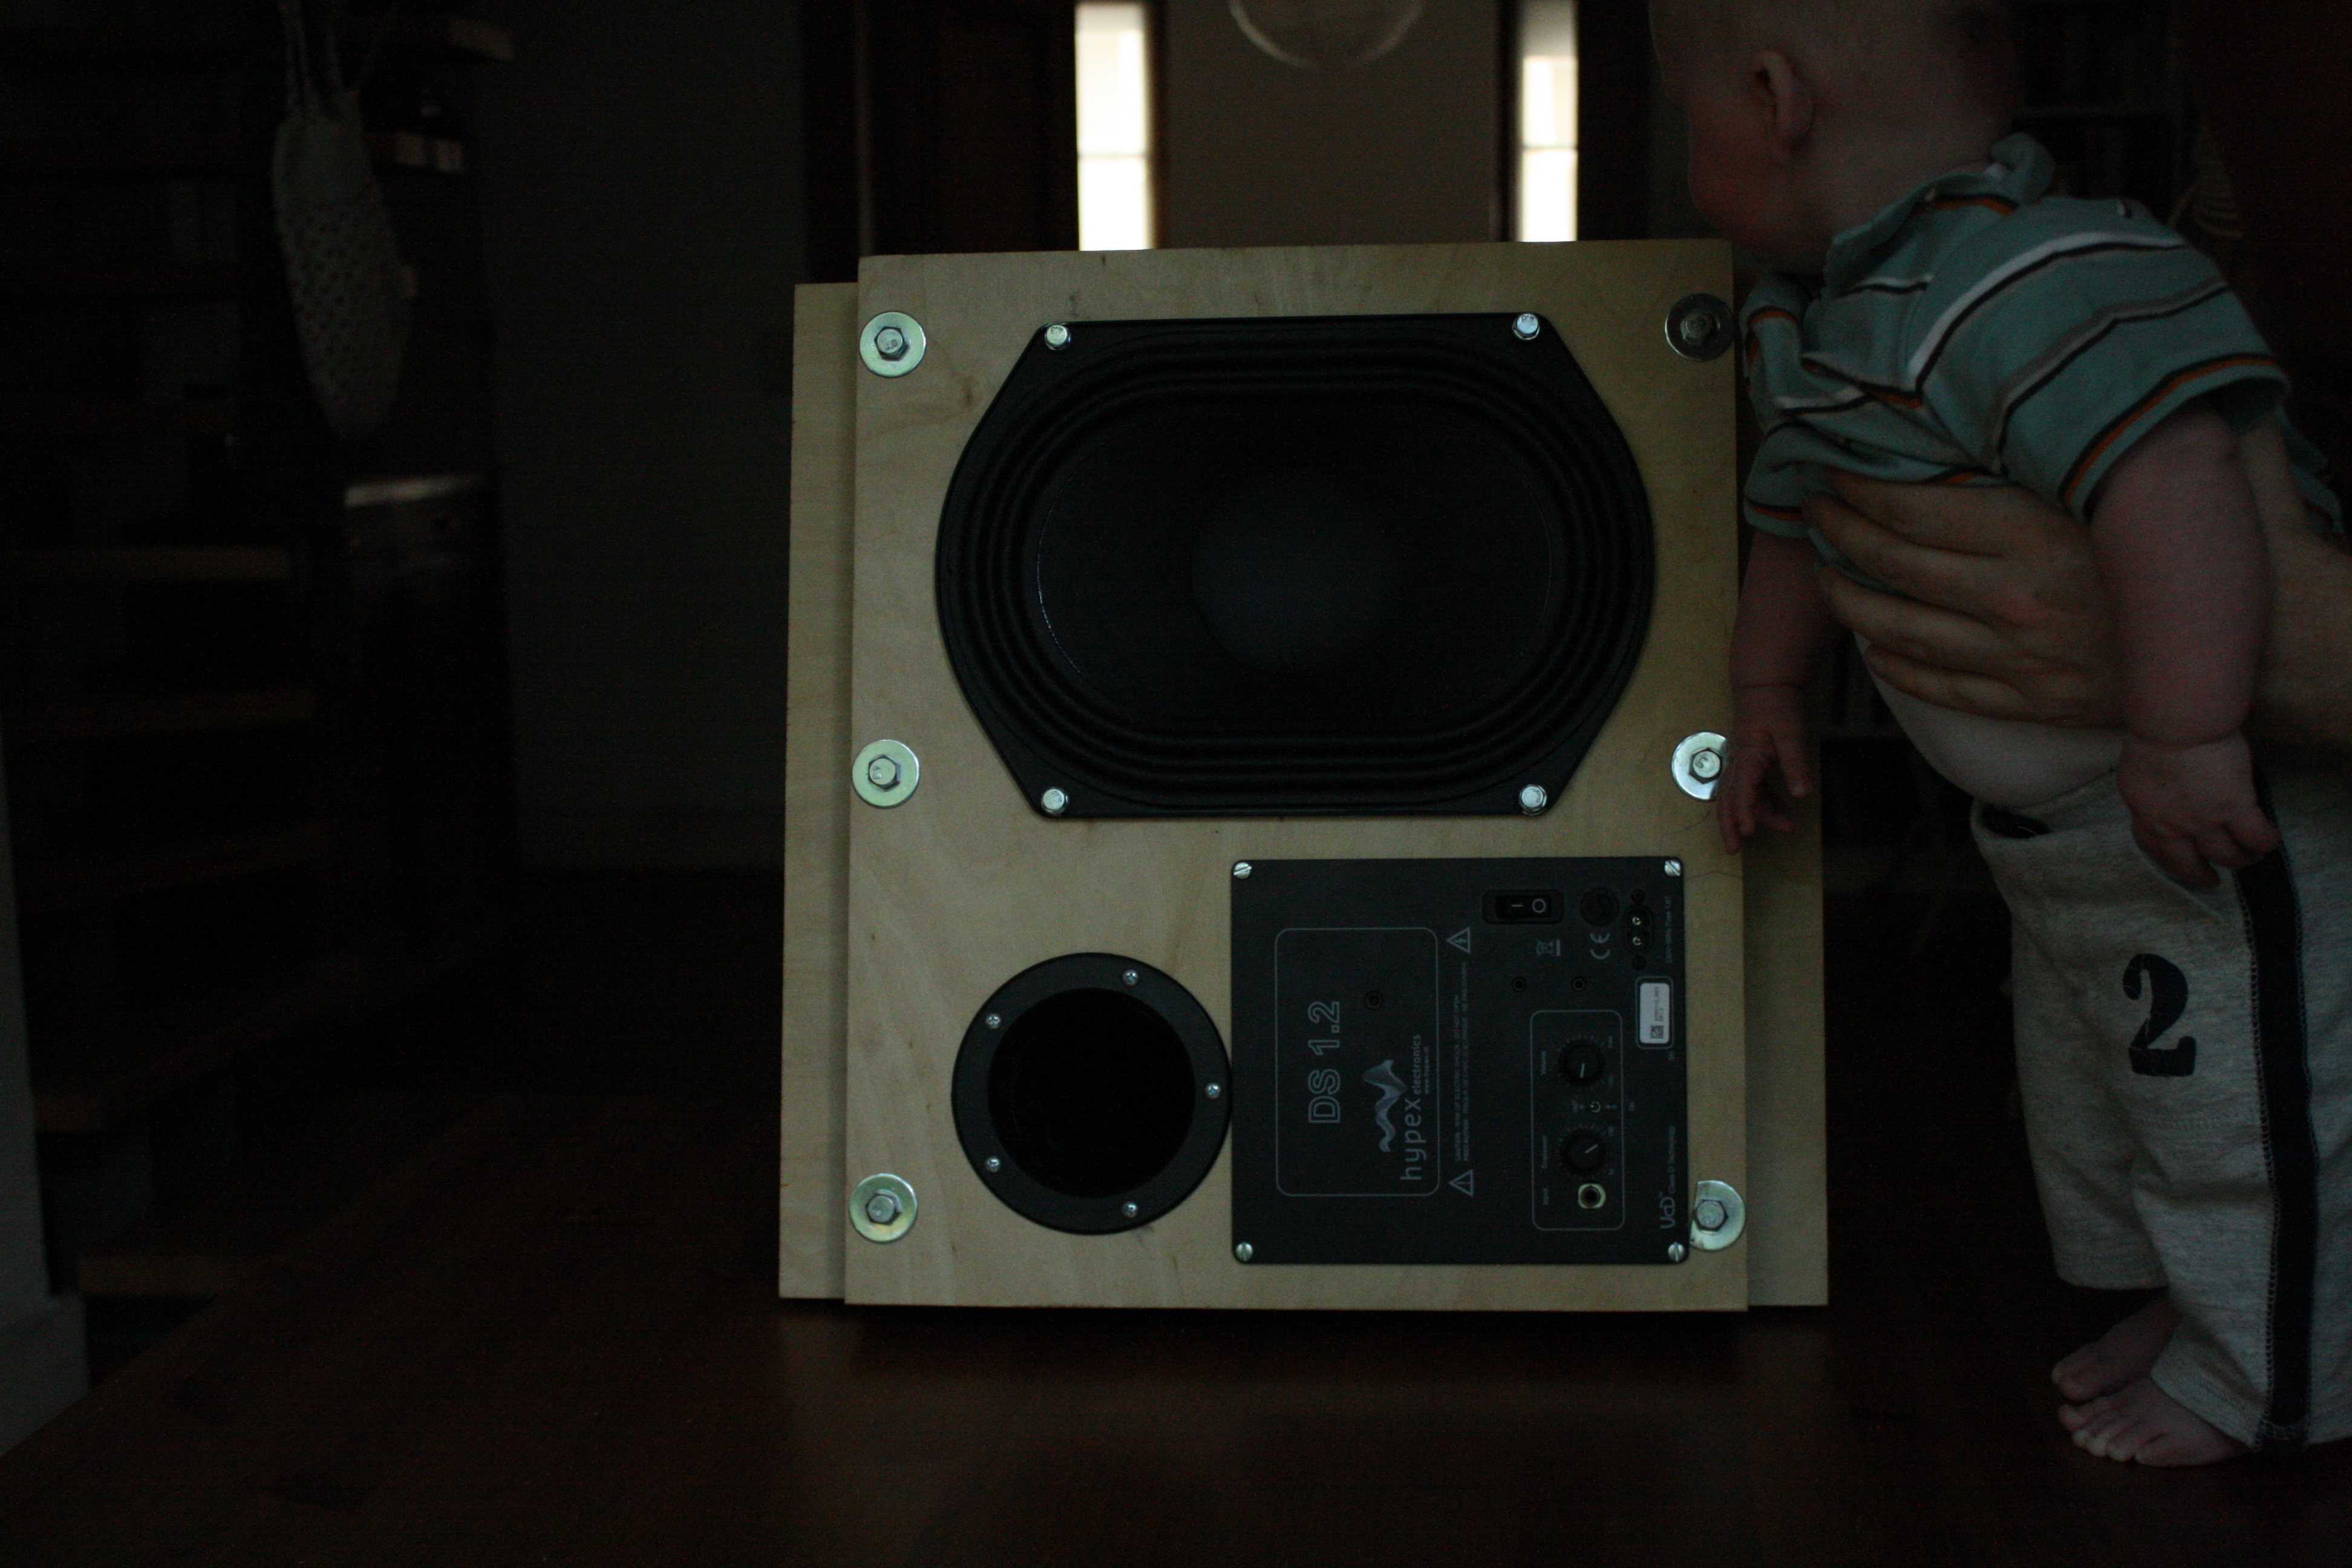 33
33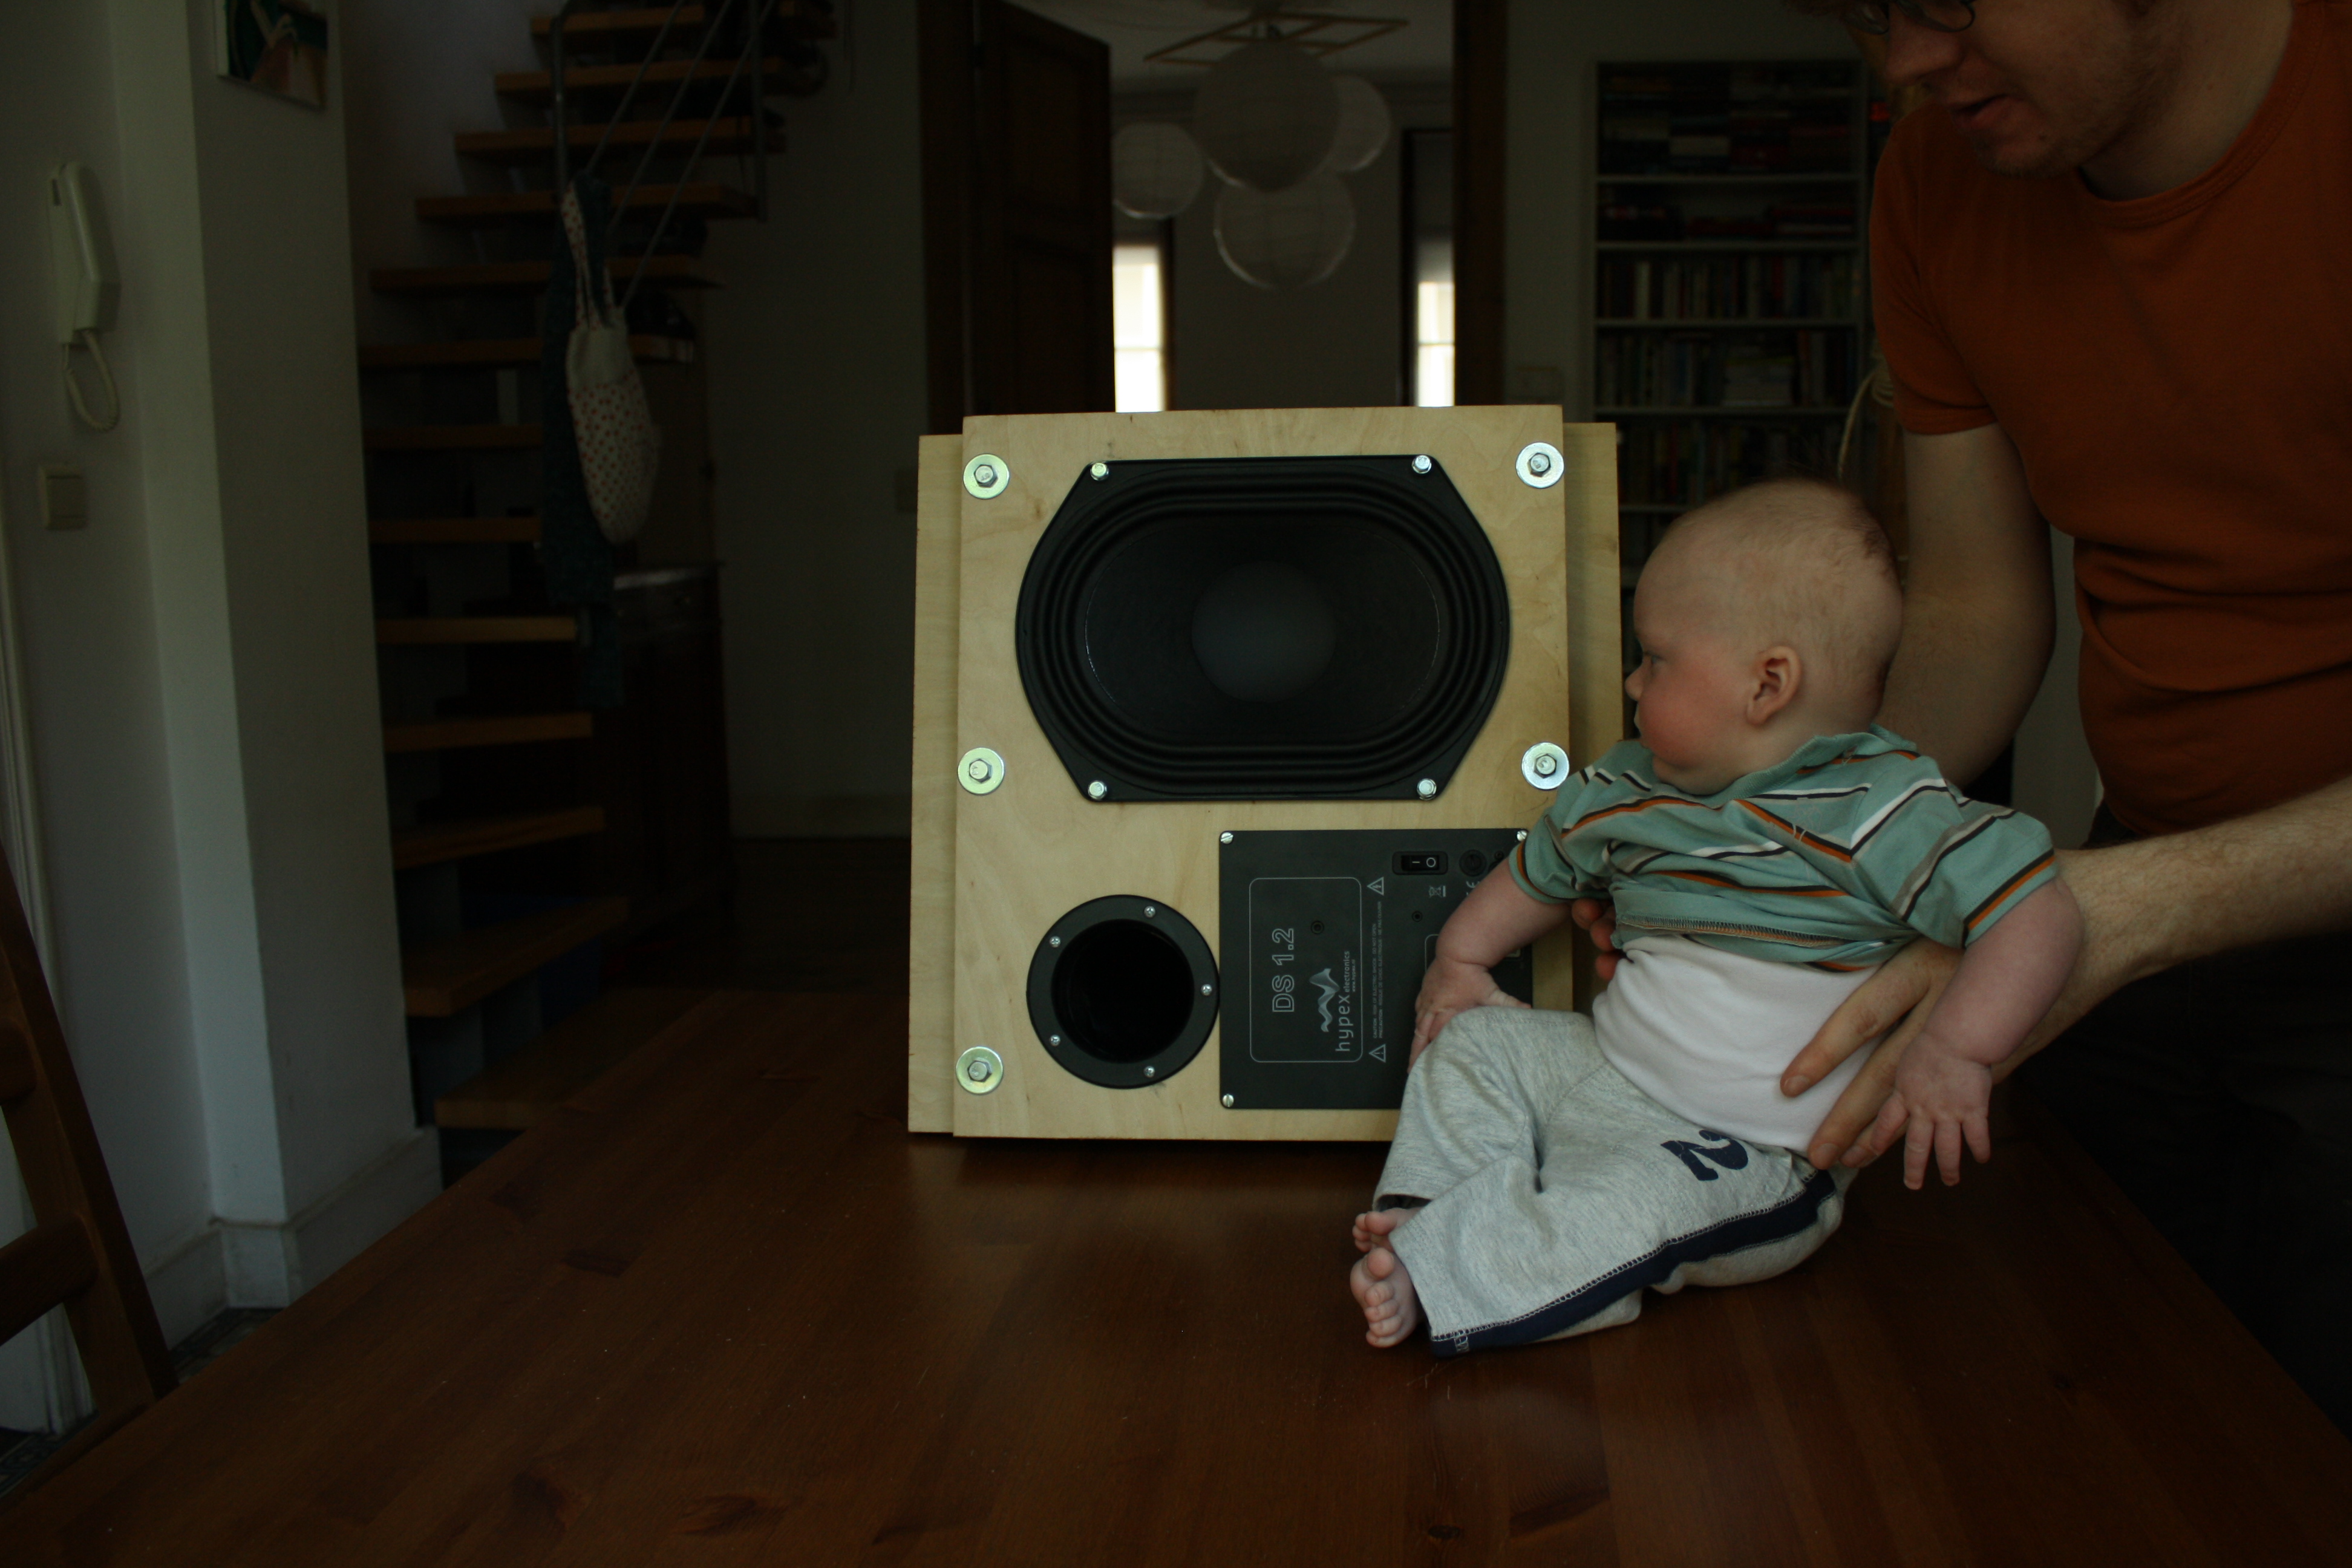 34
34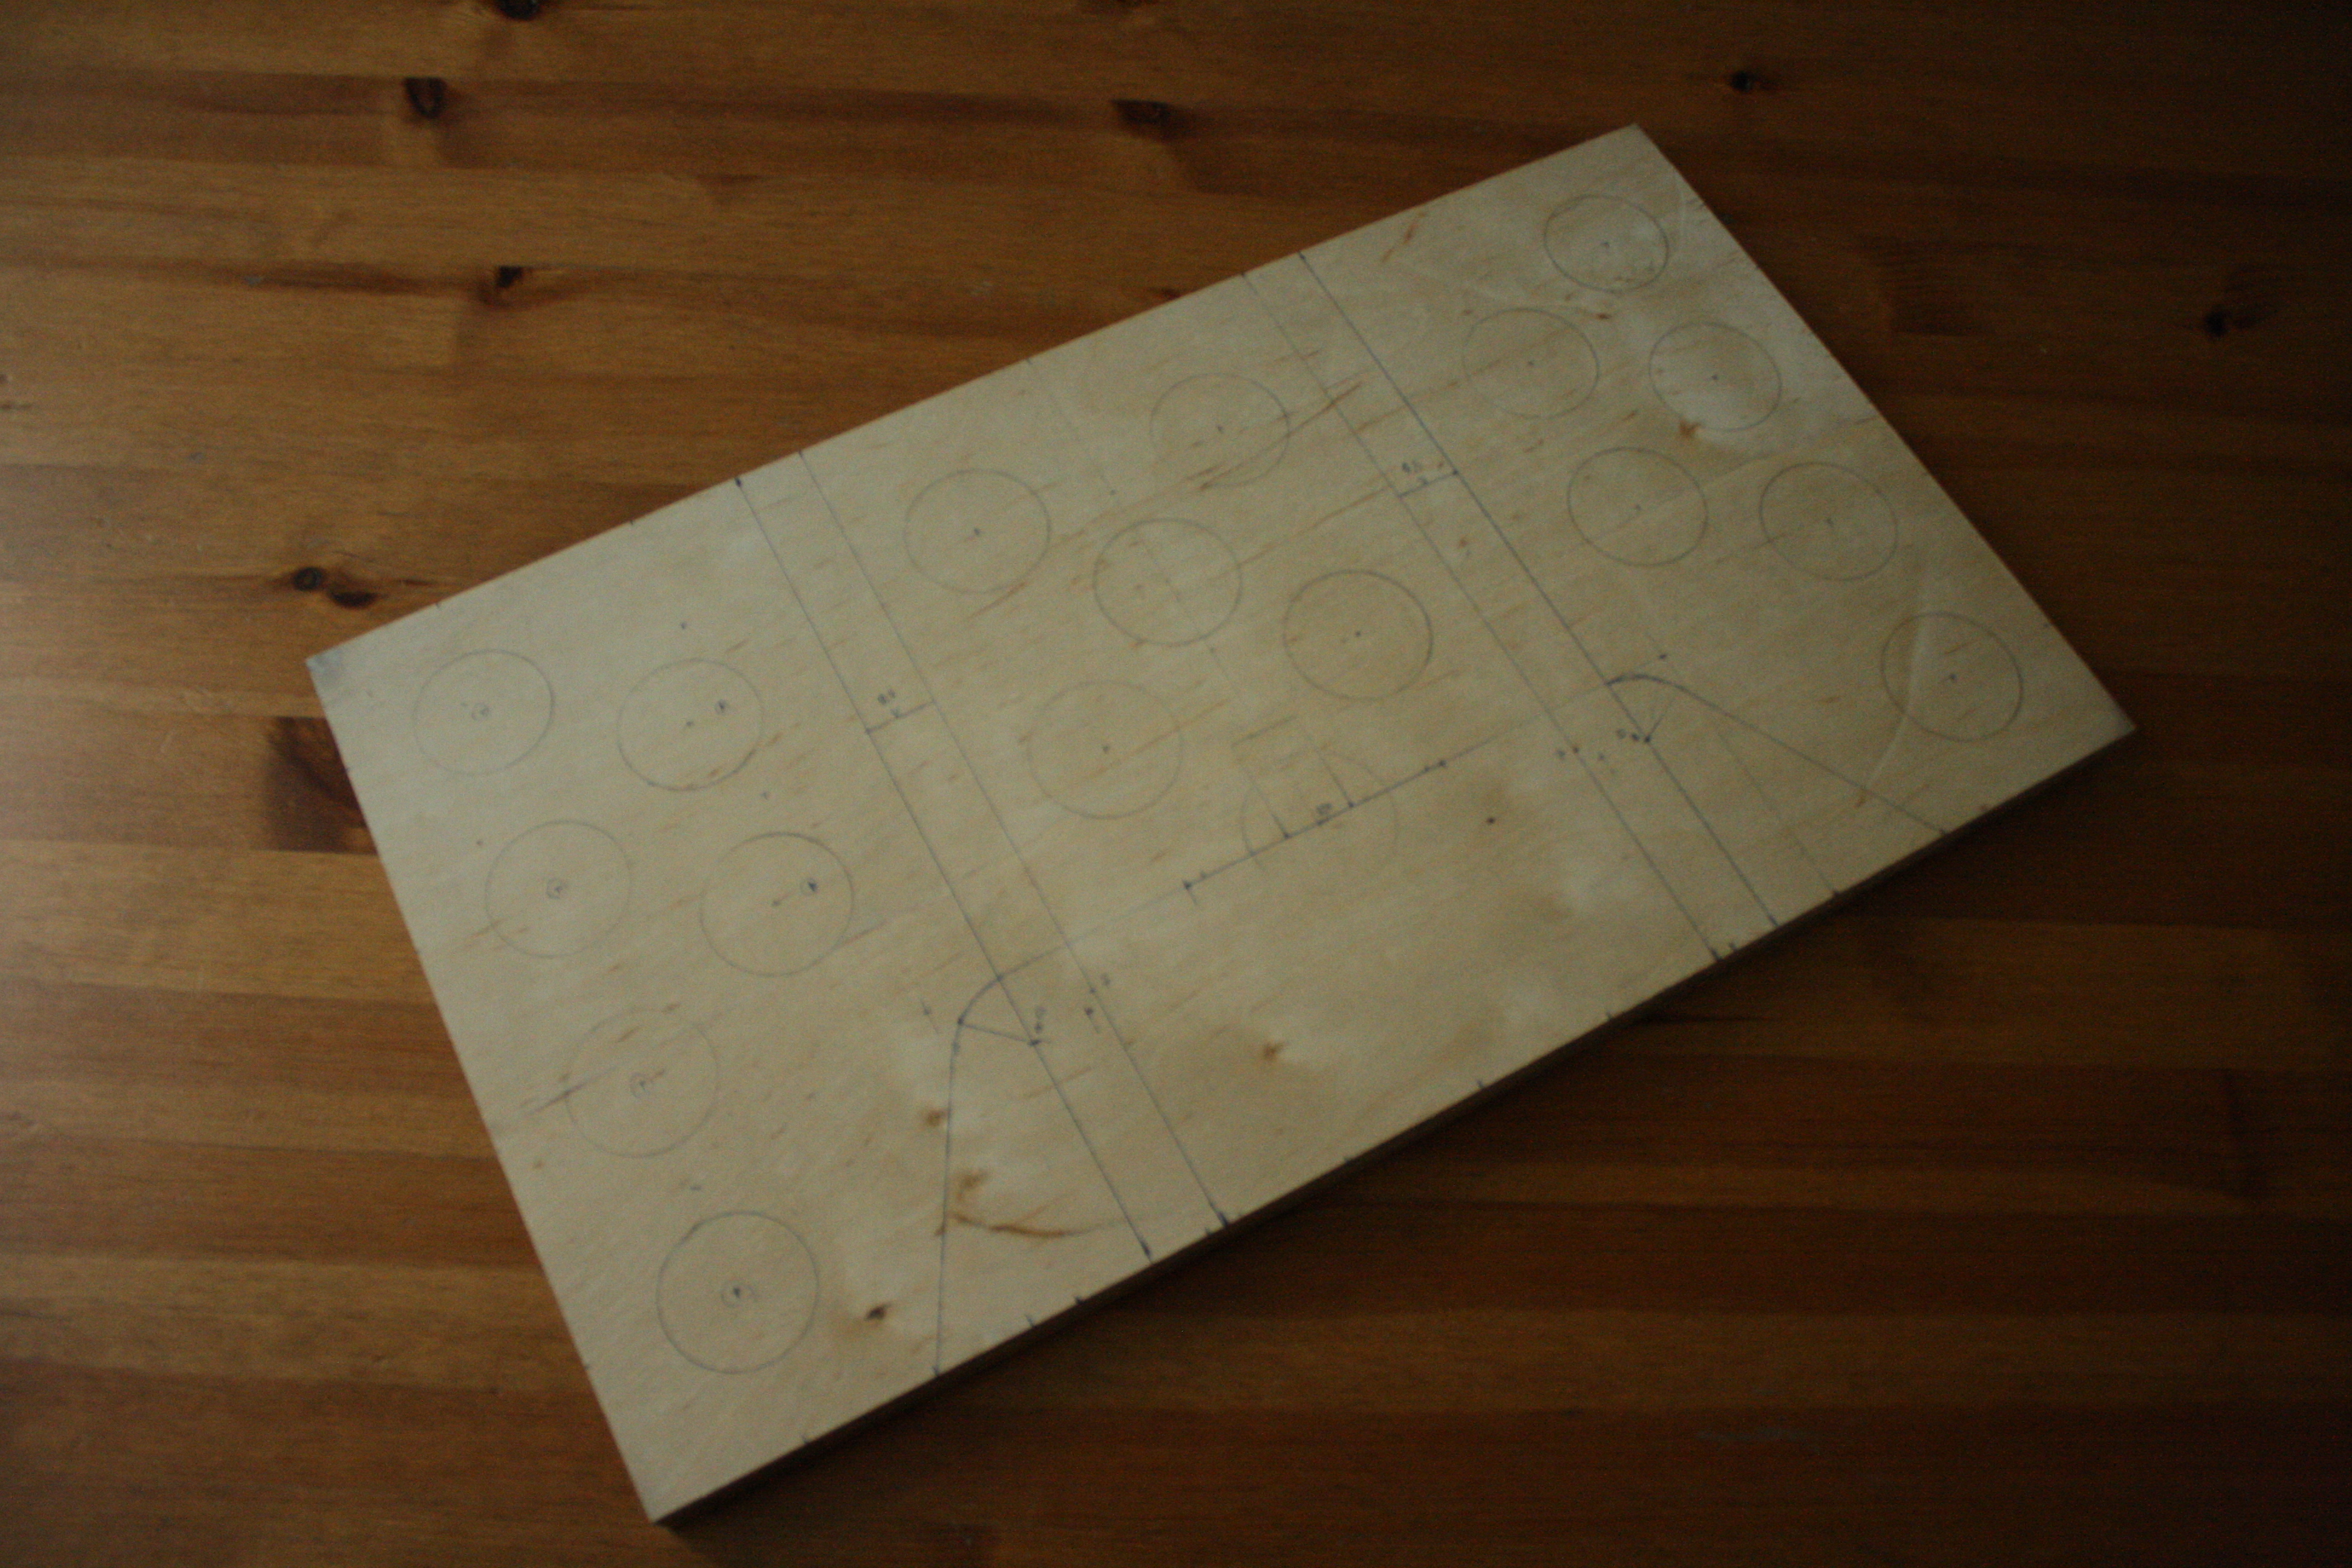 Doesn't this look super cool?
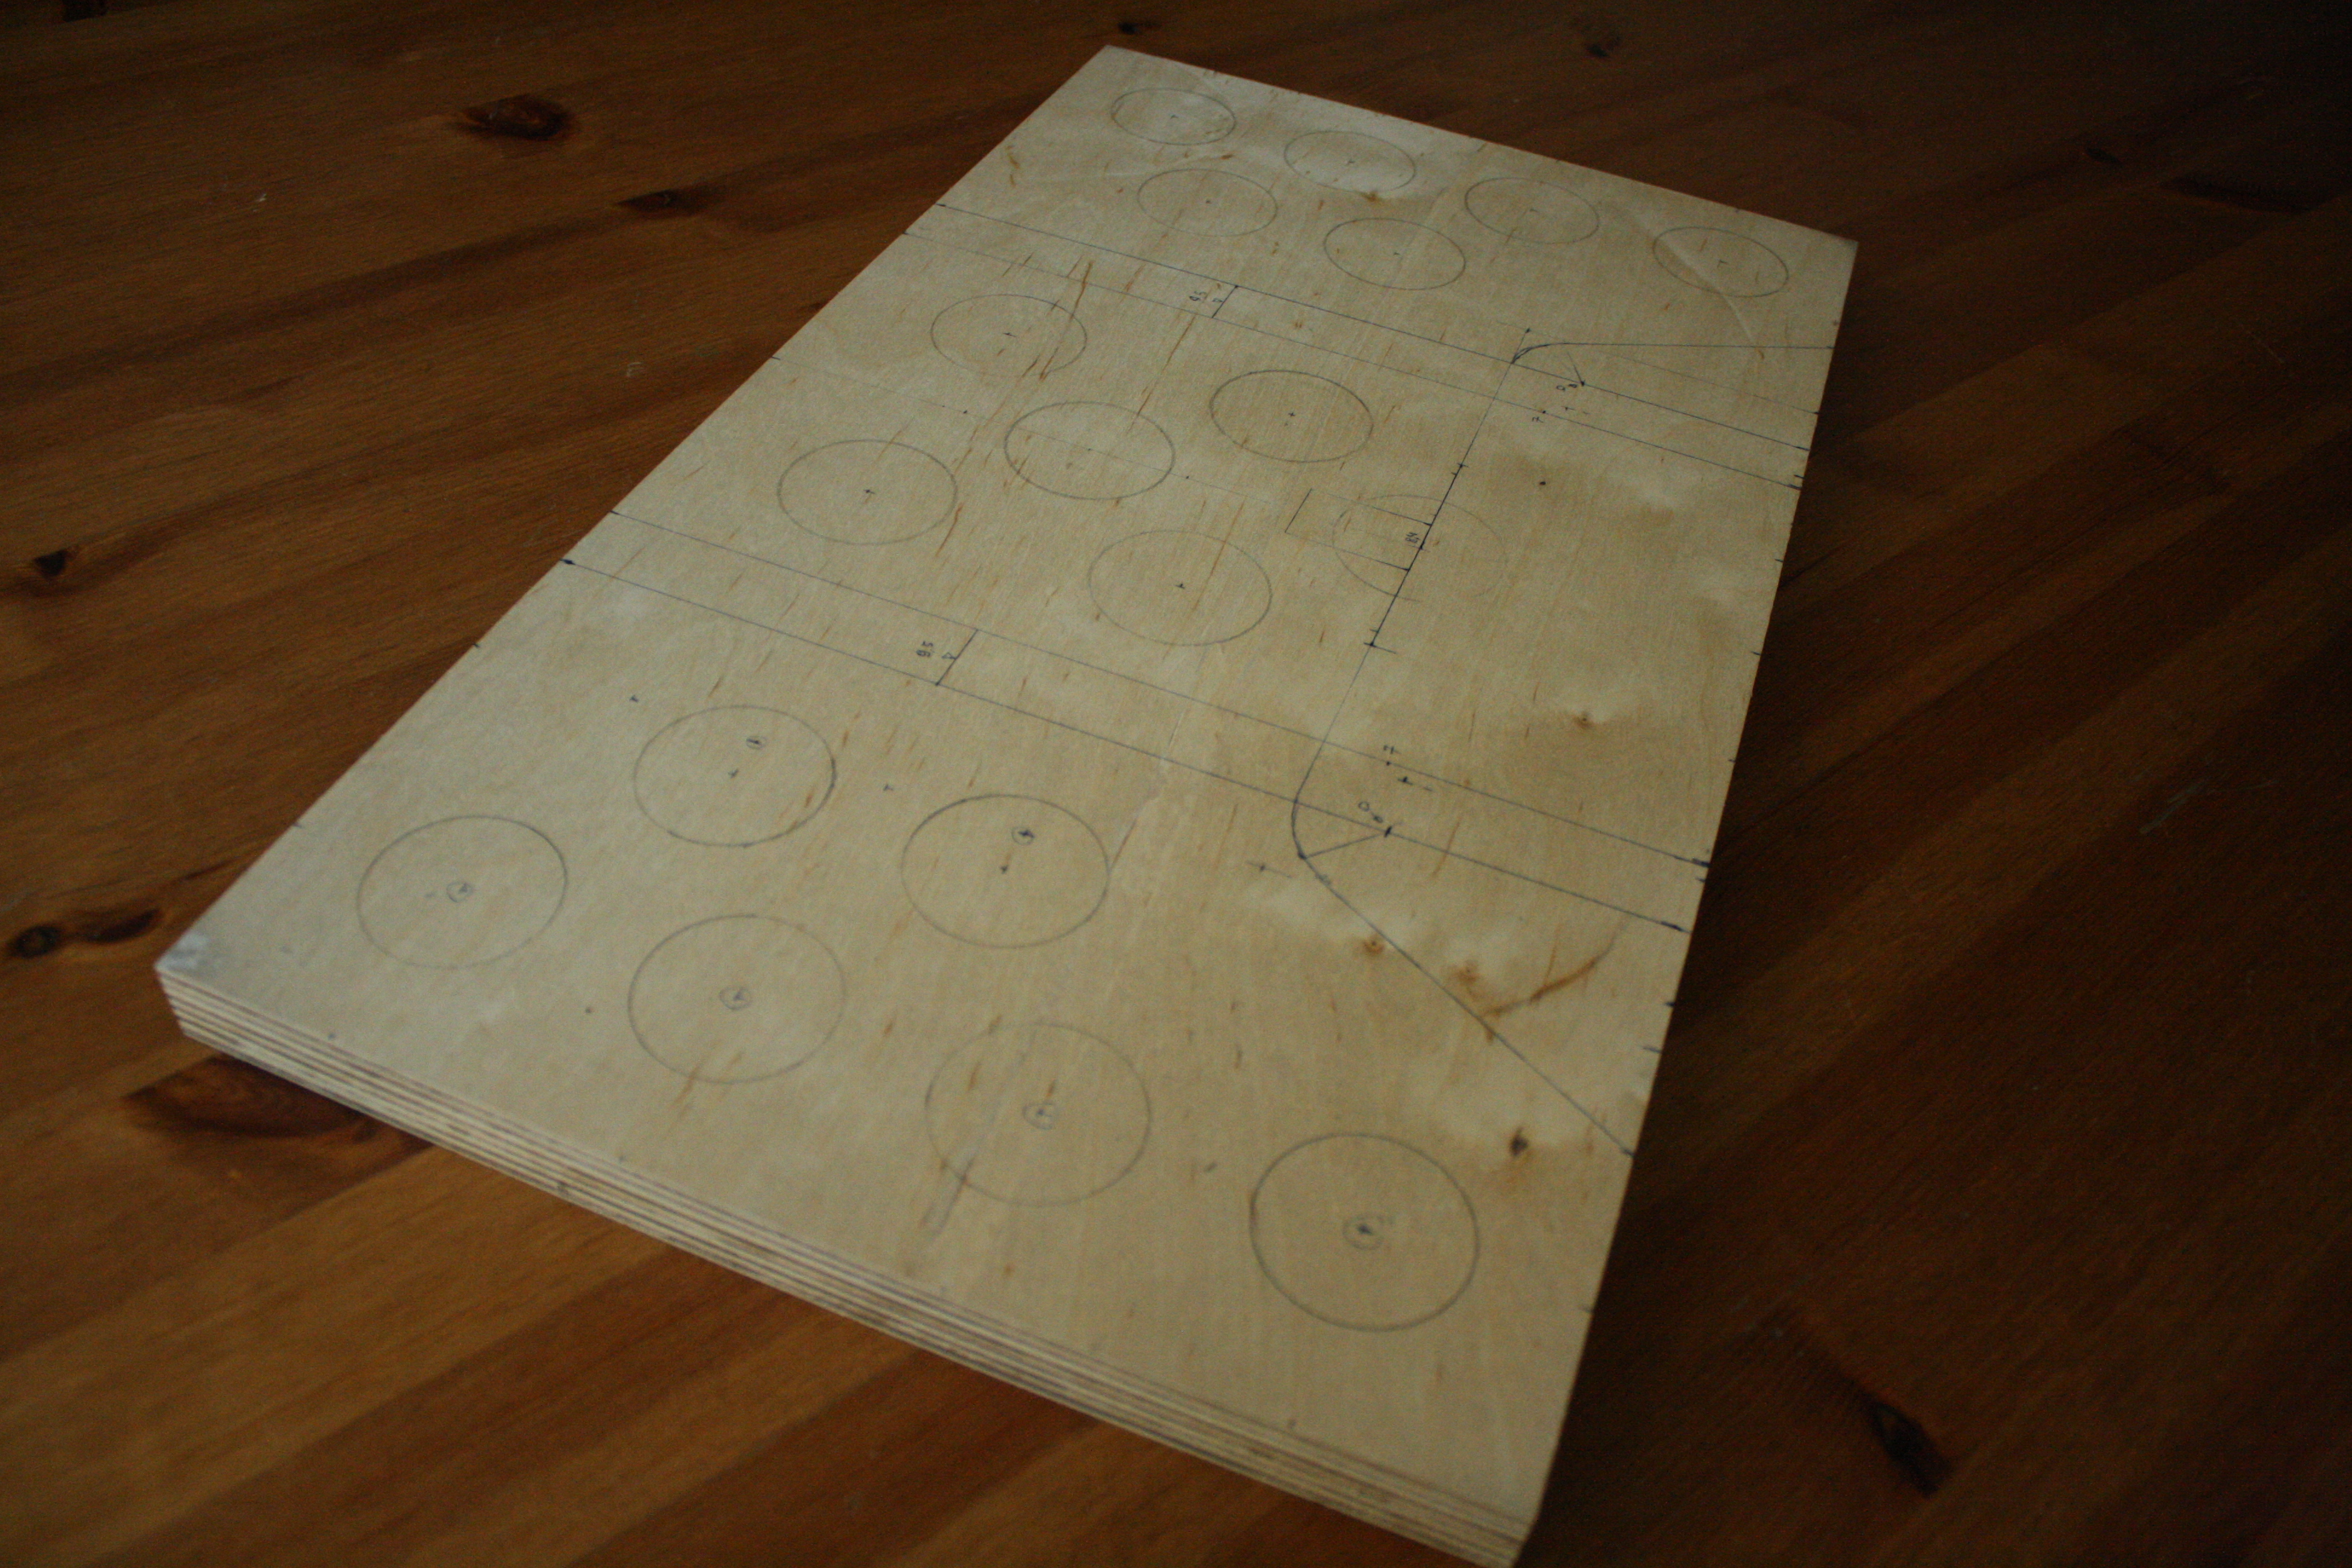 You can see how massive and dense this multiplex is. The shop unfortunately moved since, and it's hard to get this quality stuff.
 Probably the last time I used this. I was wondering if I'd get some audio effects from standing waves inside the circular holes, though.
 23
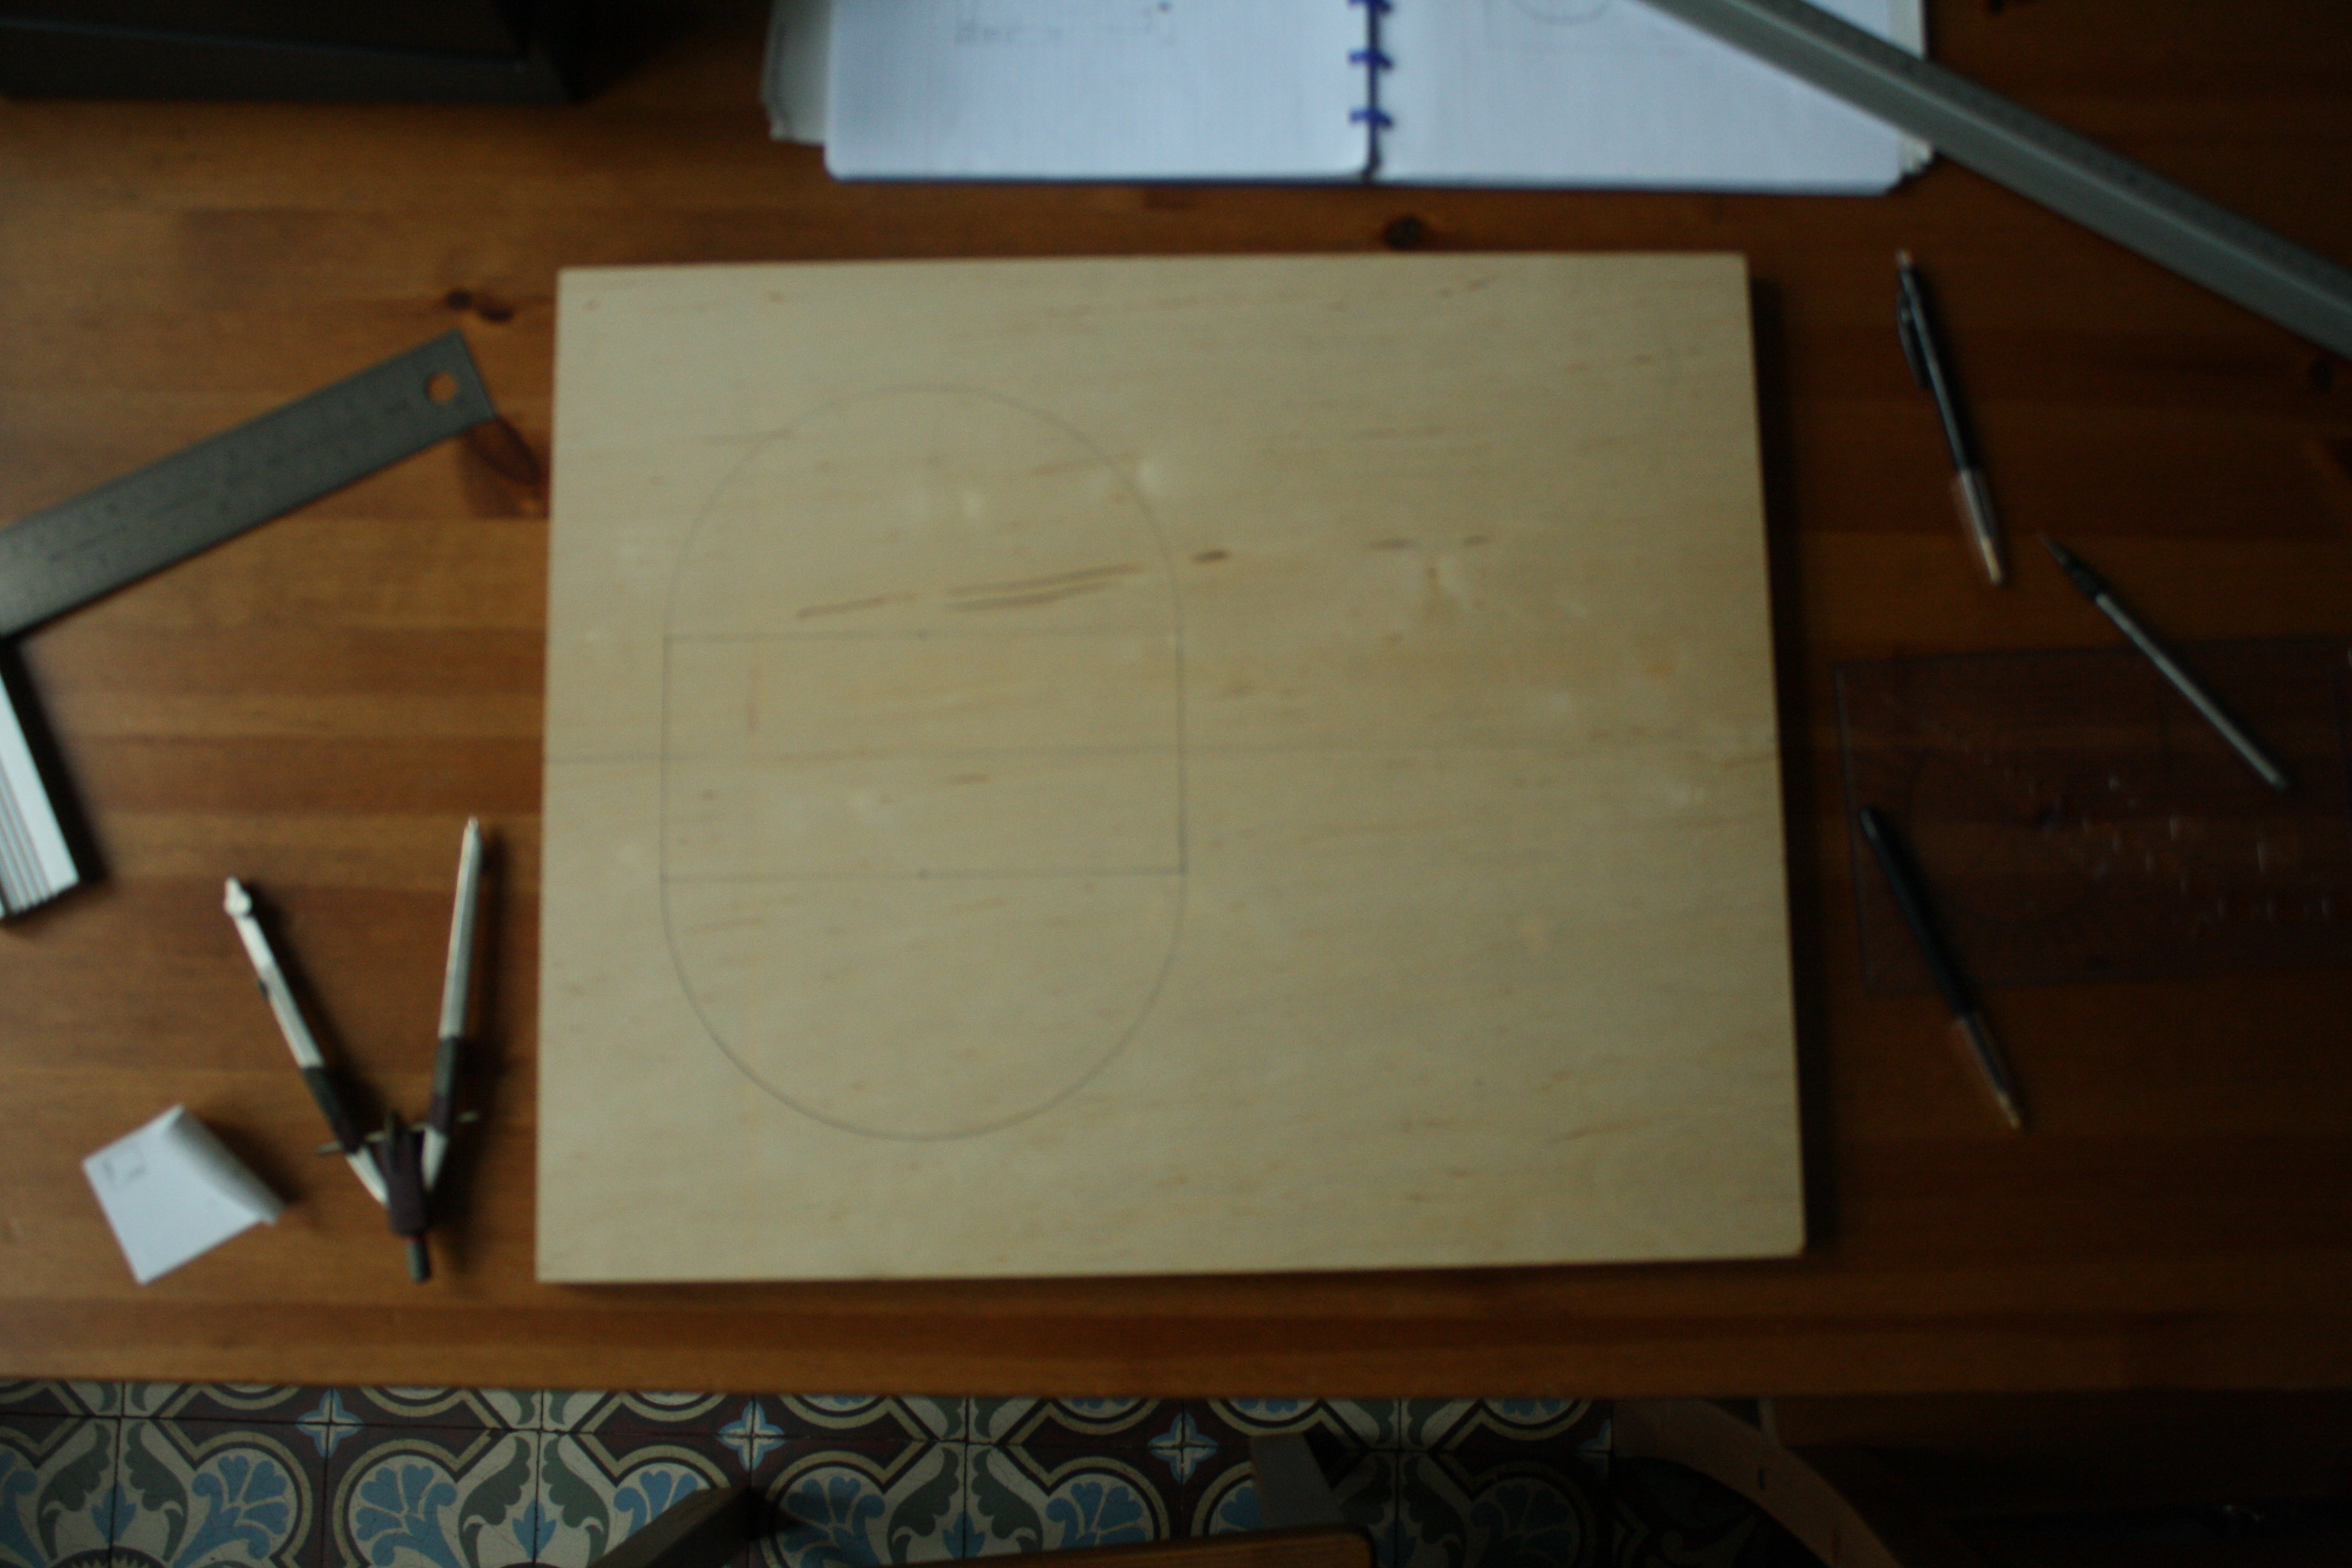
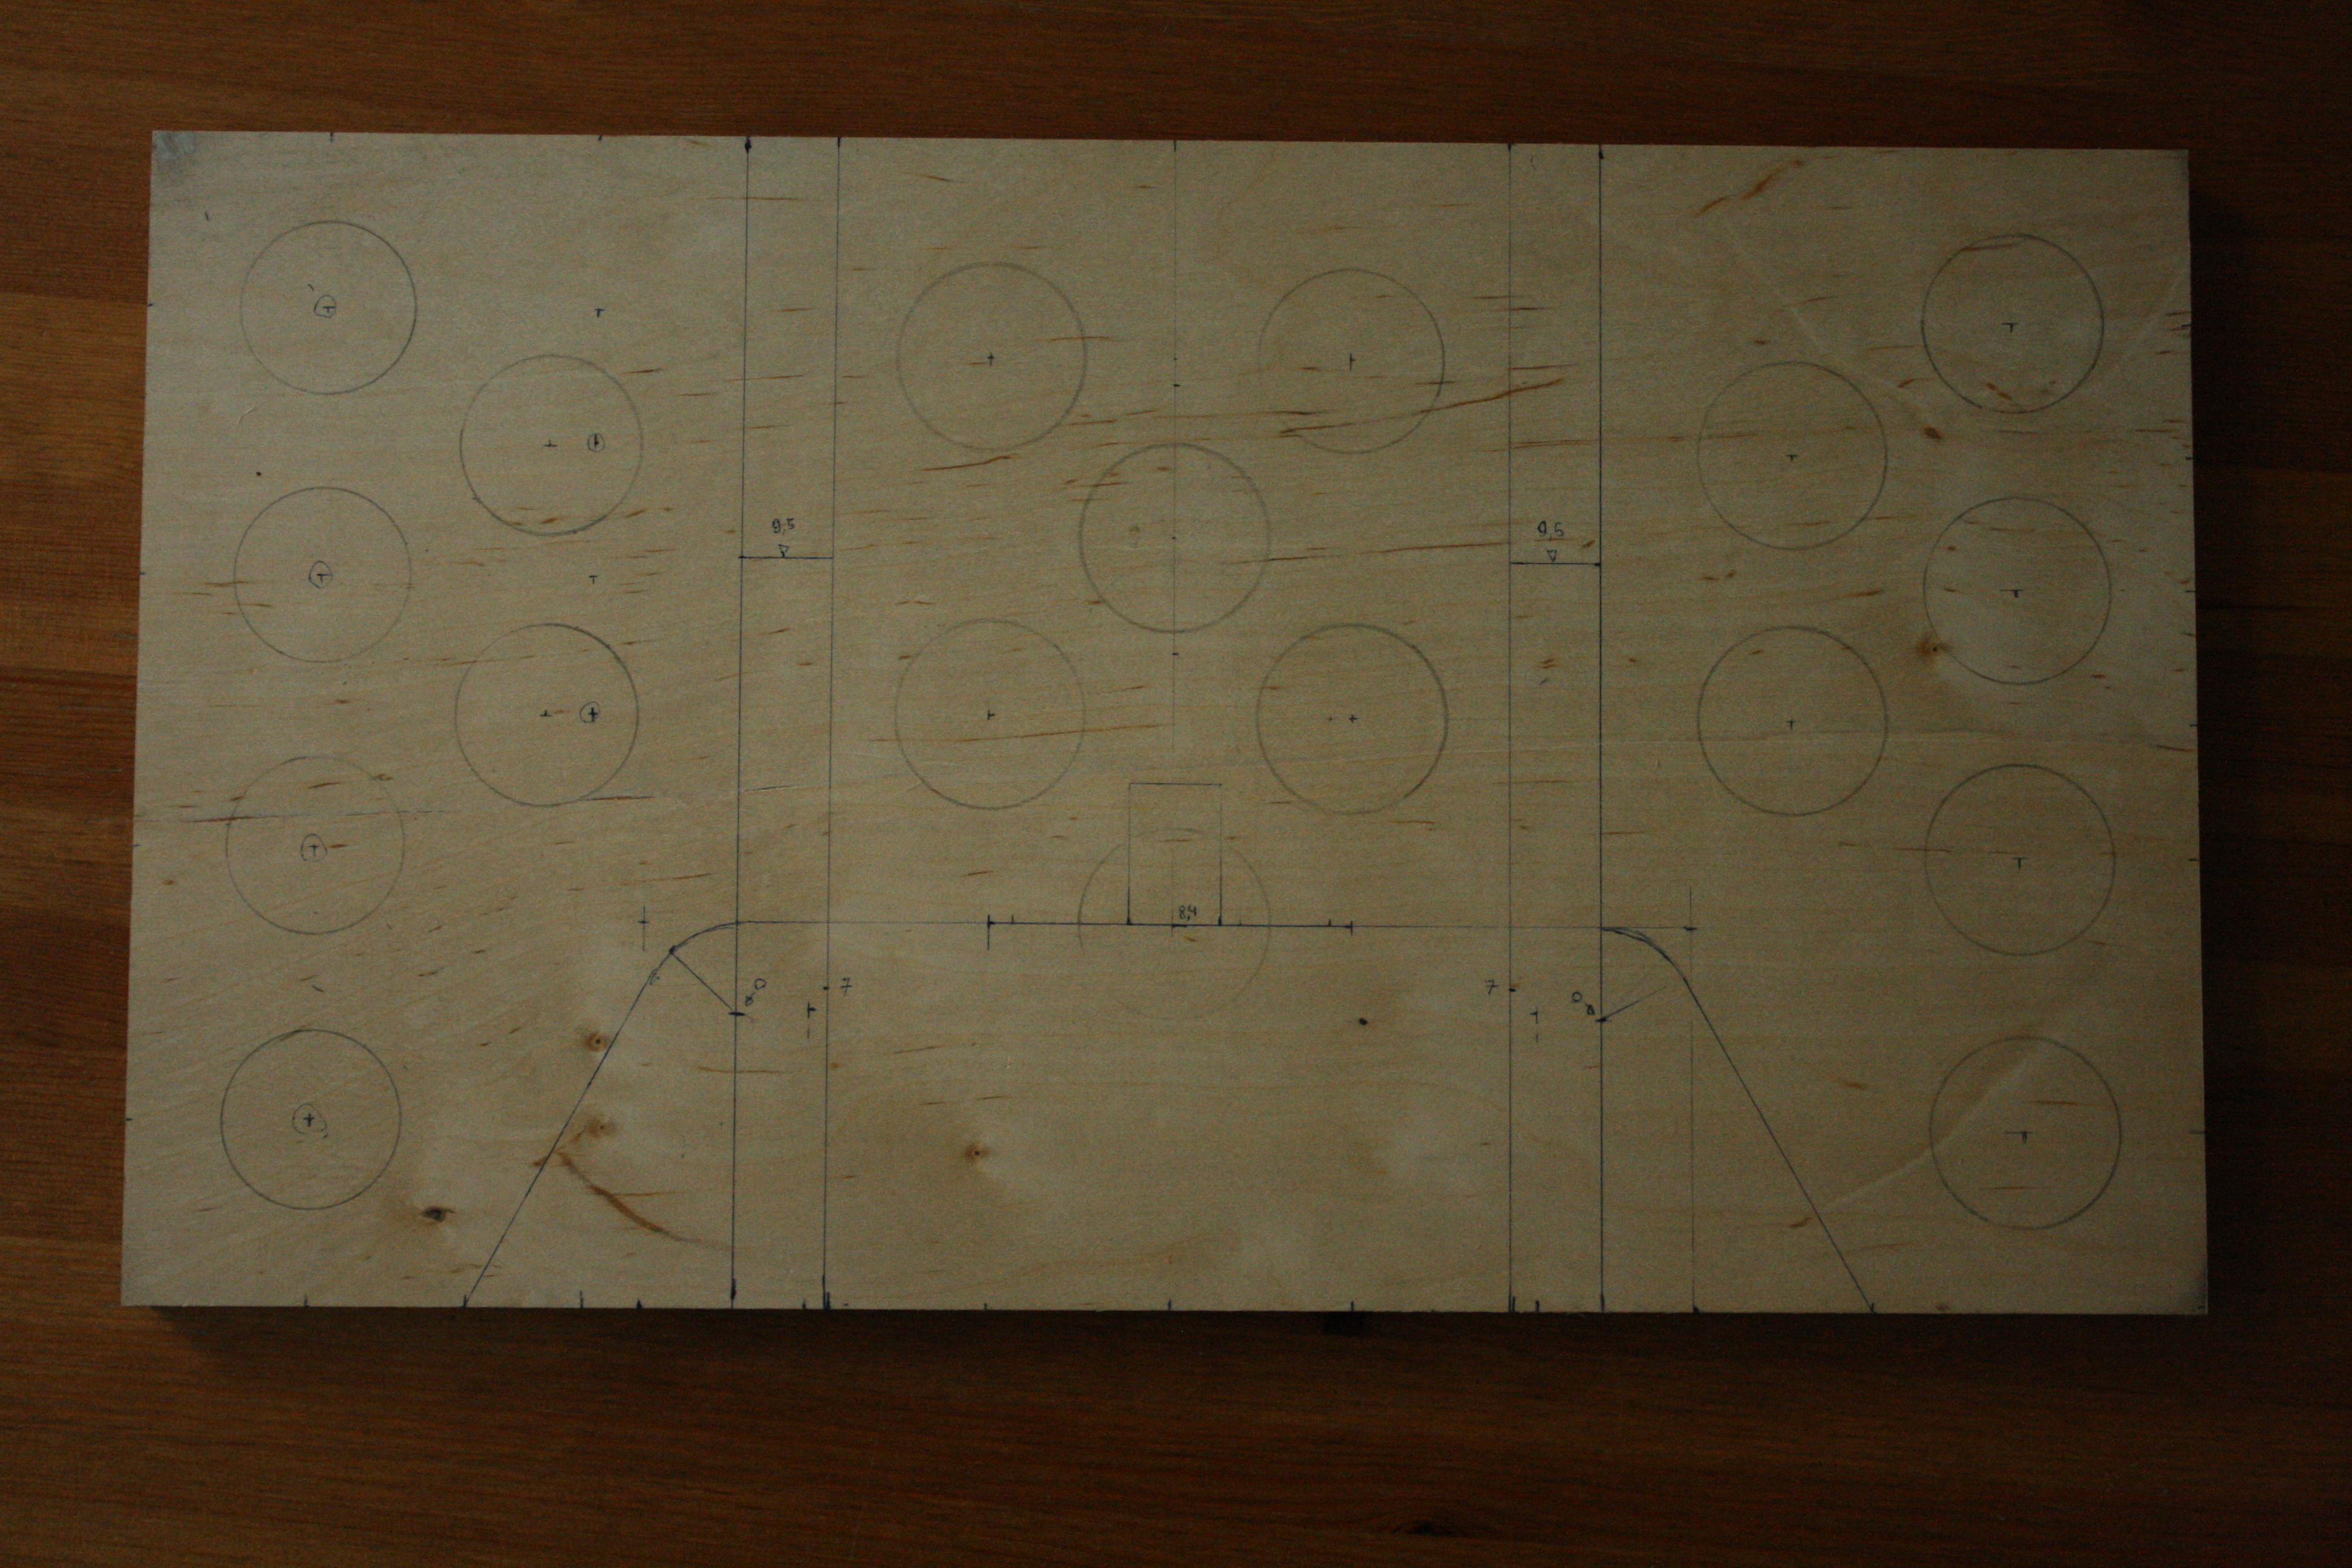
23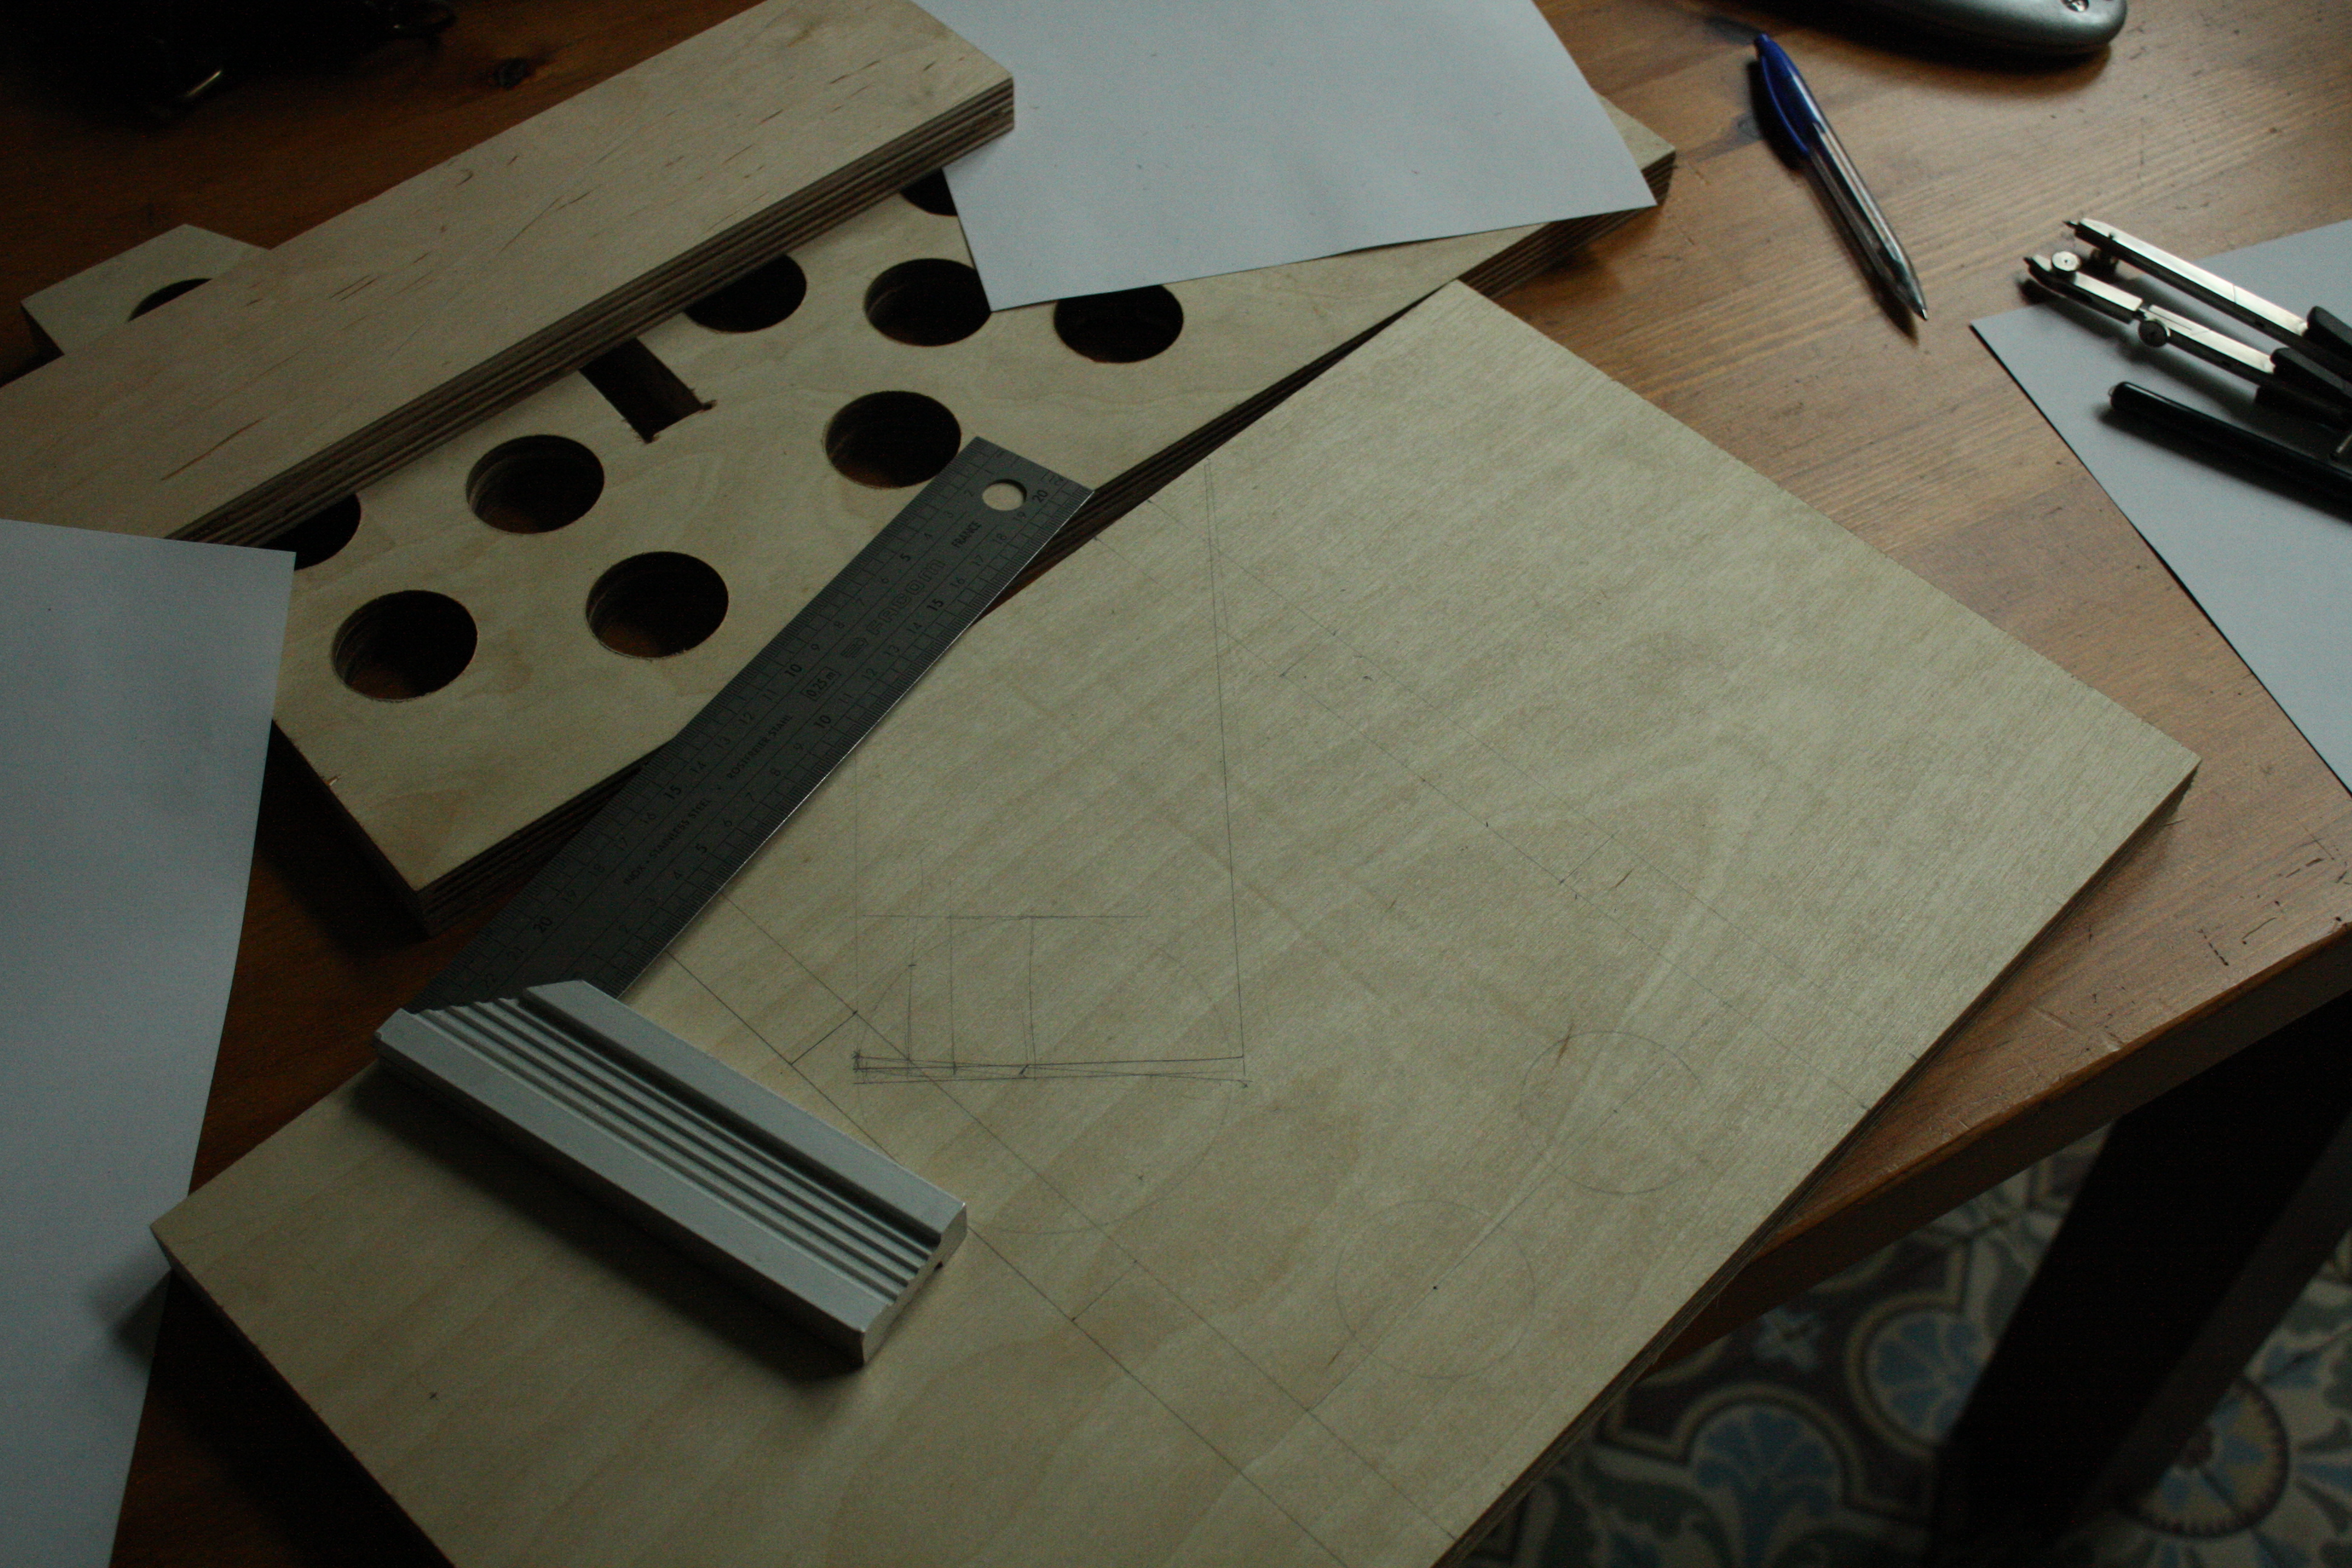 More design work
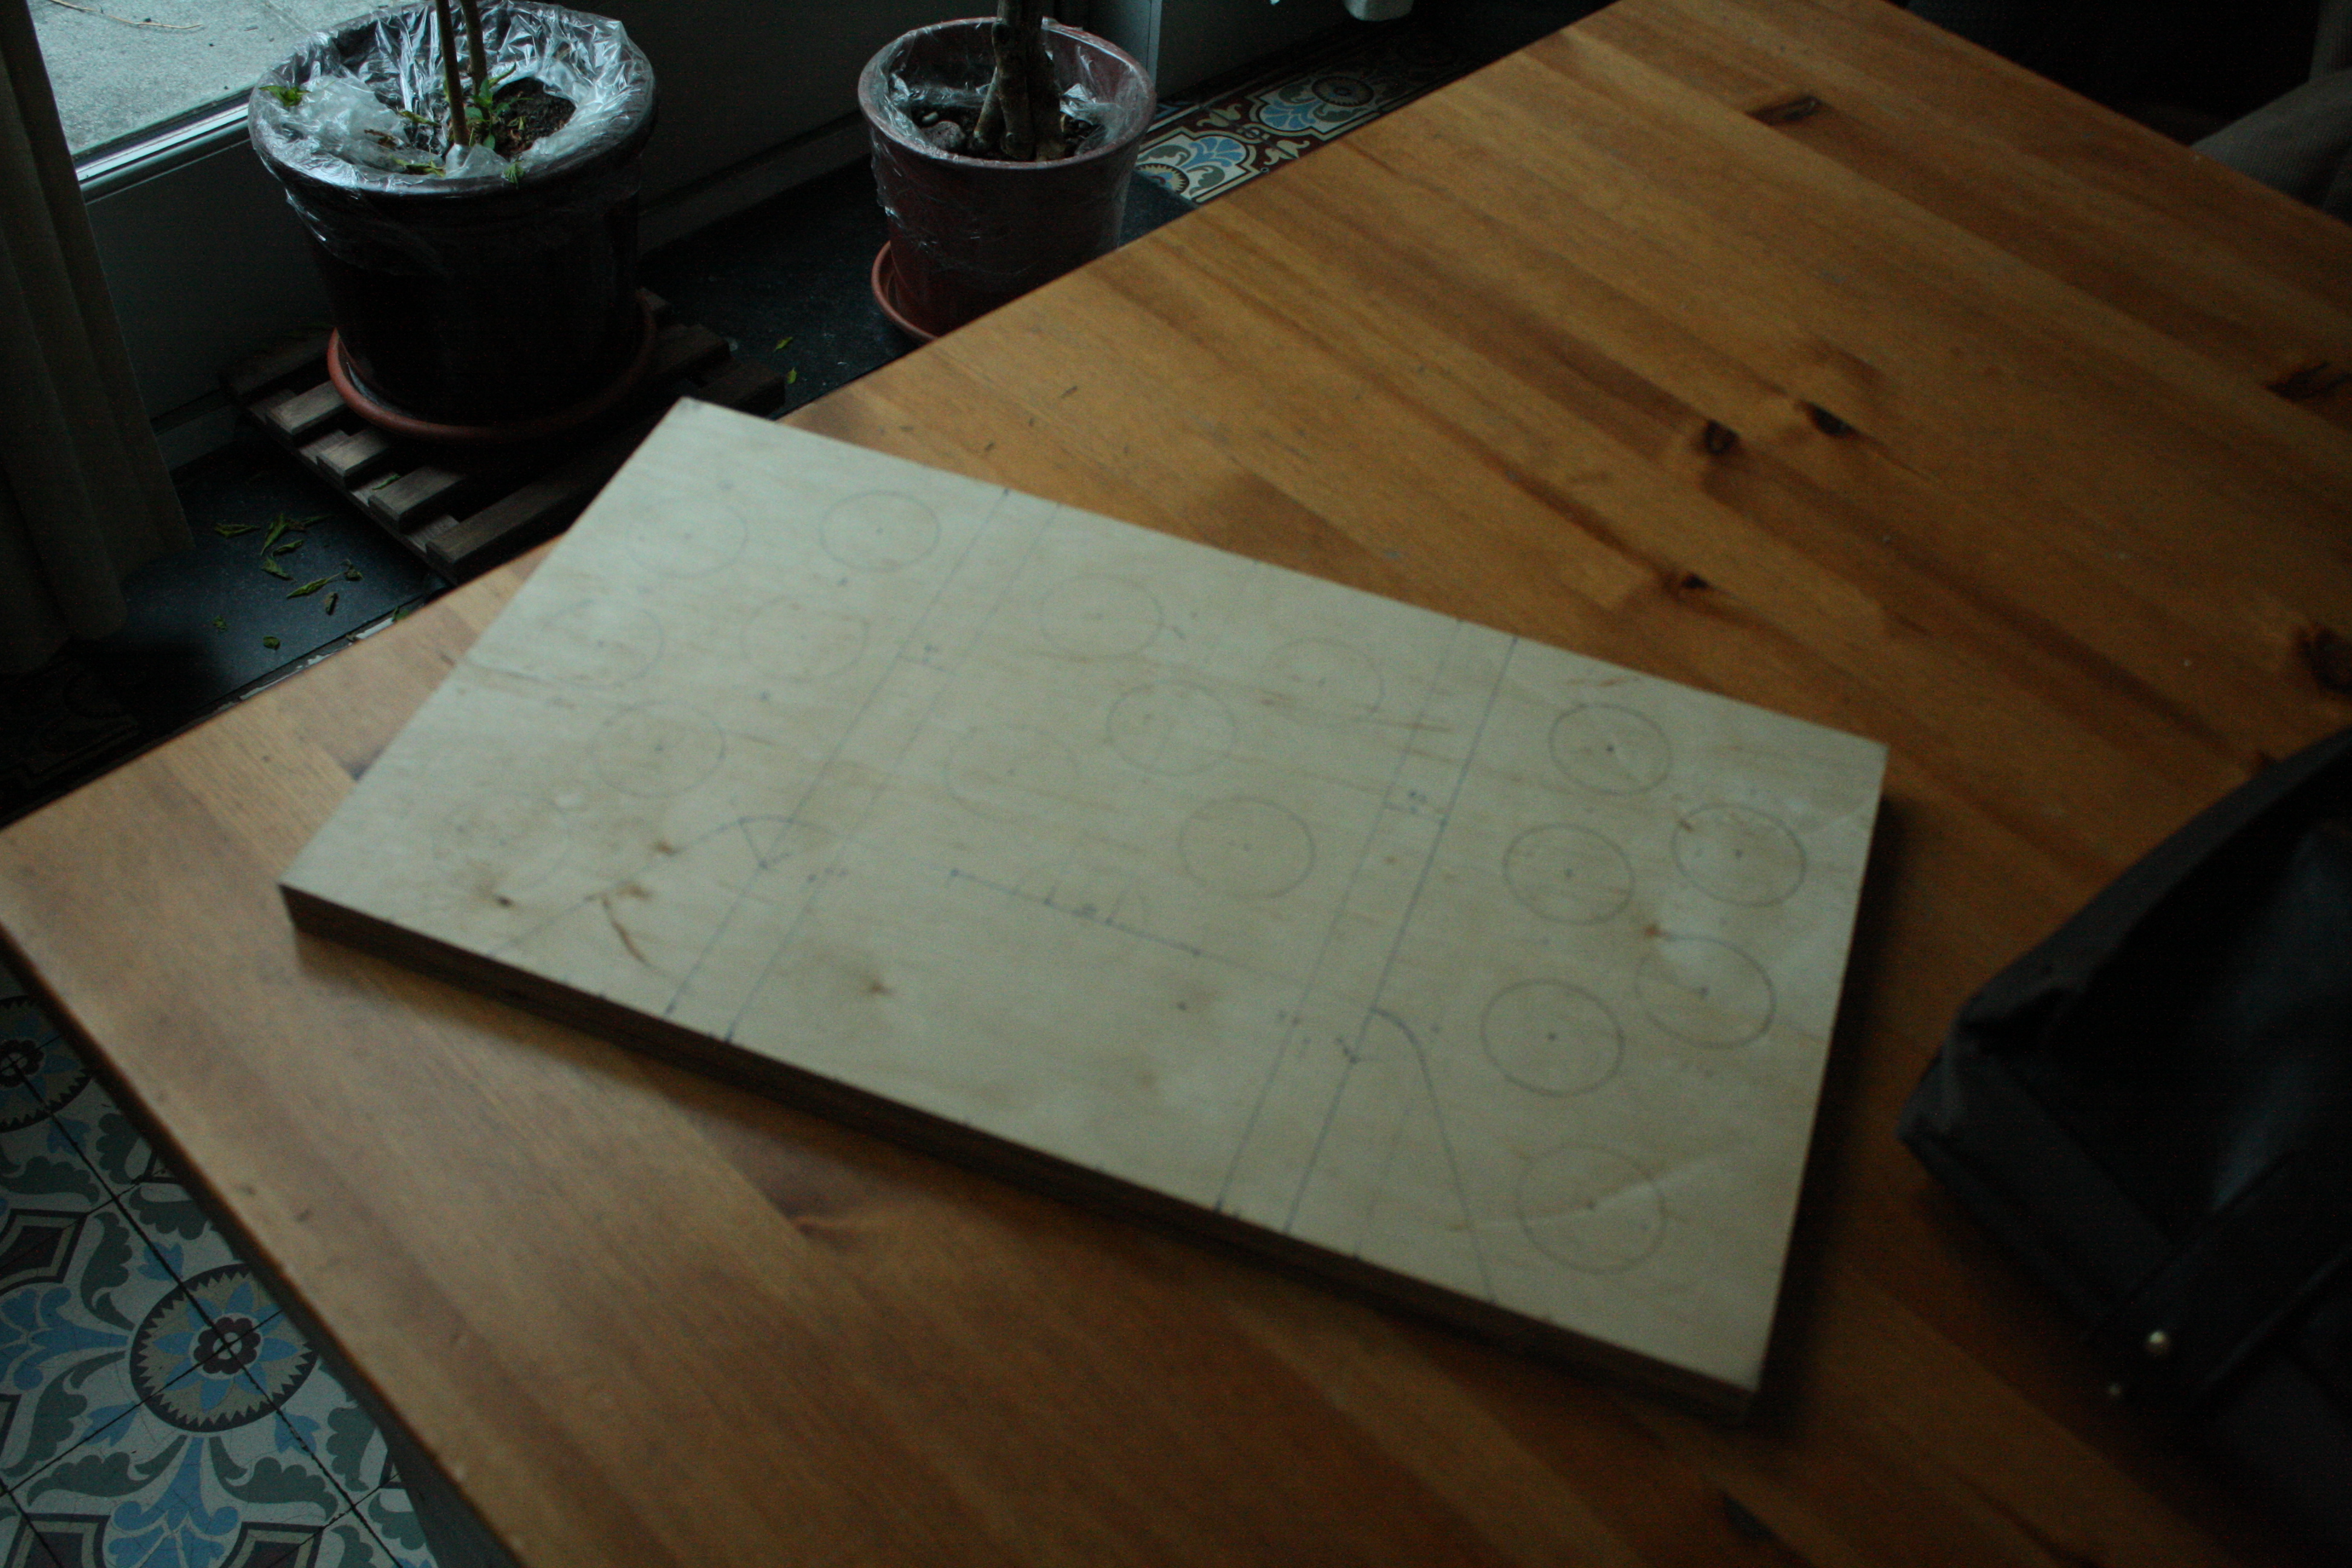 183
183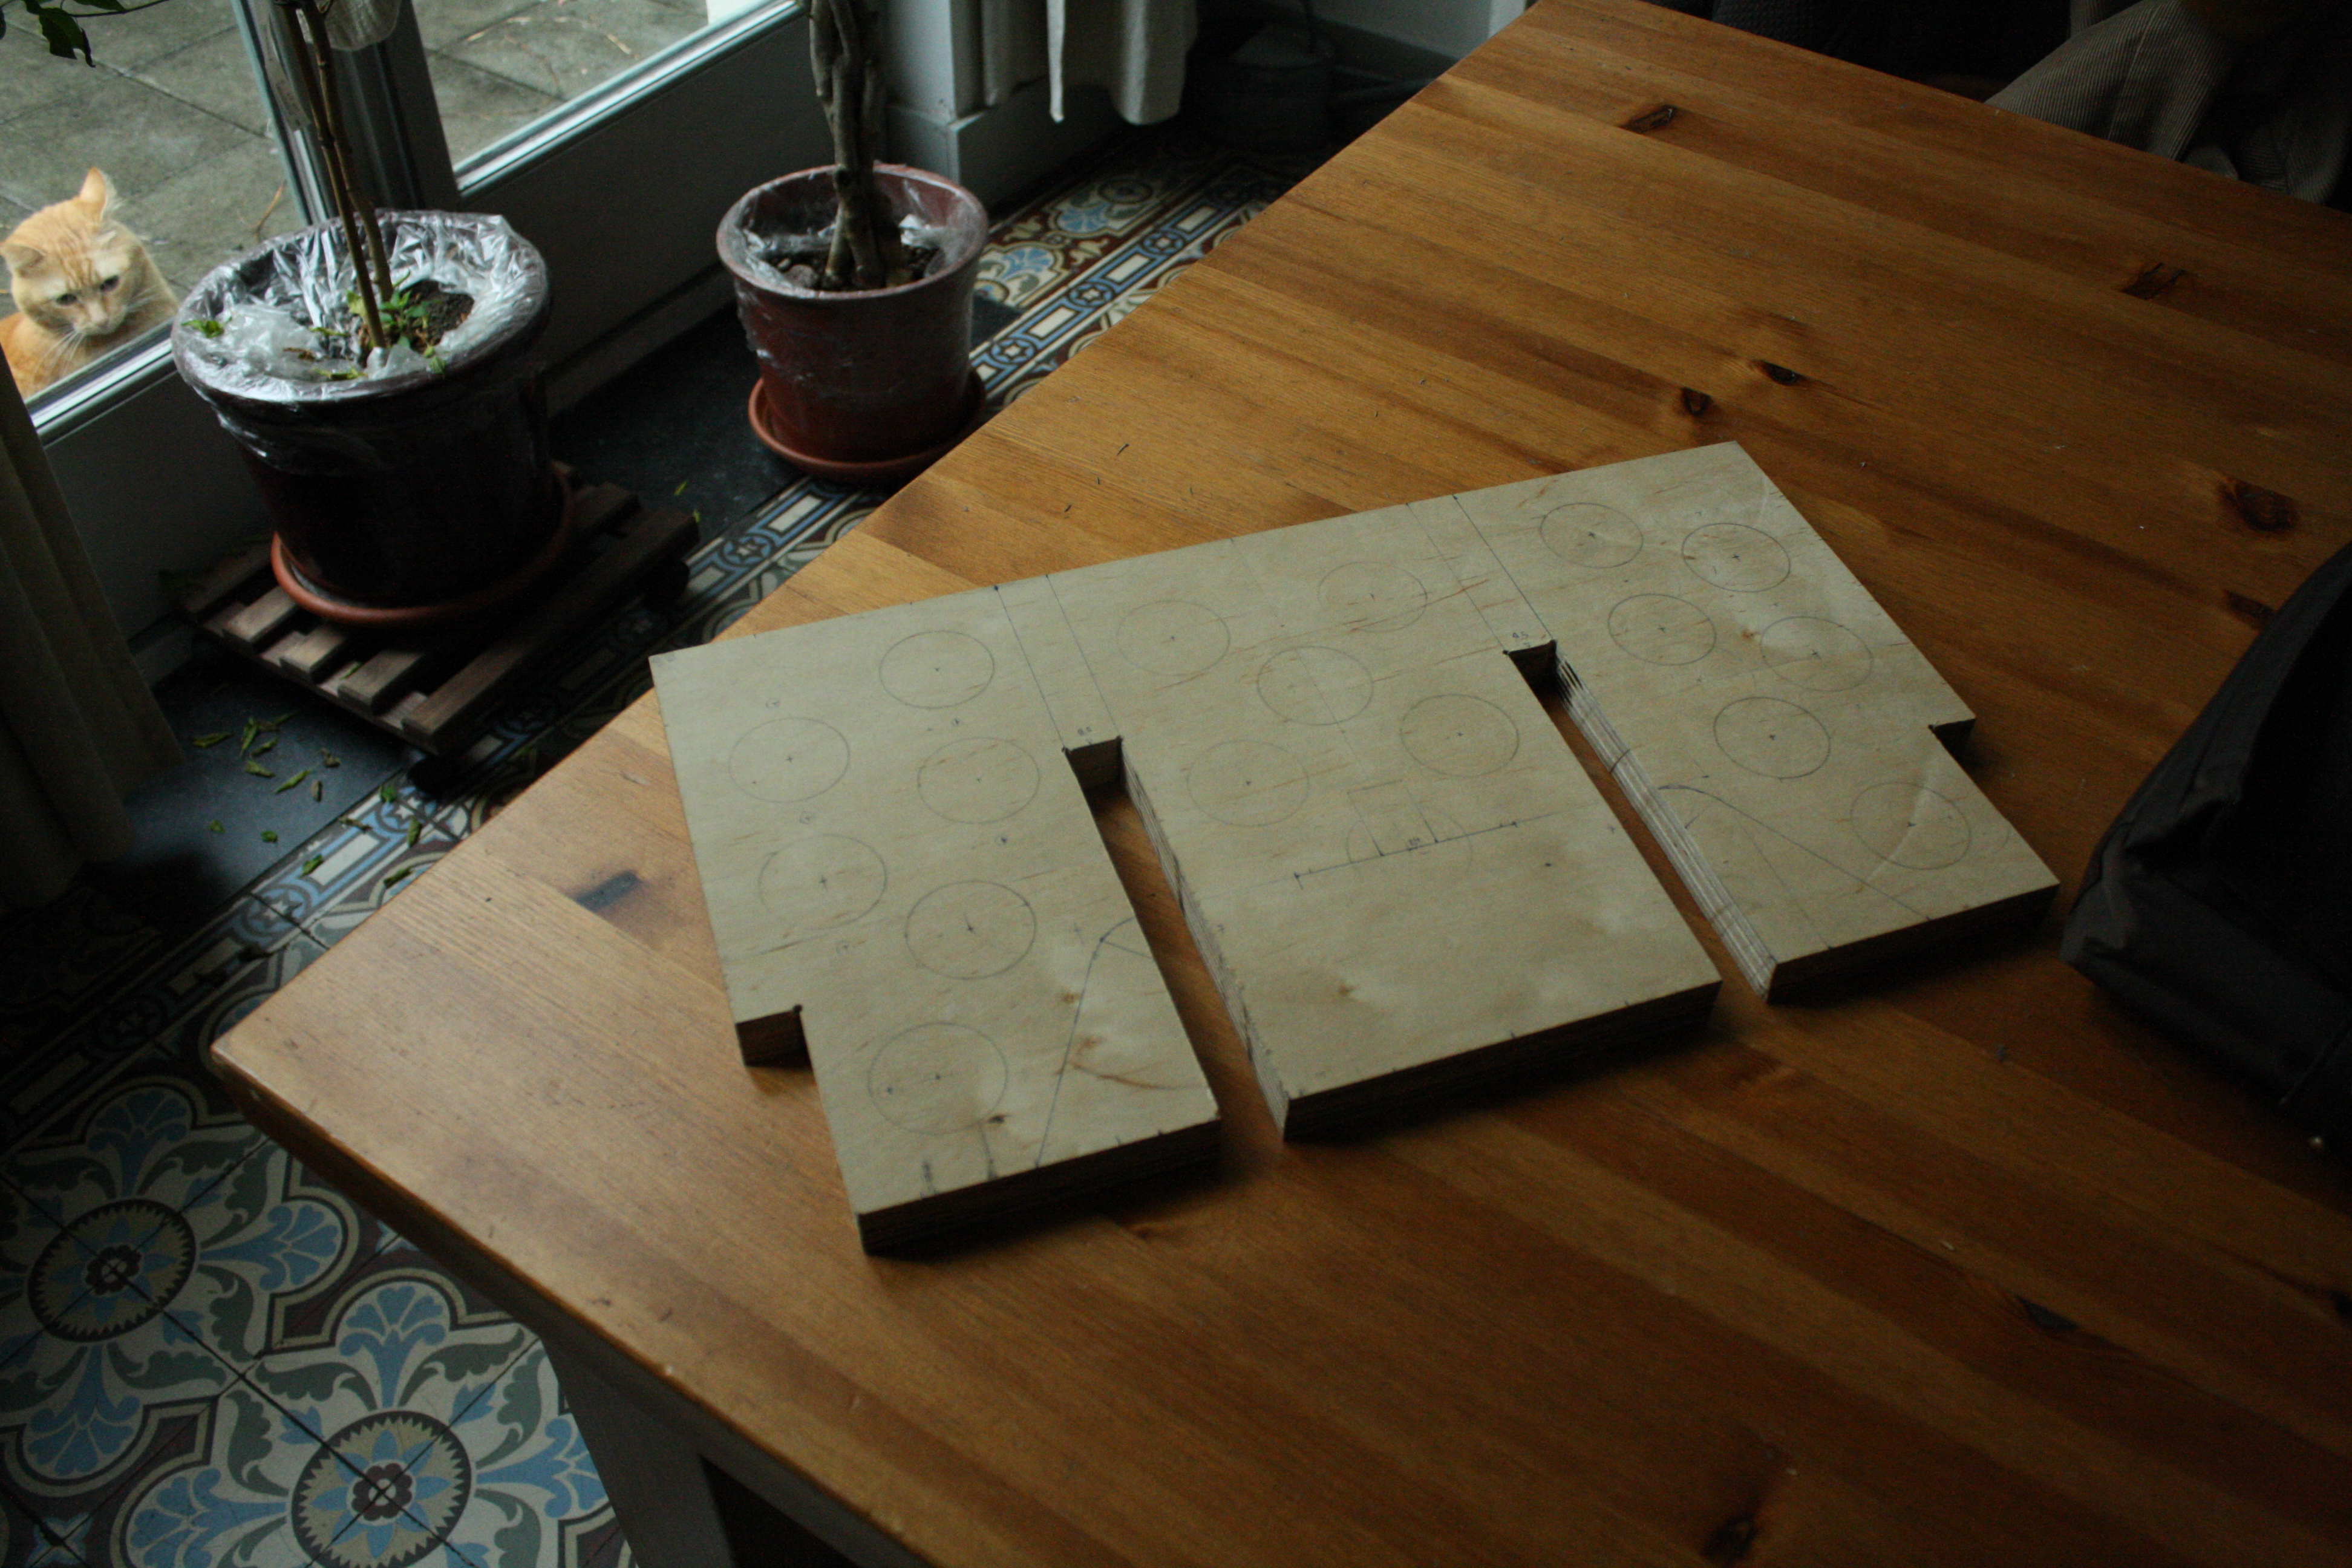 Cutting was done in the basement, design work in the dining room. I ran back and forth a lot just to make photos. Needless to say the basement was not SLR-friendly...
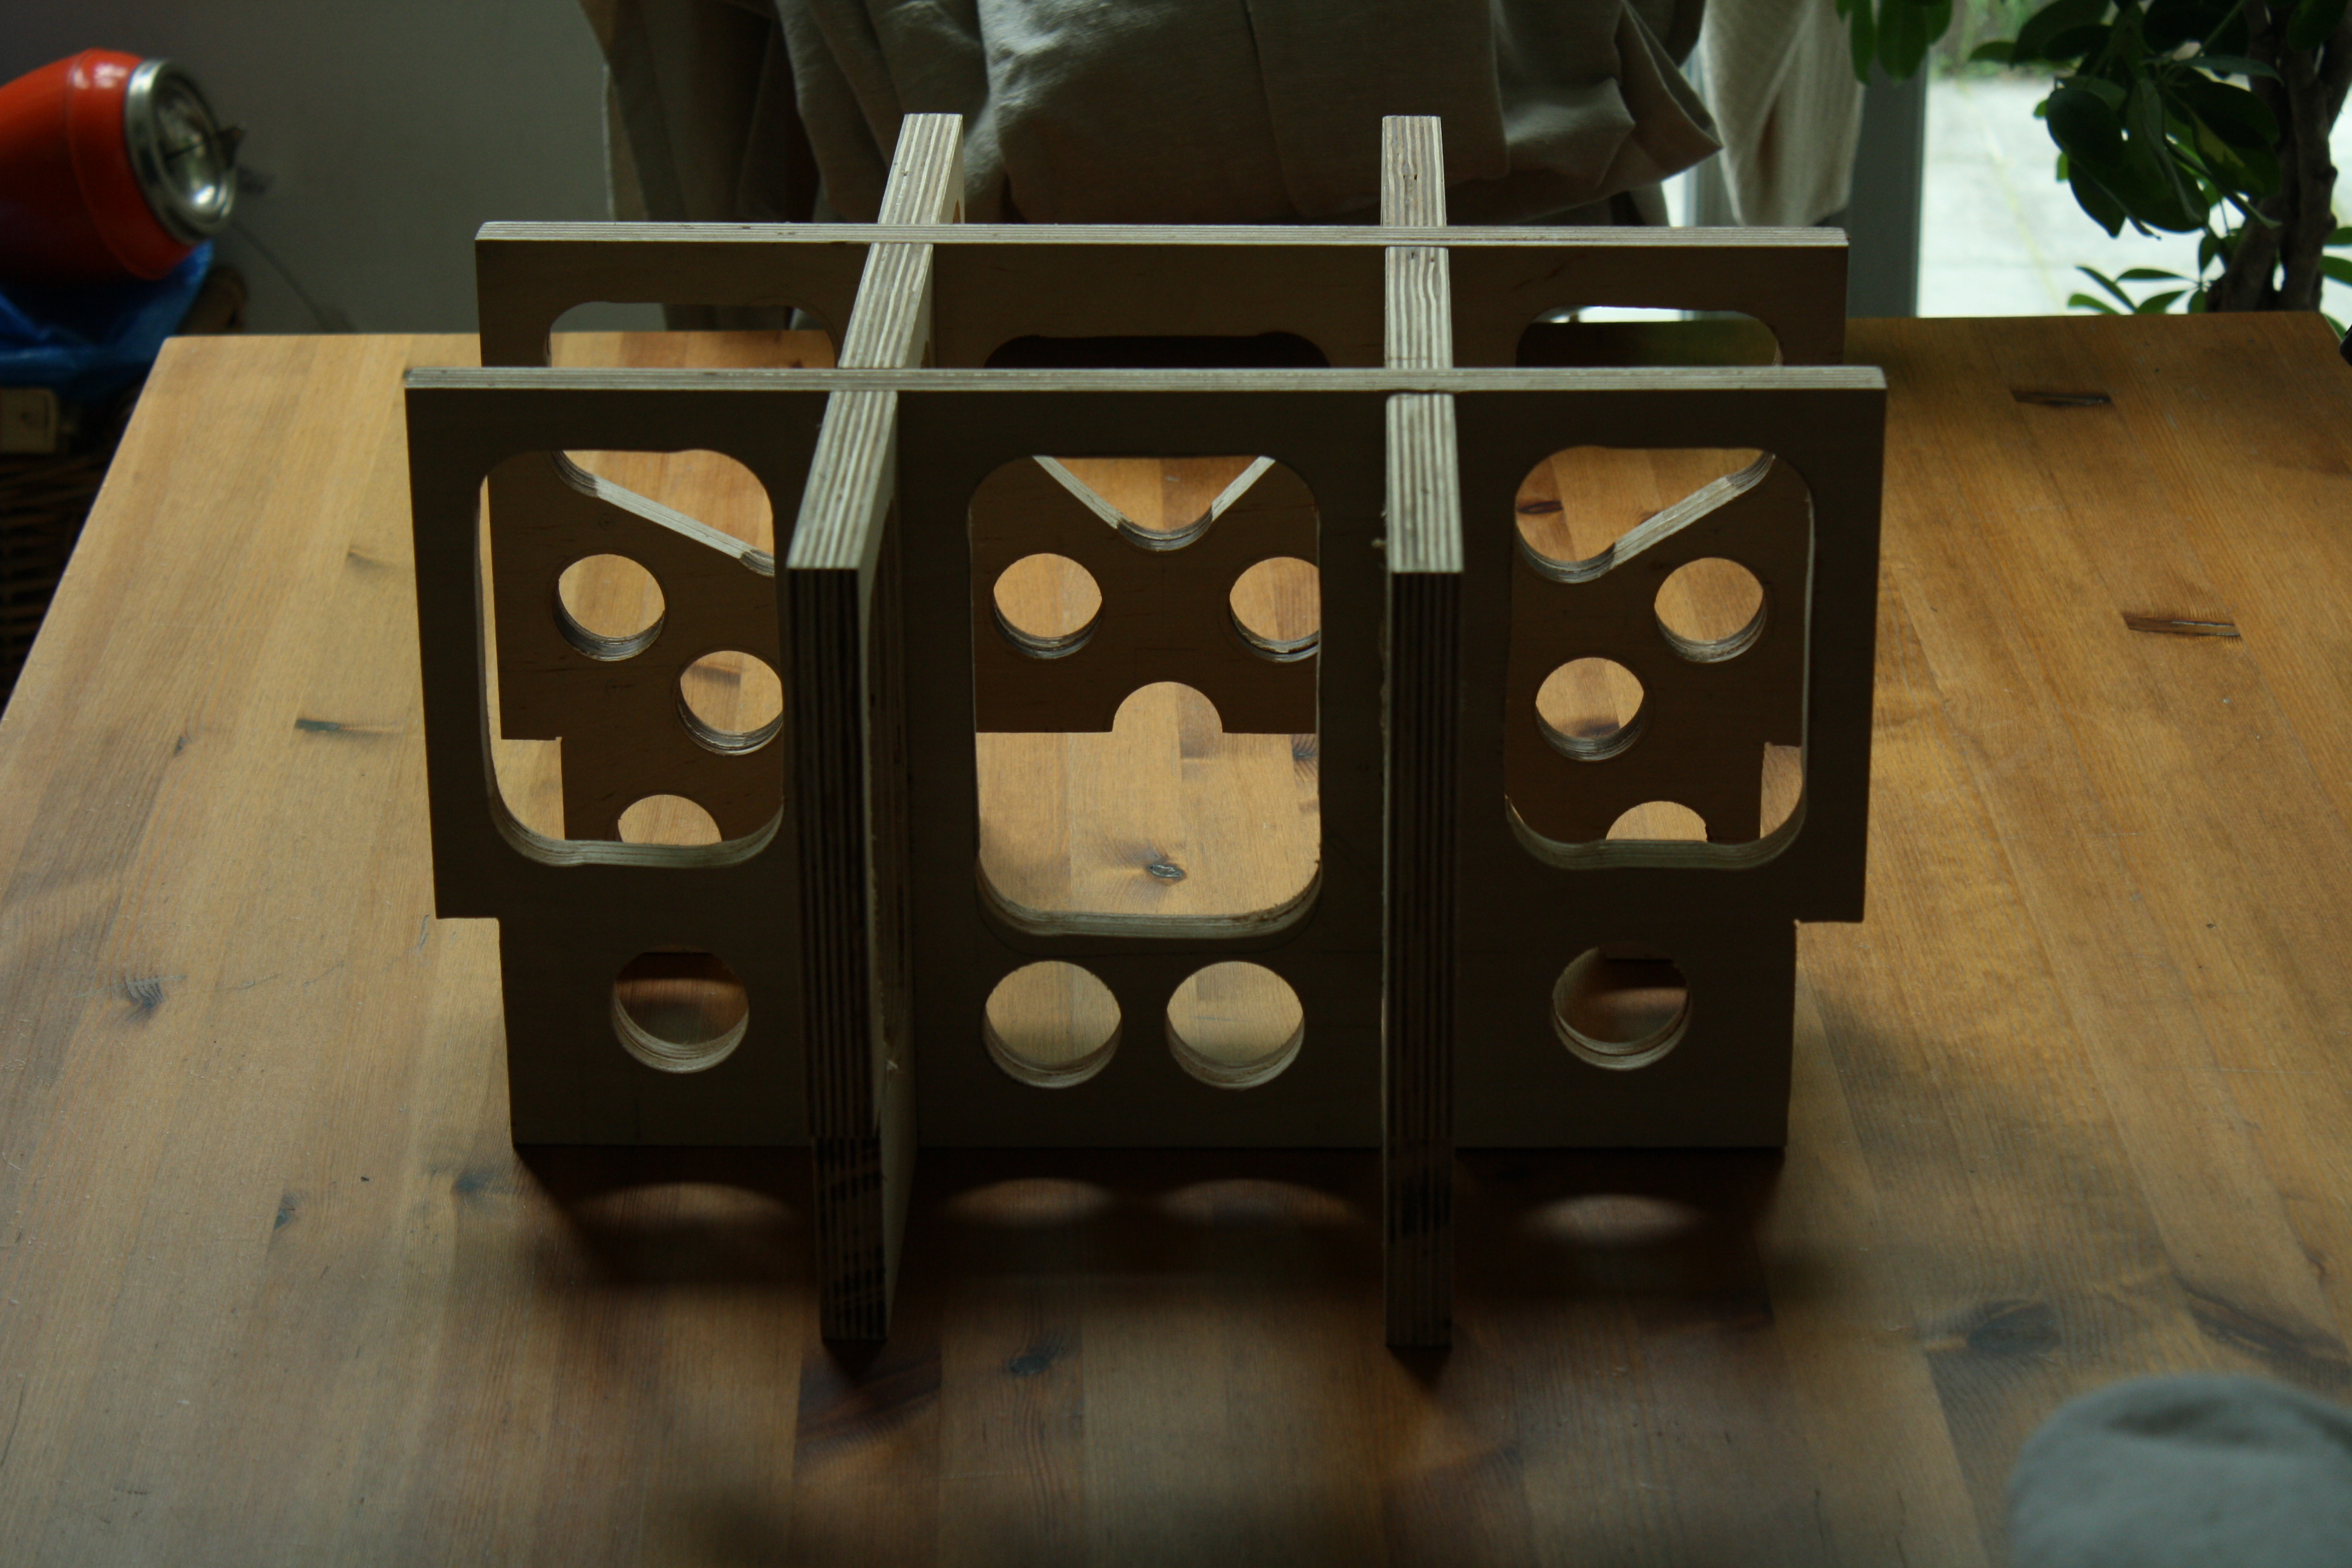 All internal baffles connected as crossbracing.
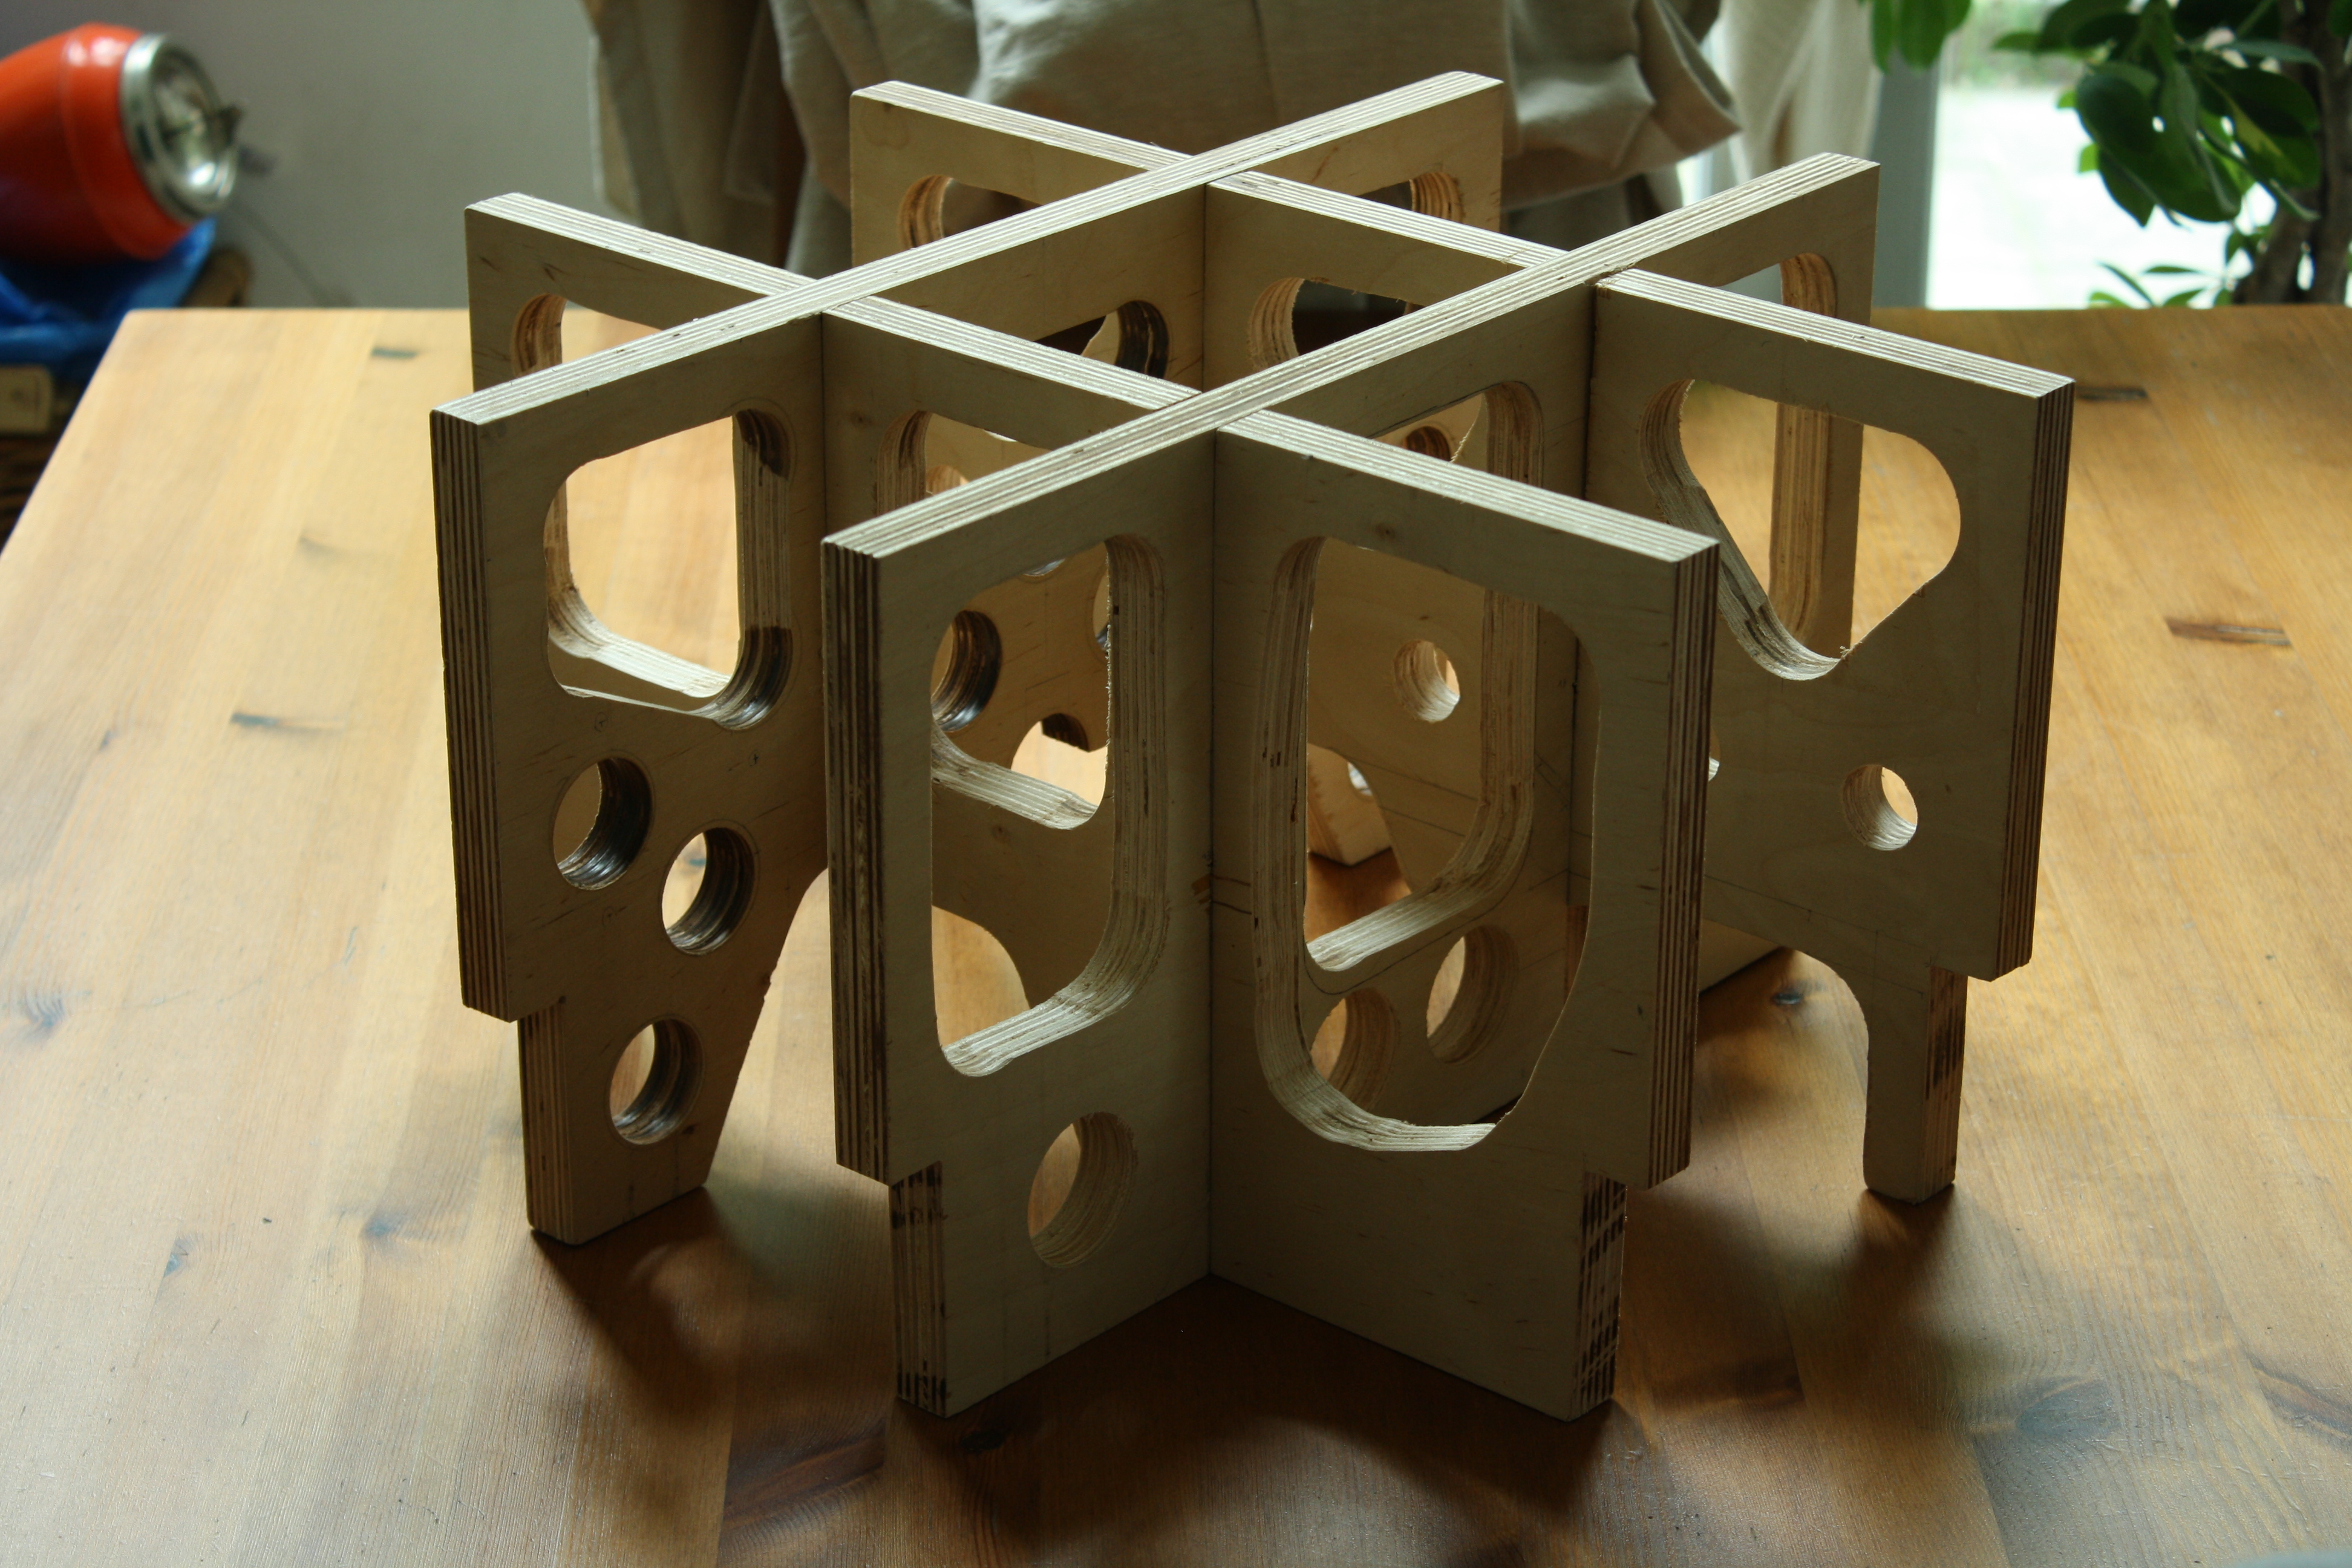 Pretty ain't it?
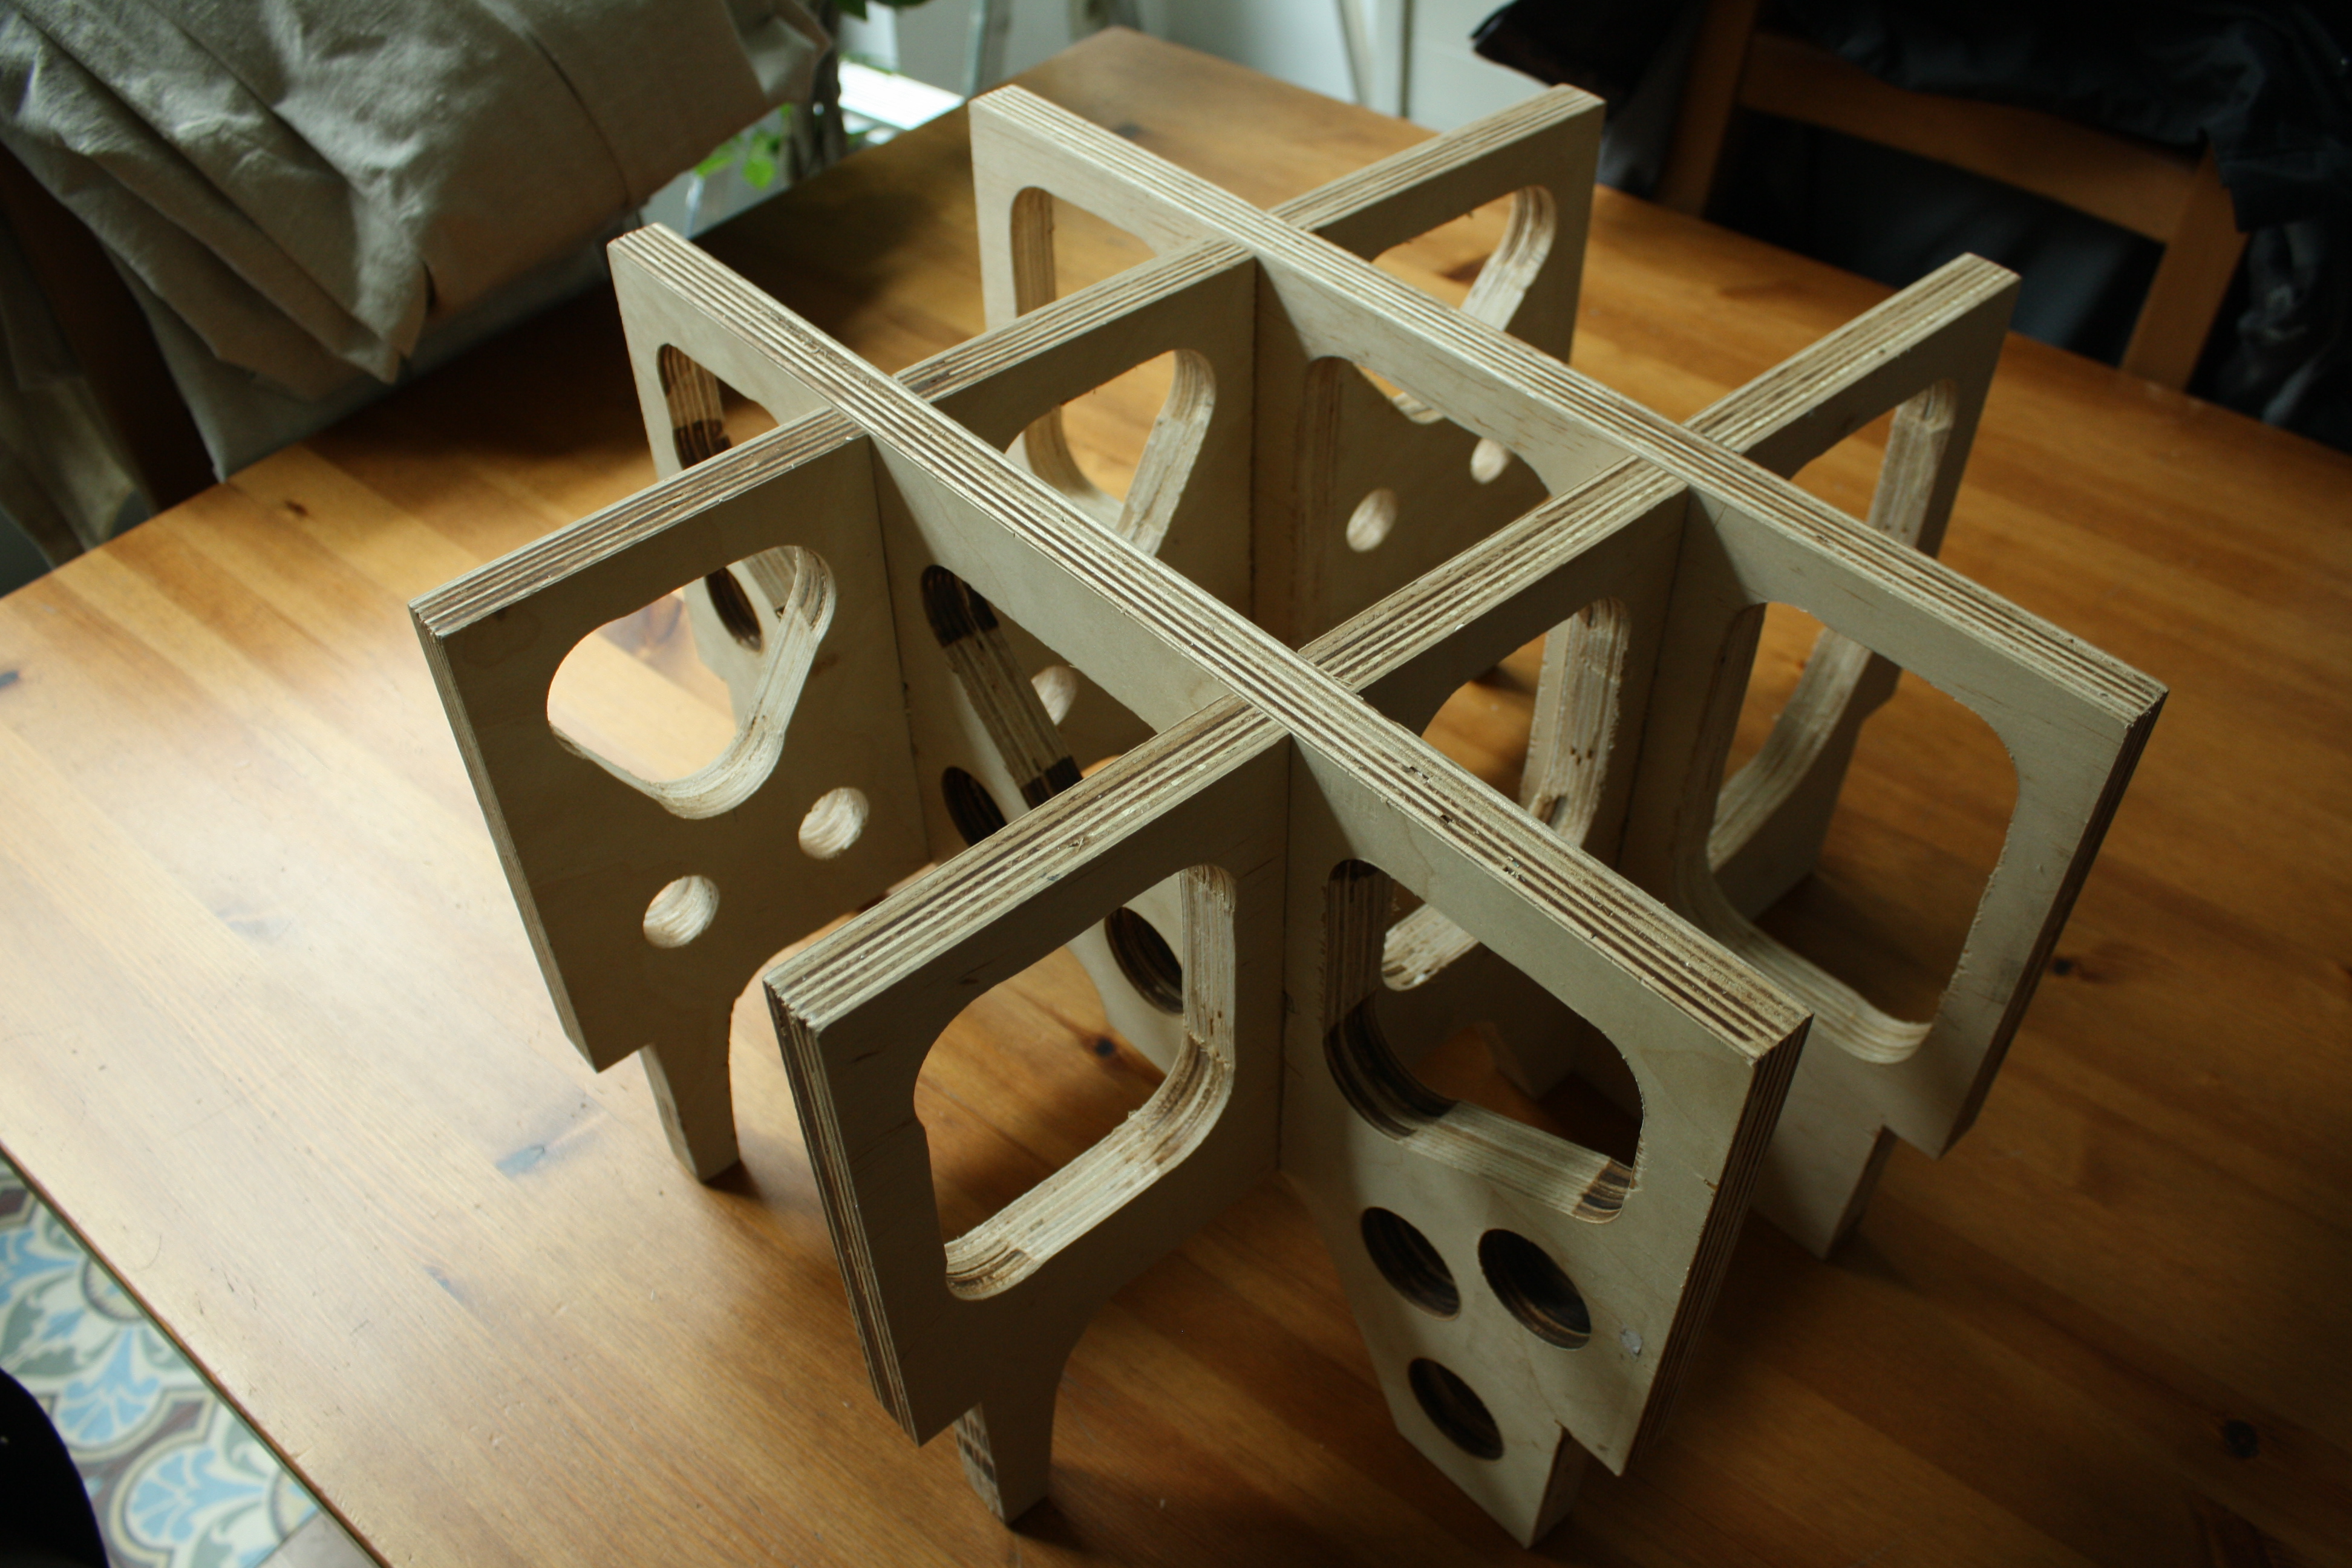 43
43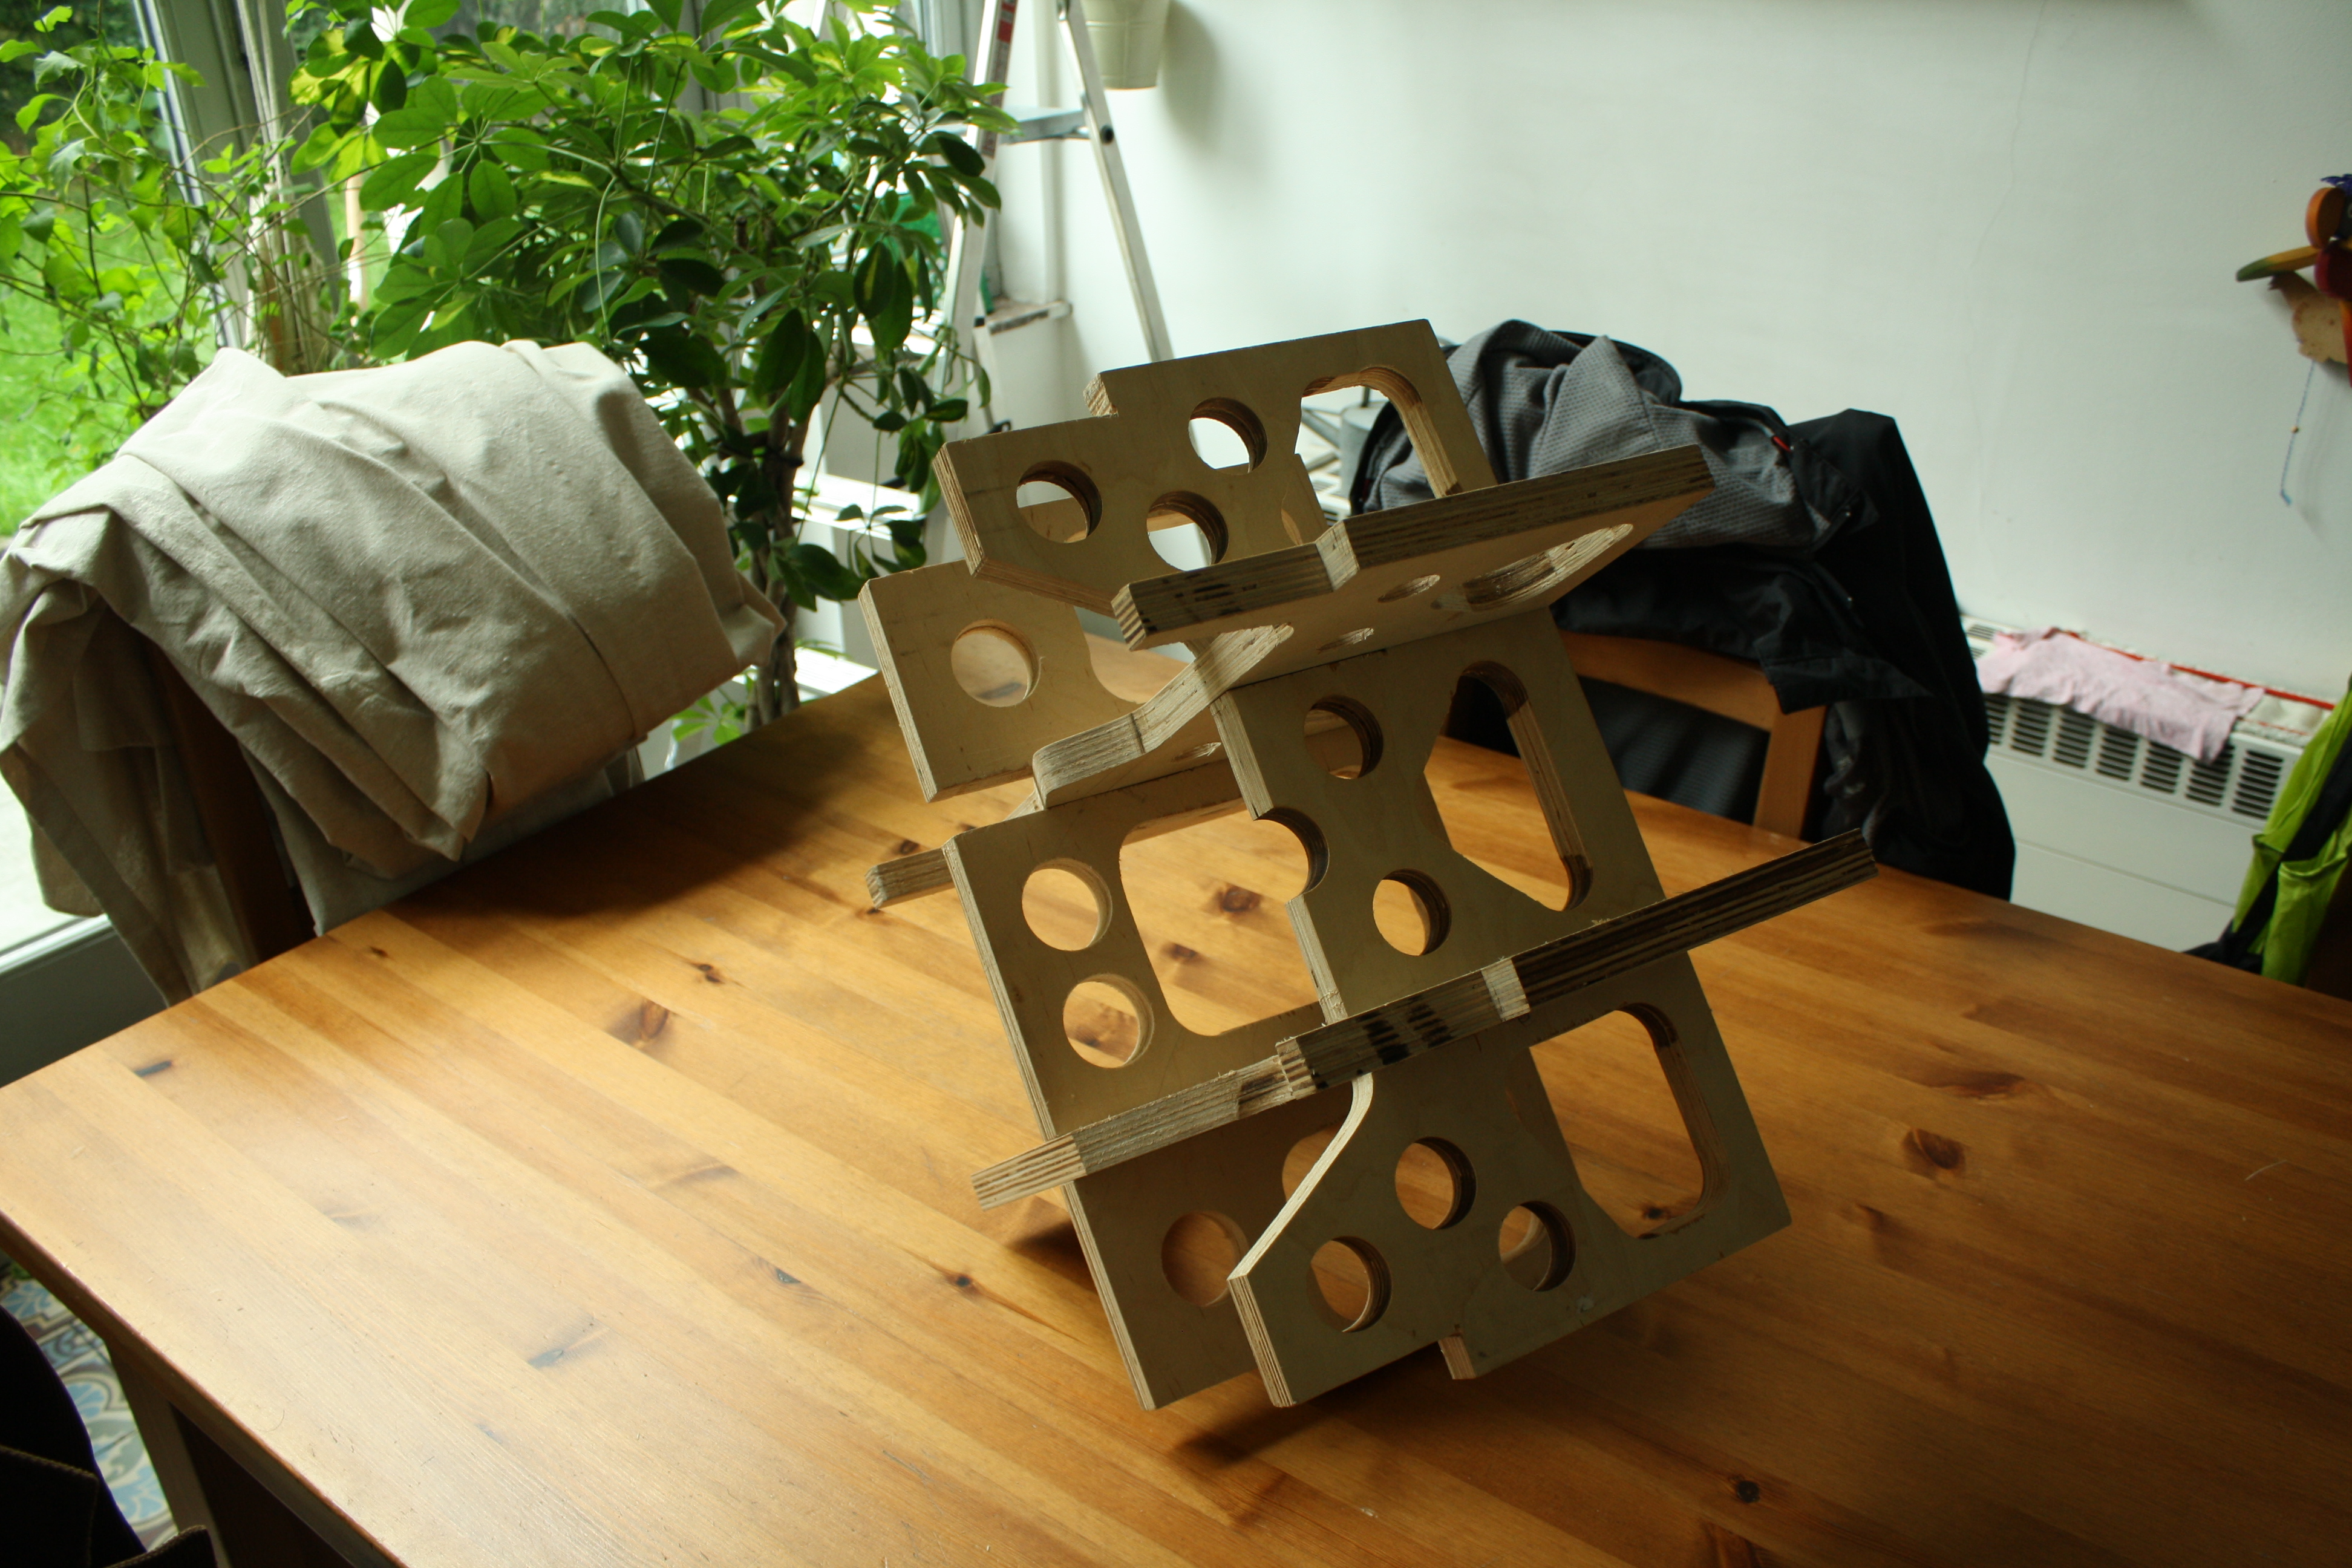 44
44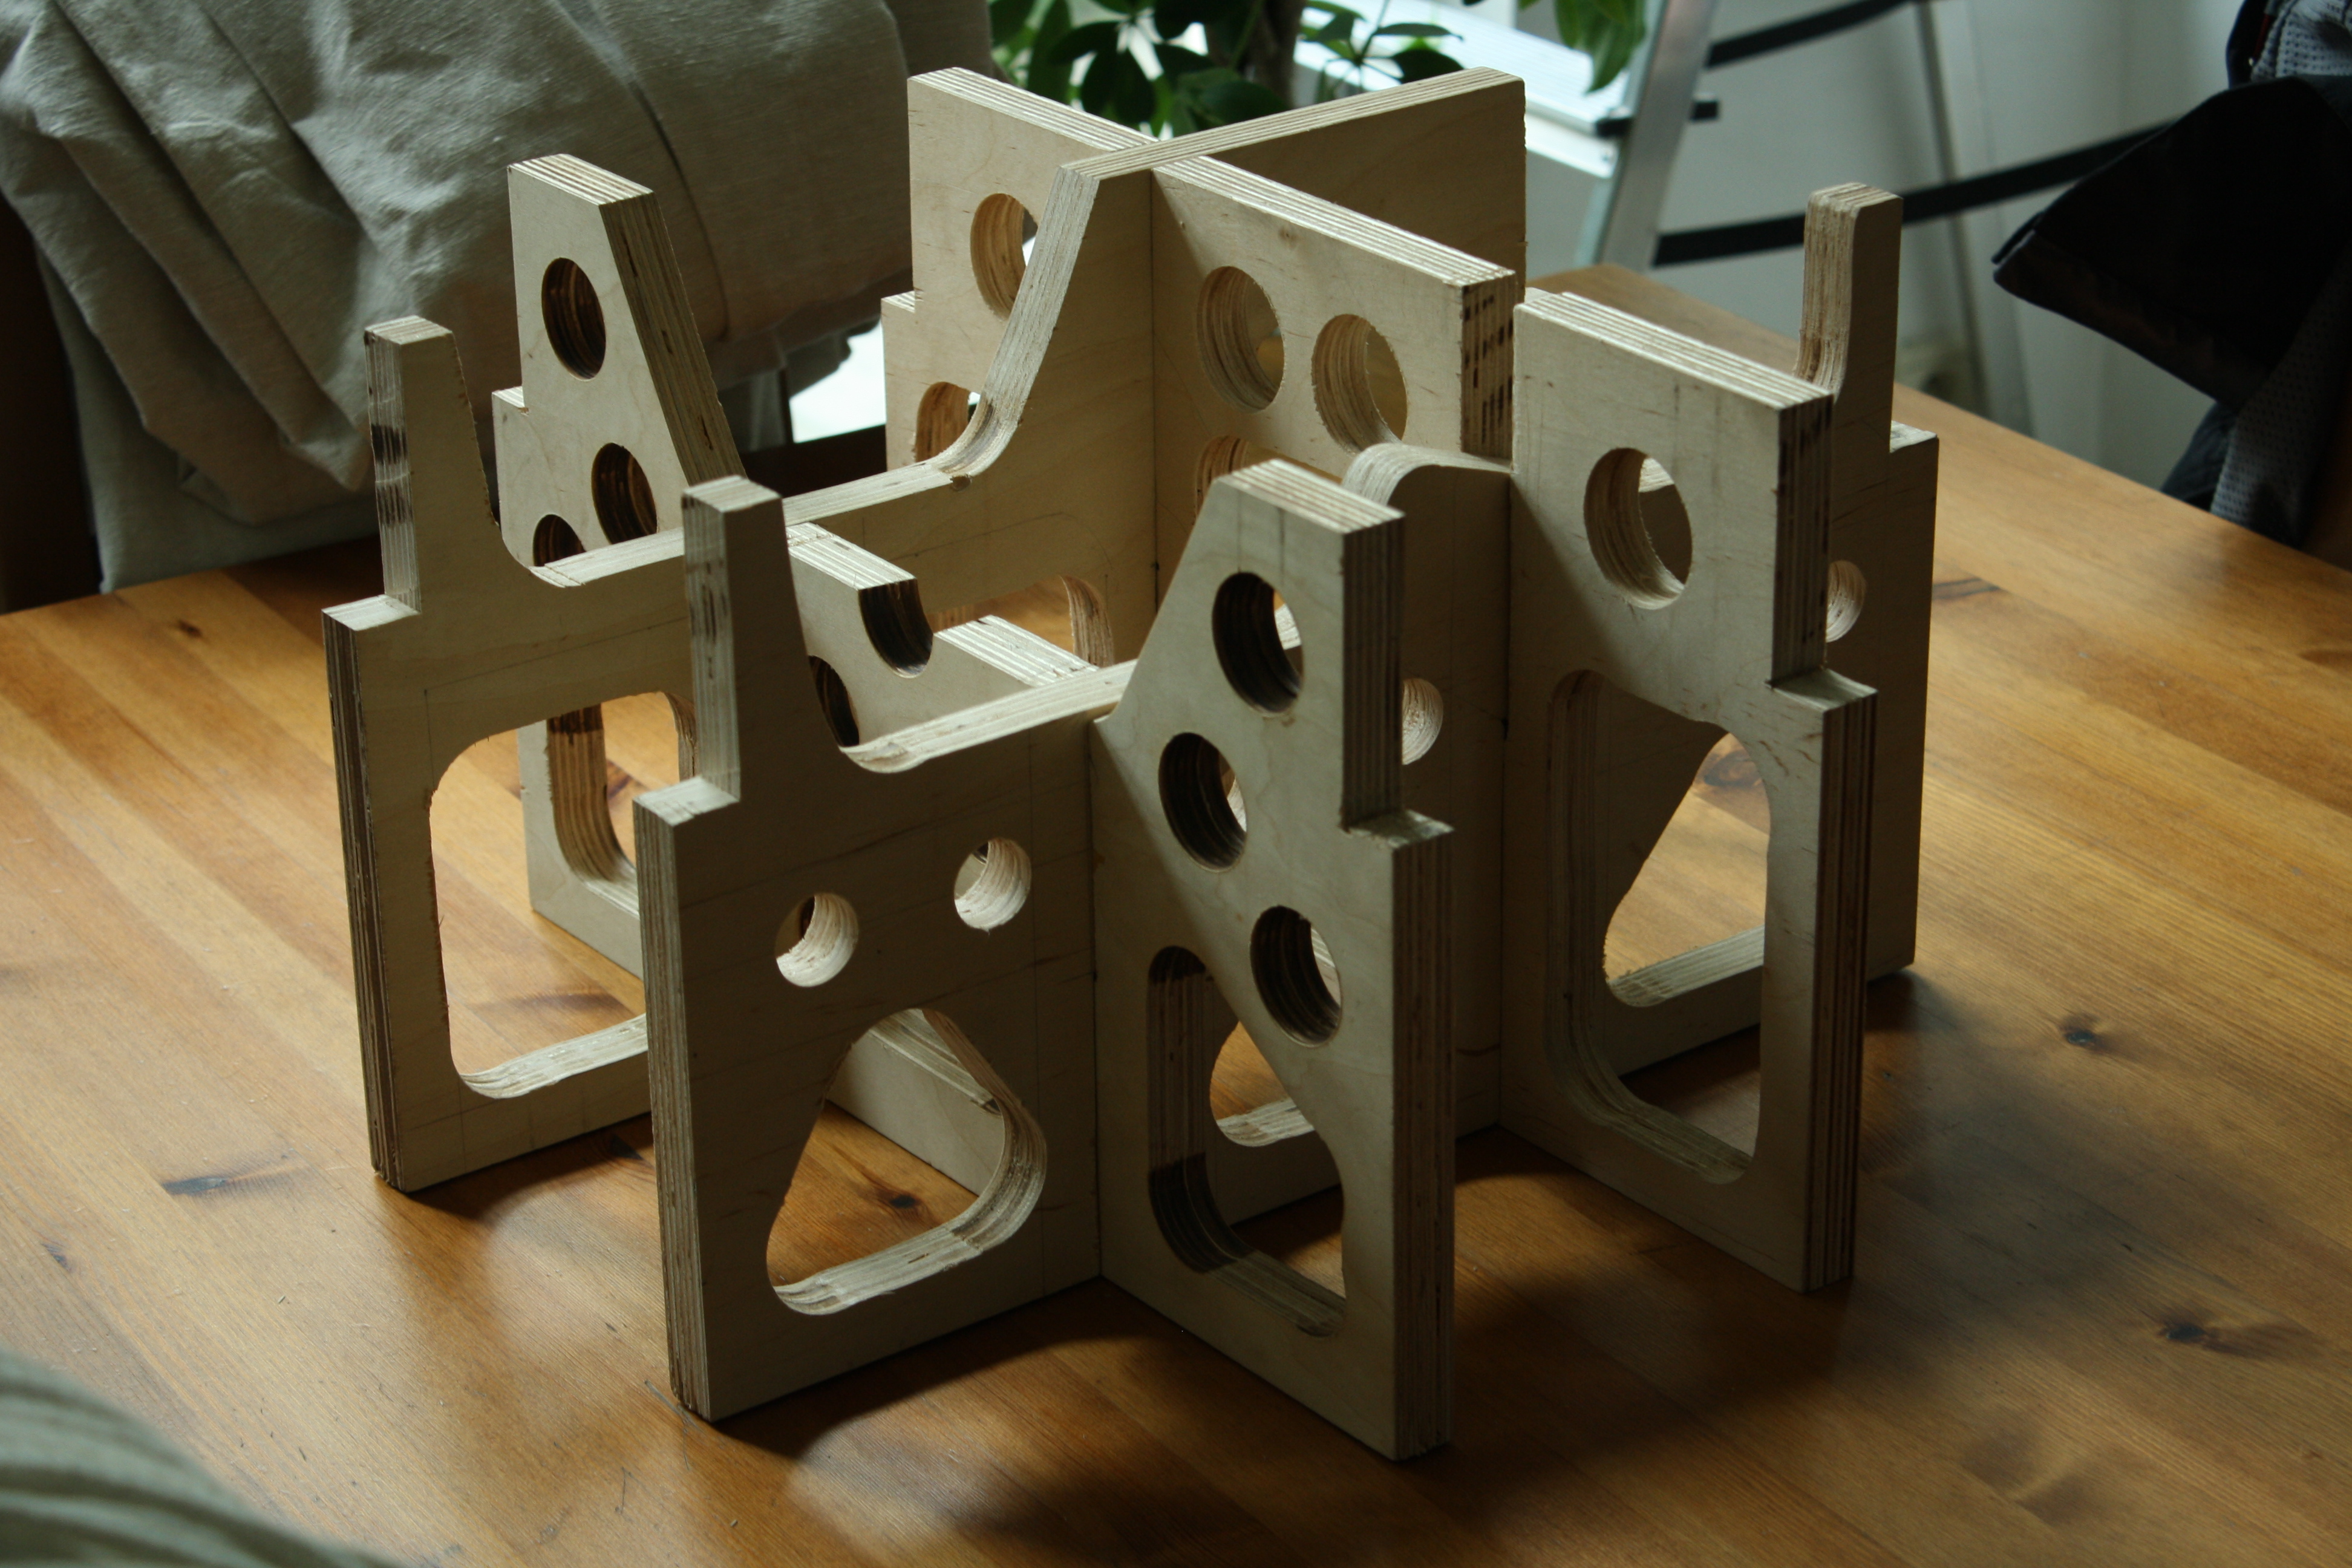 45
45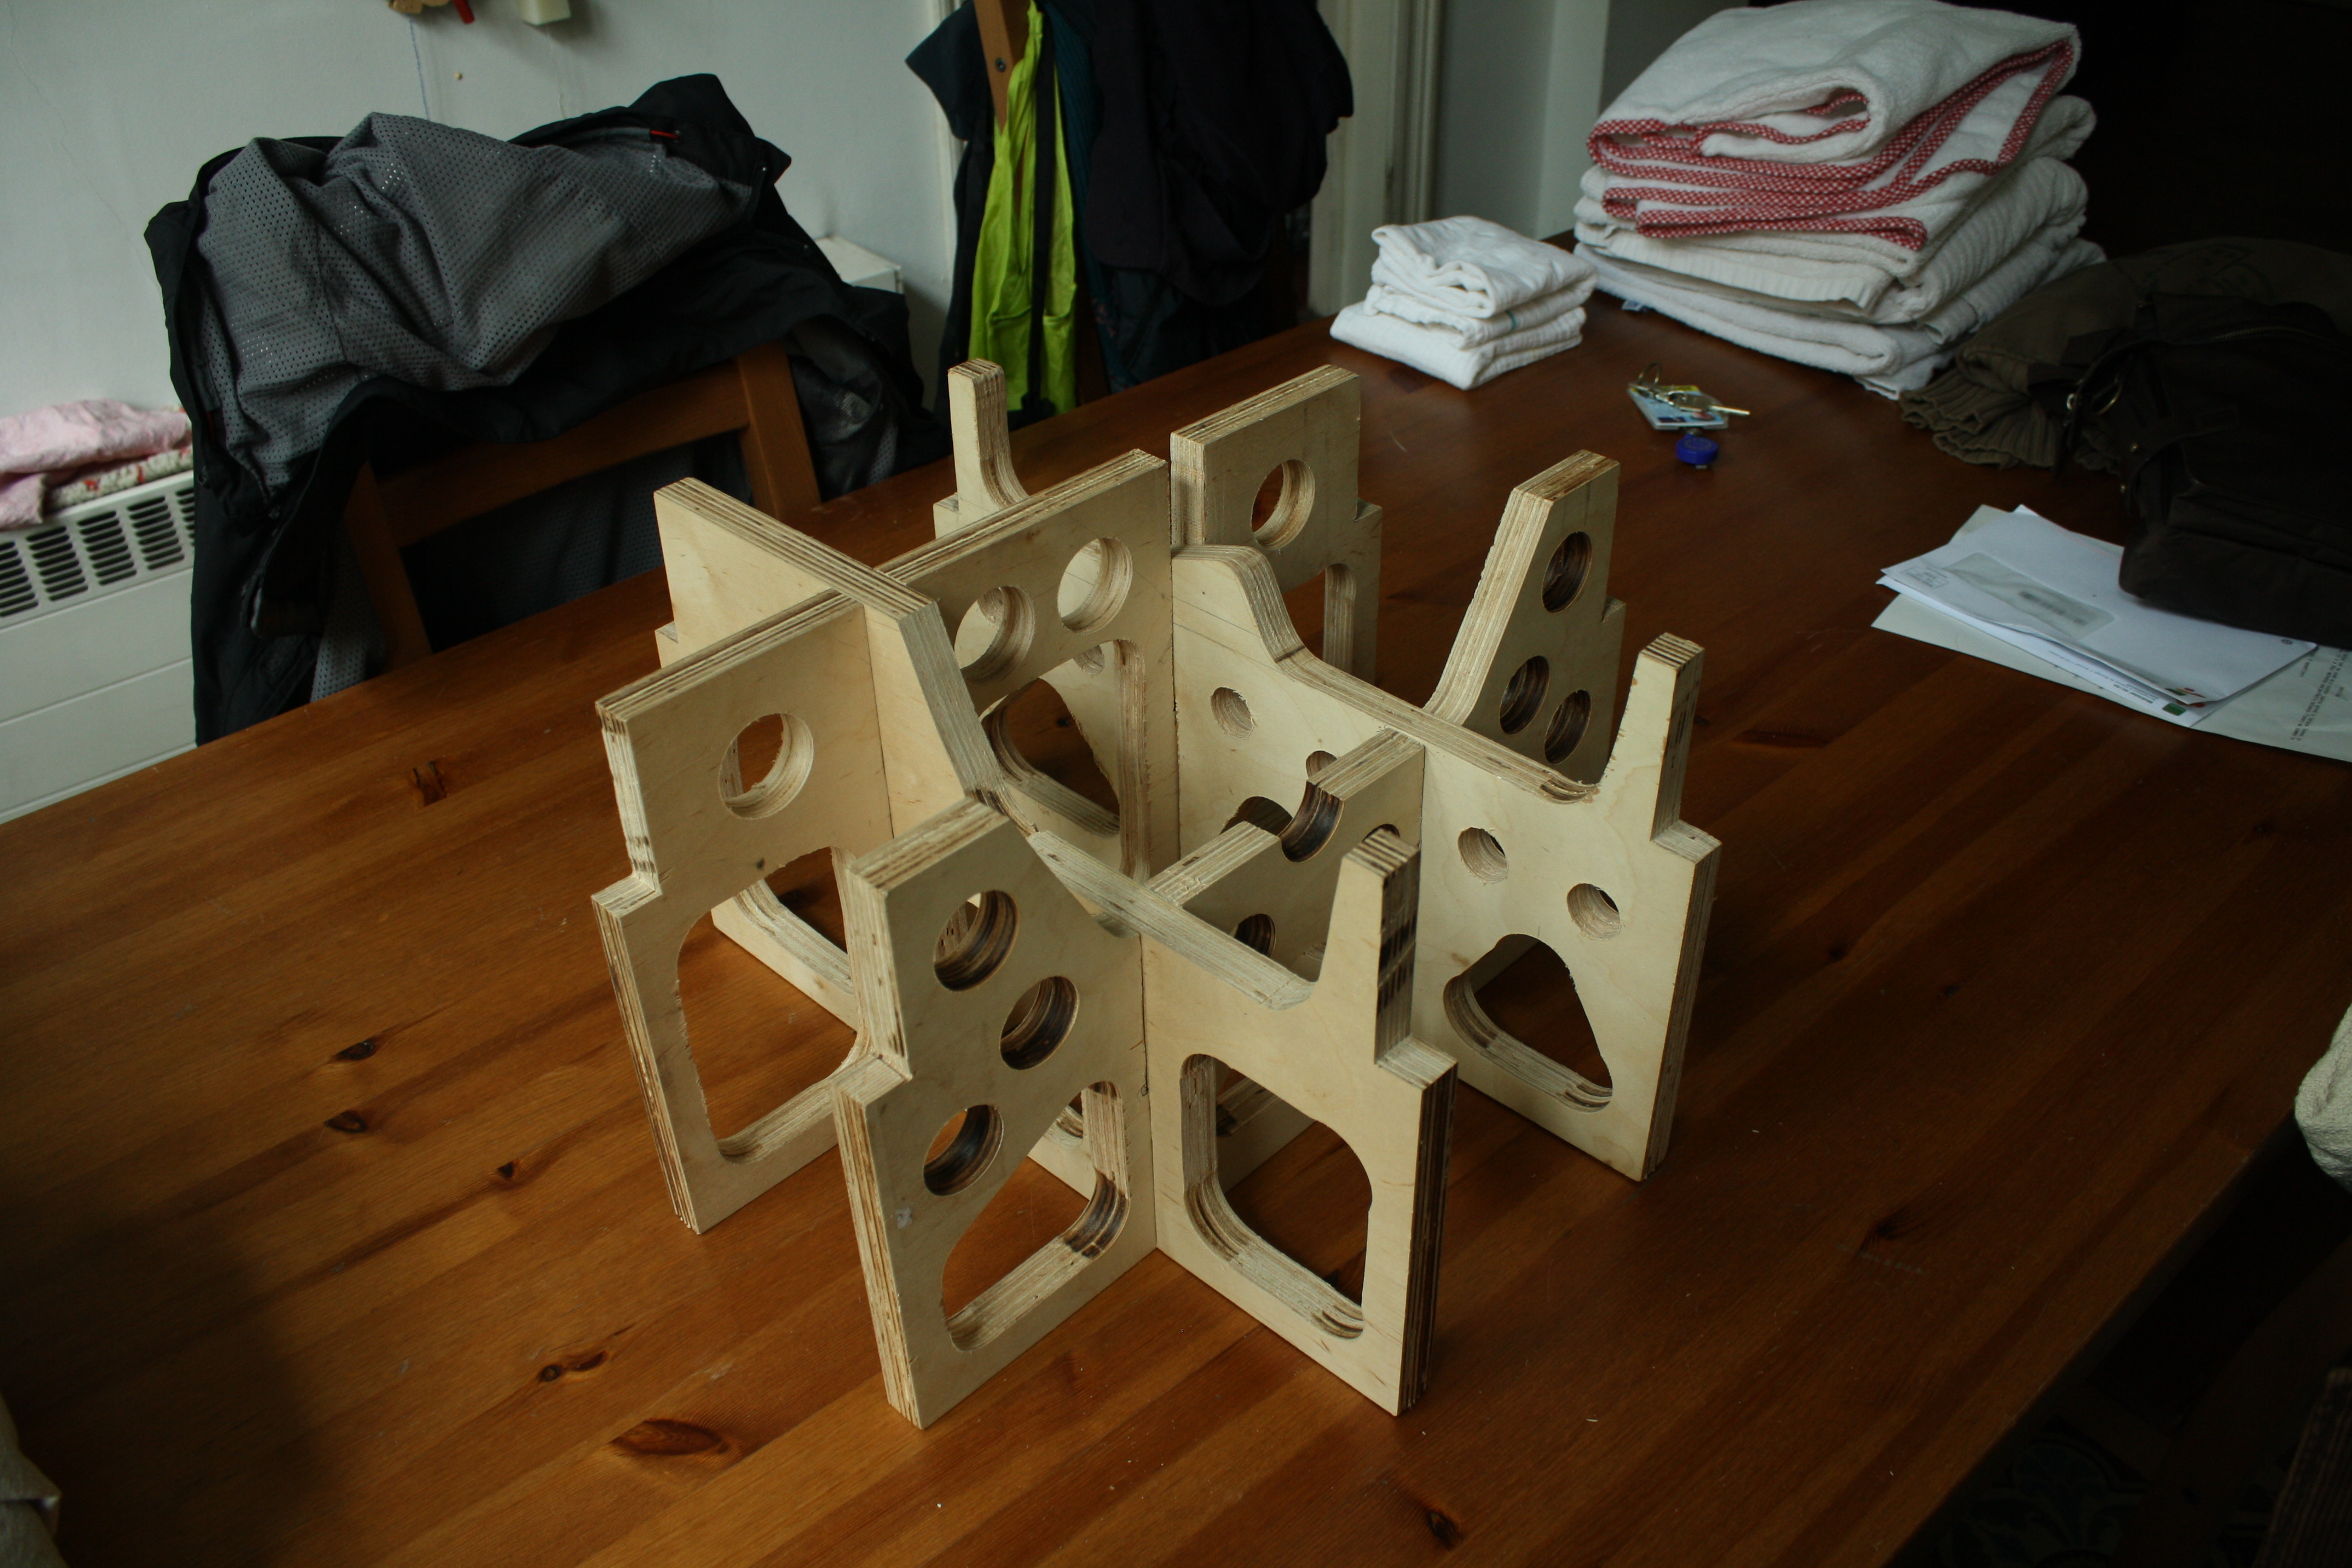 46
46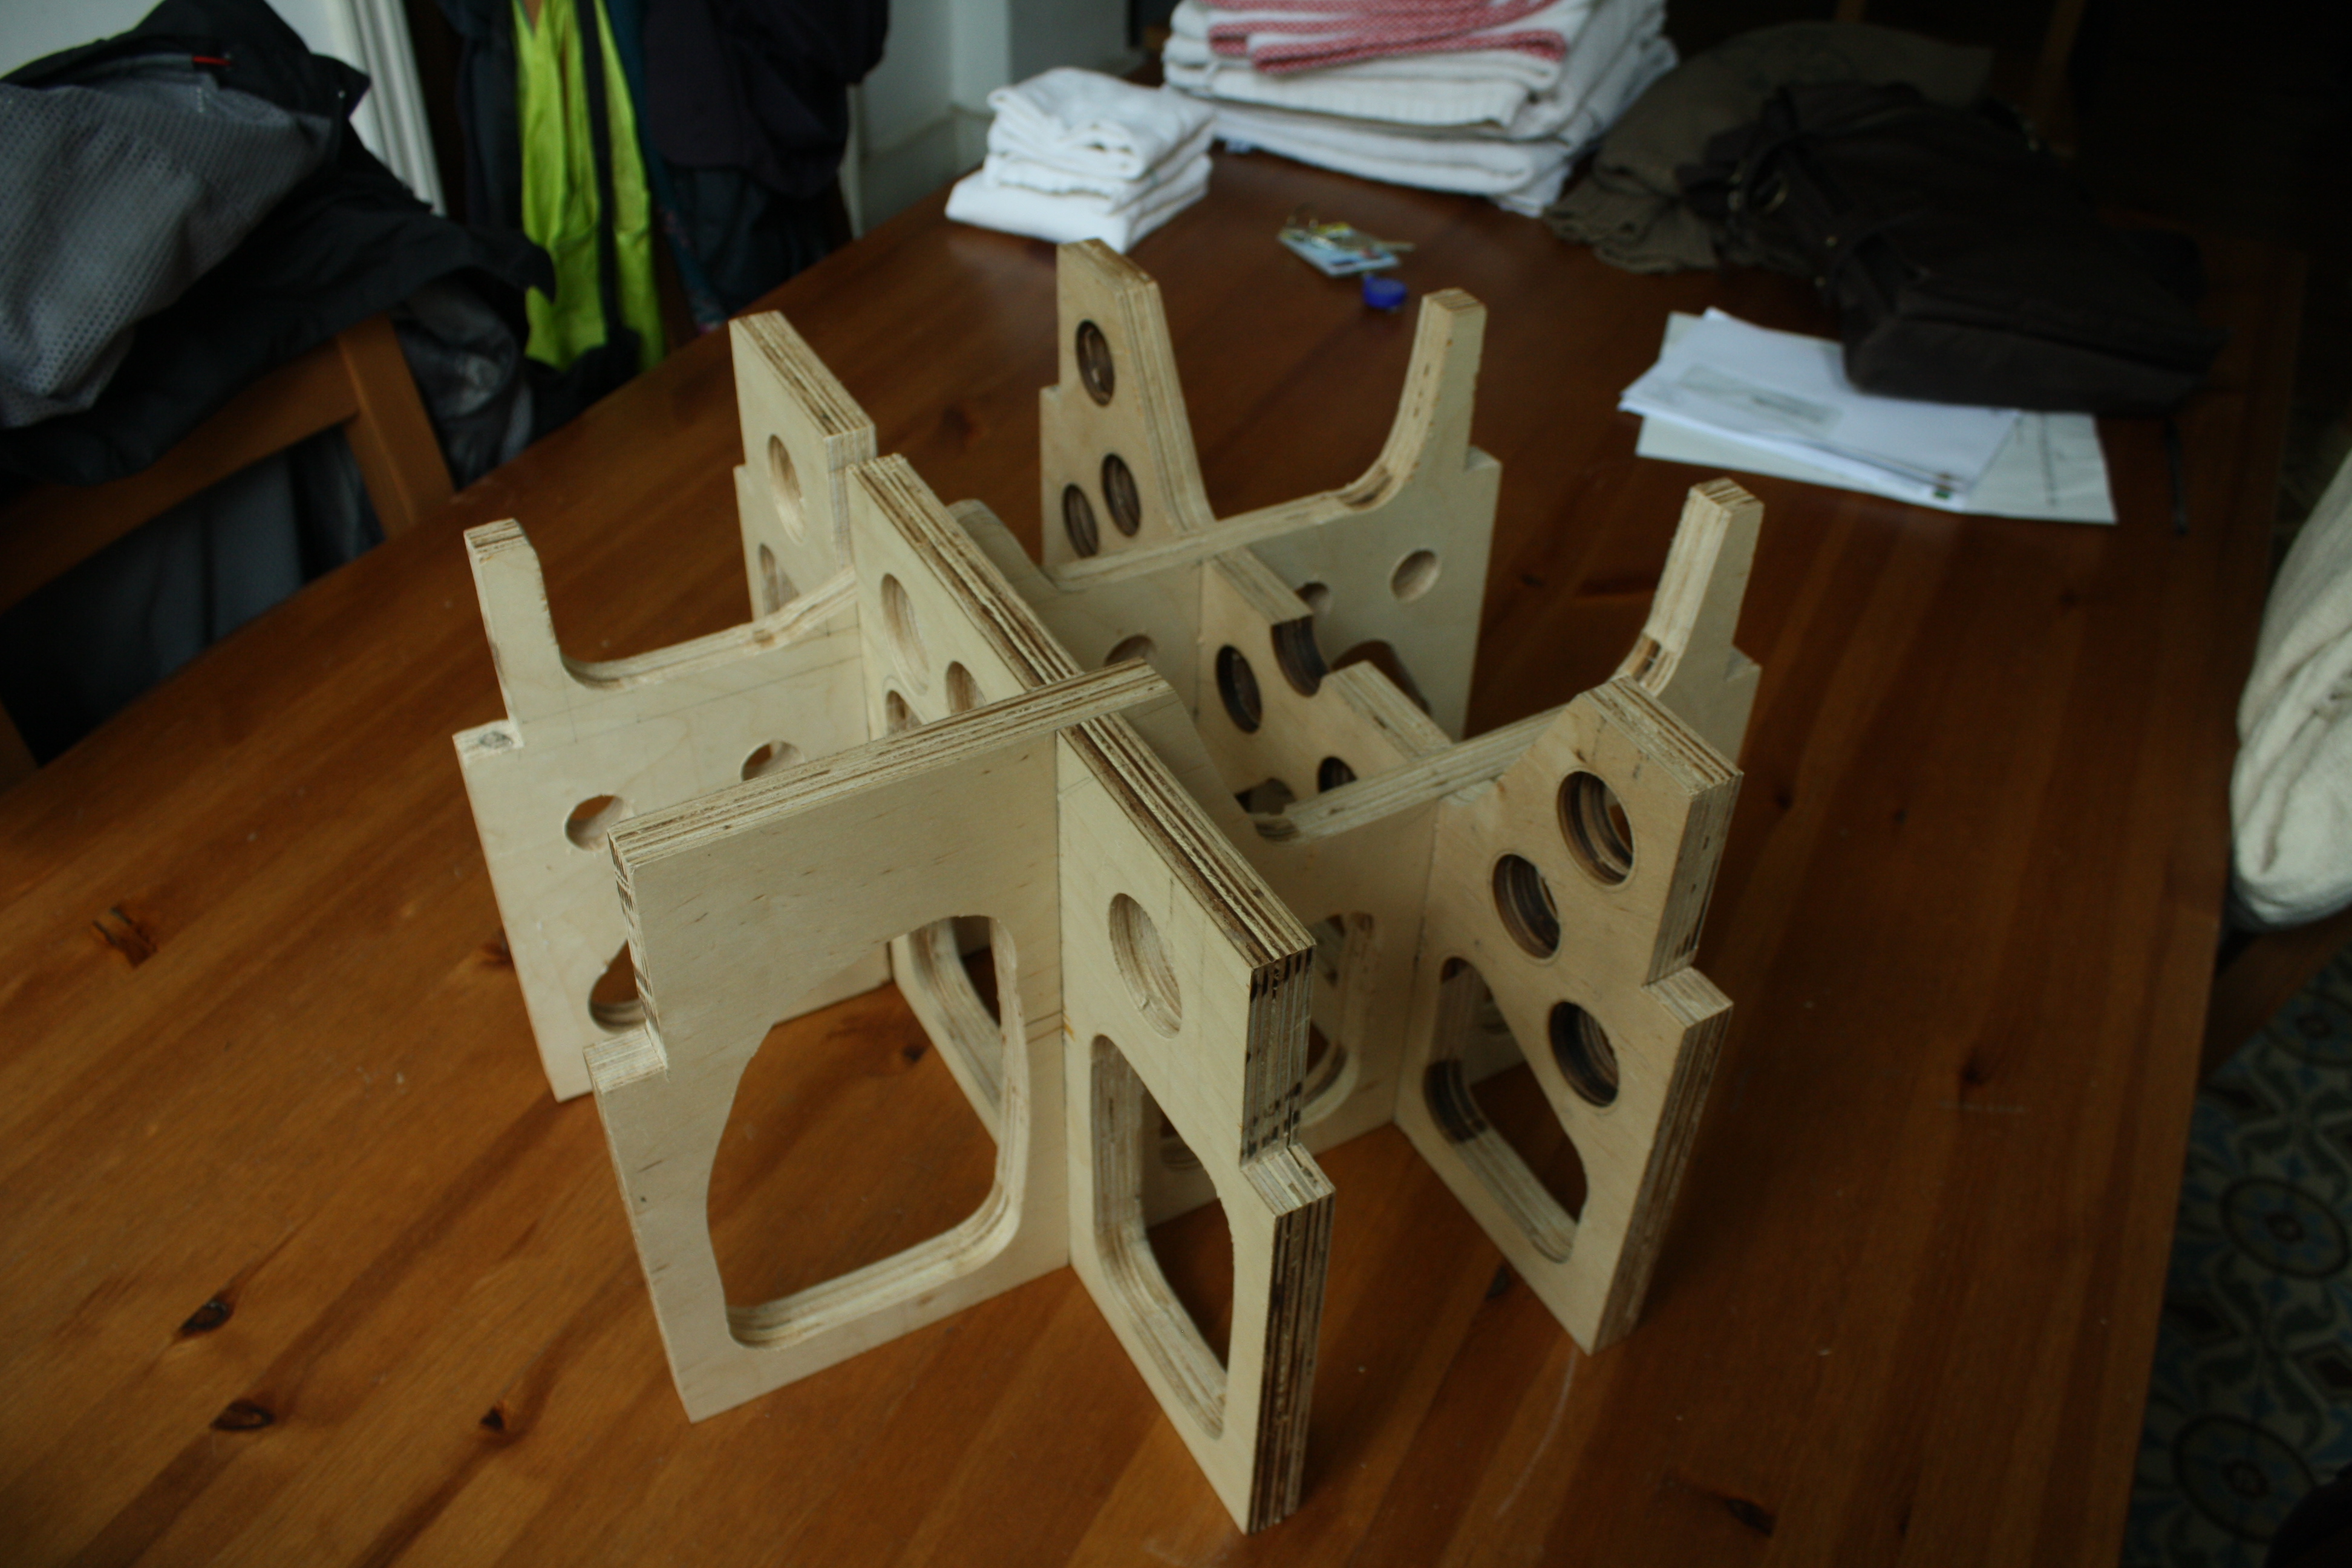 And more beauty shots
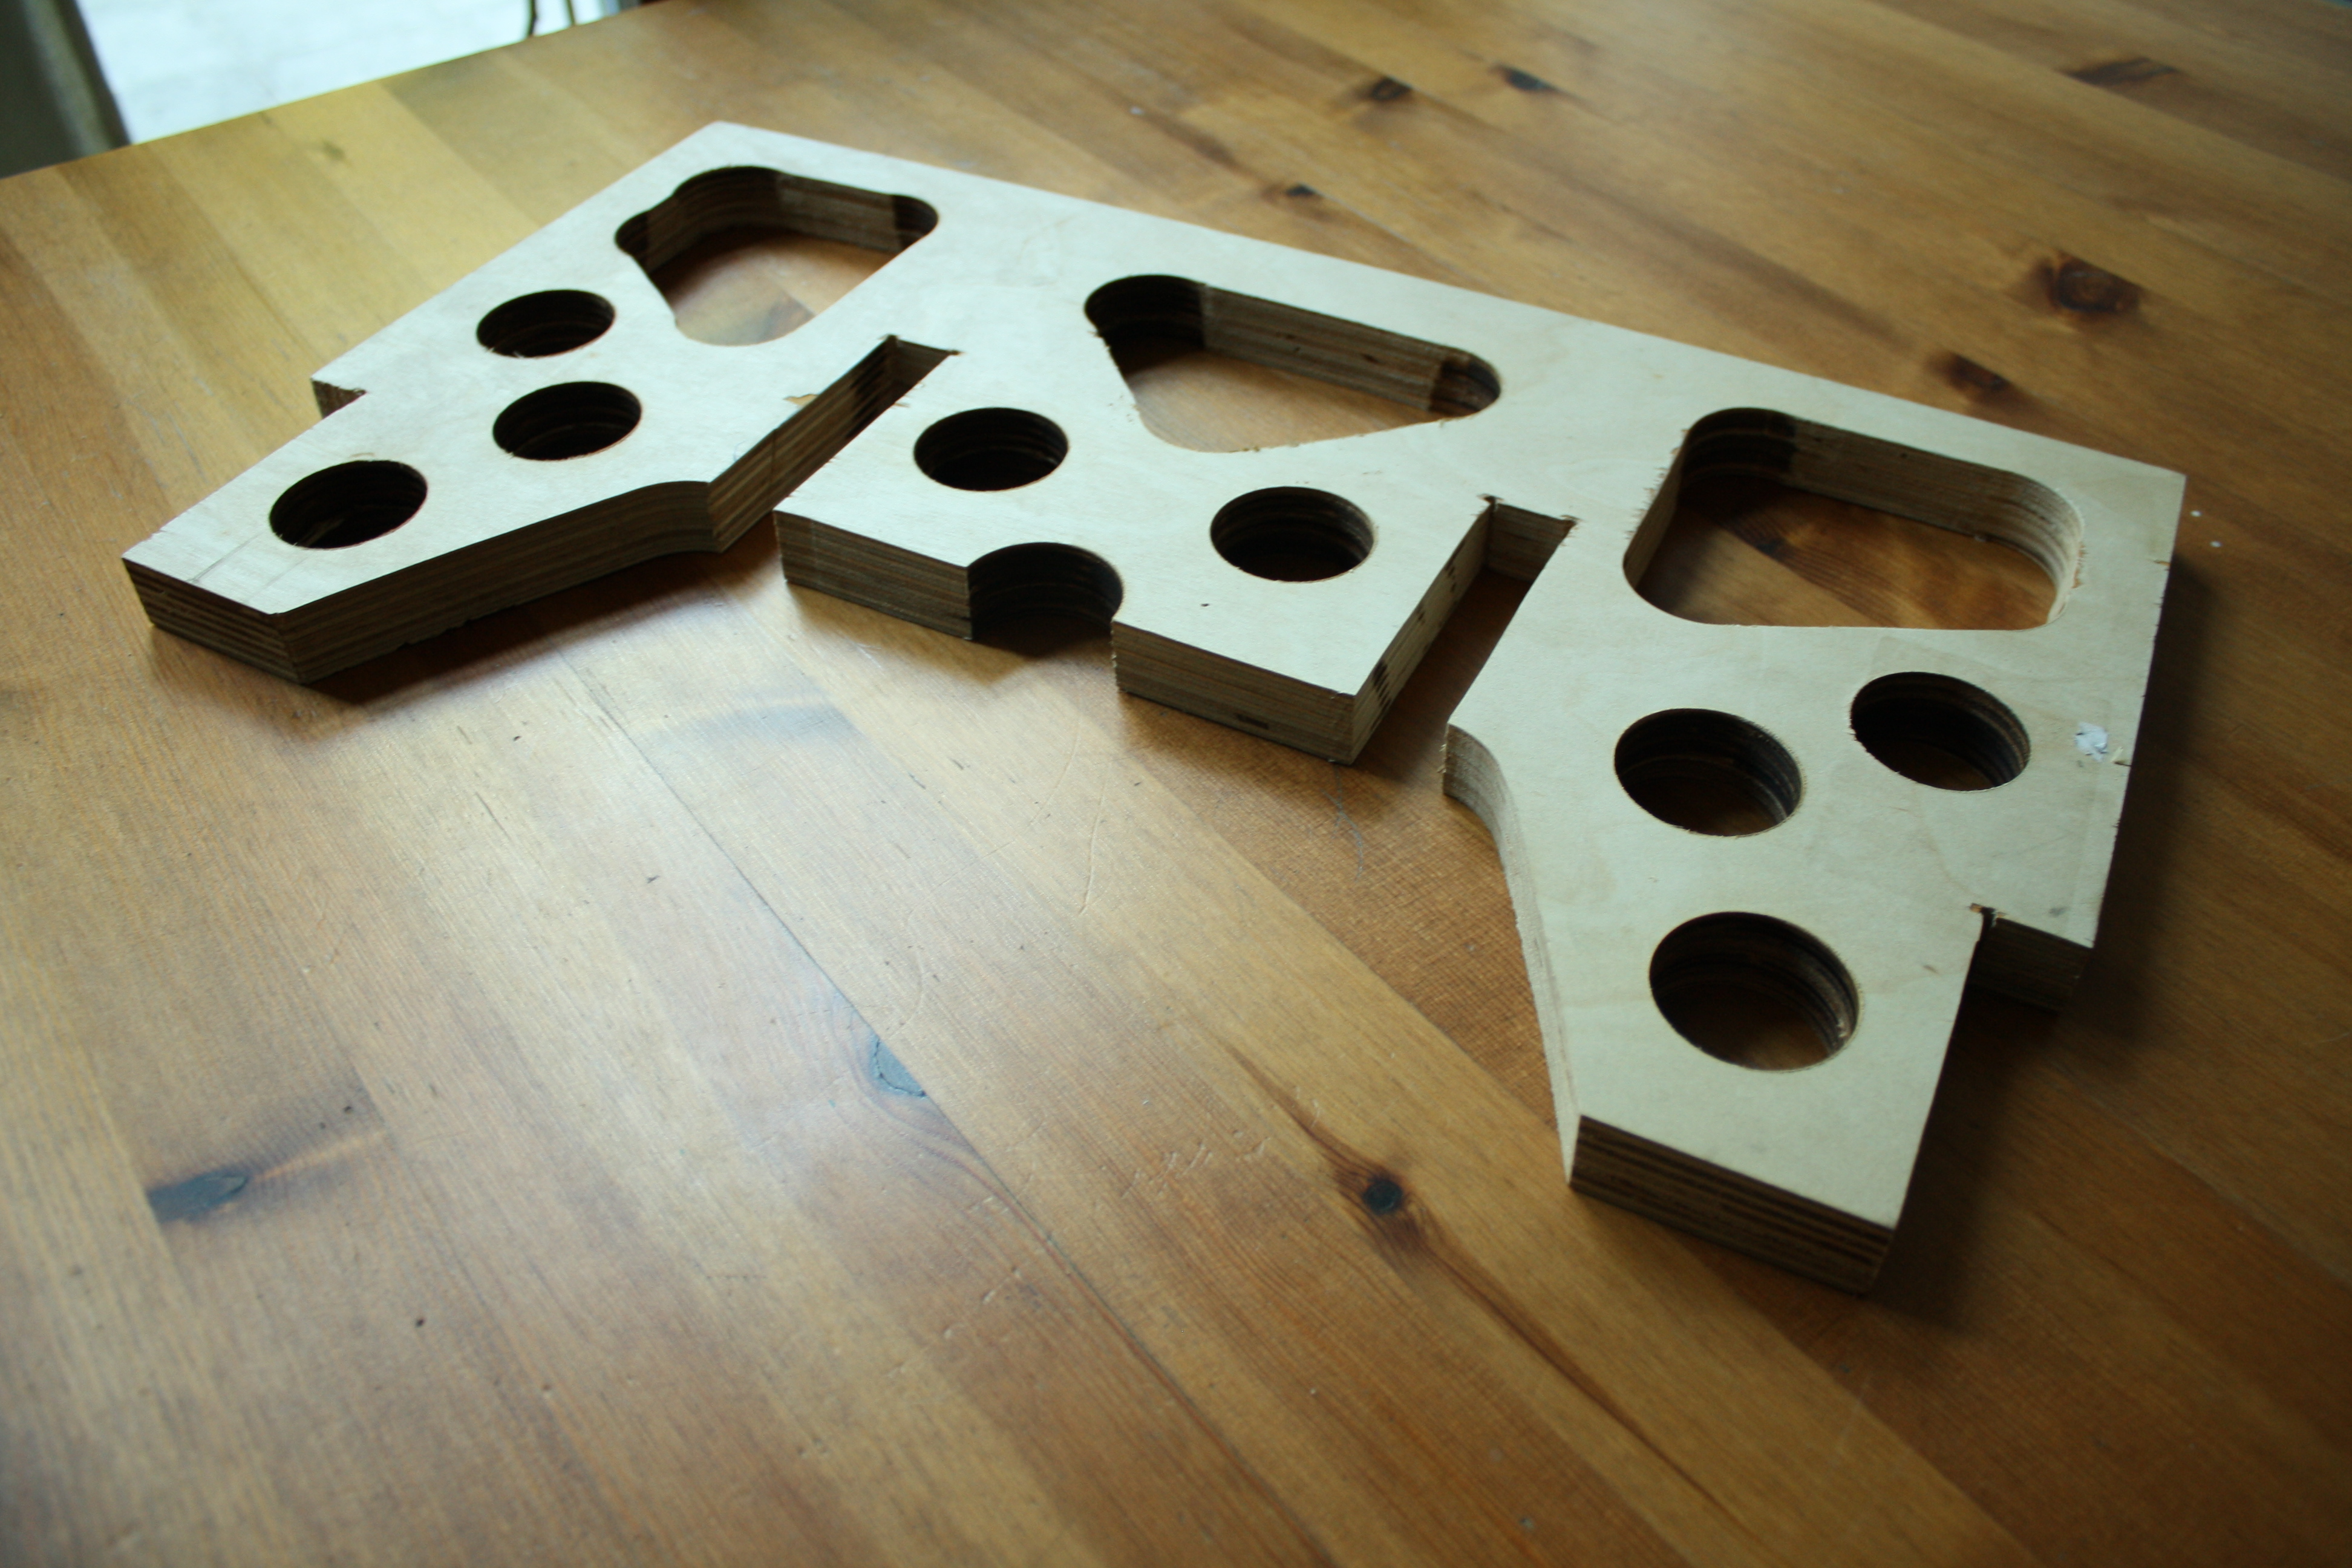 112
112 113
113the end result?
A lot of things