spaint spray booth box
PT 1
Why
Serendipitously I've gotten involved with geeks, ubergeeks and some all round great people from that most serendipitous of places, Sri Lanka. And through the Lankans geeks I've gotten involved with the Sri Lankan Diecast Collectors.
They introduced me to Matchbox modding.
My first mod was done by hand, painting with brushes (or, hairy sticks) and though I love the result, it was far from satisfactory technically.
The guy at the model supplies shop told me to use a base layer, and sold me a spray can of clear base coat. Not wanting to spray paint my back garden, I decided to construct a mini spray booth with filter.
What
I need a box, open on one side, a filter, to catch particulate spray paint, and something to pull air through the filter.
Fan
I wanted a separate fan assembly. This for easy storage, but also so I can use it on other projects. Or, after initial assessment, replace it.
I started with an old vacuum cleaner that for years had resided under a shelf in my basement. Finally I had a project for it!

You might want to use another type of extractor, but whatever you have lying around is always cheapest.
Disassembly of the vacuum cleaner proved easy, just a few screws. These were long, likely because they sit in thicker parts of the injection moulded plastic.
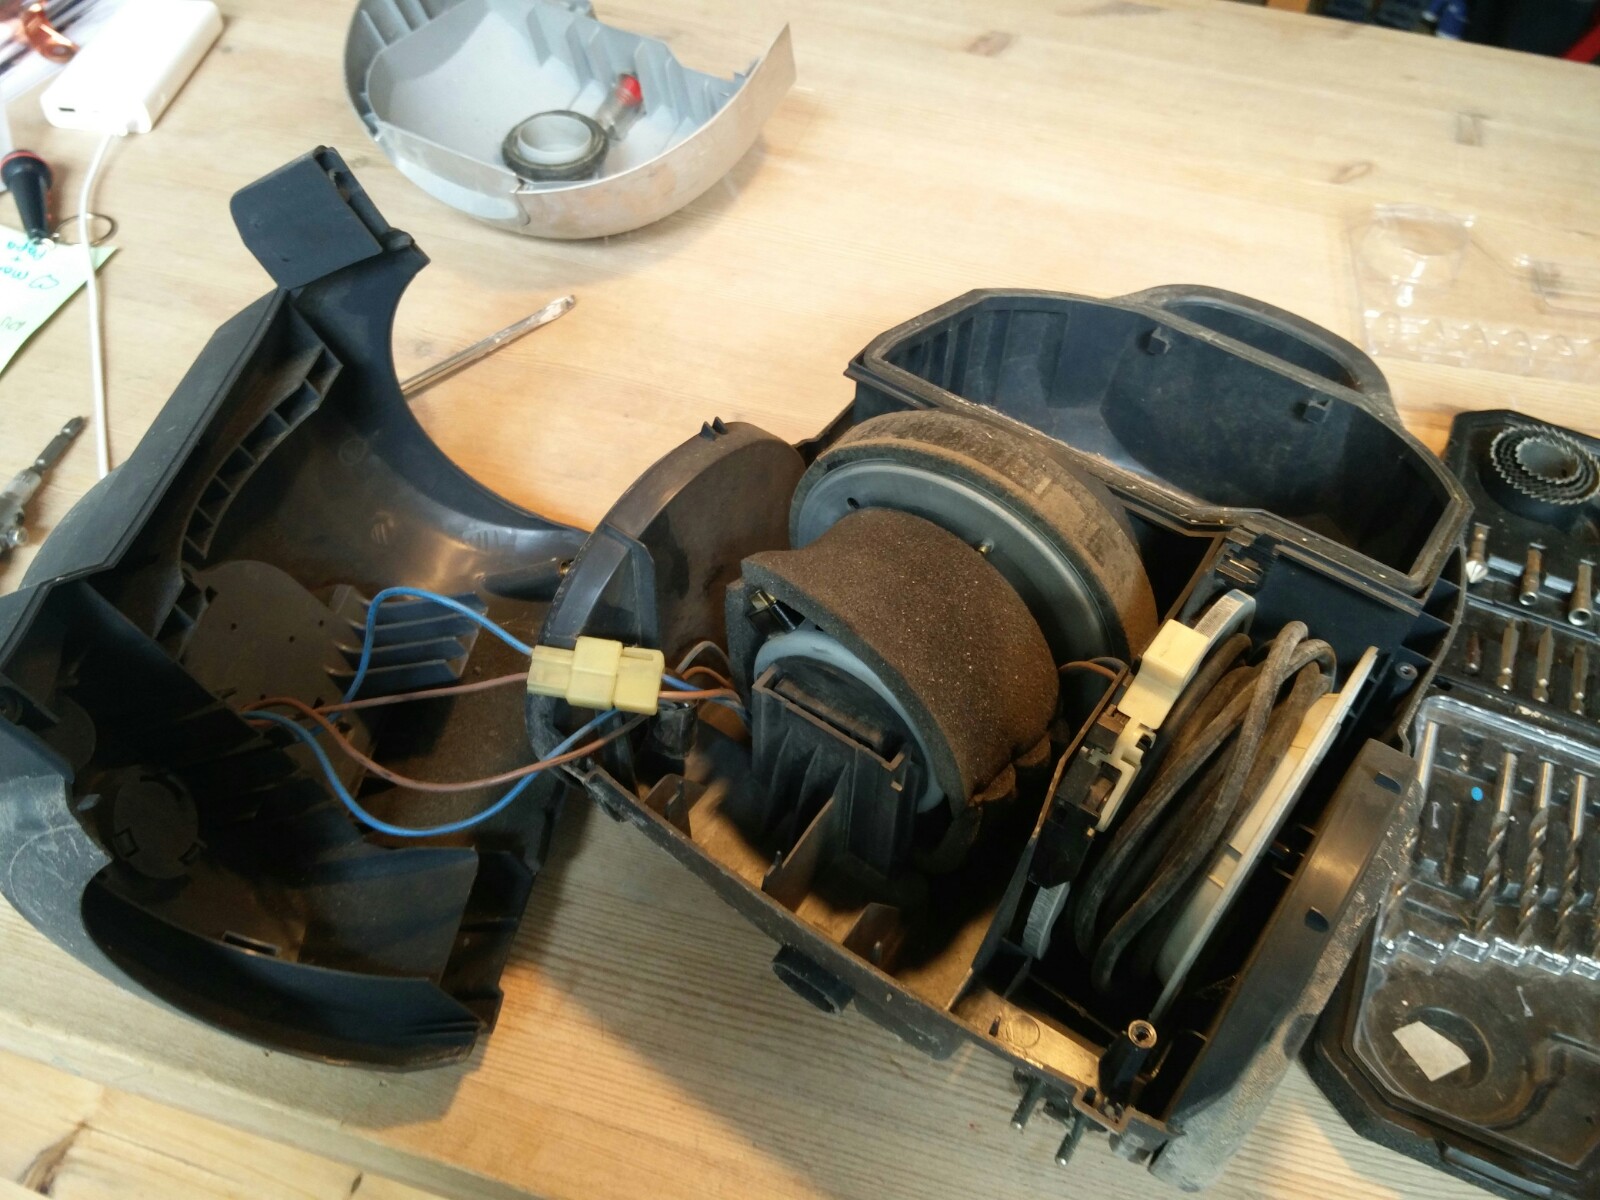
Both electronics and the fan were separate assemblies. I could not use the retracting cable assembly because of its bulk. A snip on the cable, and the parts I needed were free.
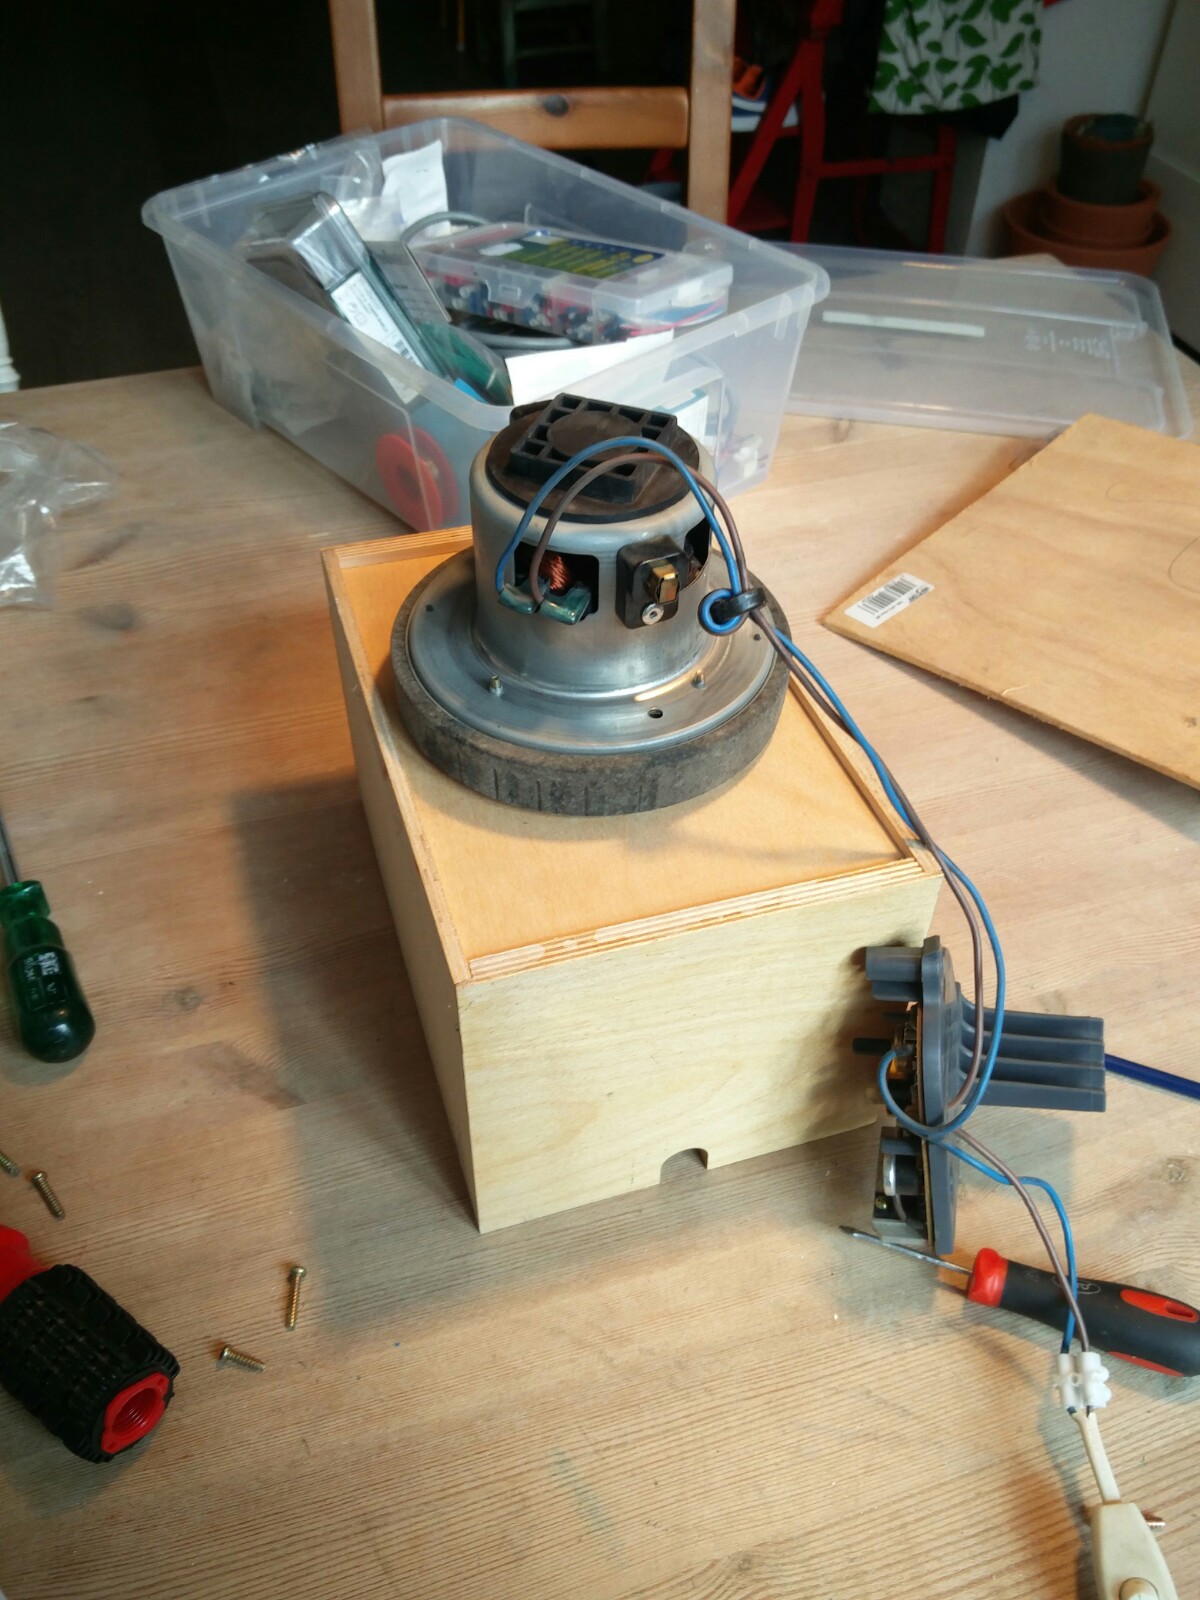
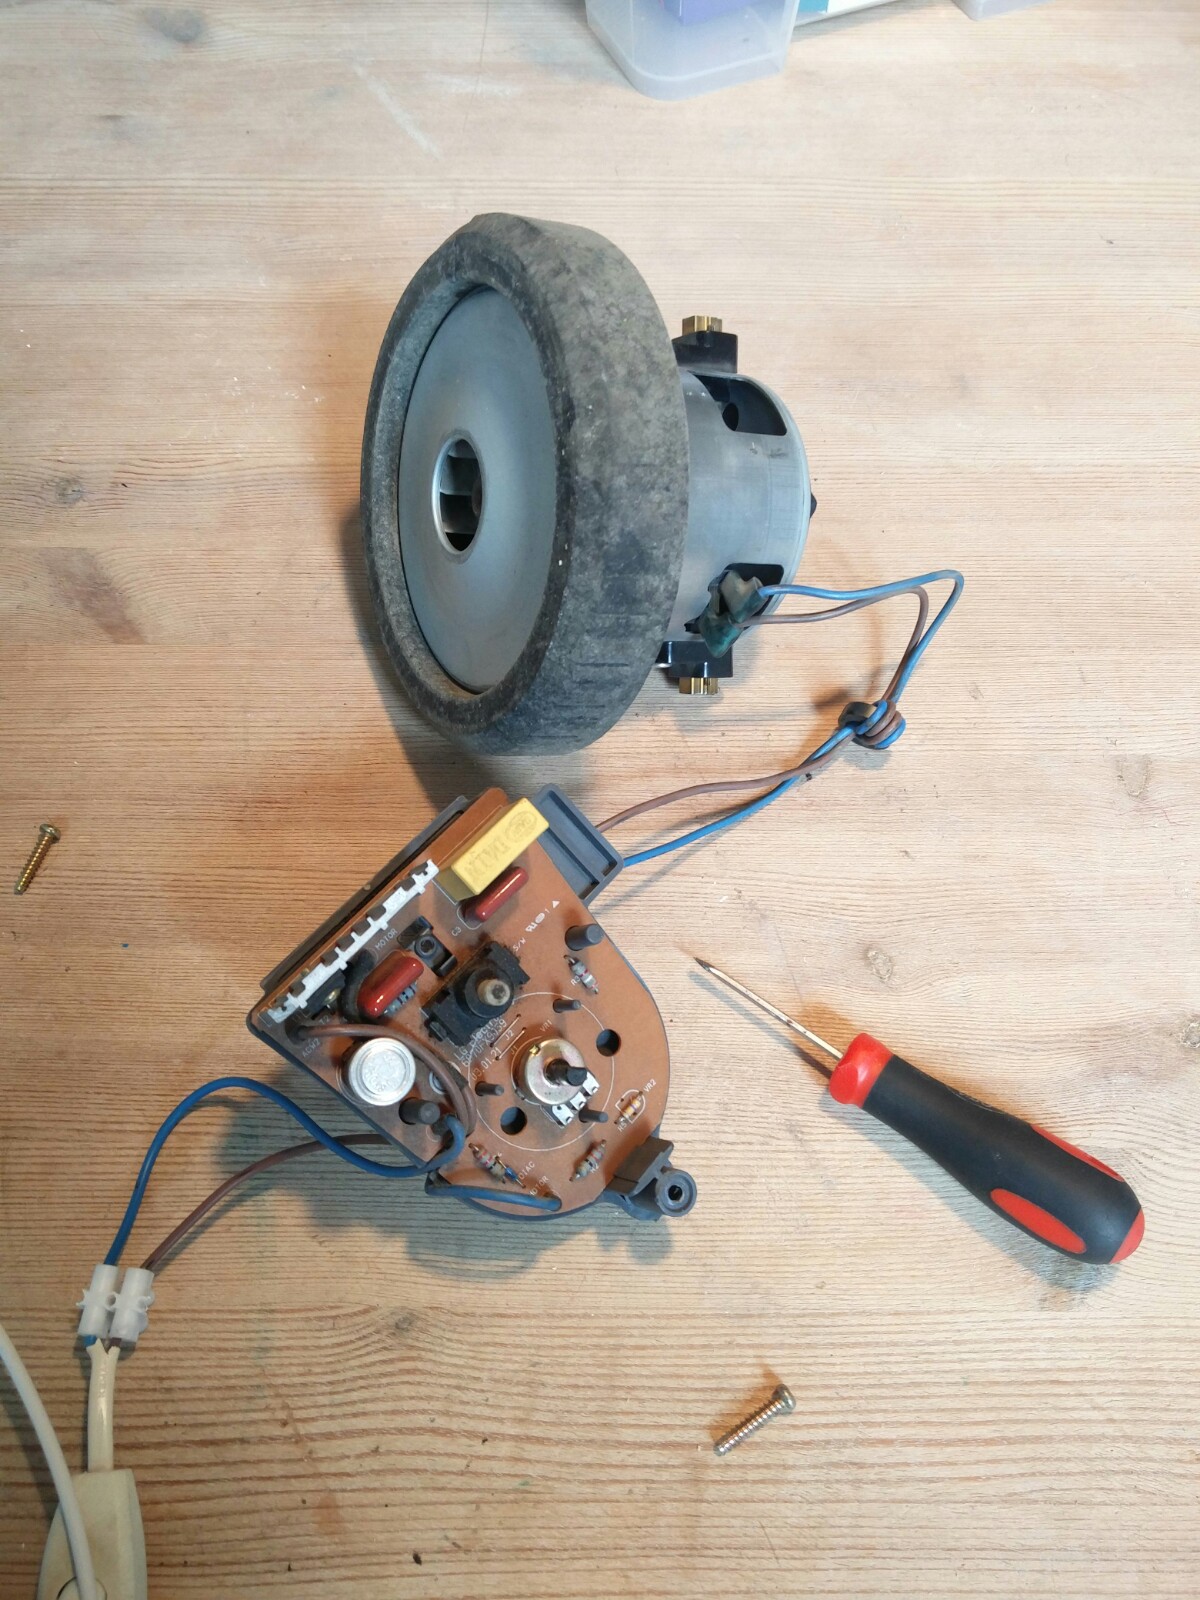 I then connected the electronics board to a simple switch. Given that my DIY time is on Sunday afternoon, having a well stocked basement is crucial.
As the vacuum cleaner had been broken when I stowed it, now was testing time. Lucky for me, it worked! The problem had been with the hardware button I'd cut out.
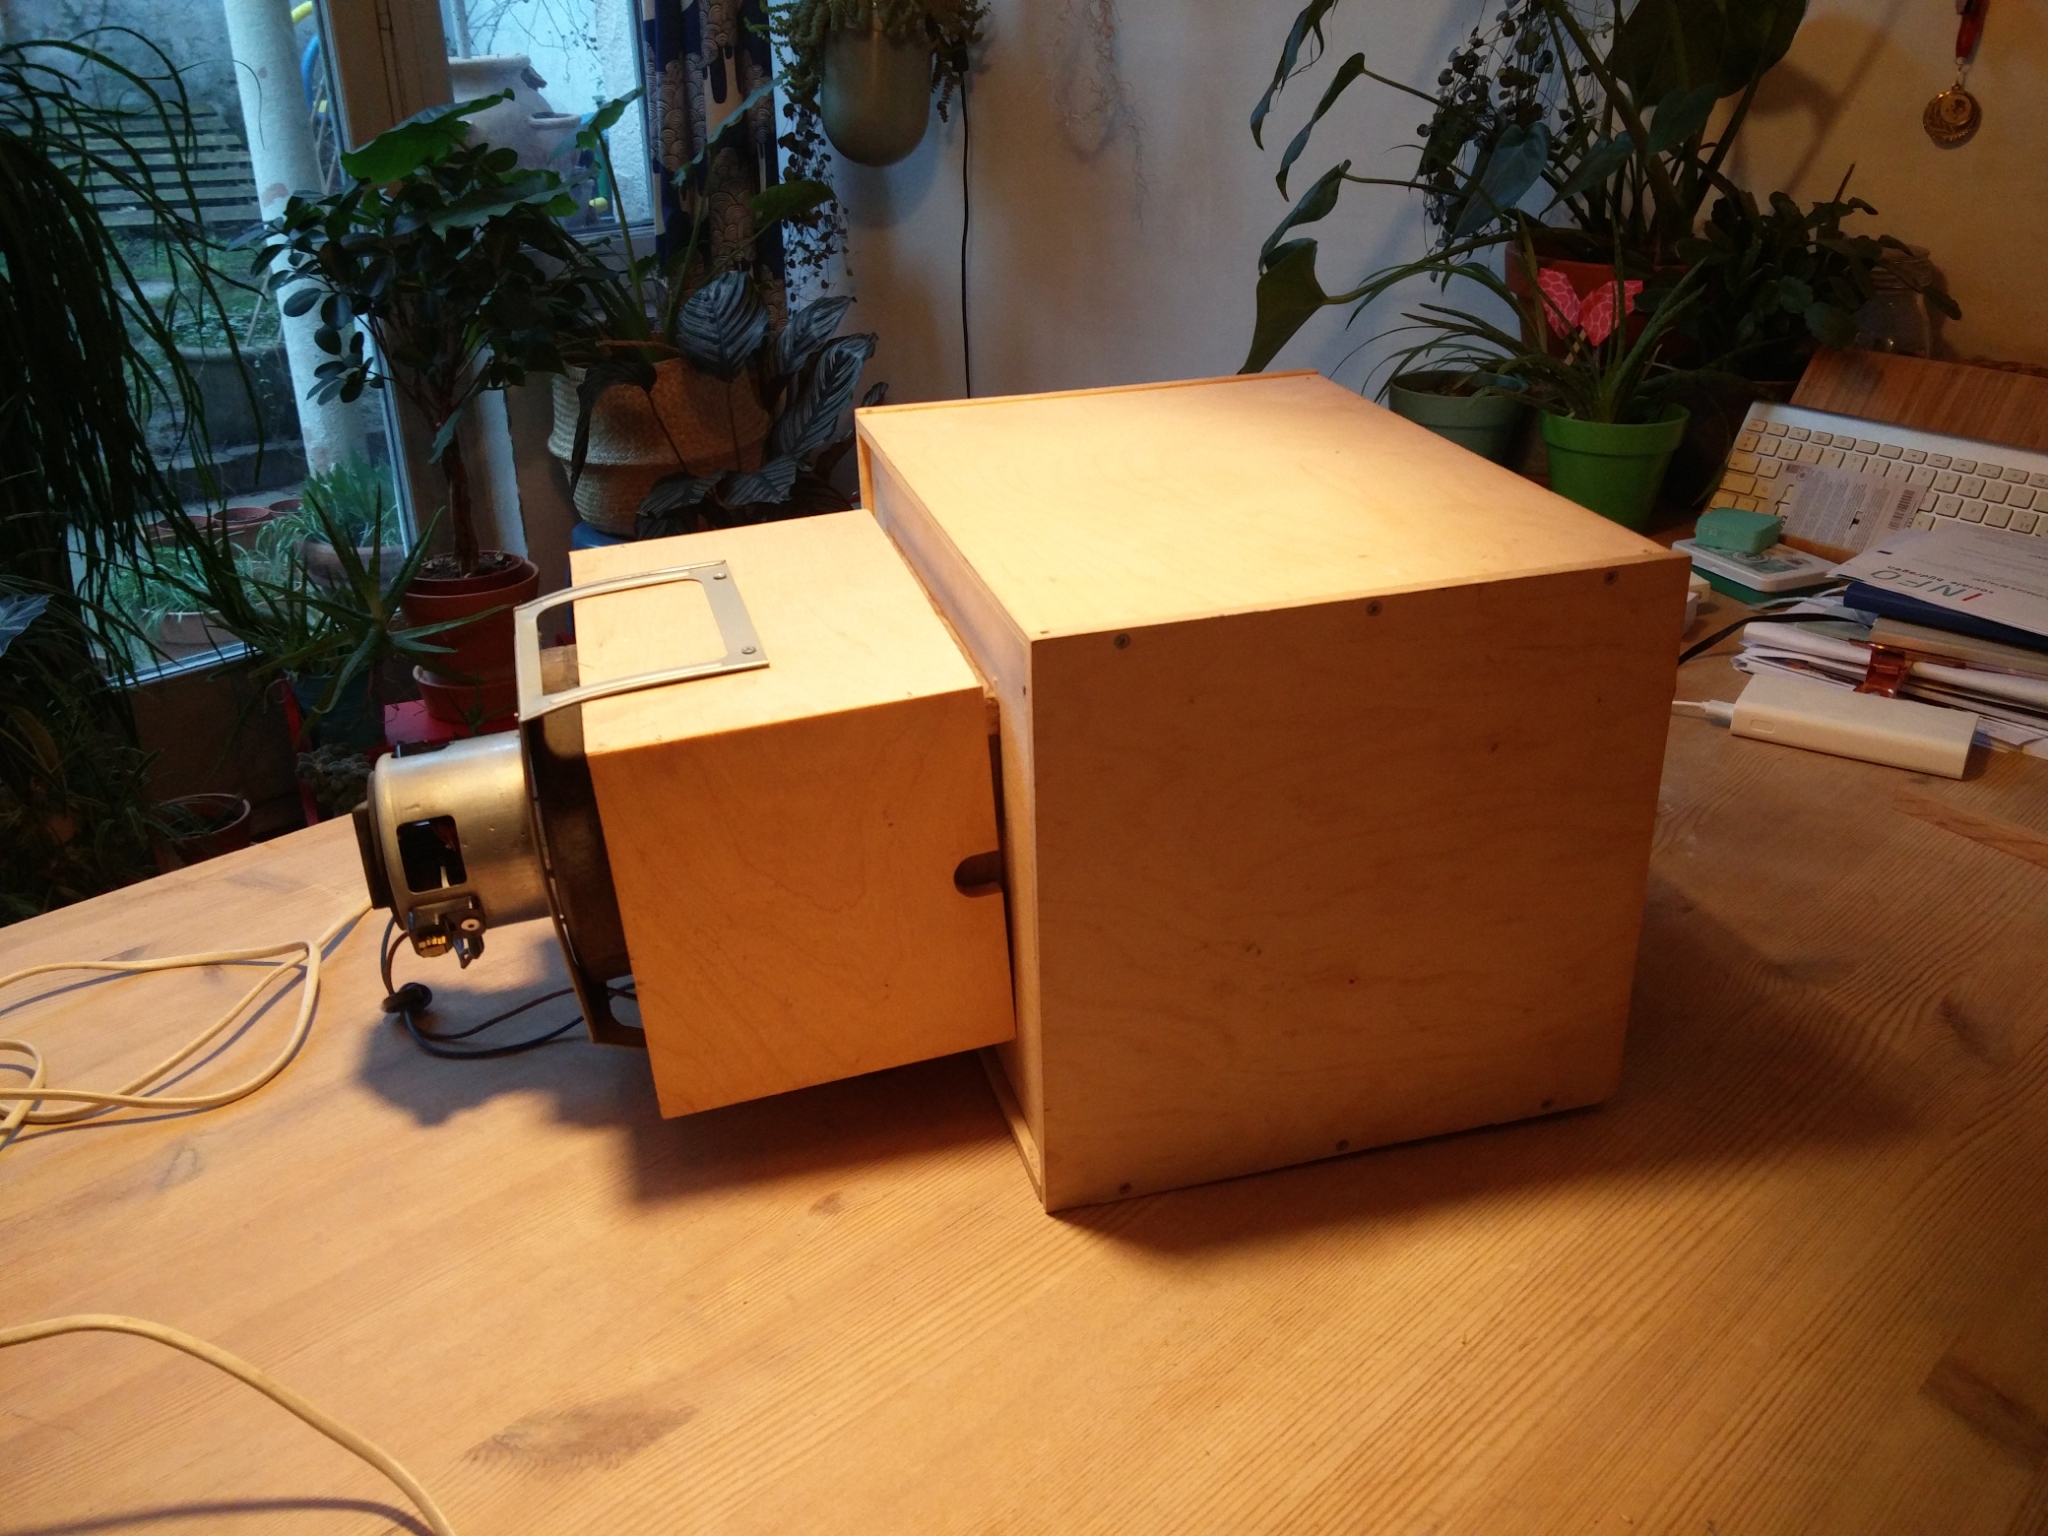
Fan assembly
I wanted a separate fan assembly. This for easy storage, but also so I can use it on other projects. Or, after initial assessment, replace it.
From my well organized and supremely clean basement I extracted a surplus IKEA drawer. With minimal tetanus infections and only minor bleeding!
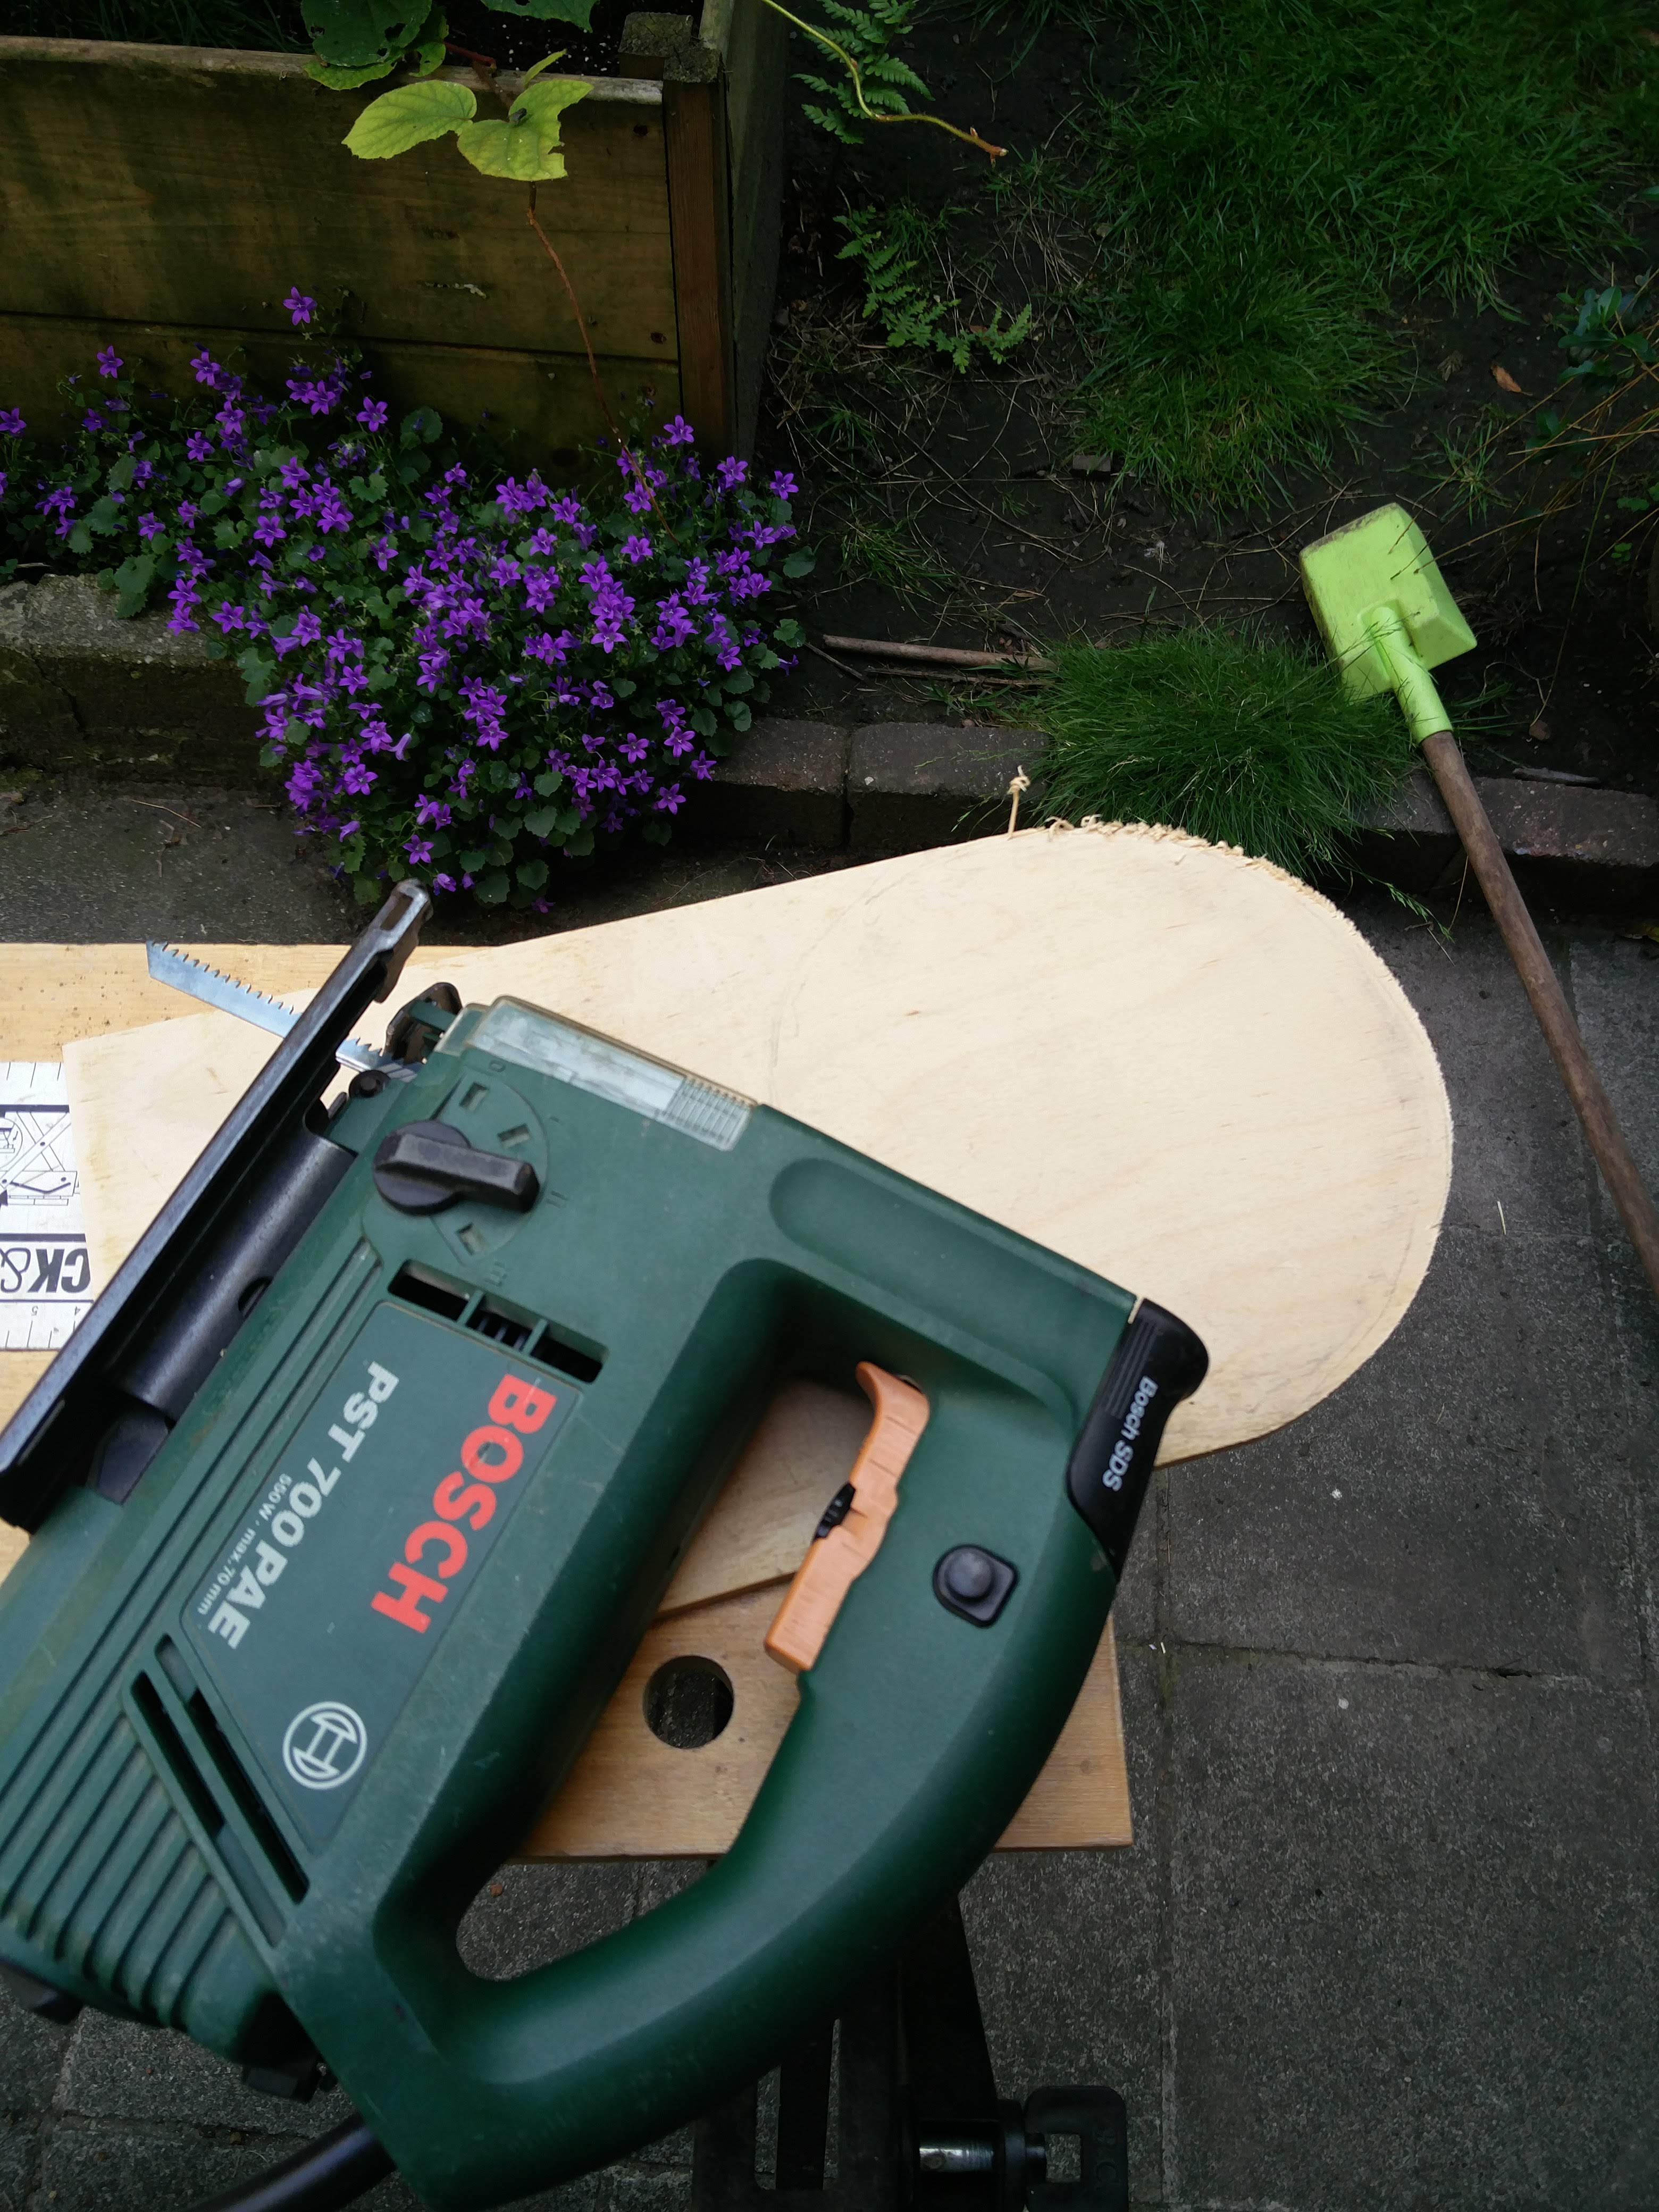
 The vacuum cleaner fan was set in a vibration and noise reducing rubber ring. I marked off a circle a bit smaller on the back of the drawer.
This I cut with a reciprocating saw. Yes, buzz saw.
I needed to clamp the fan/engine block down. For this, I coincidentally had a perfect part lying around. This was a hard disk mounting bracket with a front opening for a 120 mm fan. It fit over the fan perfectly. There were mounting holes I used to screw it onto the wooden drawer.
I used the screw holes on the electronics mount from the vacuum cleaner to mount the electronics to the drawer, too. This way the fan assembly was complete!
Mounting frame
Now I needed to add a mounting frame to the box that would be the actual spray booth.
Again I had the wood laying around. I used the drawer itself to mark off the long side of the frame. The buzz saw made short work. I then double cut the second long side.
I stacked the long sides in the drawer to measure the short sides and cut them quickly.
I again stacked all bits in the drawer, this time as they would be in the completed frame. This allowed me to drill and screw them together at the right angle.
Everything goes super as planned
No it didn't.
In the theme of using IKEA parts I'd picked a plastic IKEA storage bin.
This turned out to be a mistake. The initial issue came up fast: The bottom of the box had raised ridges. These wouldn't fit the frame I'd just made.
The solution seemed straightforward: snip them off with pincers. Disaster struck immediately. The force of the first snip immediately caused a crack. Not just in the ridge, but it spread into the bottom of the box. Noting that the material was really brittle, I discarded the box
A second box got attacked with a Dremel disk cutter. This got good results, though it appeared that despite its brittleness, the plastic was a low temperature thermoplastic. I.e. it melted more than it was cut.
More plans coming together beautifully
The next step was glueing the frame to the bin.
I used this glue which was supposed to work on plastic. It's always a gamble as 'plastics' obviously covers too wide a field. So I wasn't too disappointed when the glue didn't stick to the box in the least!
In fact, I was rather impressed with the slipperyness of the bin. Also, I had a plan. I got out my glue gun to exploit the thermoplastic properties of the bin material.
Using a glue gun also allowed me to get a nice airtight seal. All in all the glue gun worked out great
A plan is just a list of things that totally are gonna happen. Totally.
Next up: drilling airholes. Whether you are sending a rhinoceros by post, abducting local mobsters, or breeding fishing bait, airholes tend to crop up in most plans except, I must stress, submarine construction.
Unfortunately, a horrid truth dawned on me. The bin material was too soft for the drill to warm up enough when cutting. And so the plastic would try and tear after the cut, and crack instead.
After two lucky holes, the third caused the bin to split disastrously. Perte totale, they say in French.
What wood you do?
I ended up grabbing the IKEA storage cabinet which had held the drawer I used for the fan assembly.
This I took apart to remove the single shelf plank. Doing so also released the back panel.
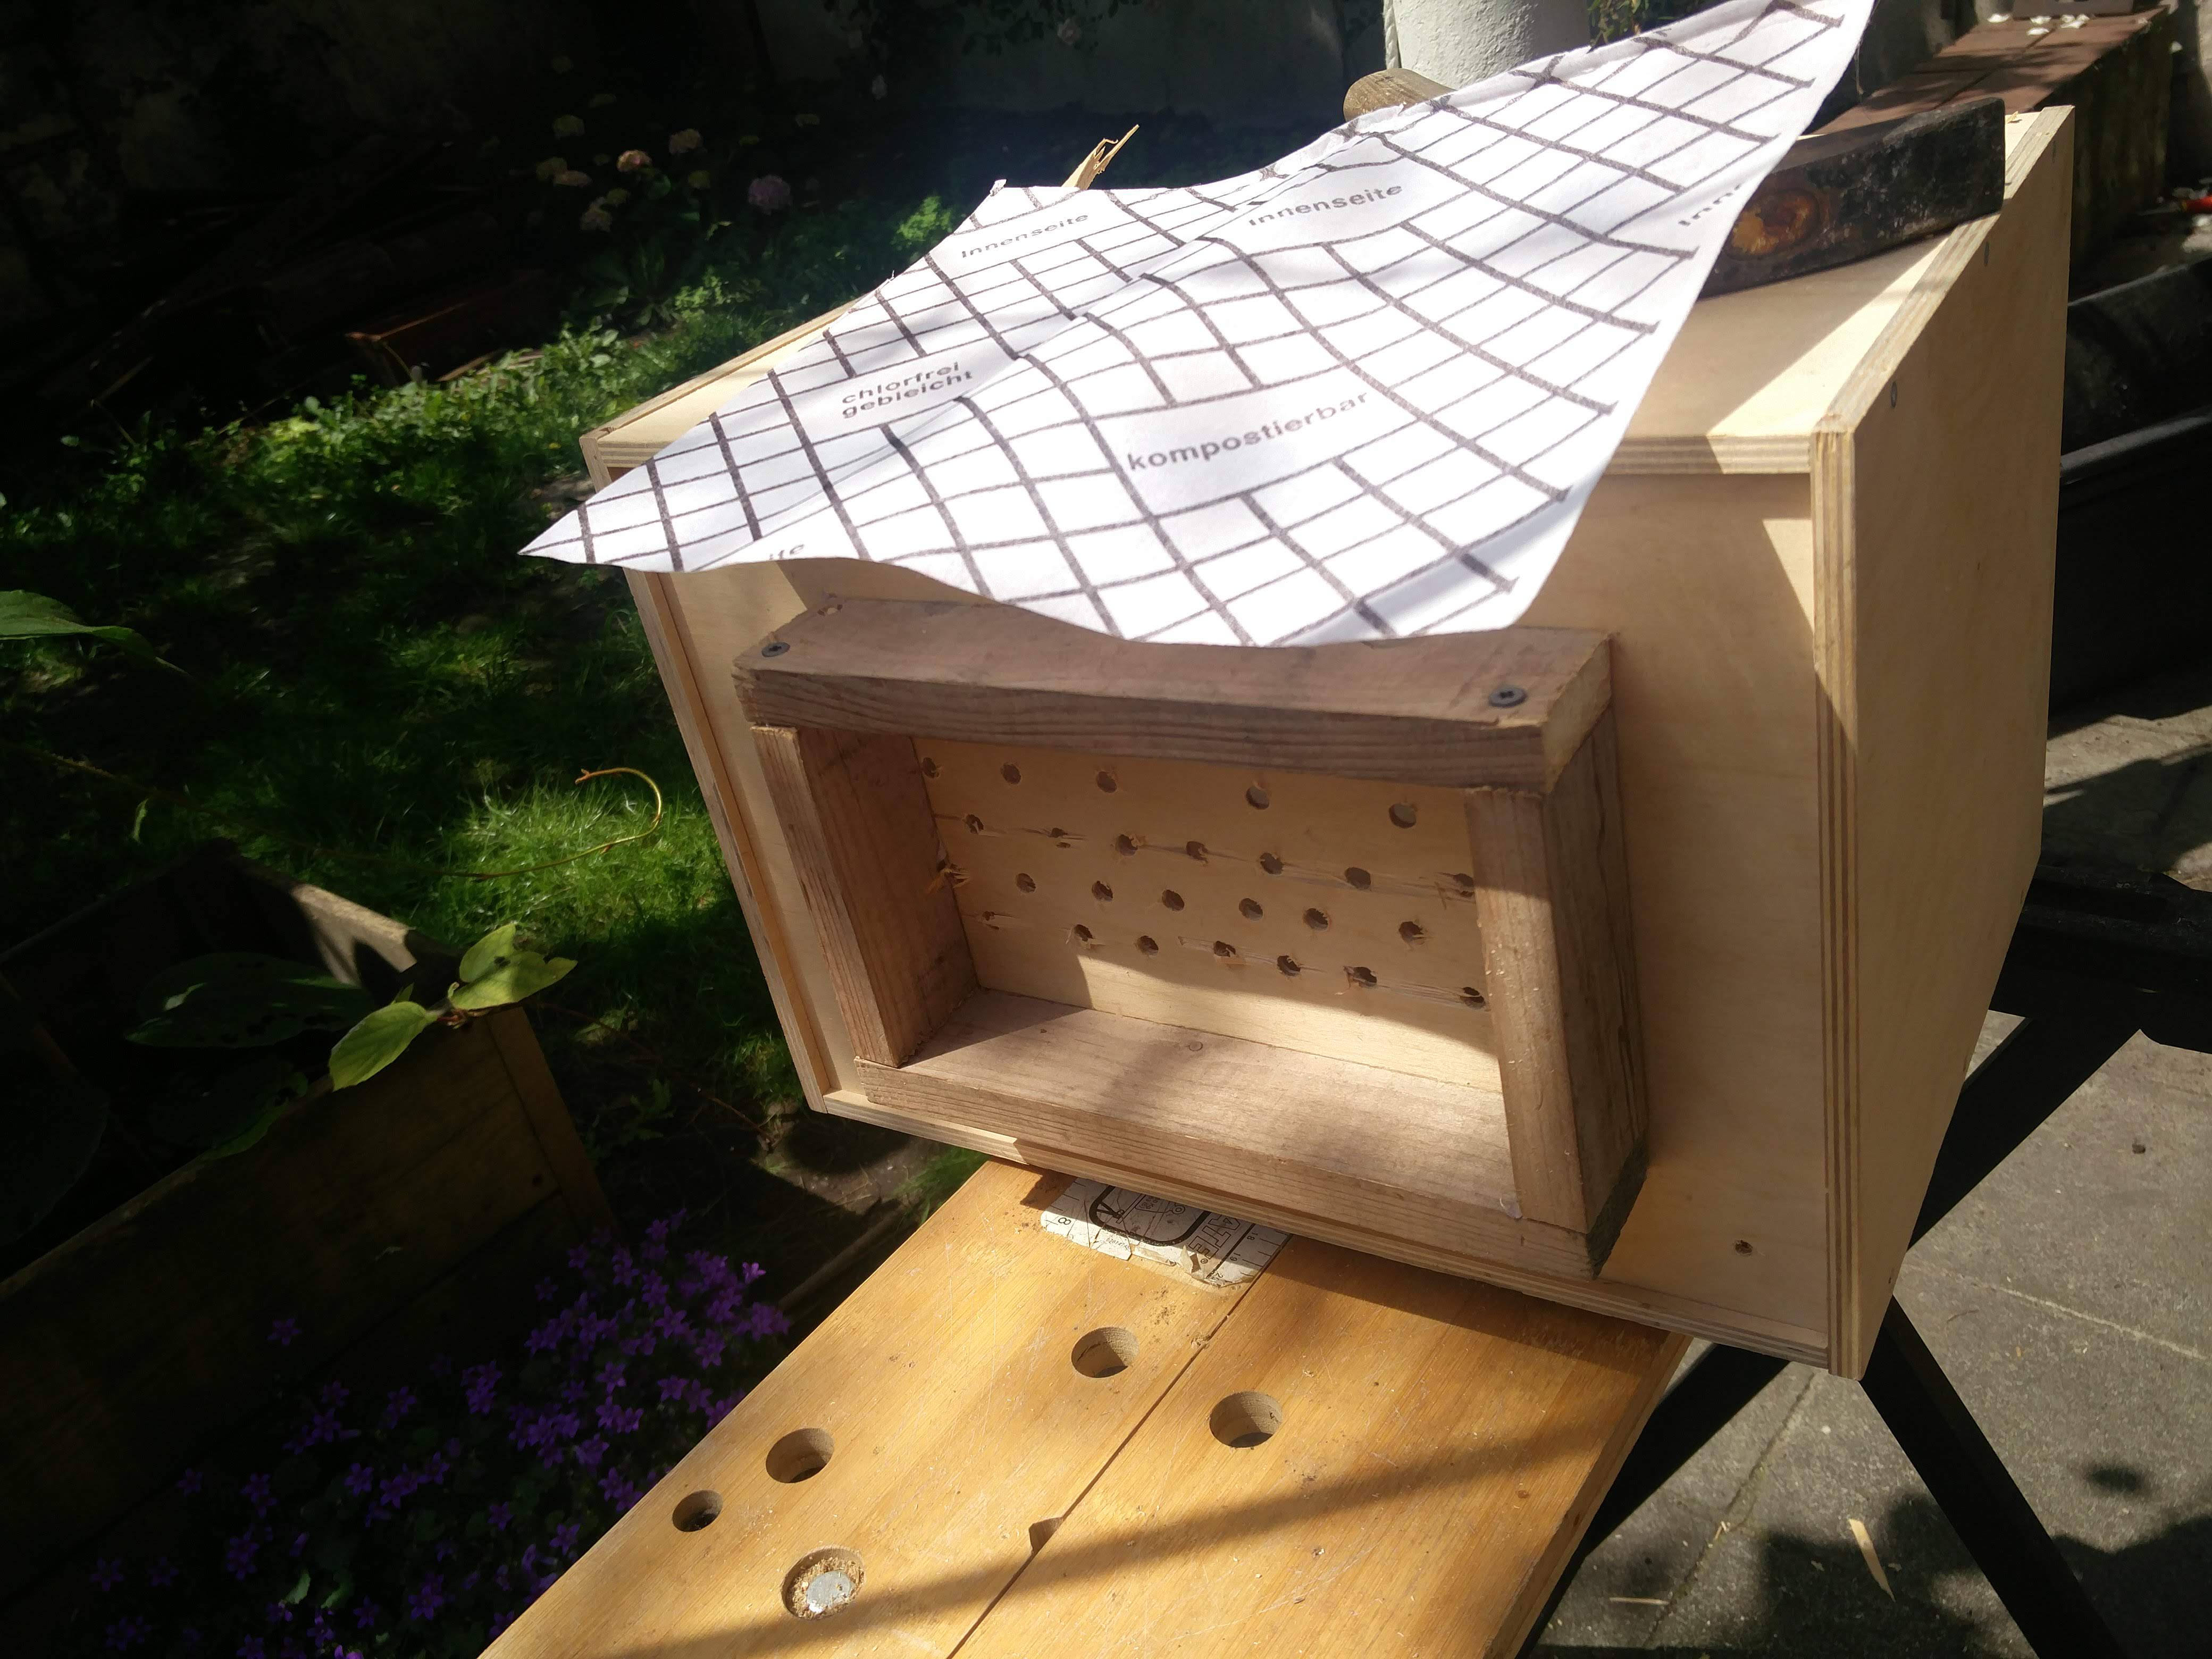
Drilling the airholes wasn't completely straightforward. When drilling through plywood, always use a small drill to make a pilot hole. Then drill half dept from one side. Flip your piece, and complete the holes from the other side.
Otherwise it's quite likely the plywood will splinter on the back of the hole.
In this case the splintering was quite severe. I slowed down, and did the rest of the holes properly...
Testing
I then tested the initial combination, without filter, because DIY time was over. Mistakes and all it took me about 3 hours!
Beware, the results are loud!
PT 1
Stuff rotator plank
It's probably hard to imagine from simply looking at pictures, but Hotwheels are actually 3 dimensional objects! These need to be painted, or primed, on each side, and so I felt it would be good to have some sort of spinning thingymabob. I used a plank that was the shelf of the bigger Ikea box, but any piece of wood will do the trick. A thin one will be lighter and make the whole easier to lug and store.
 You might notice I didn't manage to find my drawing compass, and therefore had to accept somewhat loose tolerances on the circularity of my disk.
To be able to turn it while painting, I added holes inside the edge of the somewat irregular disk. This allows me to push with a stick or pull using a hook or nail on a stick, turning the disk while spraying. I didn't quite figure out an excuse for the sloppy holes here...
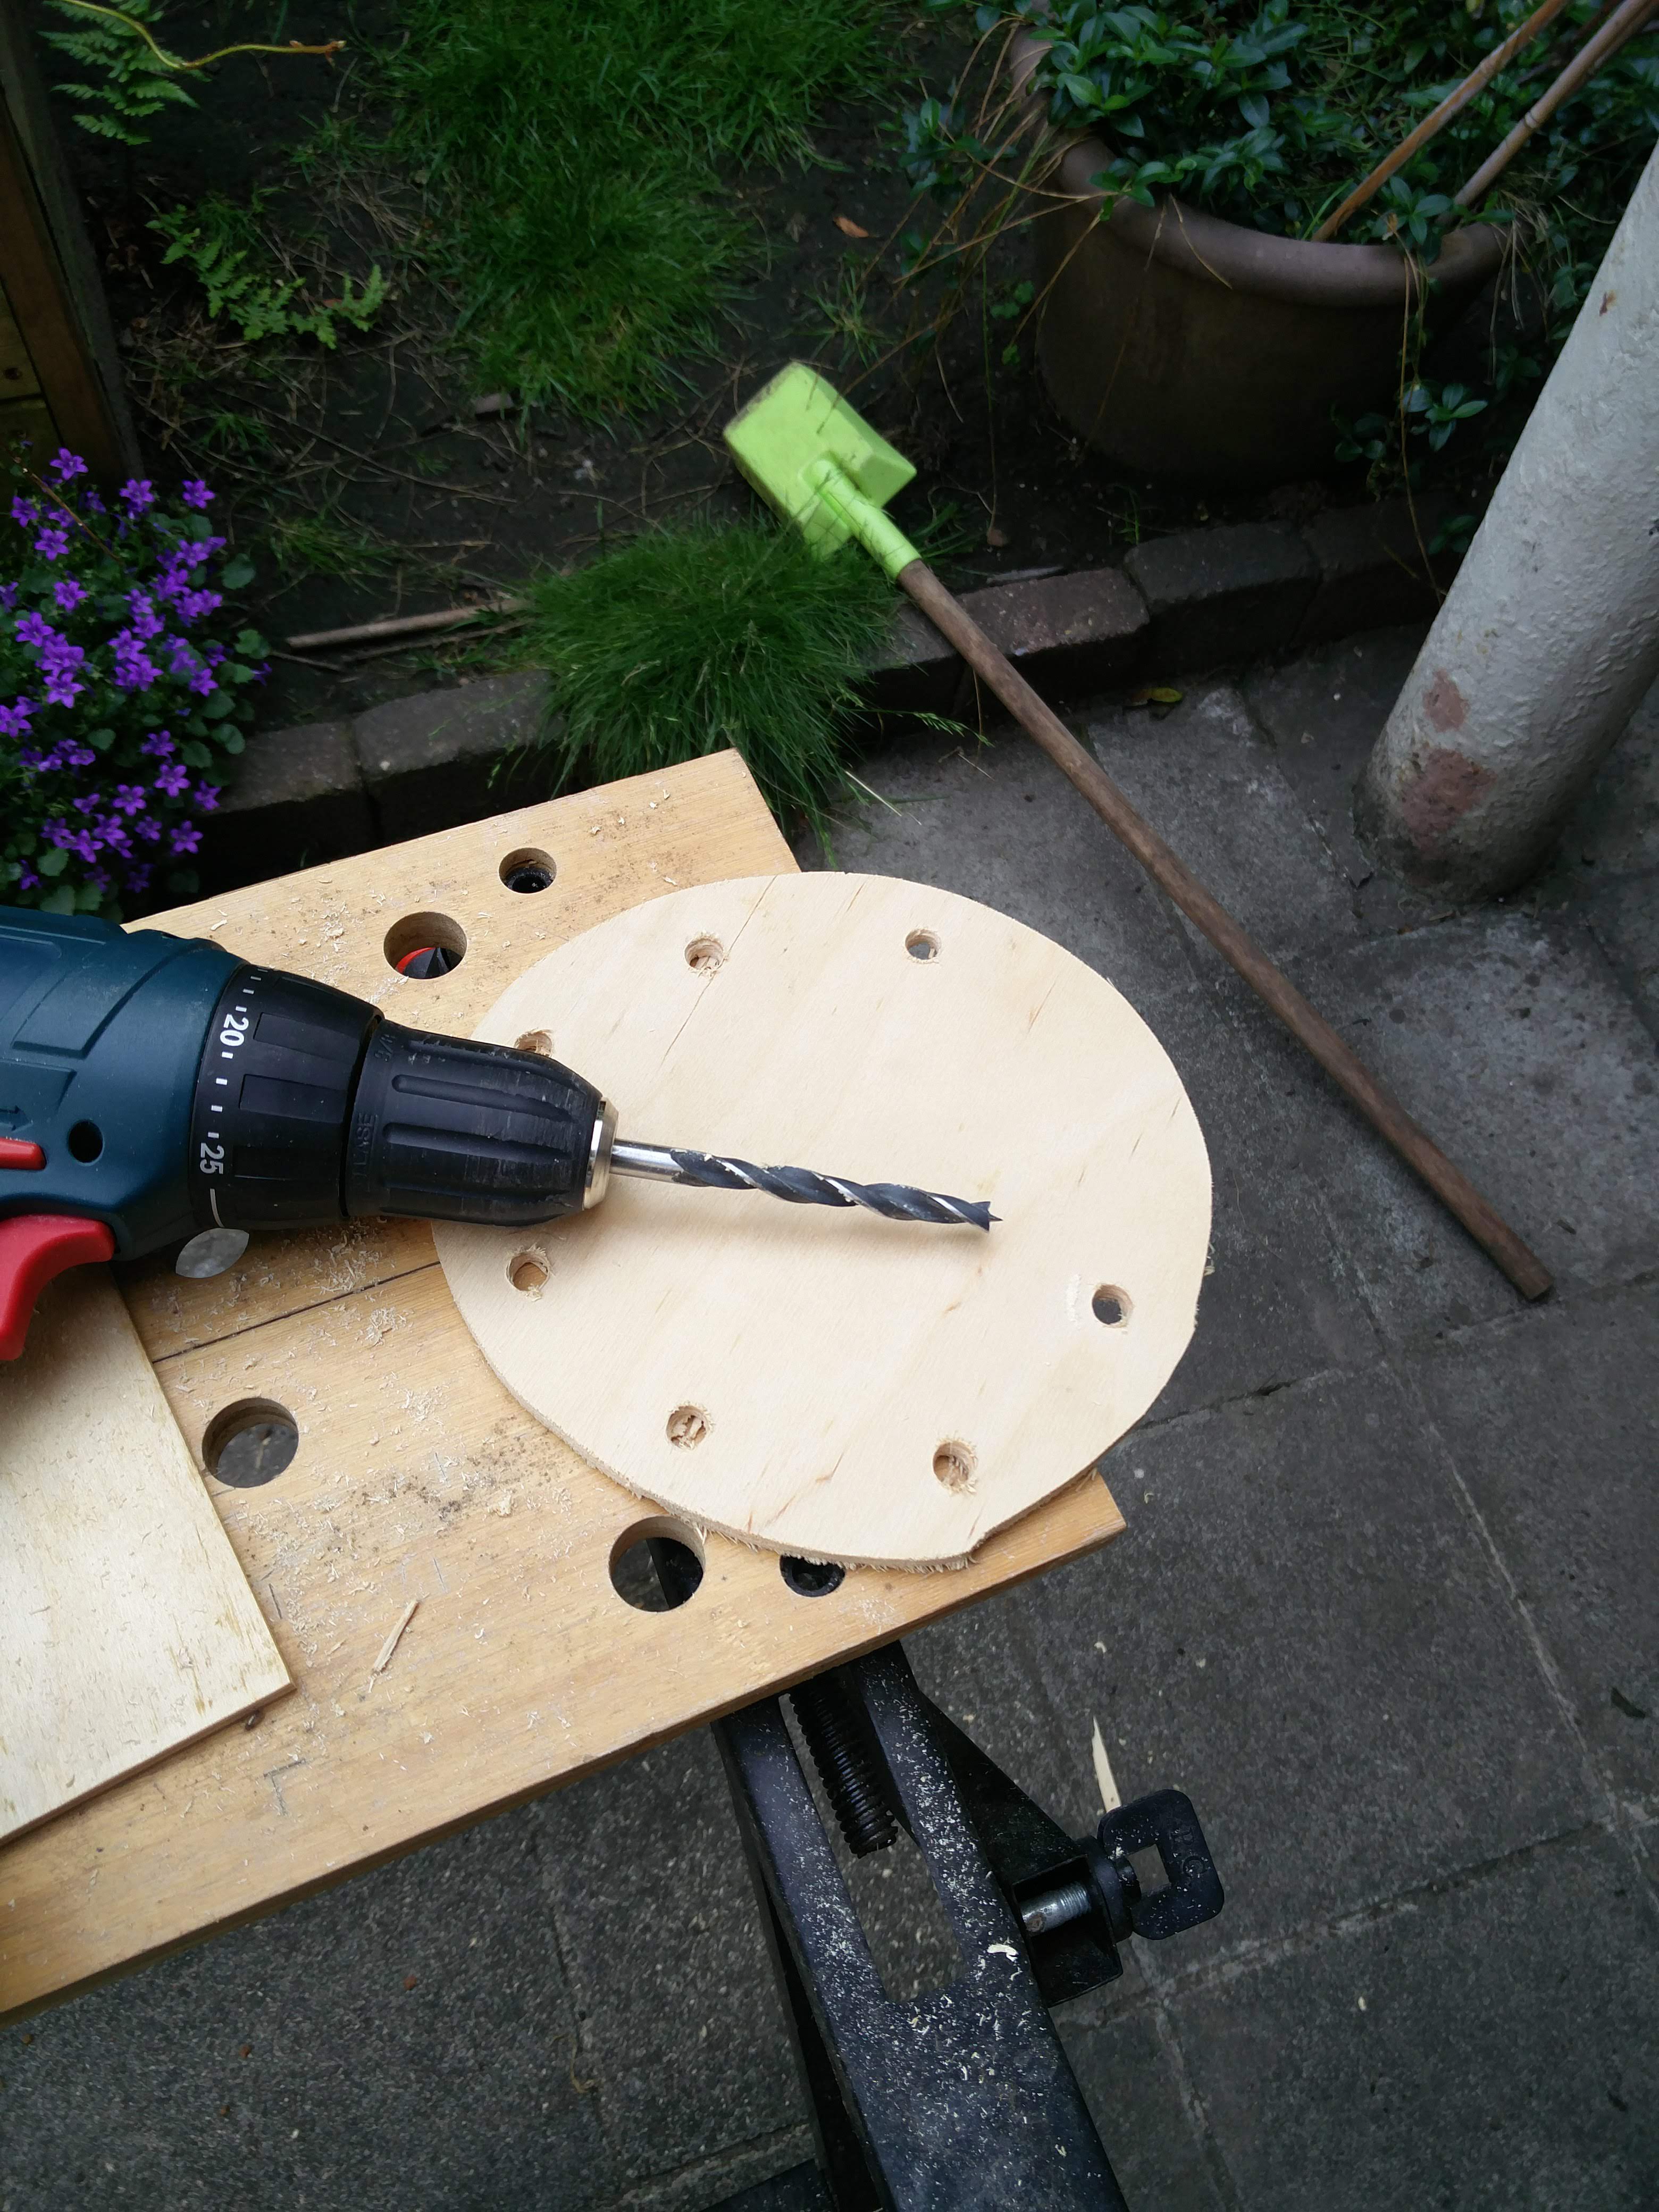 For a bearing I used two concentric washers. The outer one is a bit larger than you'd typically have lying around. However, you could improvise a washer by simply drilling a hole through a piece of slick plastic board. Make it about a quarter of the disk diameter, to prevent wayward spray from gluing it to disk or box.
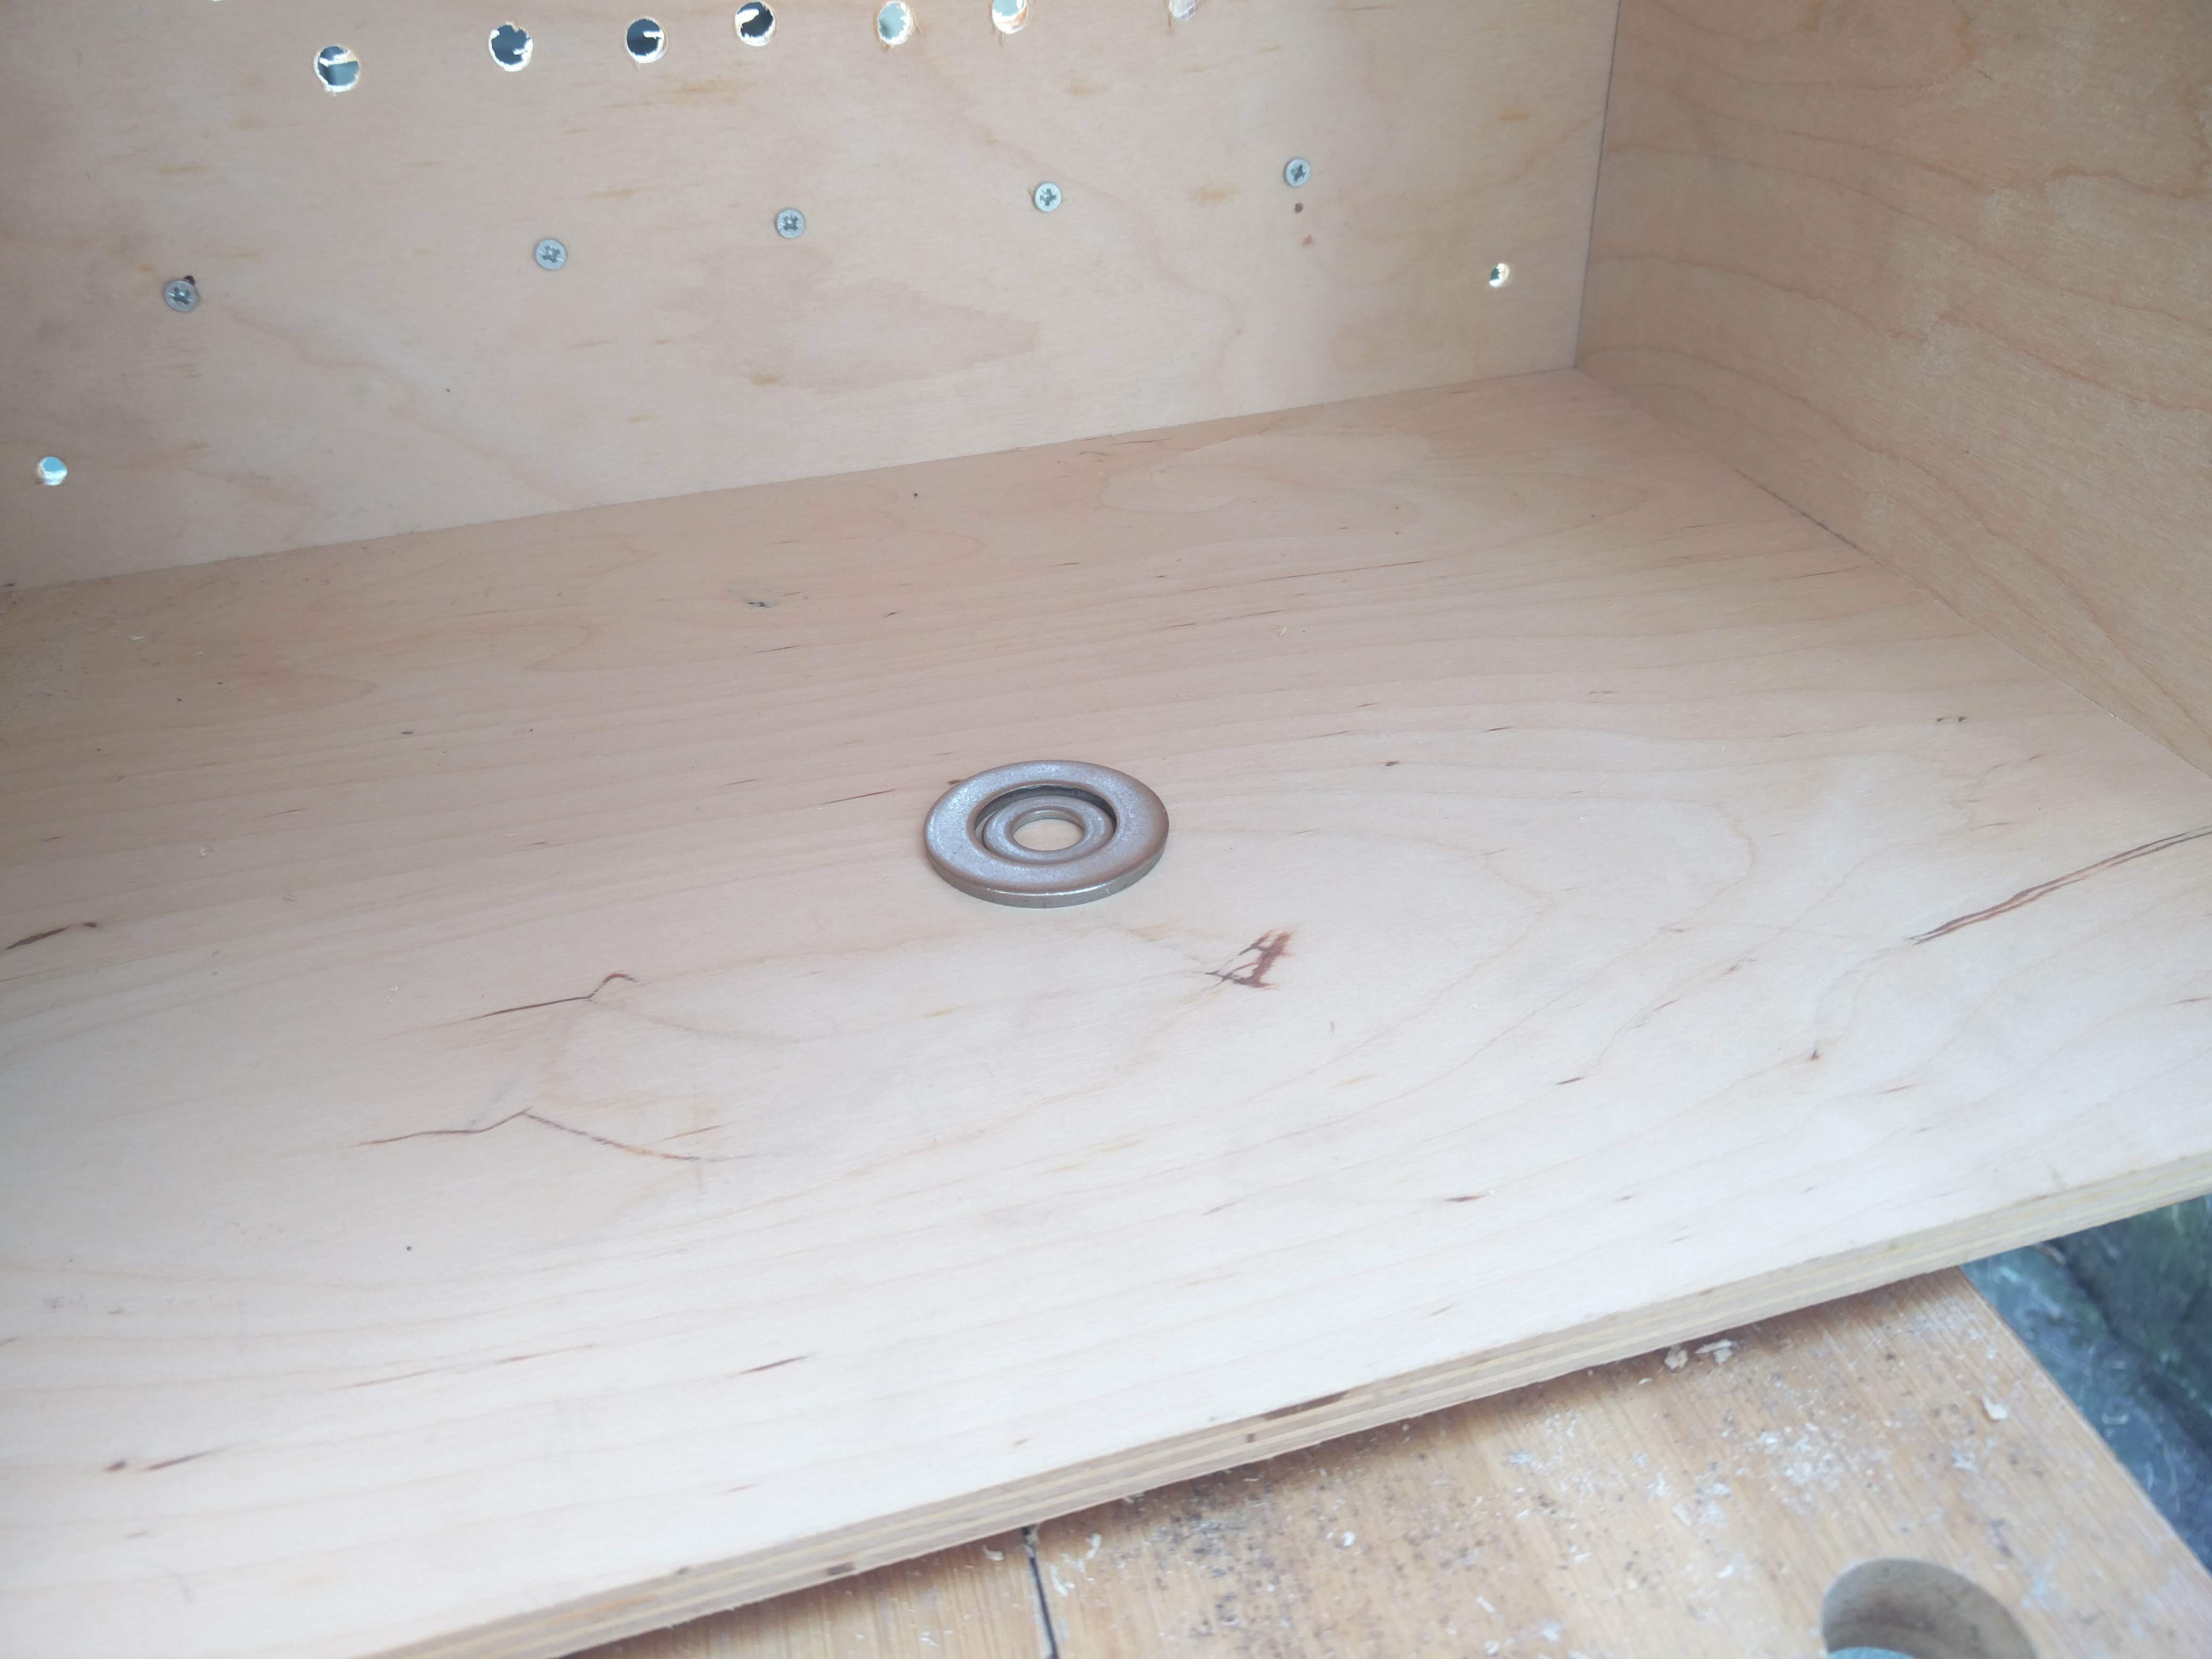 A nail through the center of the disk finishes up the arrangement. As you can tell my finishing was pretty hap-hazard as I fully expect to replace it at one point for a number of possible reasons. All it really needs to do is spin, and not take up too much space!
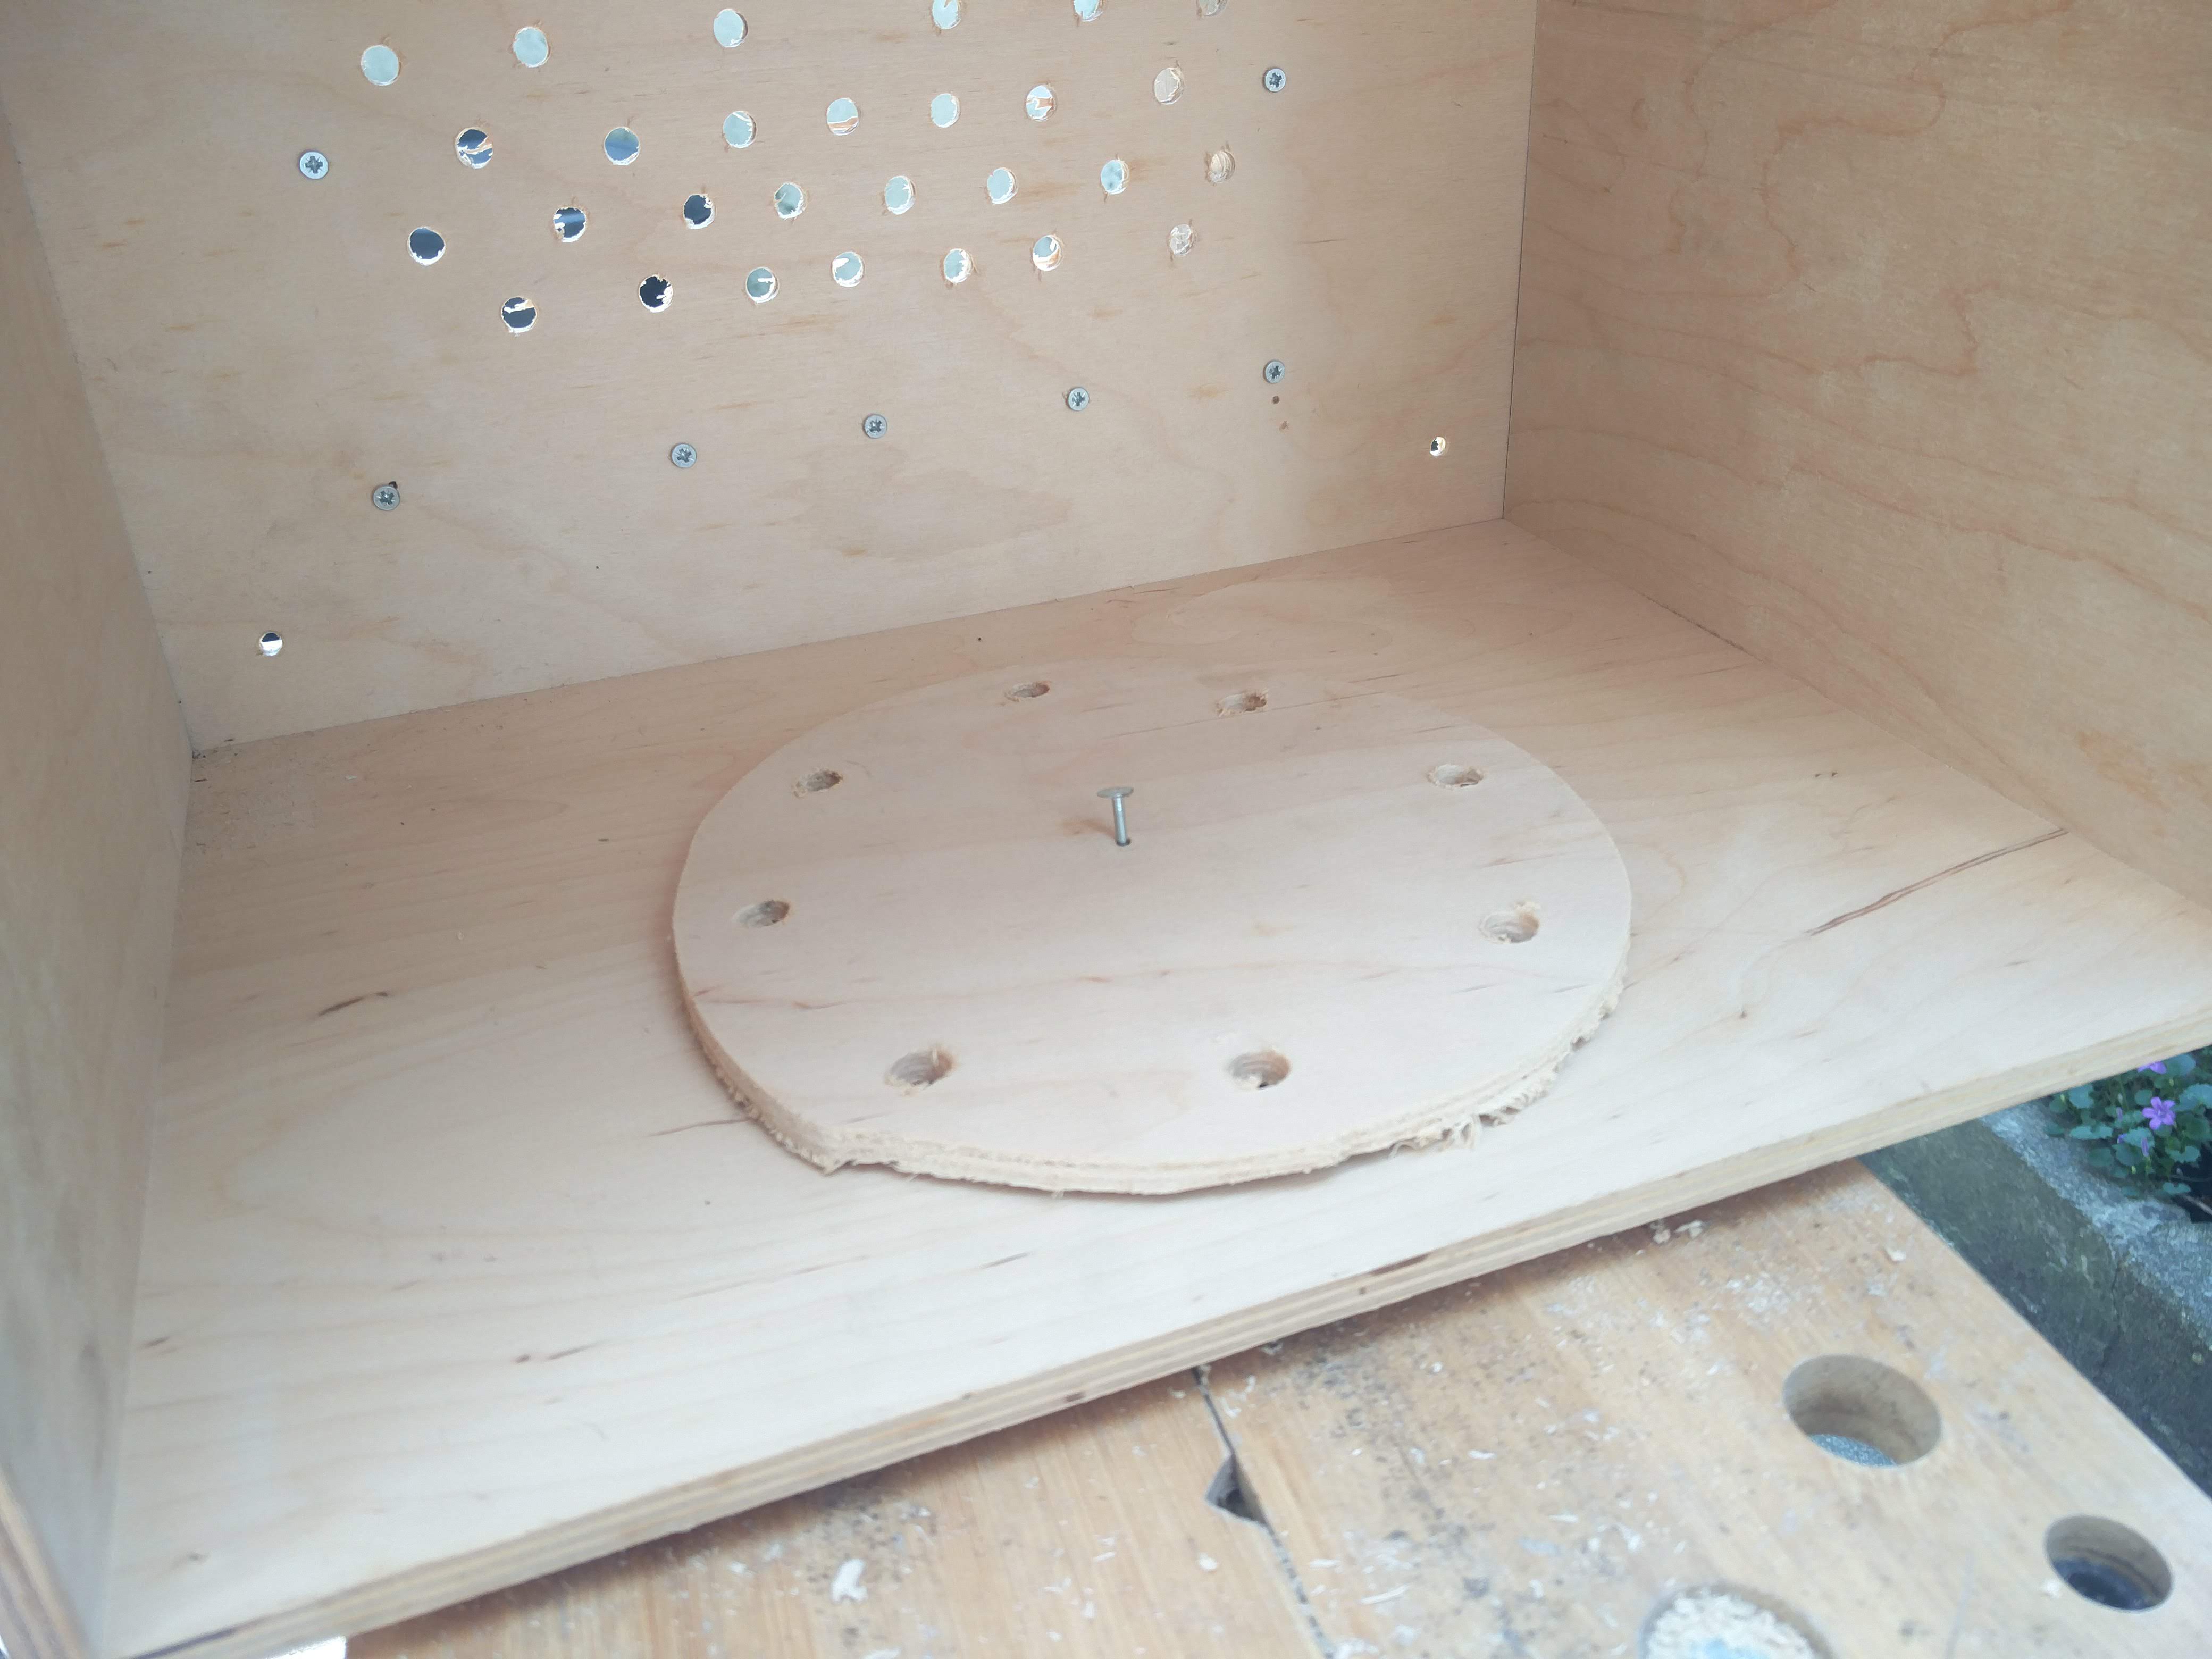
Filter
The filter I'm using is a basic kitchen vapor hood filter. But really, pretty much anything might work. The main idea is that the airflow smashes the paint drops into the fibers as it moves around them. A thin spongey material should work, too. I cut the filter it large enough so it would be clamped when putting the extractor box over the spray box.