Wood House
A simple wooden playhouse and slide
I don't remember where I got the idea. Basically I wanted an indoor playhouse and slide. After a lot of research didn't turn up any plans I decided to make my own.
I first looked at existing designs, but there weren't really any around. Since my kids would be playing on it I'd liked to have had some guidelines, but again, zip.
So it was up to common sense to dictate the rules.
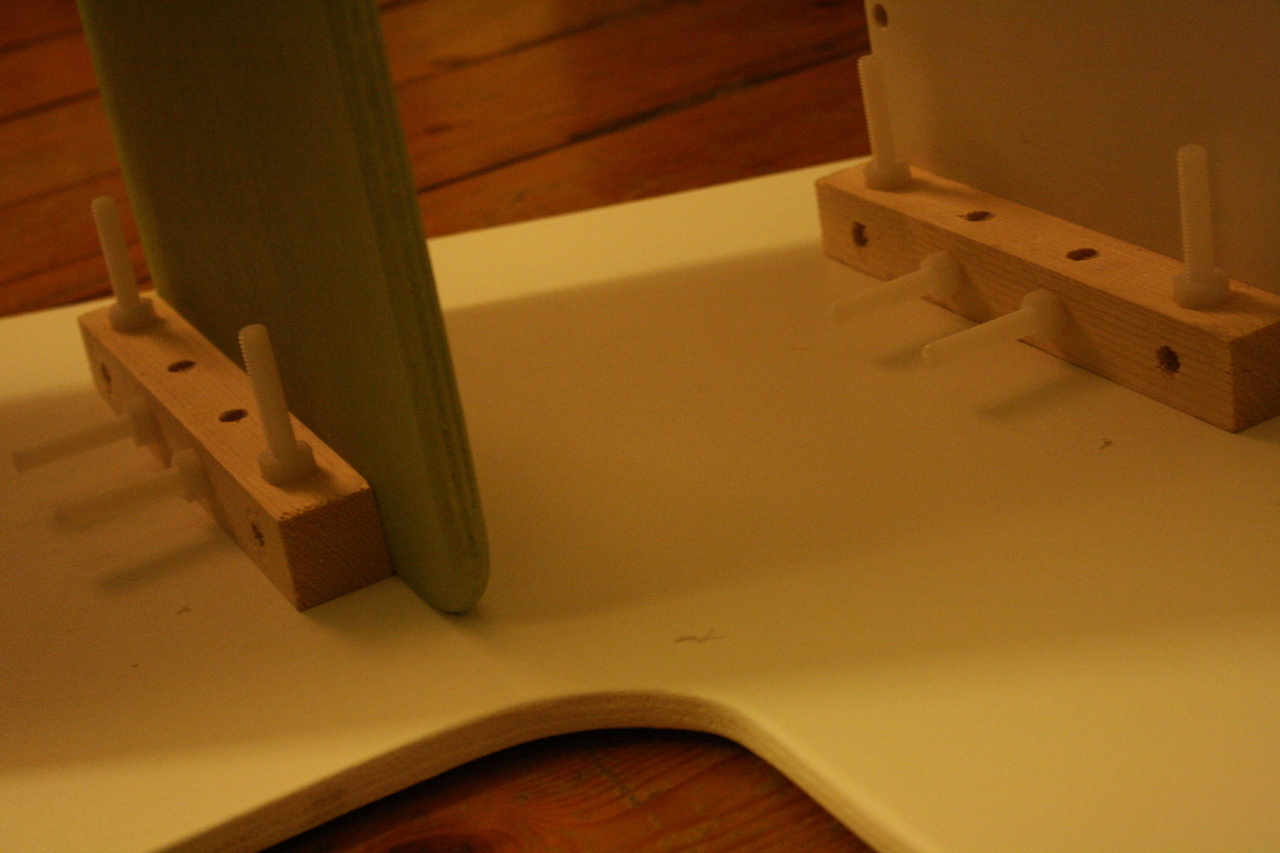
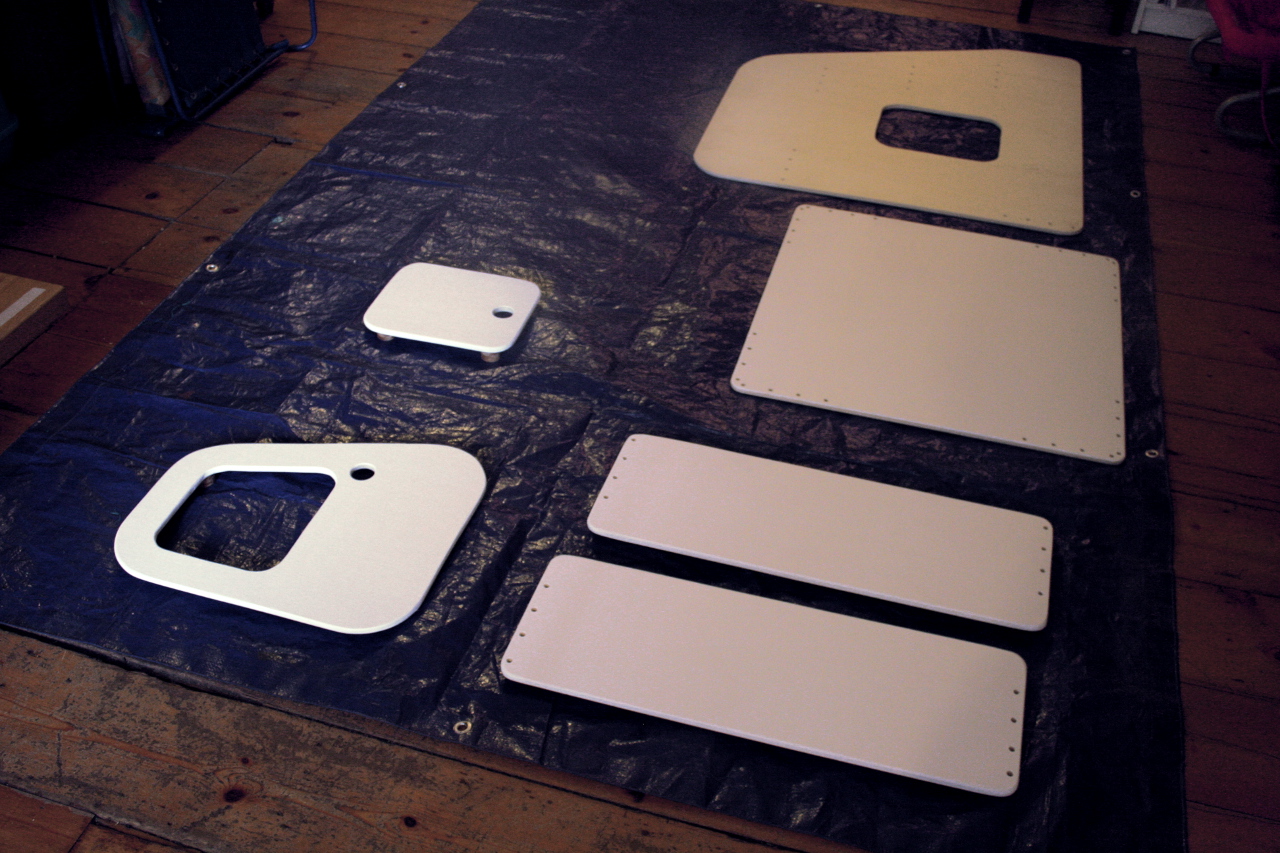
I decided to use a simple connection method illustrated above. A few sketches later the concept was done. Once I figured out how I wanted to connect the panels, the simplicity of the design came on its own. The connector bits precluded the use of angles- which would have been easy enough to calculate and added some rigidity, but also limited the space inside the 'house'. The final design was based on a 70cm by 70cm cube. The top panel is 70 cm rectangular. The side panels are 90cm high to prevent falling over accidentally. Their length is determined by the angle of the steps- and the width of the multiplex panel they're cut off, 122cm. The dept of the step is 20cm. And the length of the slide was again 122cm.
Construction
The wood was bought alongside that for the subwoofer. I intended to use half of it to make a corral around the playing area. Instead some got used to make doors around the stairs.
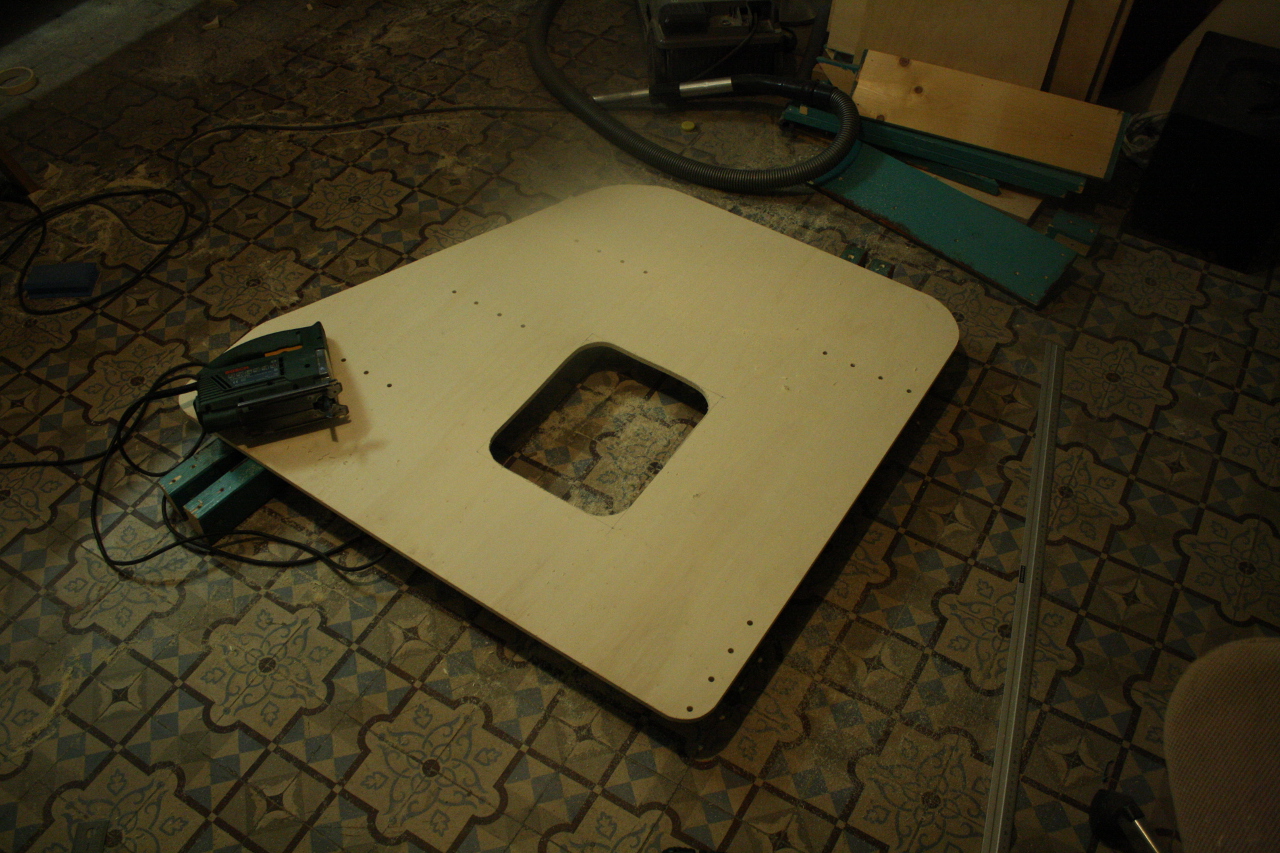
Cutting was easy enough. I lofted the wood off the floor with some scrap. I used a metal ruler and a compass to draw the cuts.
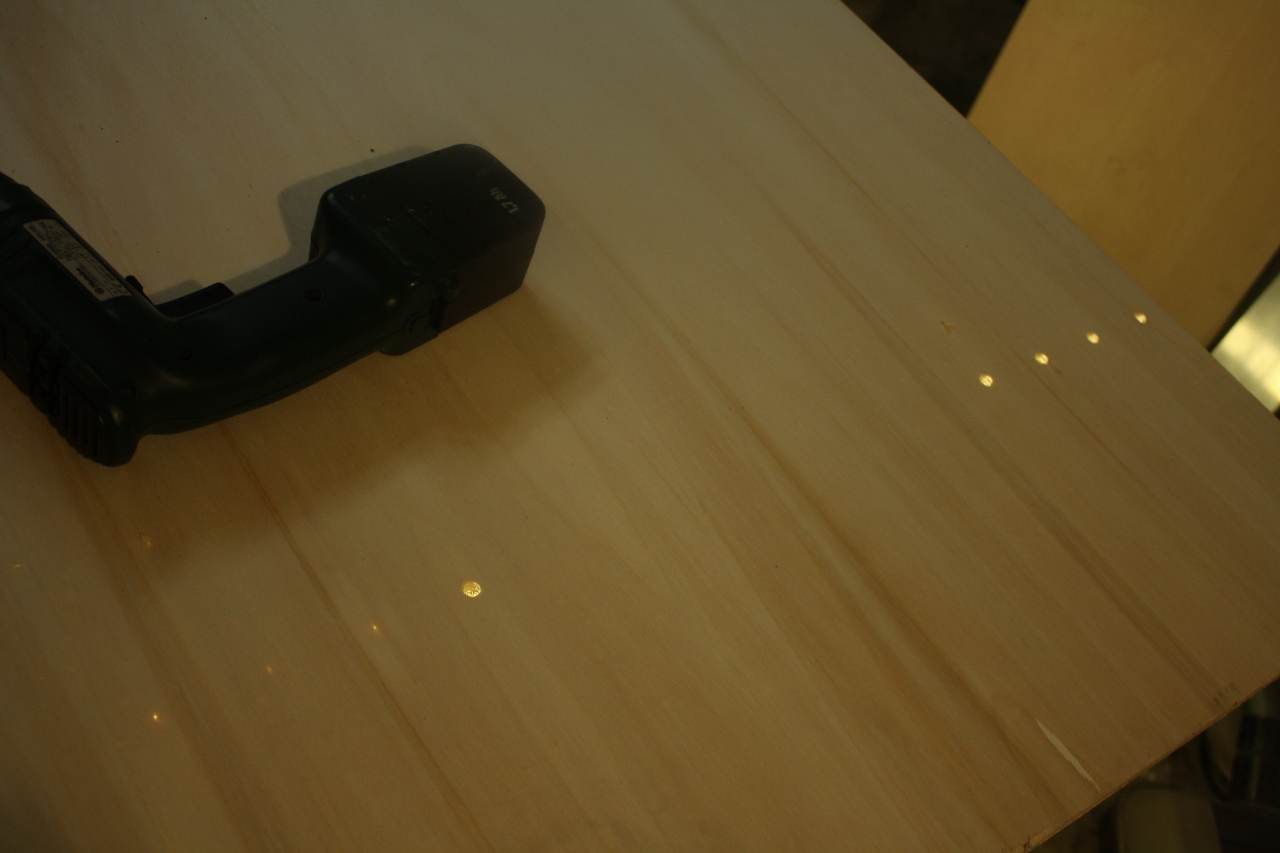
To get clean drill holes I only pushed trough half way, with the sharp point of the wood drill bit pushing trough the other side. After reversing I could than get a clean edge; often with large-grained multiplex you get splinters when the drill pushes trough. Some holes did not go all the way trough, but I used a desk lamp to shine up trough the wood. This way I could center the drill and get holes with nice edges.
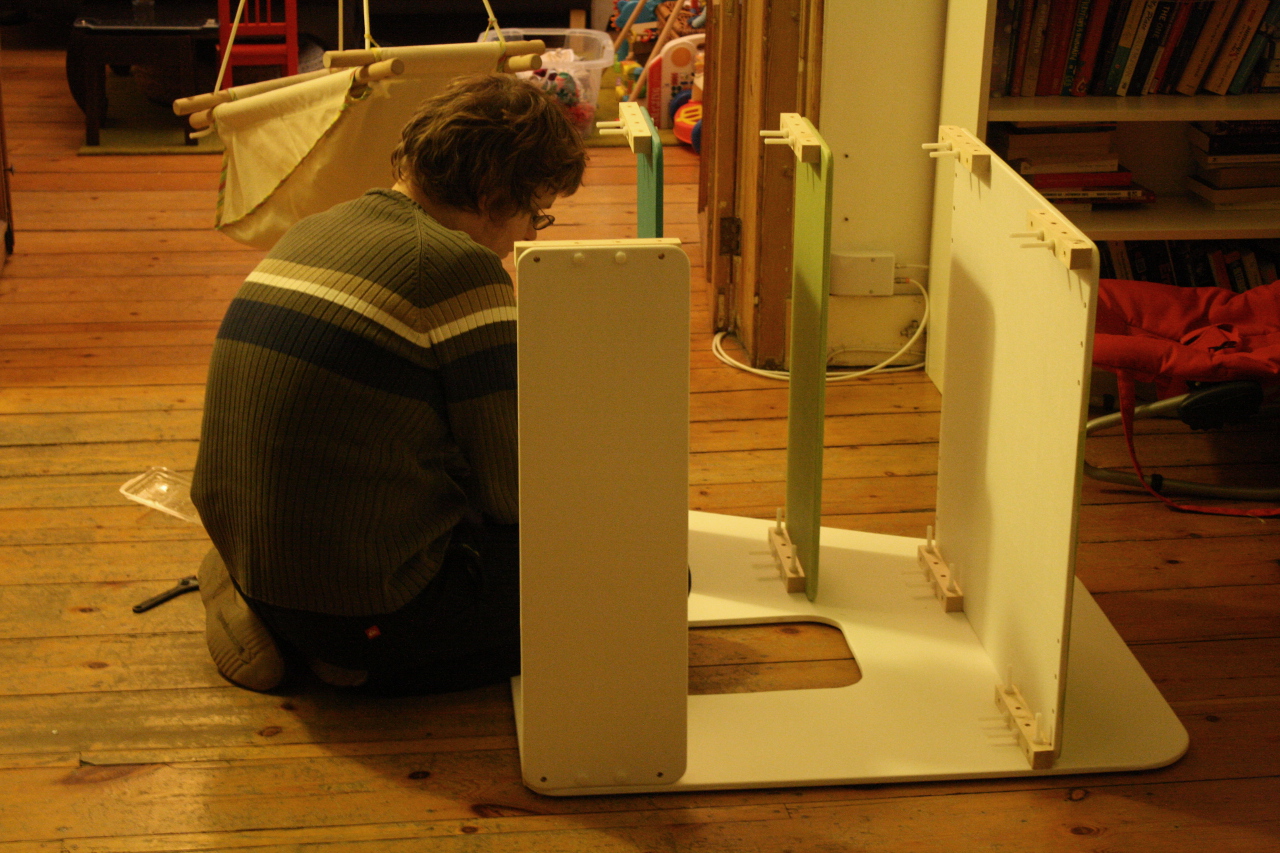
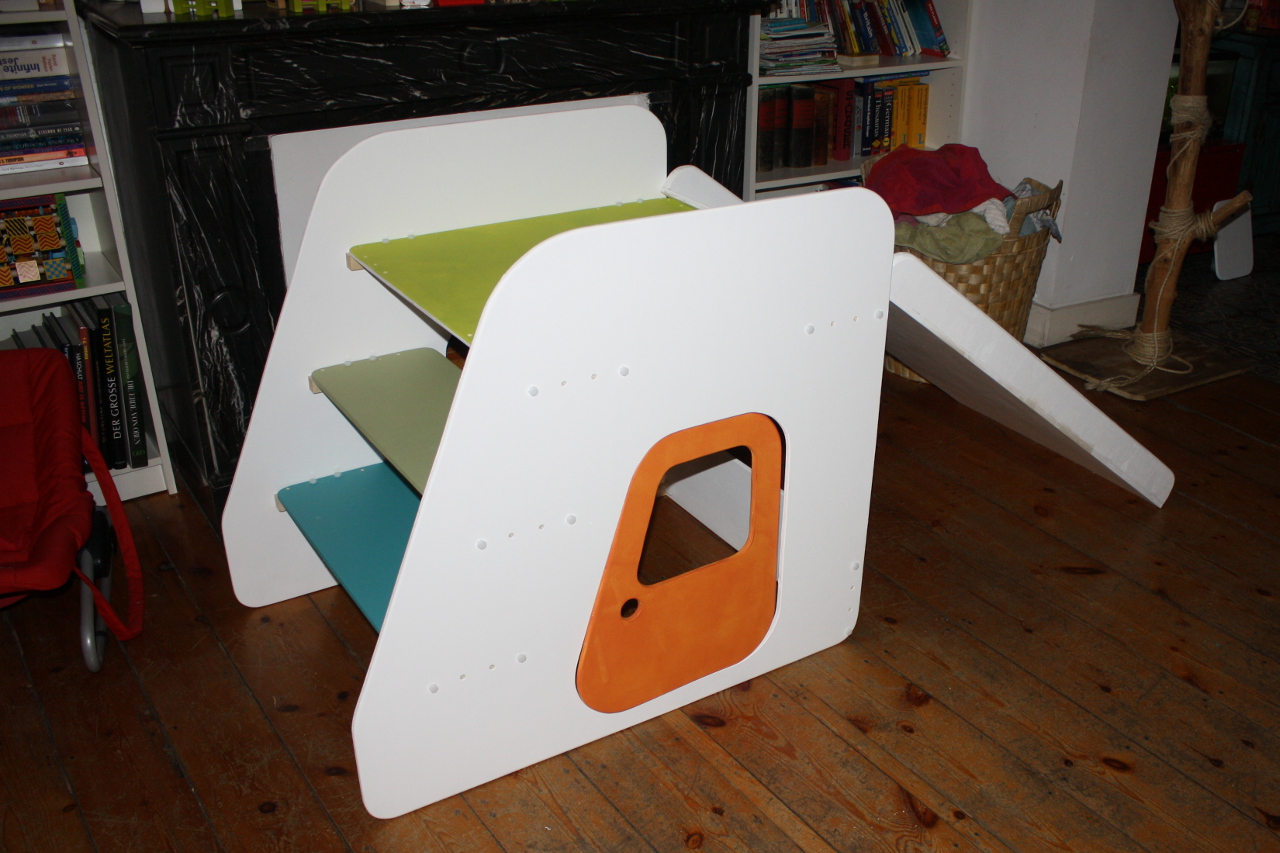
I always try and assemble bits as they're done to try and catch mistakes and assembly issues- especially knuckle space can be an unforeseen problem! Here, everything came together just fine.
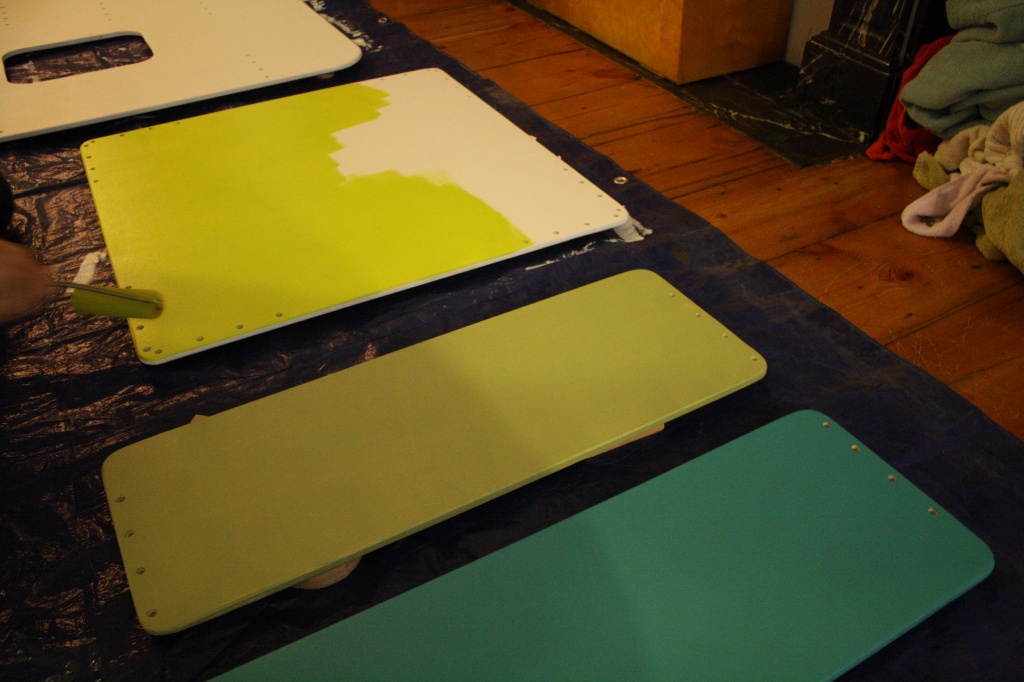
Finishing
My SO lent me a hand with the painting. She selected the color scheme and did most of the painting herself.

Once painted the stairs were easily reassembled.
Reception
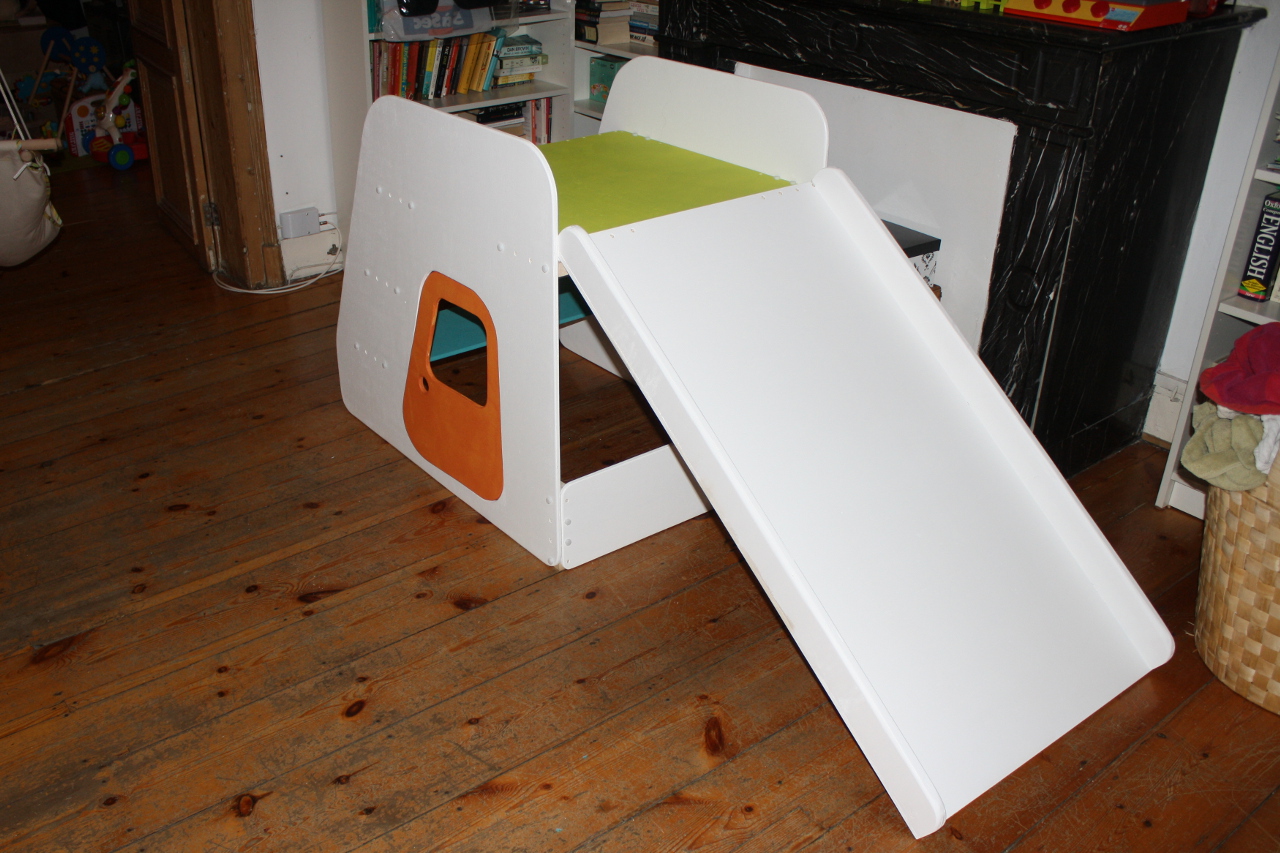
One thing I had to change real soon was the angle of the stairs. As designed the stairs were too steep for my son to get his knee over. In fact I ended up moving the top step over one hole, and the bottom step two holes (by using different holes in the wood connectors).
The house was an unmitigated success. Playing with the doors, crawling under the steps, up the slide- all kids love it. One or two times it was taken apart because the space was needed. It's a bit large around the house, but if you have the space well worth the investment.