On the go Role Playing
Let the dice fly low!
Because you don't want them to fly all over the place.
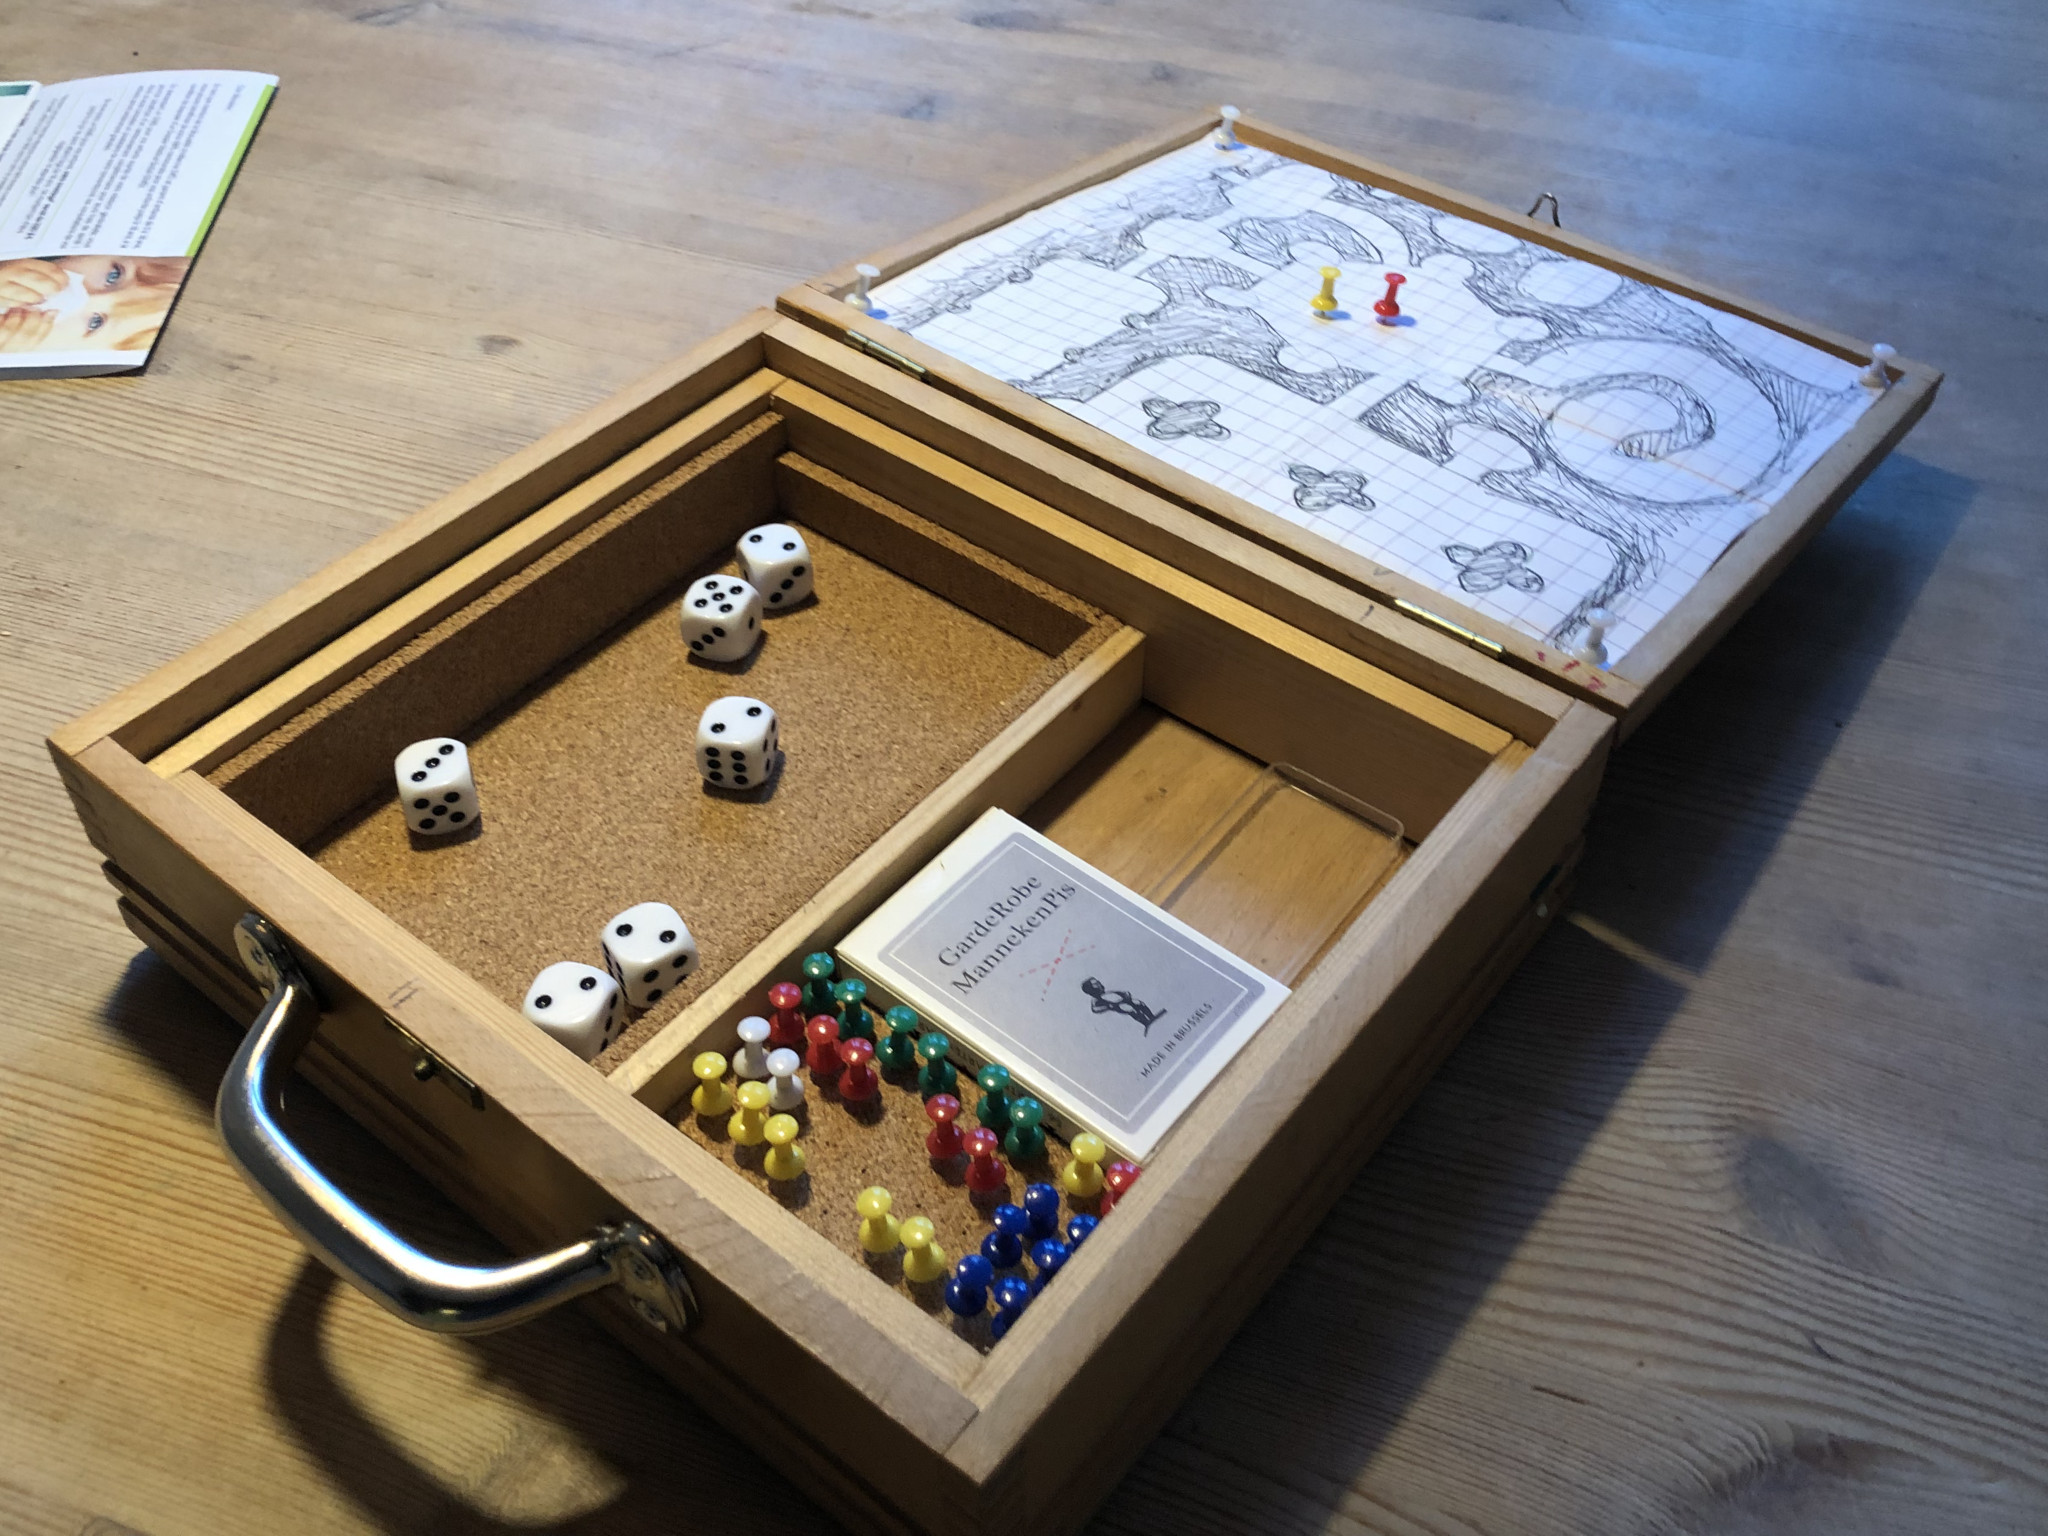
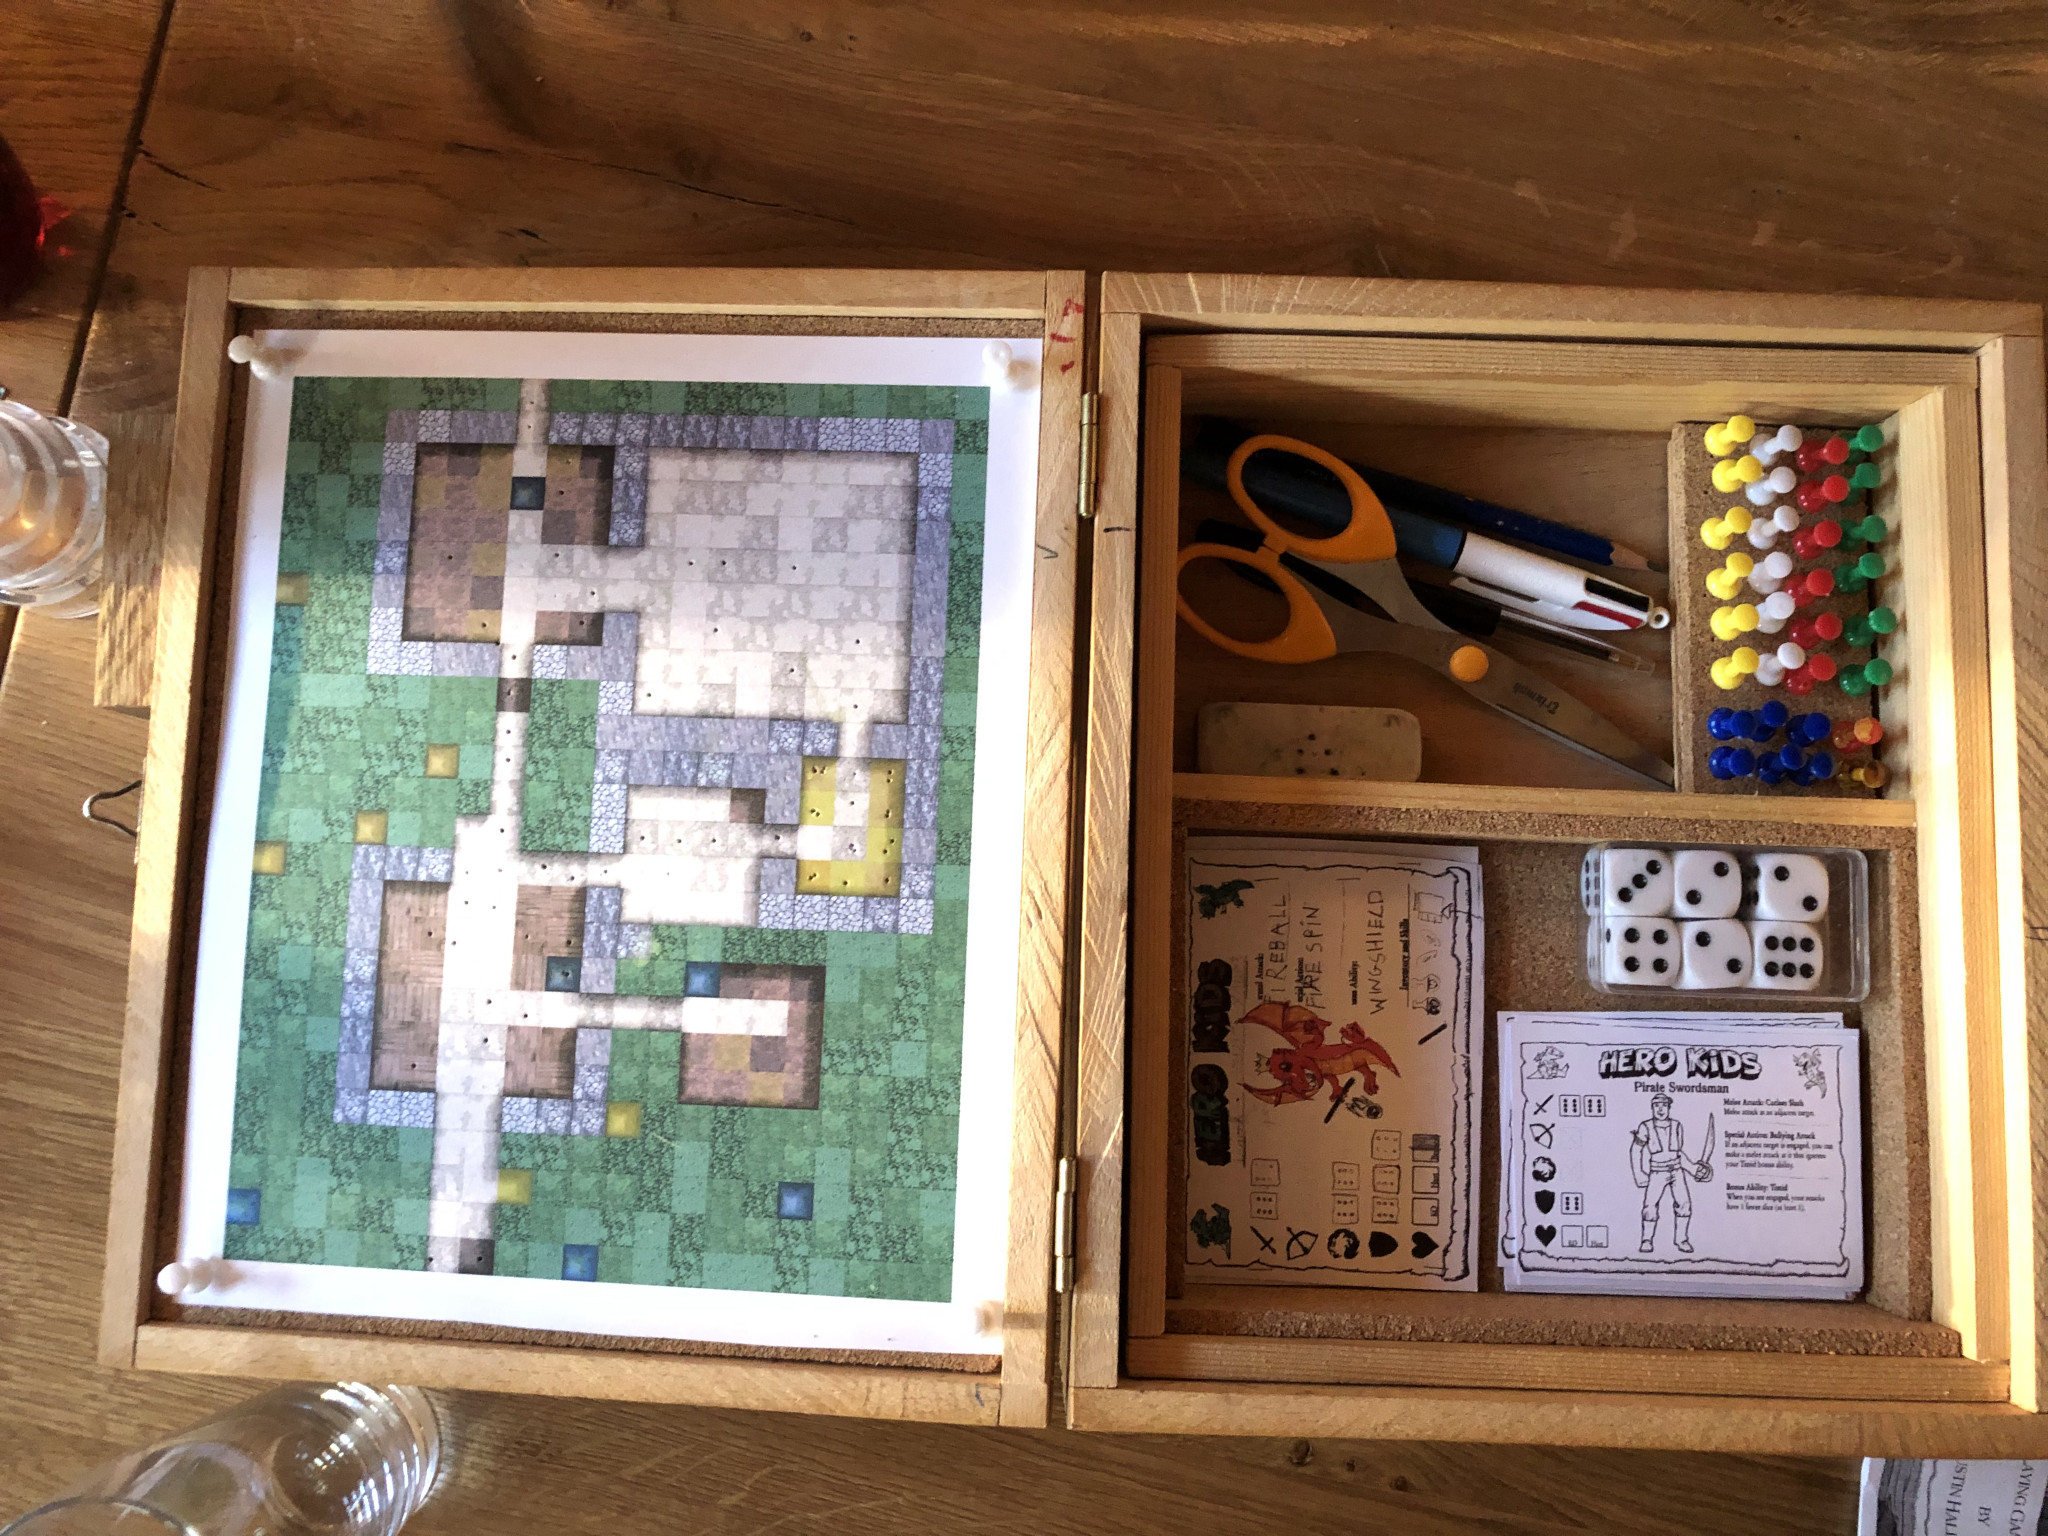
The RPG box is a self-contained RPG kit in a suitcase like box. It has a cork-board lid for encounter maps, a big cork-lined tray to silently roll dice in, storage for character and monster cards, and room for player figurine (well, pins) and odds and ends. I have to admit up front, that part of the raison d'etre of this project was the failure of my dice tower. The dice tower in turn was built to stop my kids from throwing the dice all over the place when playing herokids.
The faults of the dice tower were many: the gaps between the Pachinko dowels were too small, I never put in the acrylic front, and the dice would roll down and into a tray that was so deep I could not see the result.
At about the same time I gave up on the dice tower, we started planning a yearly family trip to a hotel where I knew there'd be hours to fill. I don't know exactly where the idea came from, but suddenly I realized I needed to make a RPG box.
The box
For the box I got an old box from my basement, that had been given to me by my dad, decades ago. It used to be my art supply box, and at one point had been partially covered with matchbox covers. Yes, I did have a small matchbox cover collection once!
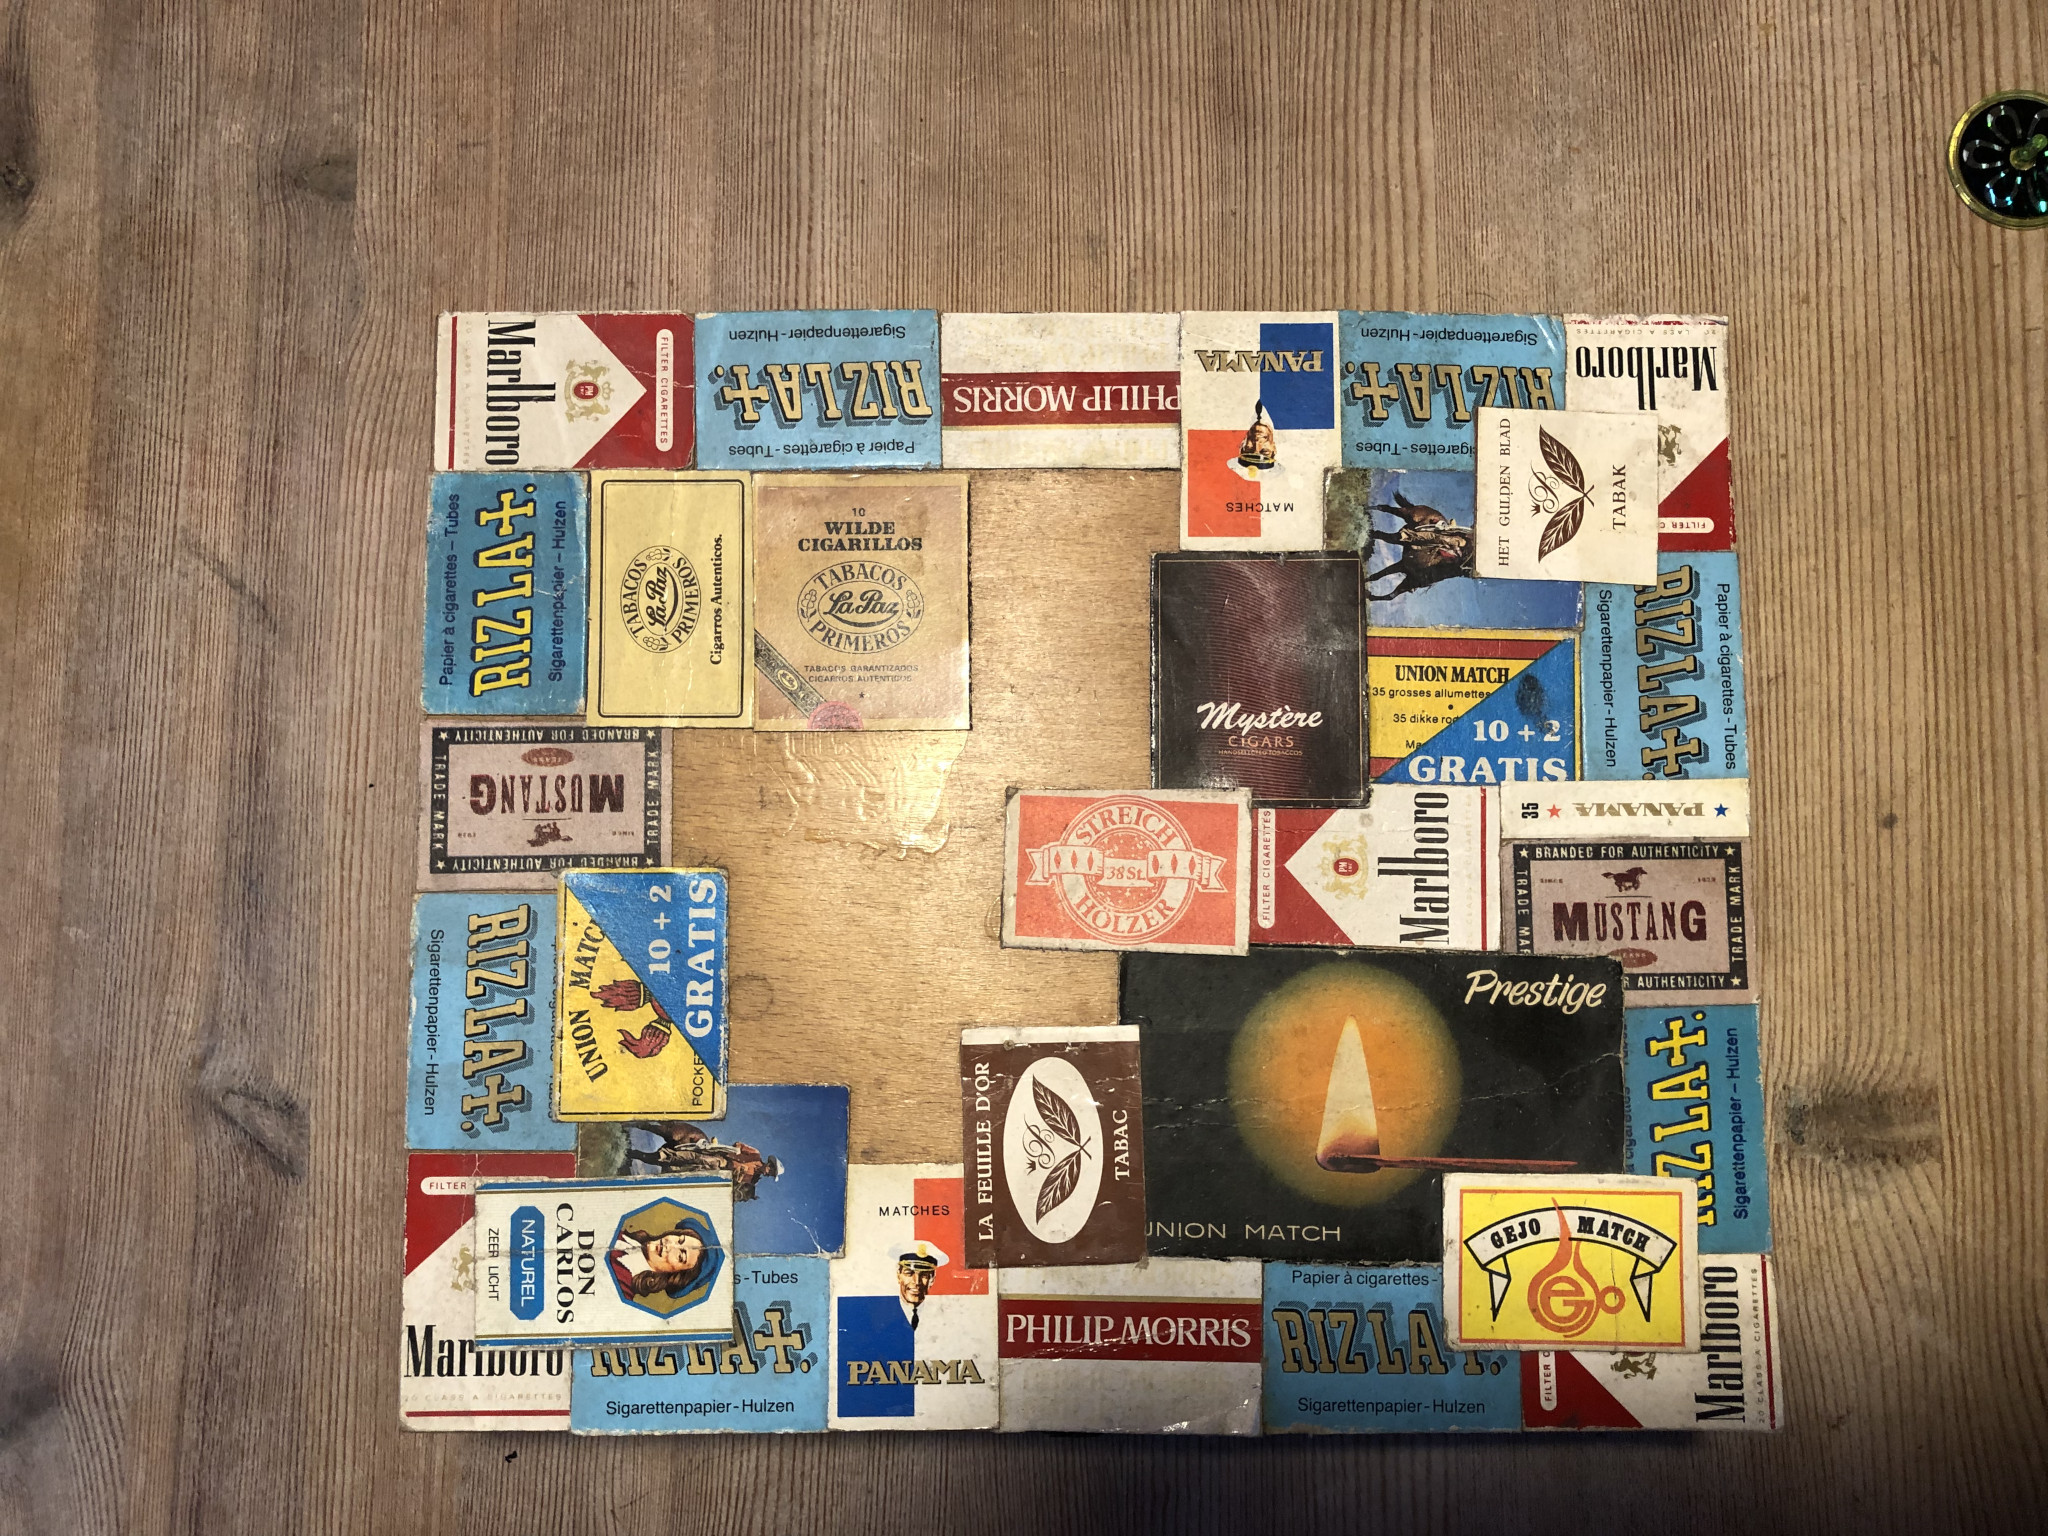
My art supplies collection had long been moved to a bigger box from IKEA, and had sprawled over it, flooding a few cupboard shelves. So this box was mostly empty.
First order of business was removing the cardboard. This went really well as the wood glue had deteriorated. A bit of sanding took care of the stuck-on bits.
The map
In the meanwhile, I was hard at work in Unity making an RPG map generator. The idea was to use textures as blocks to create walls and floors and water and other tiles.
I started with the idea of doing Wang tiles, which are clever but hard to get to work. And then I ended up doing it in ever more clever code, which worked better in many ways.
You can create maps at differing sizes, but I created them so that they are the size of the box when printed, with a cm per tile.
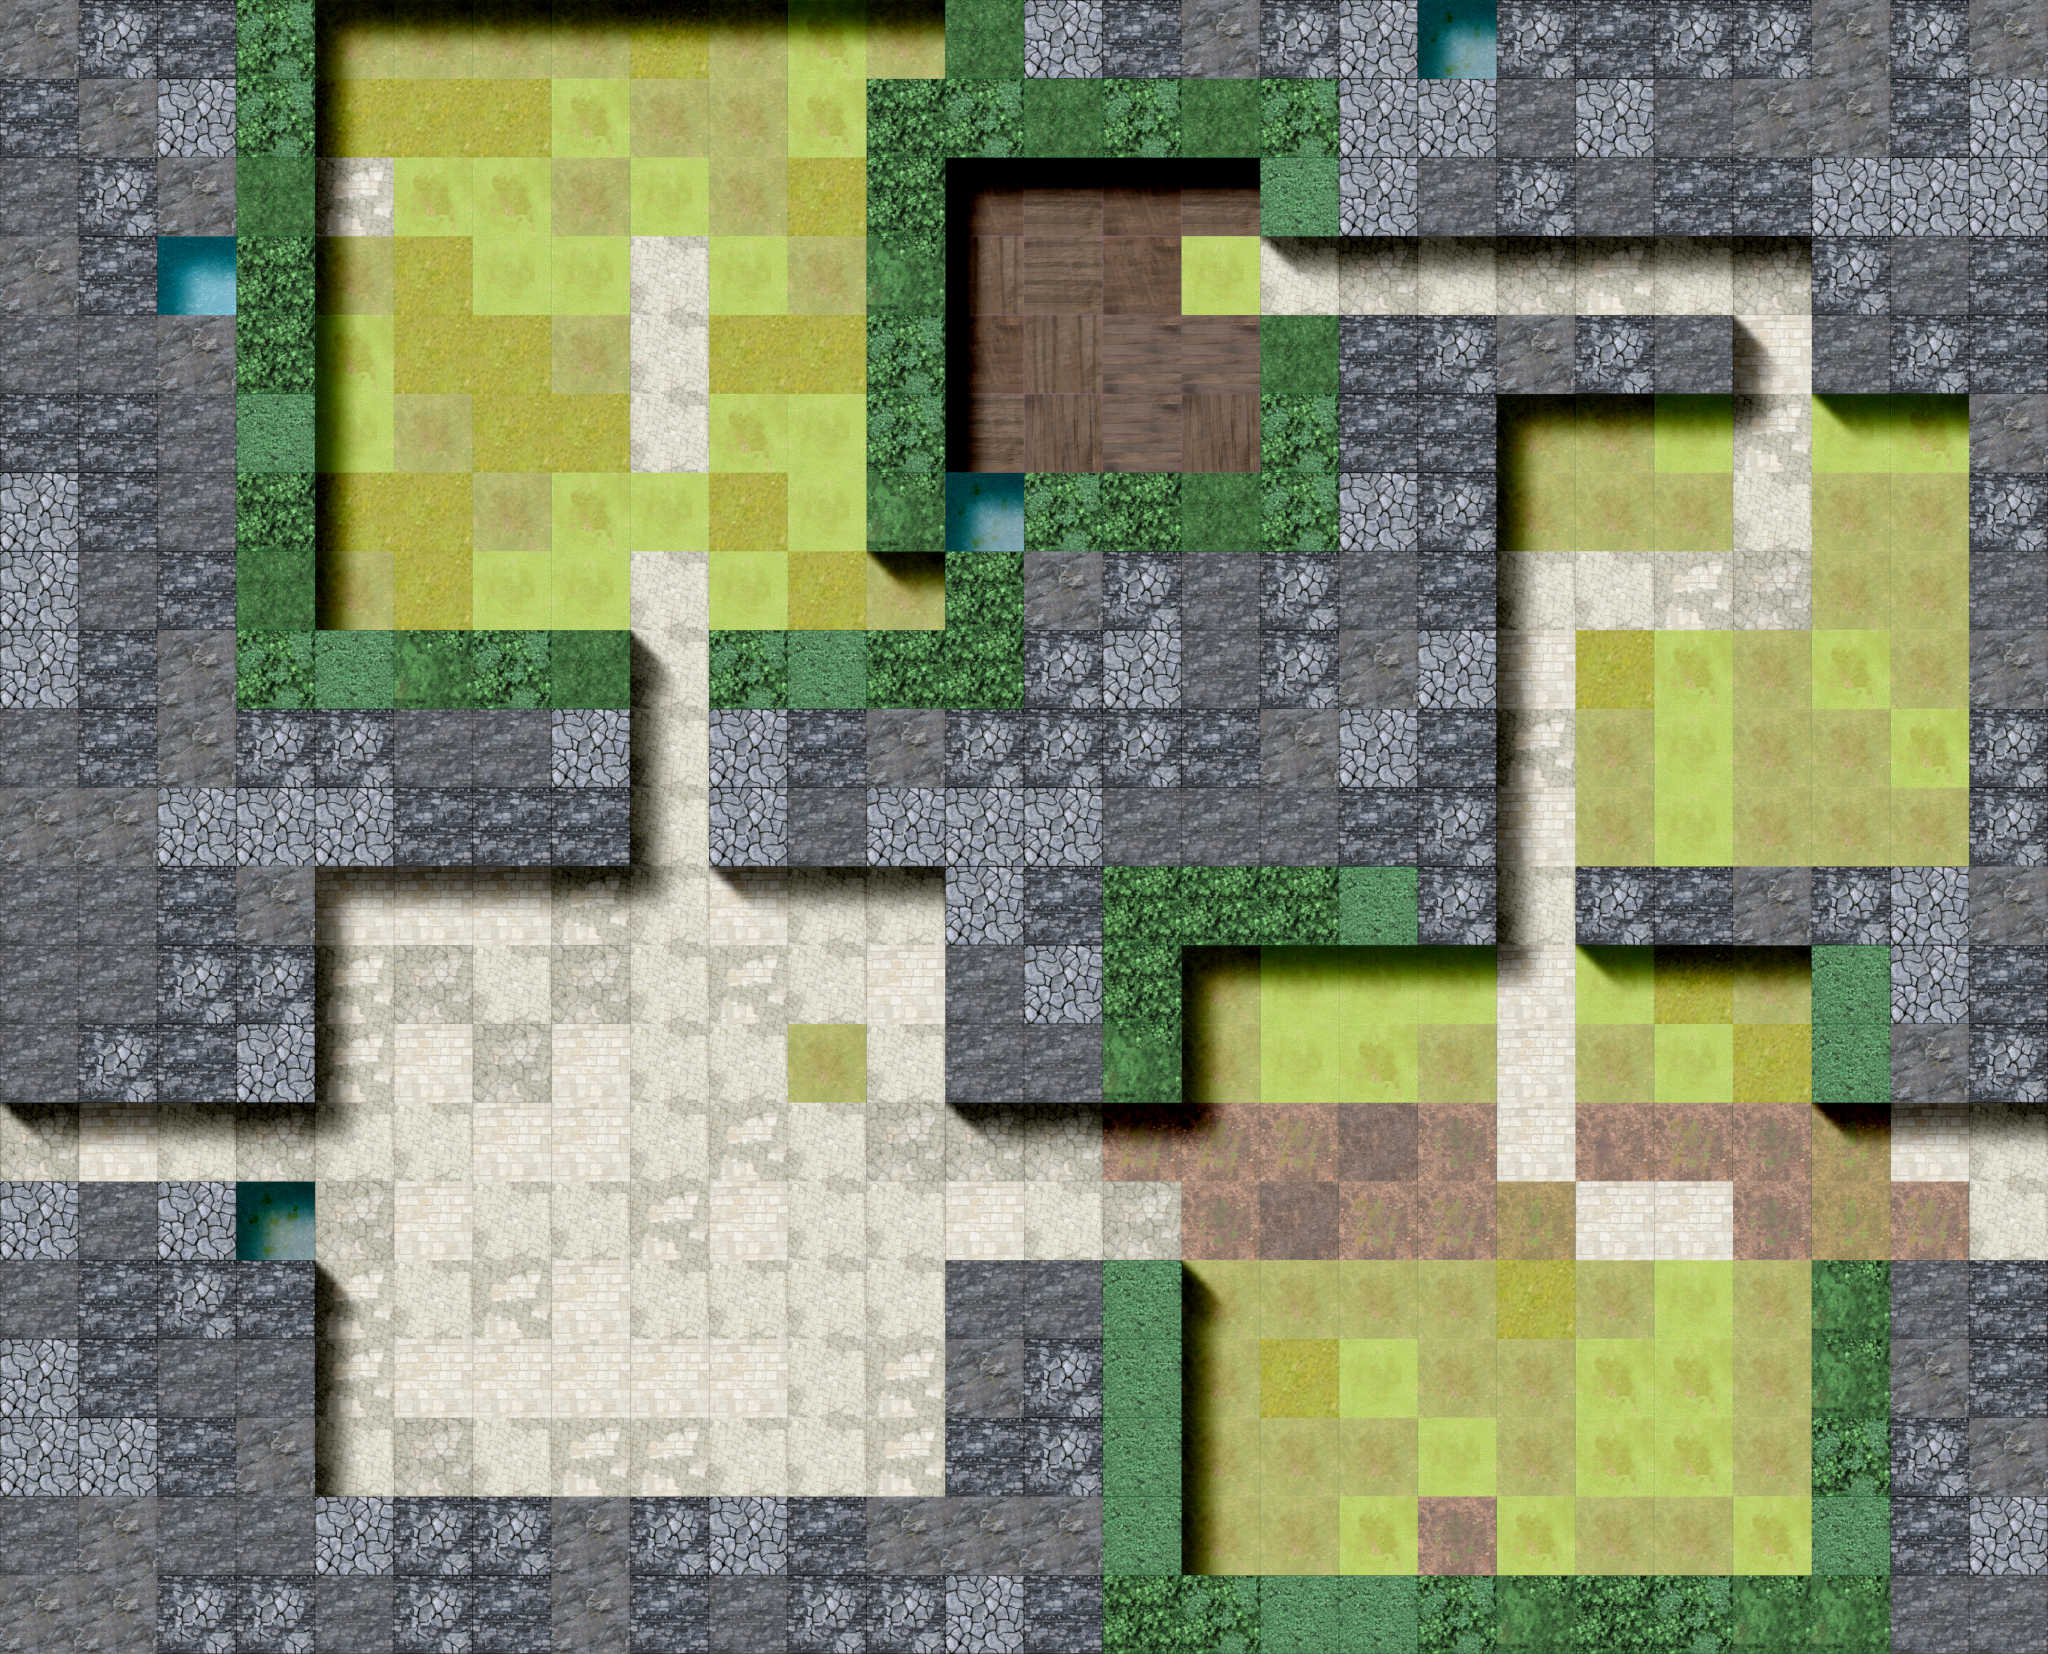
Your default map with stone rooms and walls, as well as a small wooden area and patches of grass and hedge.
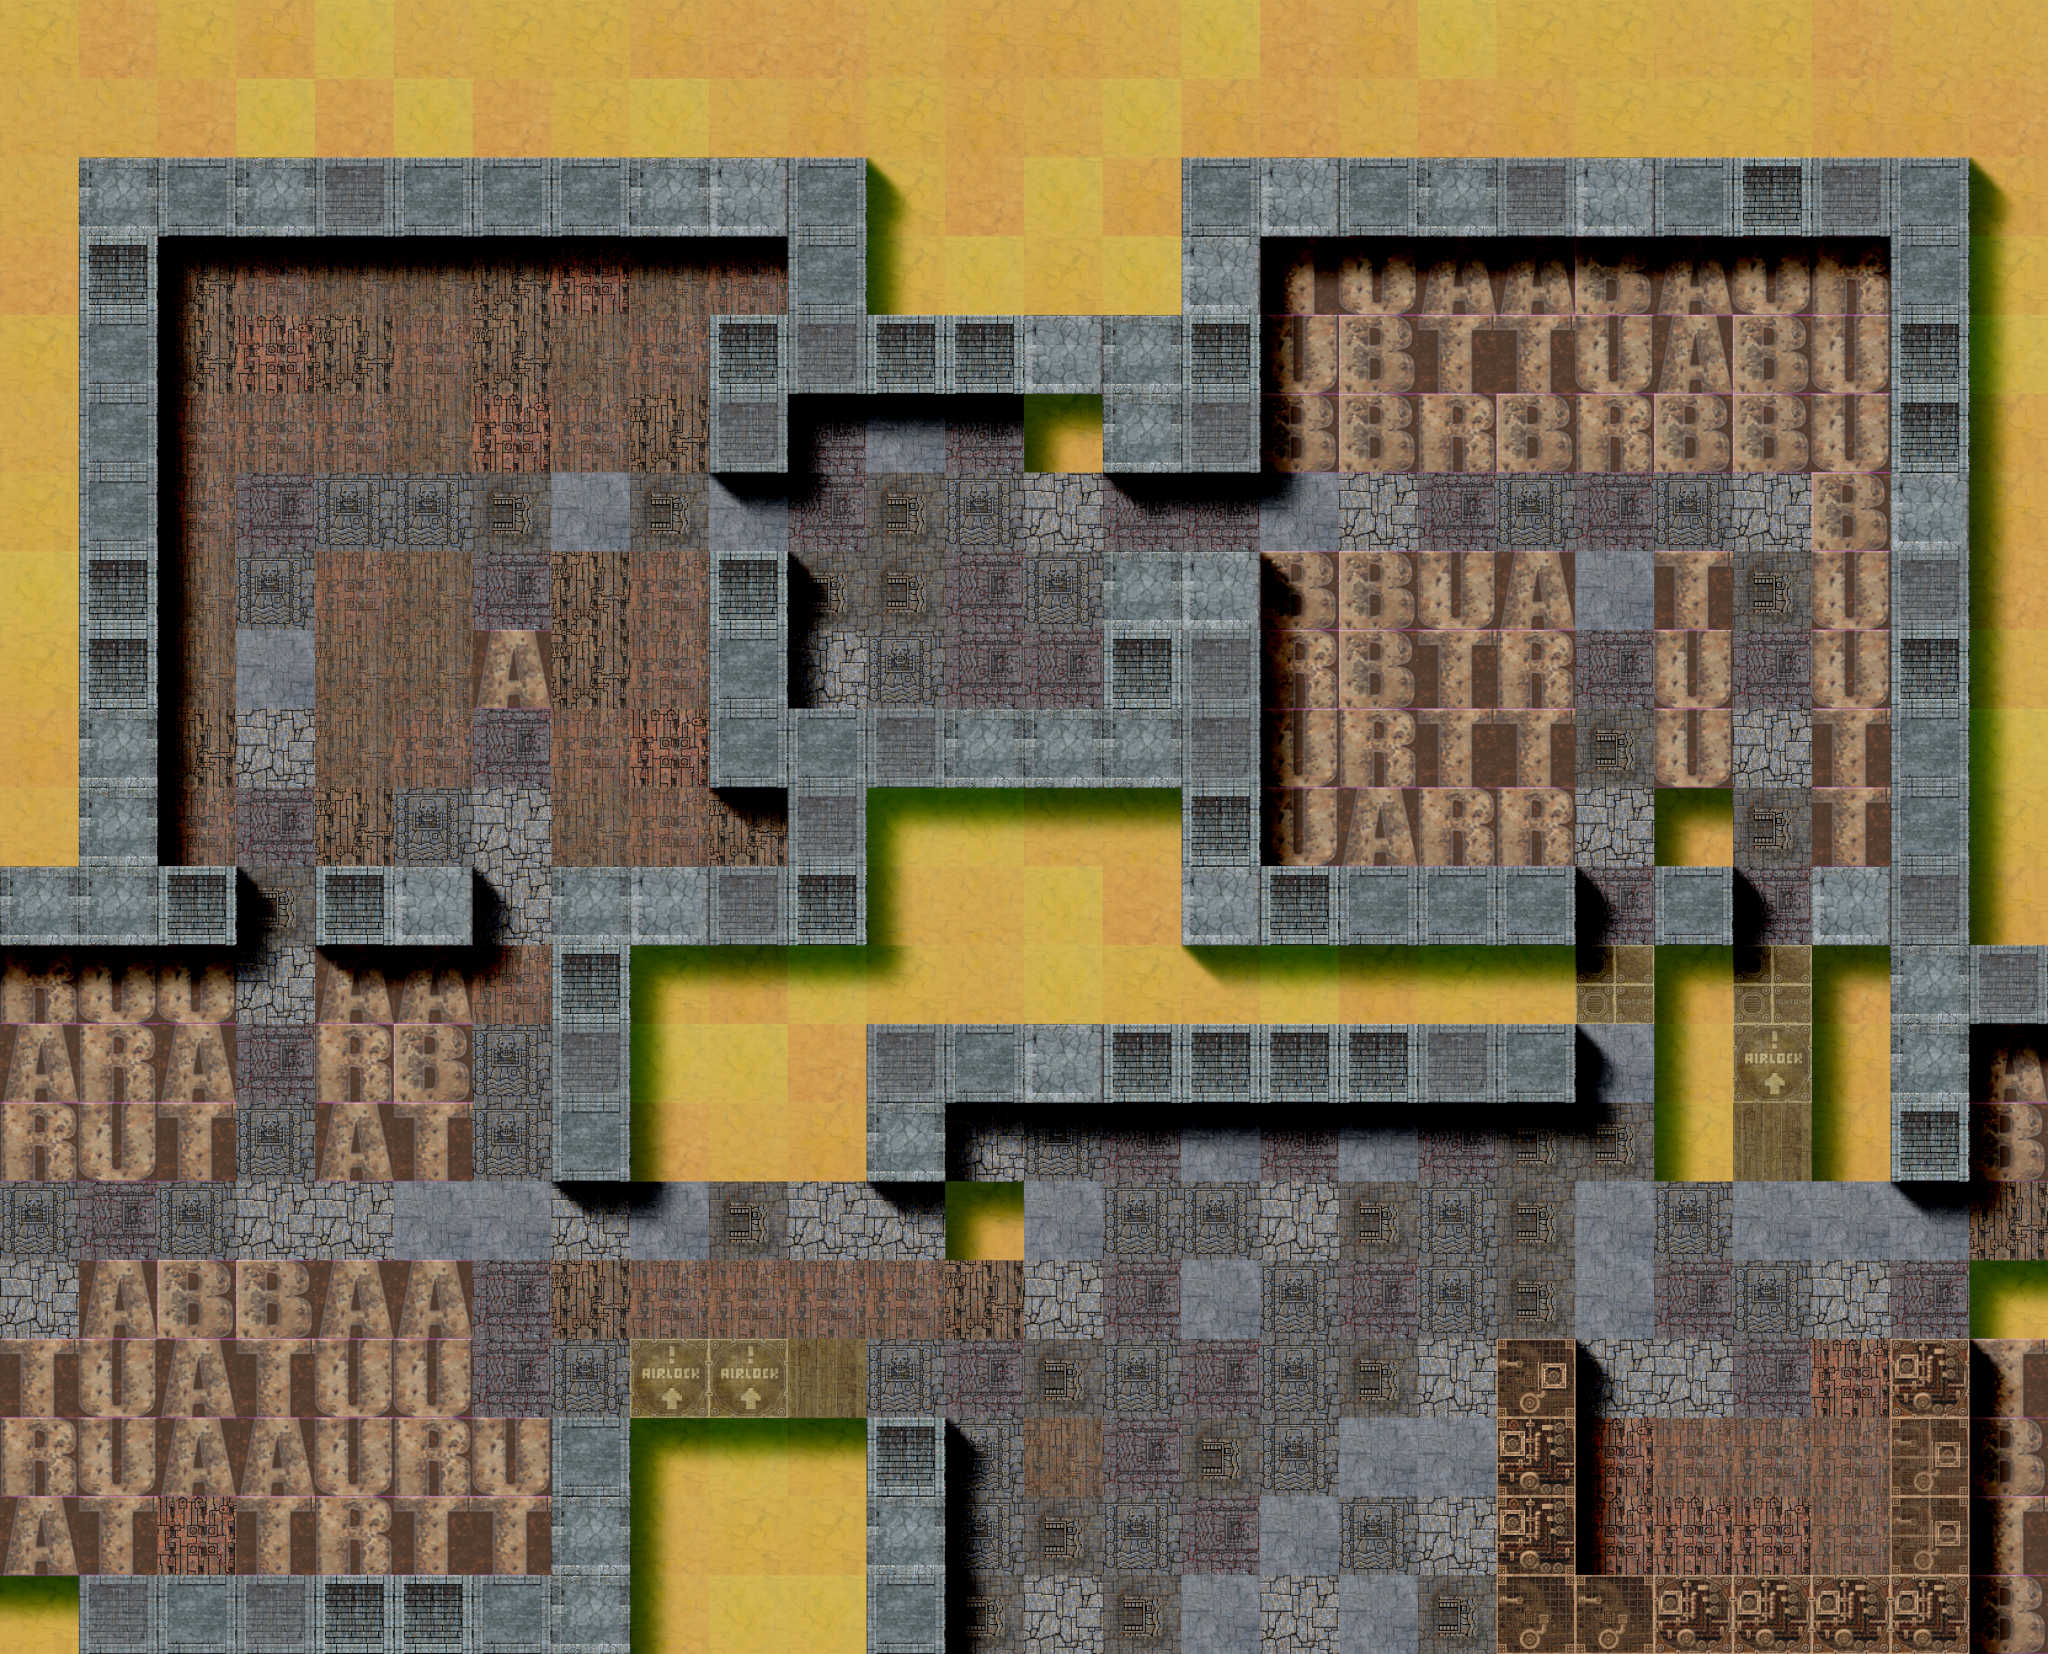
Swapping the texture gives a hellscape! The texture came from one of my 'Brutal' game tests, done ages ago in Unreal, trying to emulate the Quake look. And now they're in Unity The Irony!
I'll be creating a project page just for this map project, too!
The cork
The next step was lining the lid of the box with cork. The idea was to pin the printed maps on there, and also have the player and monster figures pinned to these.
For the figures, I simply bought a set of corkboard pins. These would serve well enough, and I could get more detailed figures later on as presents (if, you know, they liked the board!).
I started by getting a big sheet of 8 mm cork from the hardware store, and cutting a piece to size
After this, it was a matter of applying glue. I took a gamble that wood glue would work with Cork. From a long-suffering balsa airplane build standing in a corner, I took some Elmer's glue.

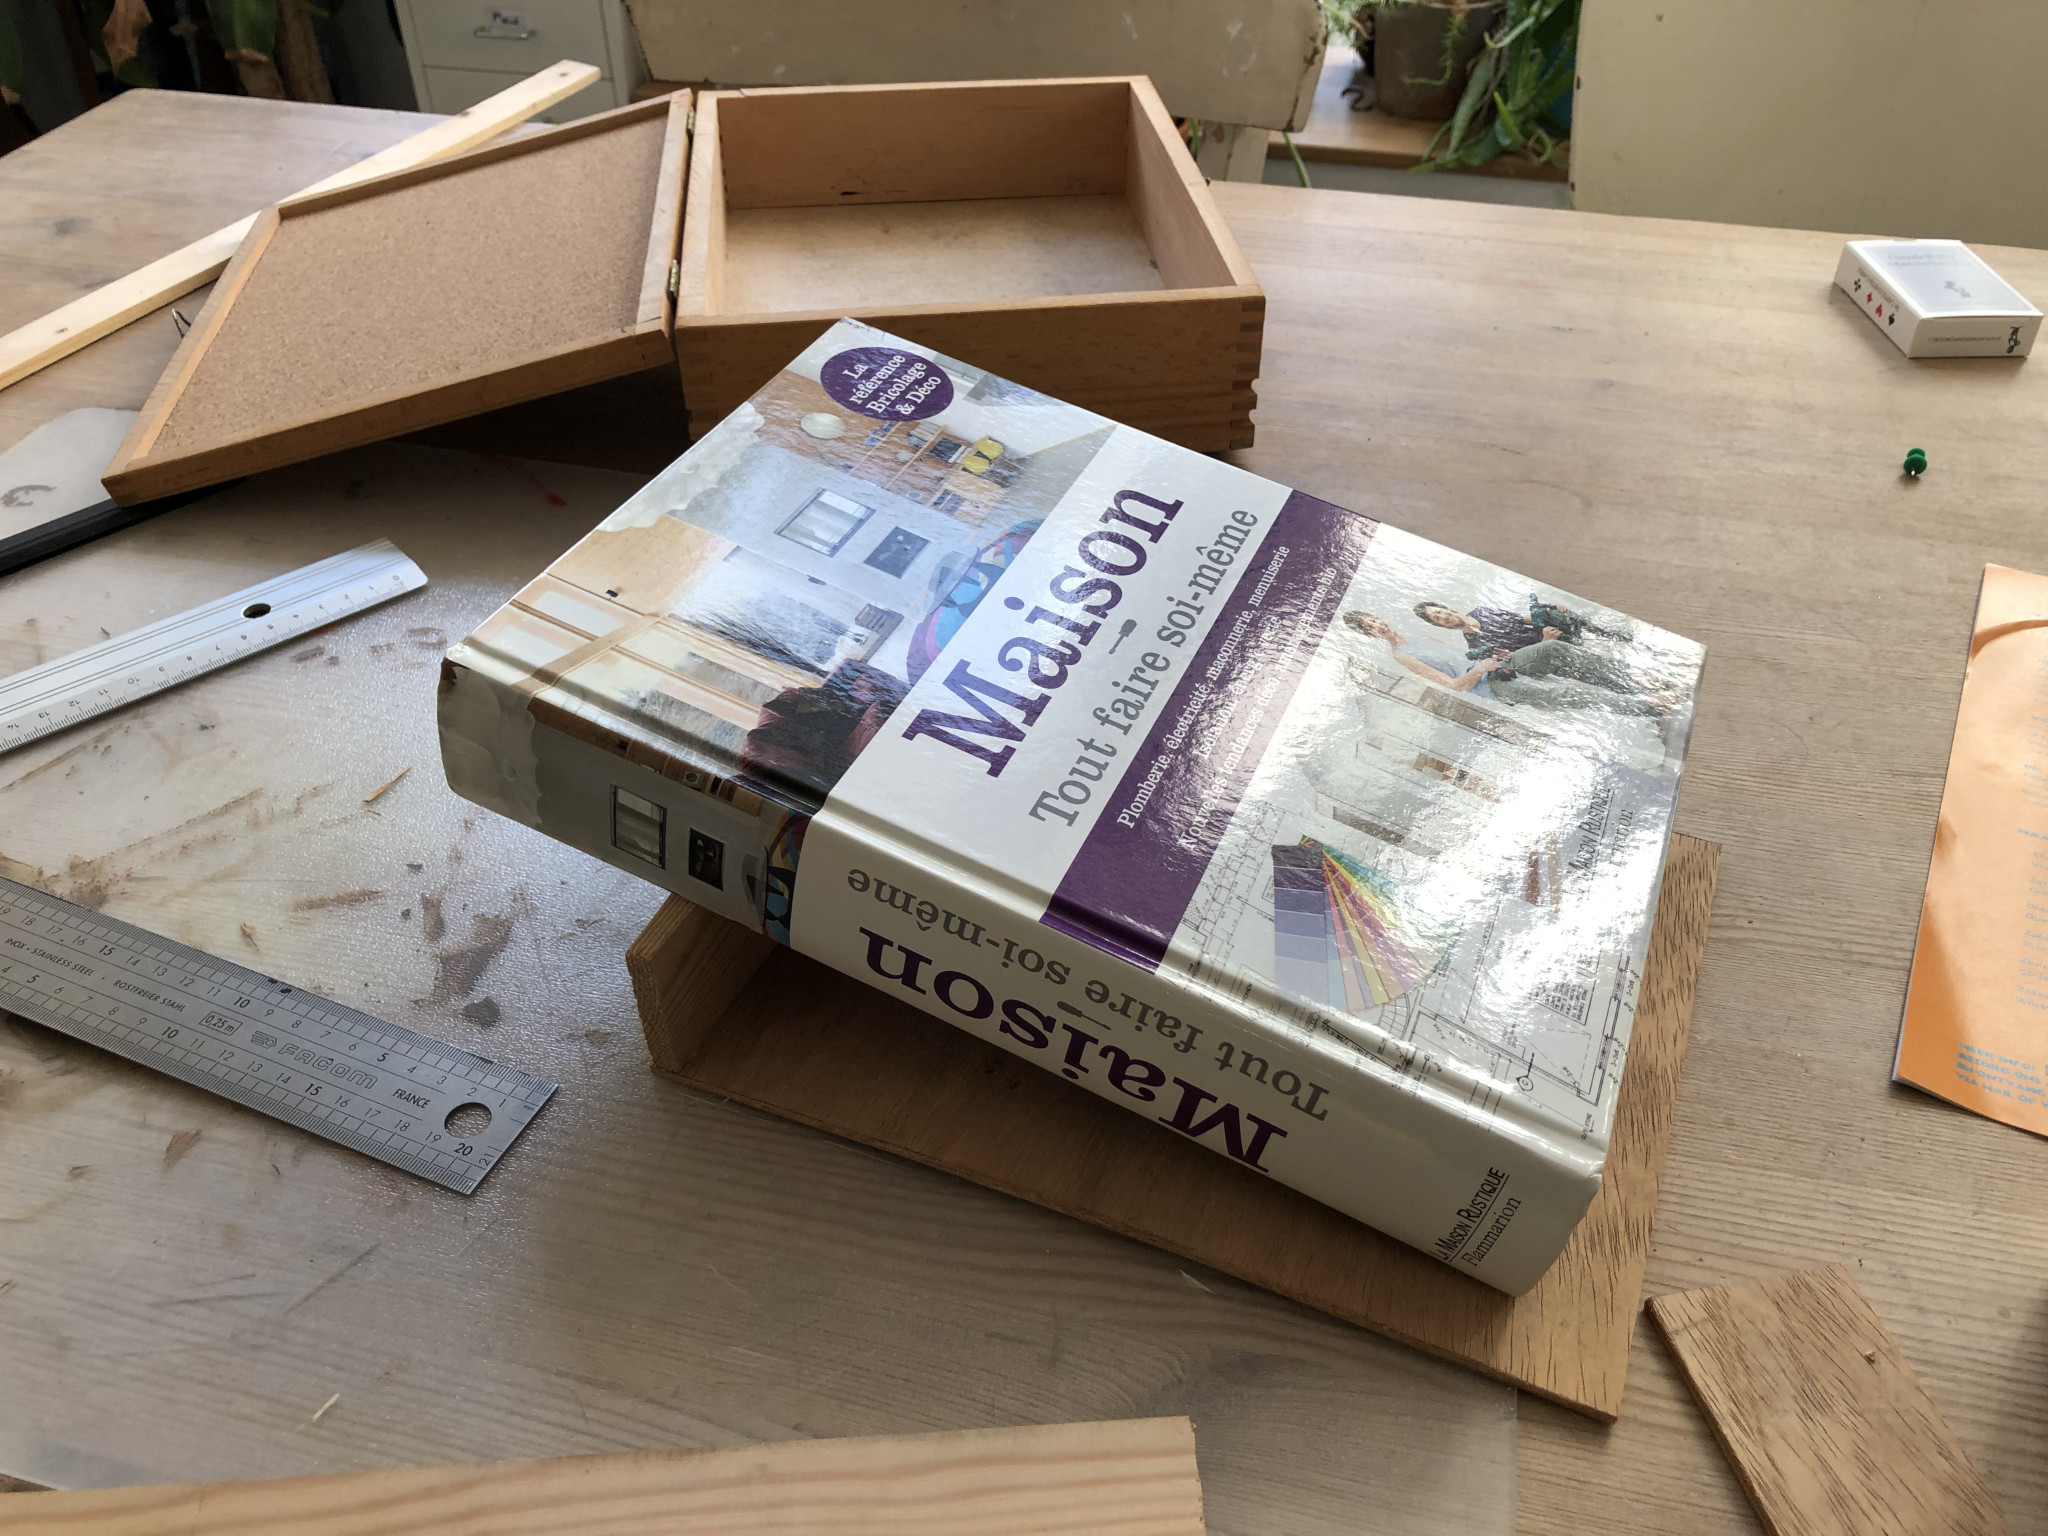
On top of this went the cork, which of course had no intention of adhering to the flat and horizontal life.

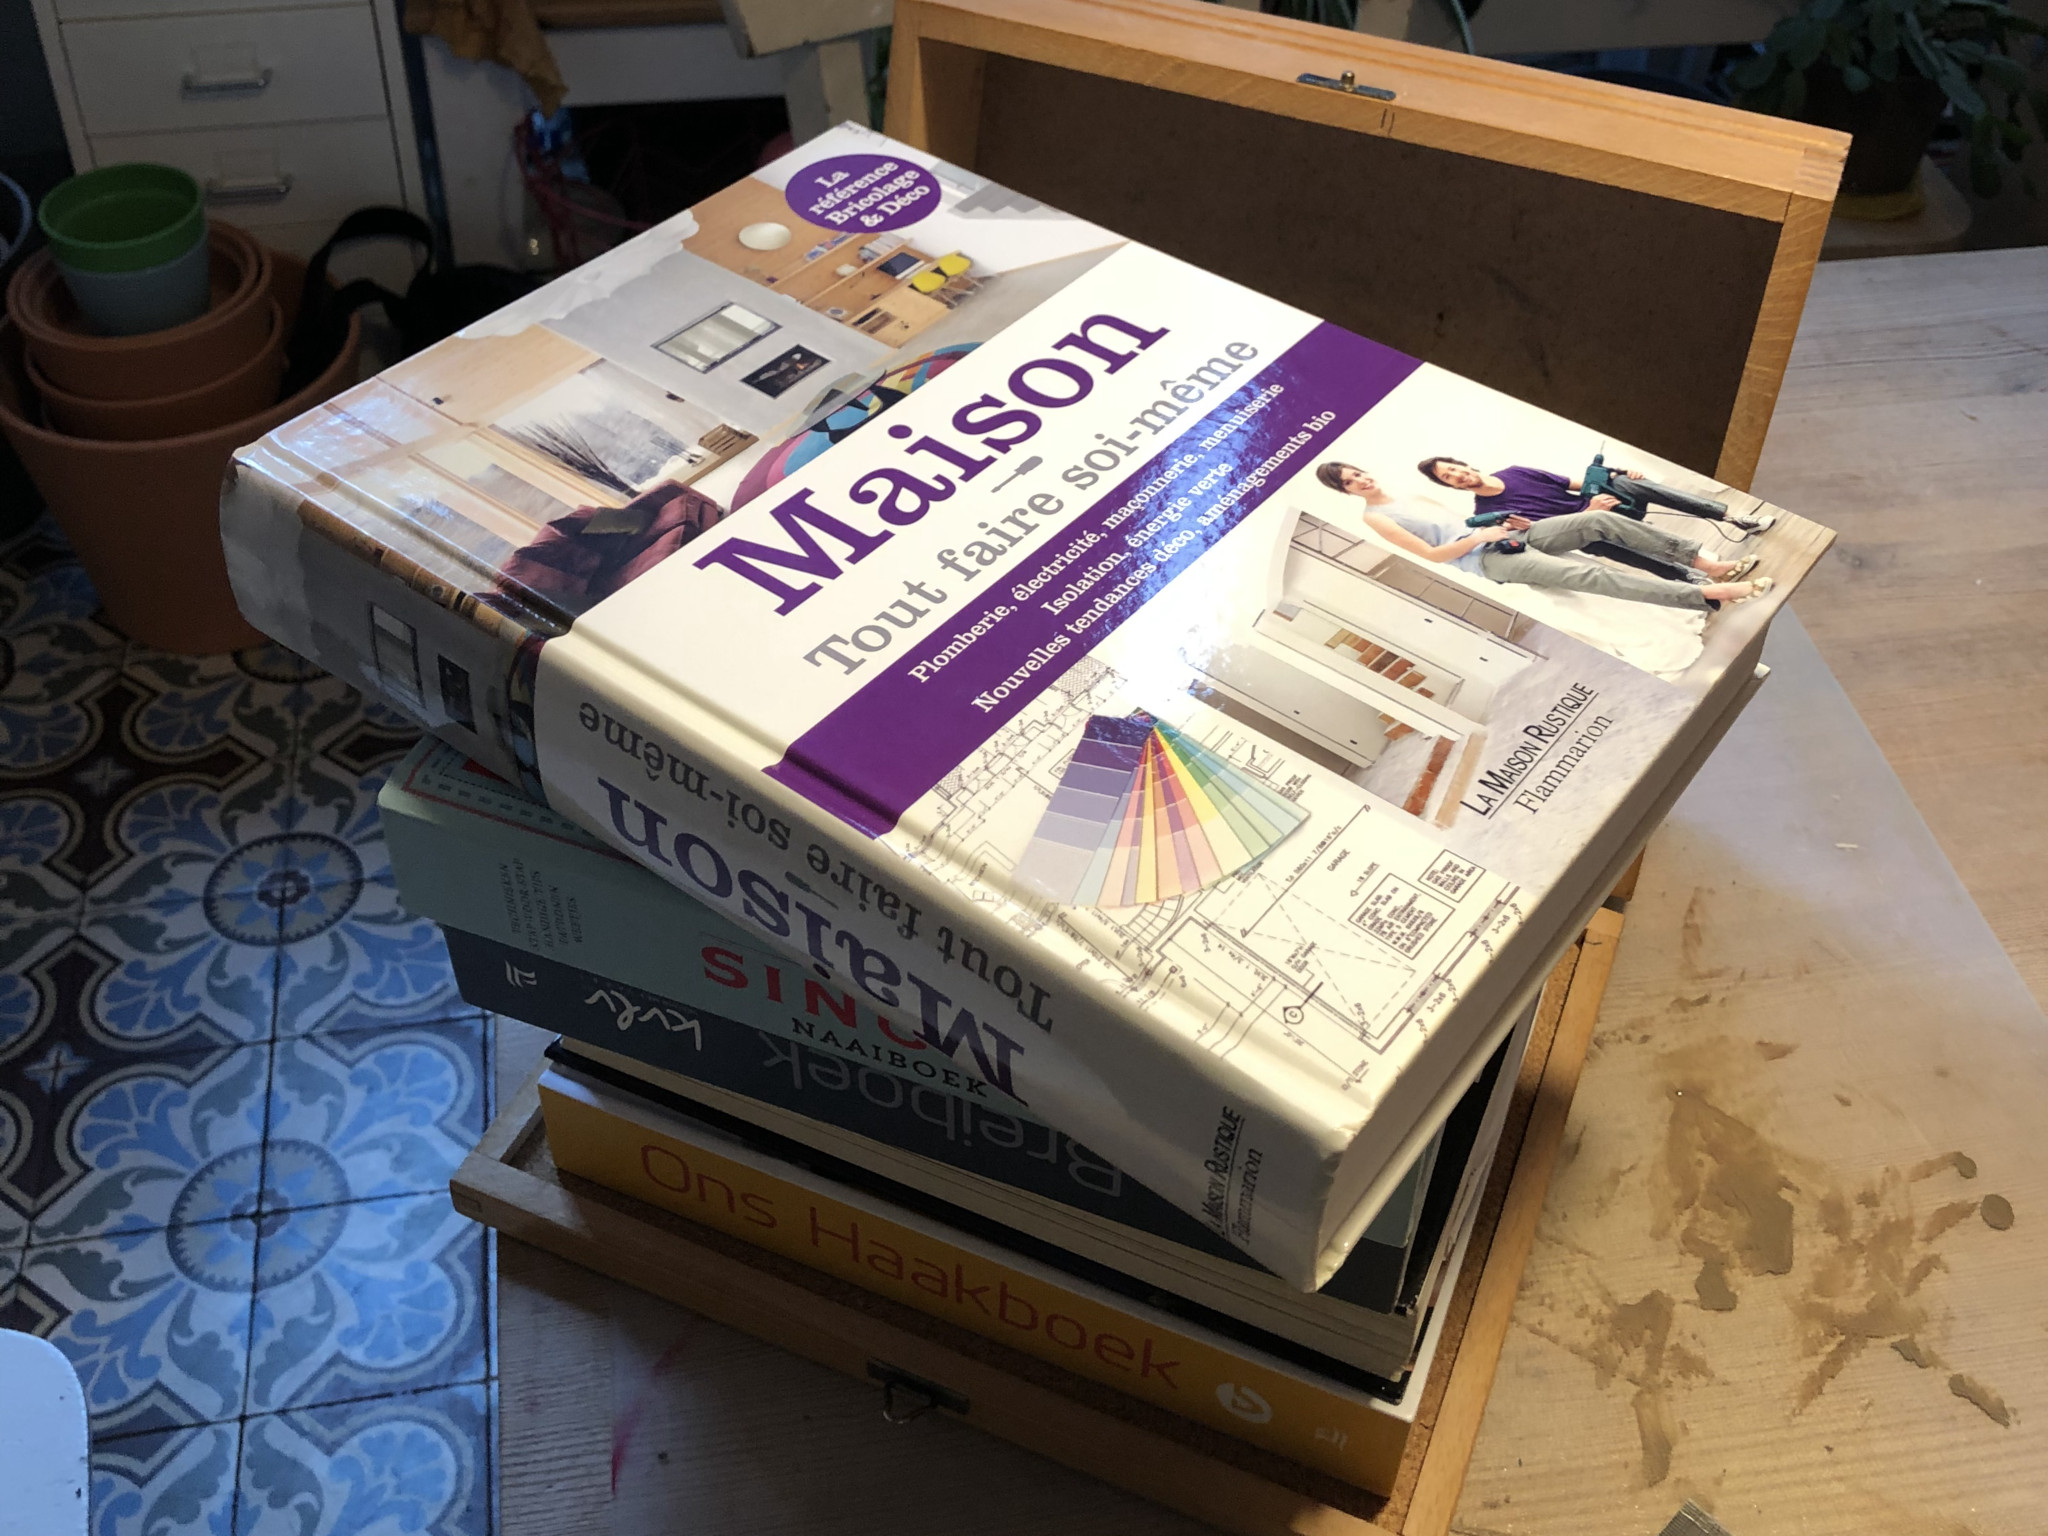
Luckily I had a selection of weights available to me that combined the heavy with the flat and rectangular criteria.
The one below happened to be about the size of the box lid.
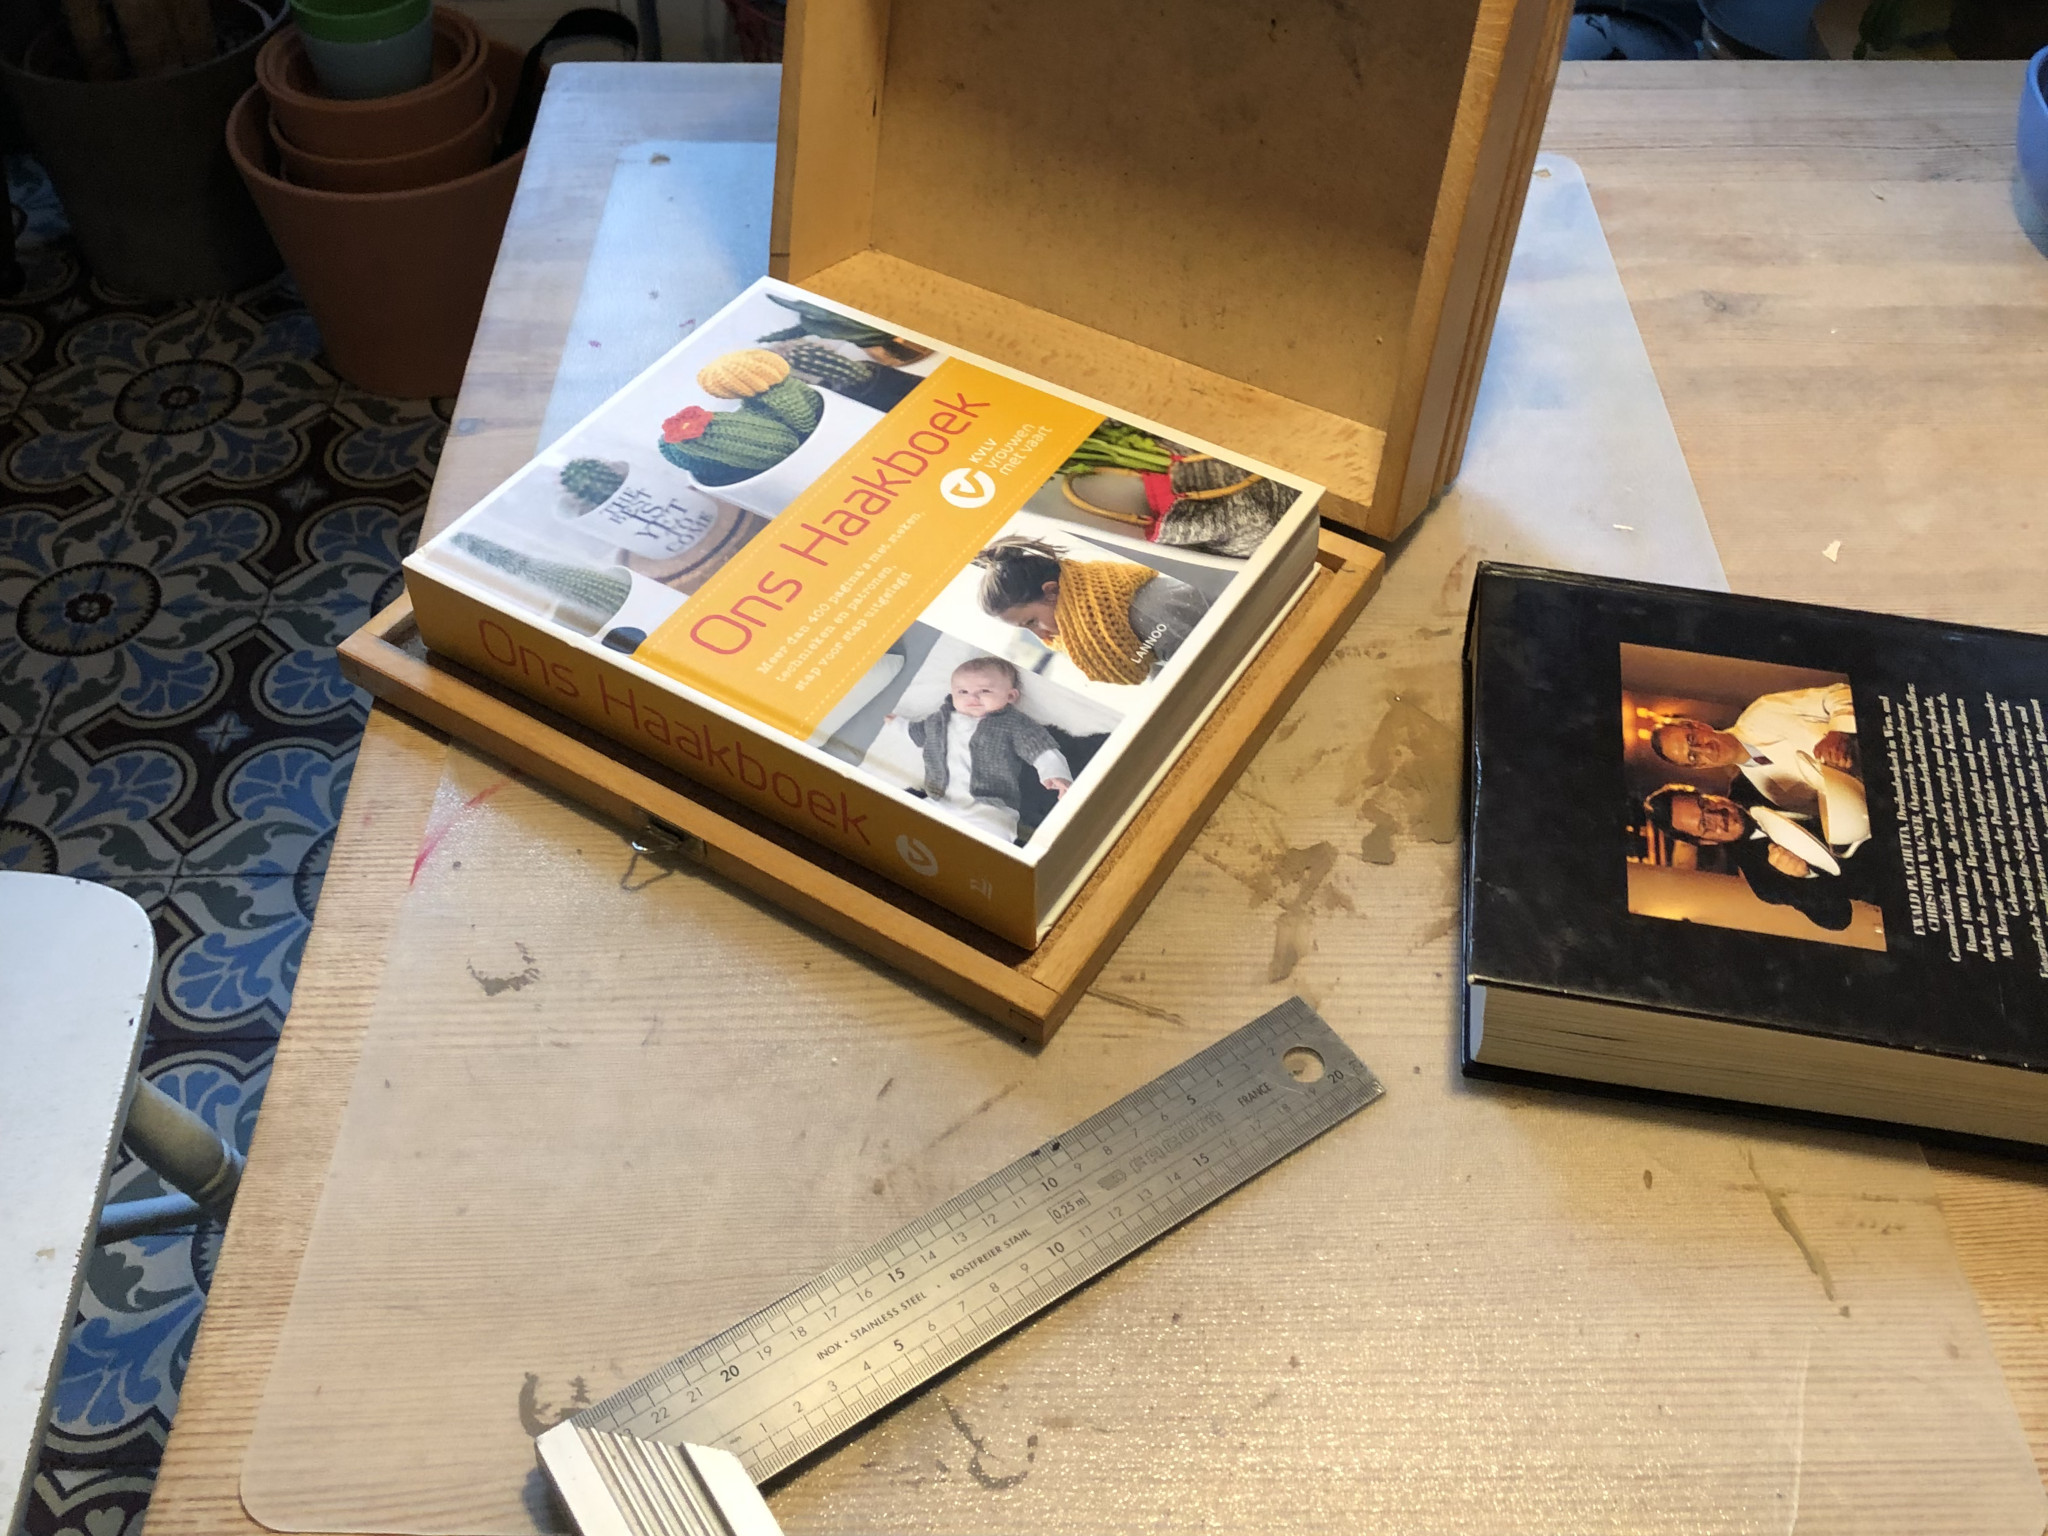
But cork is nothing if not flexible, and so I determined I needed some help from among other weighty aids, a DIY manual. These do come in handy!
The drawer
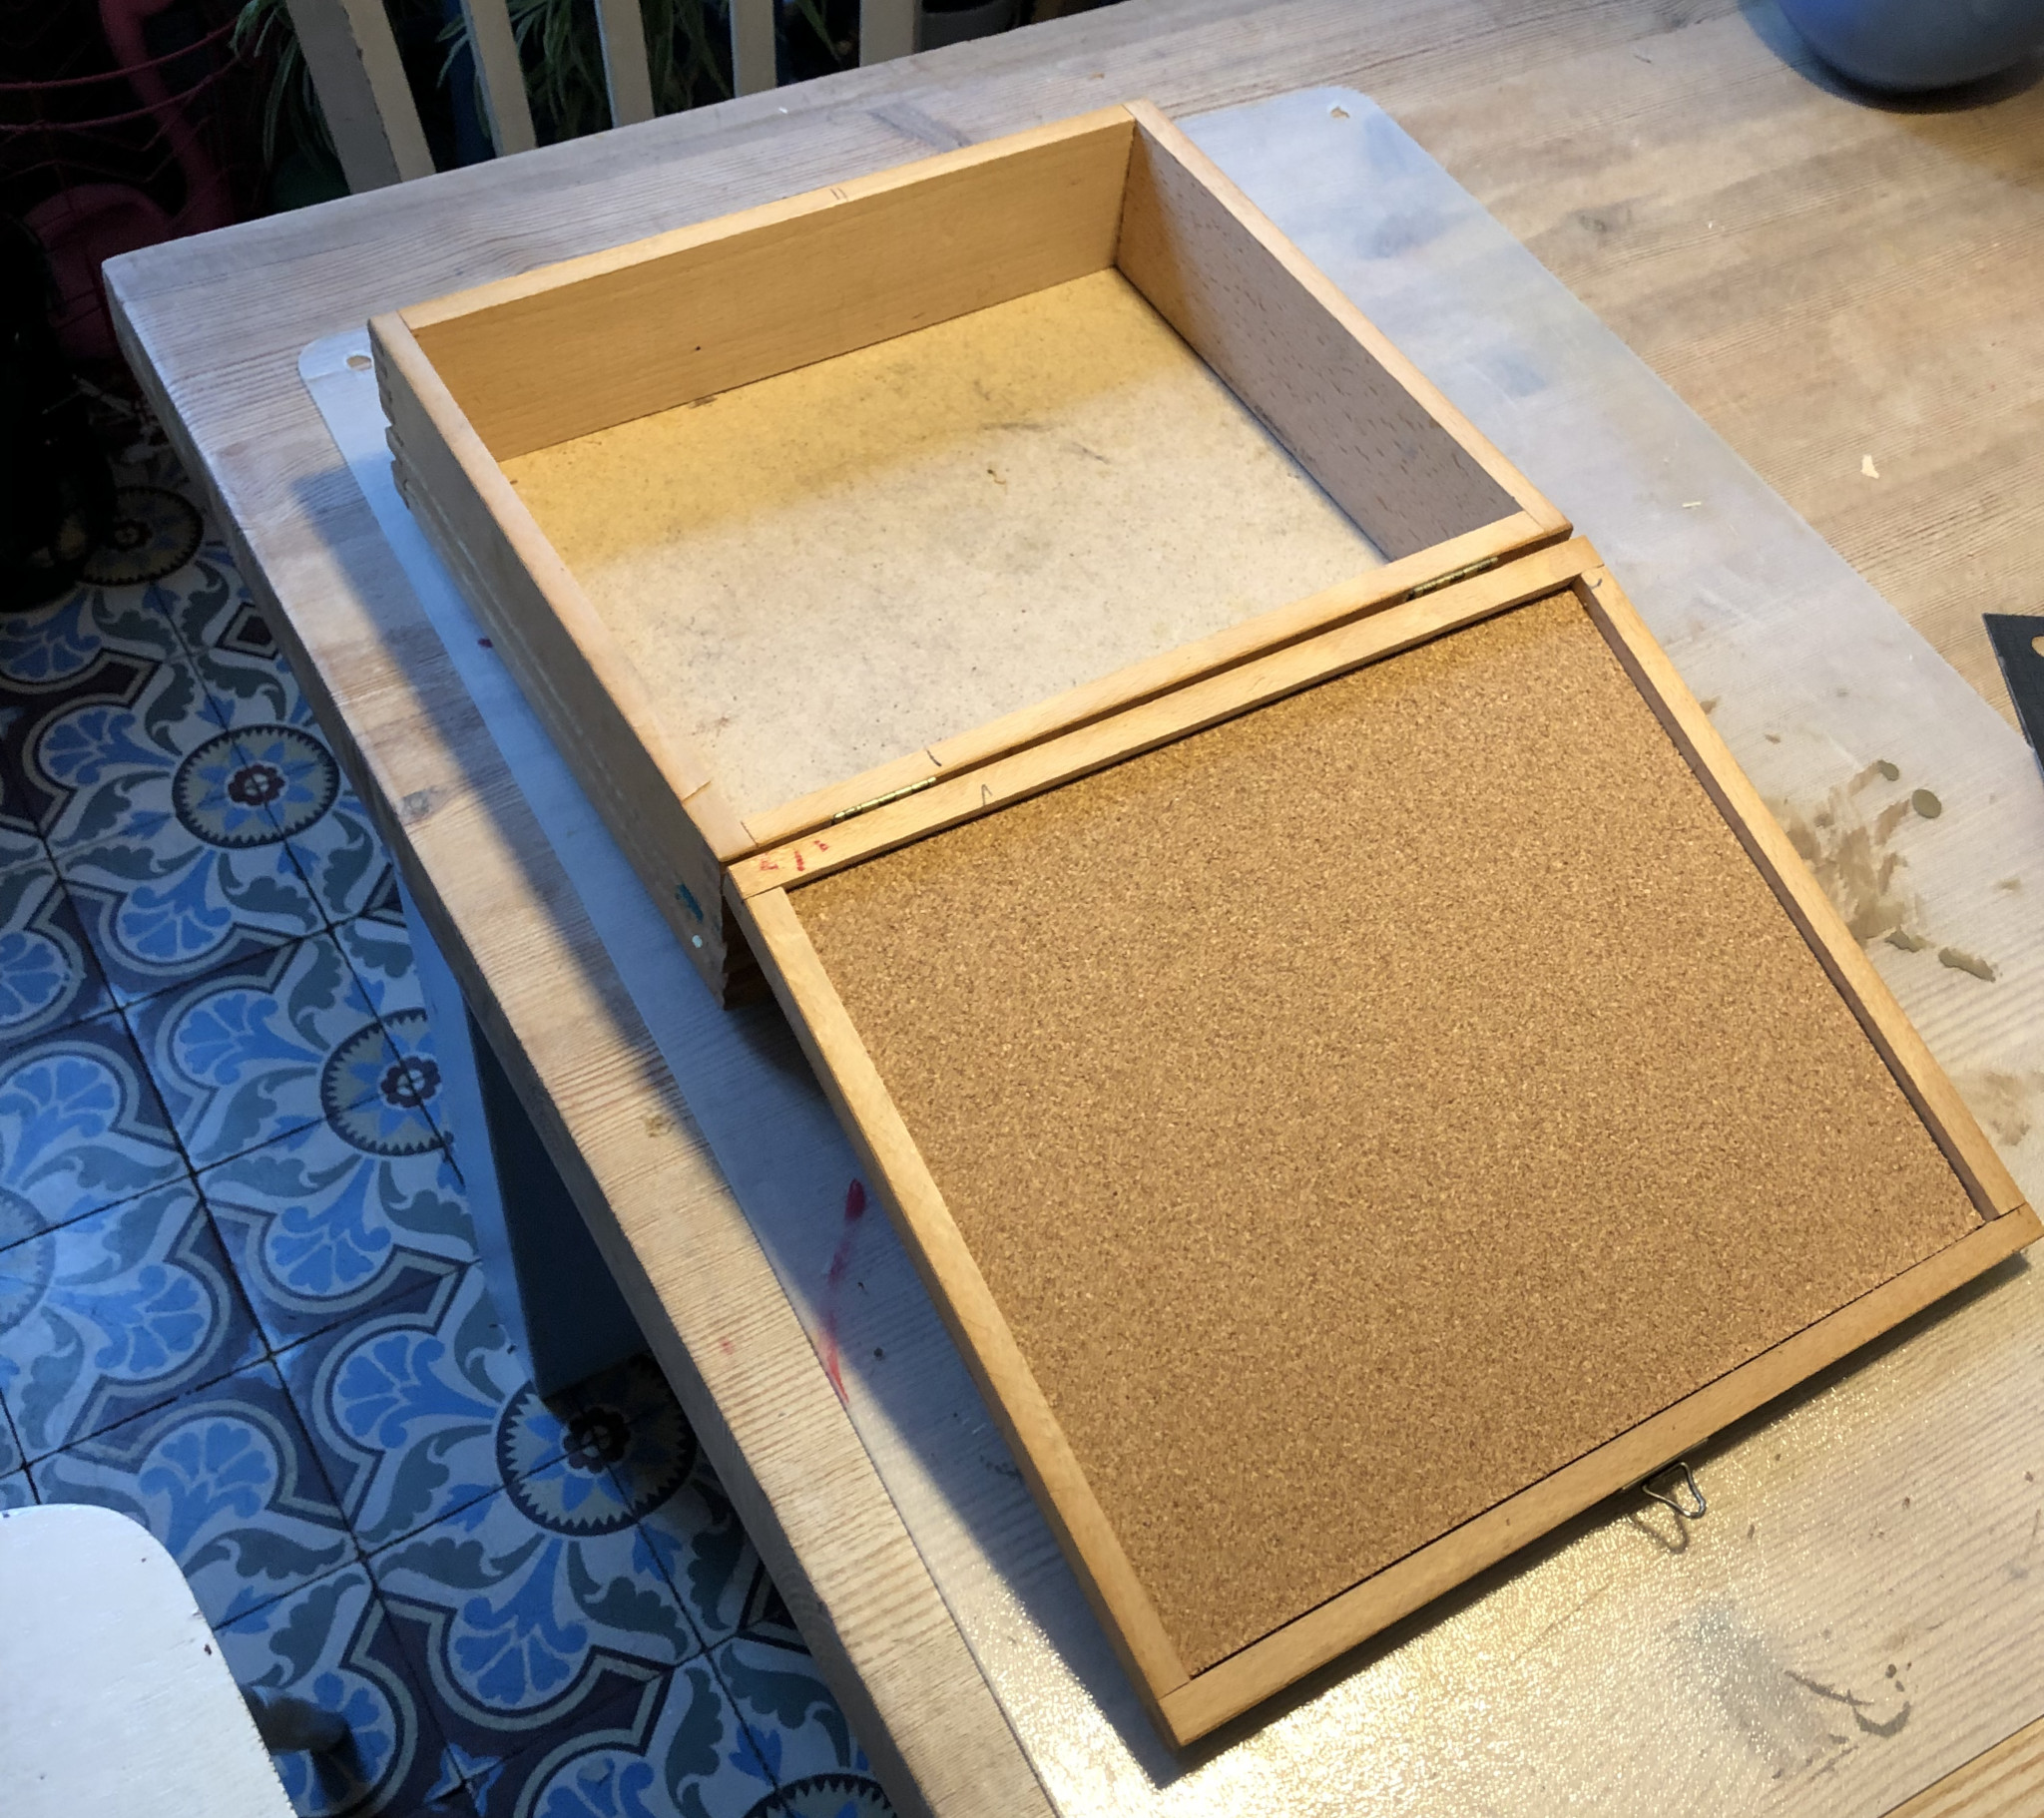
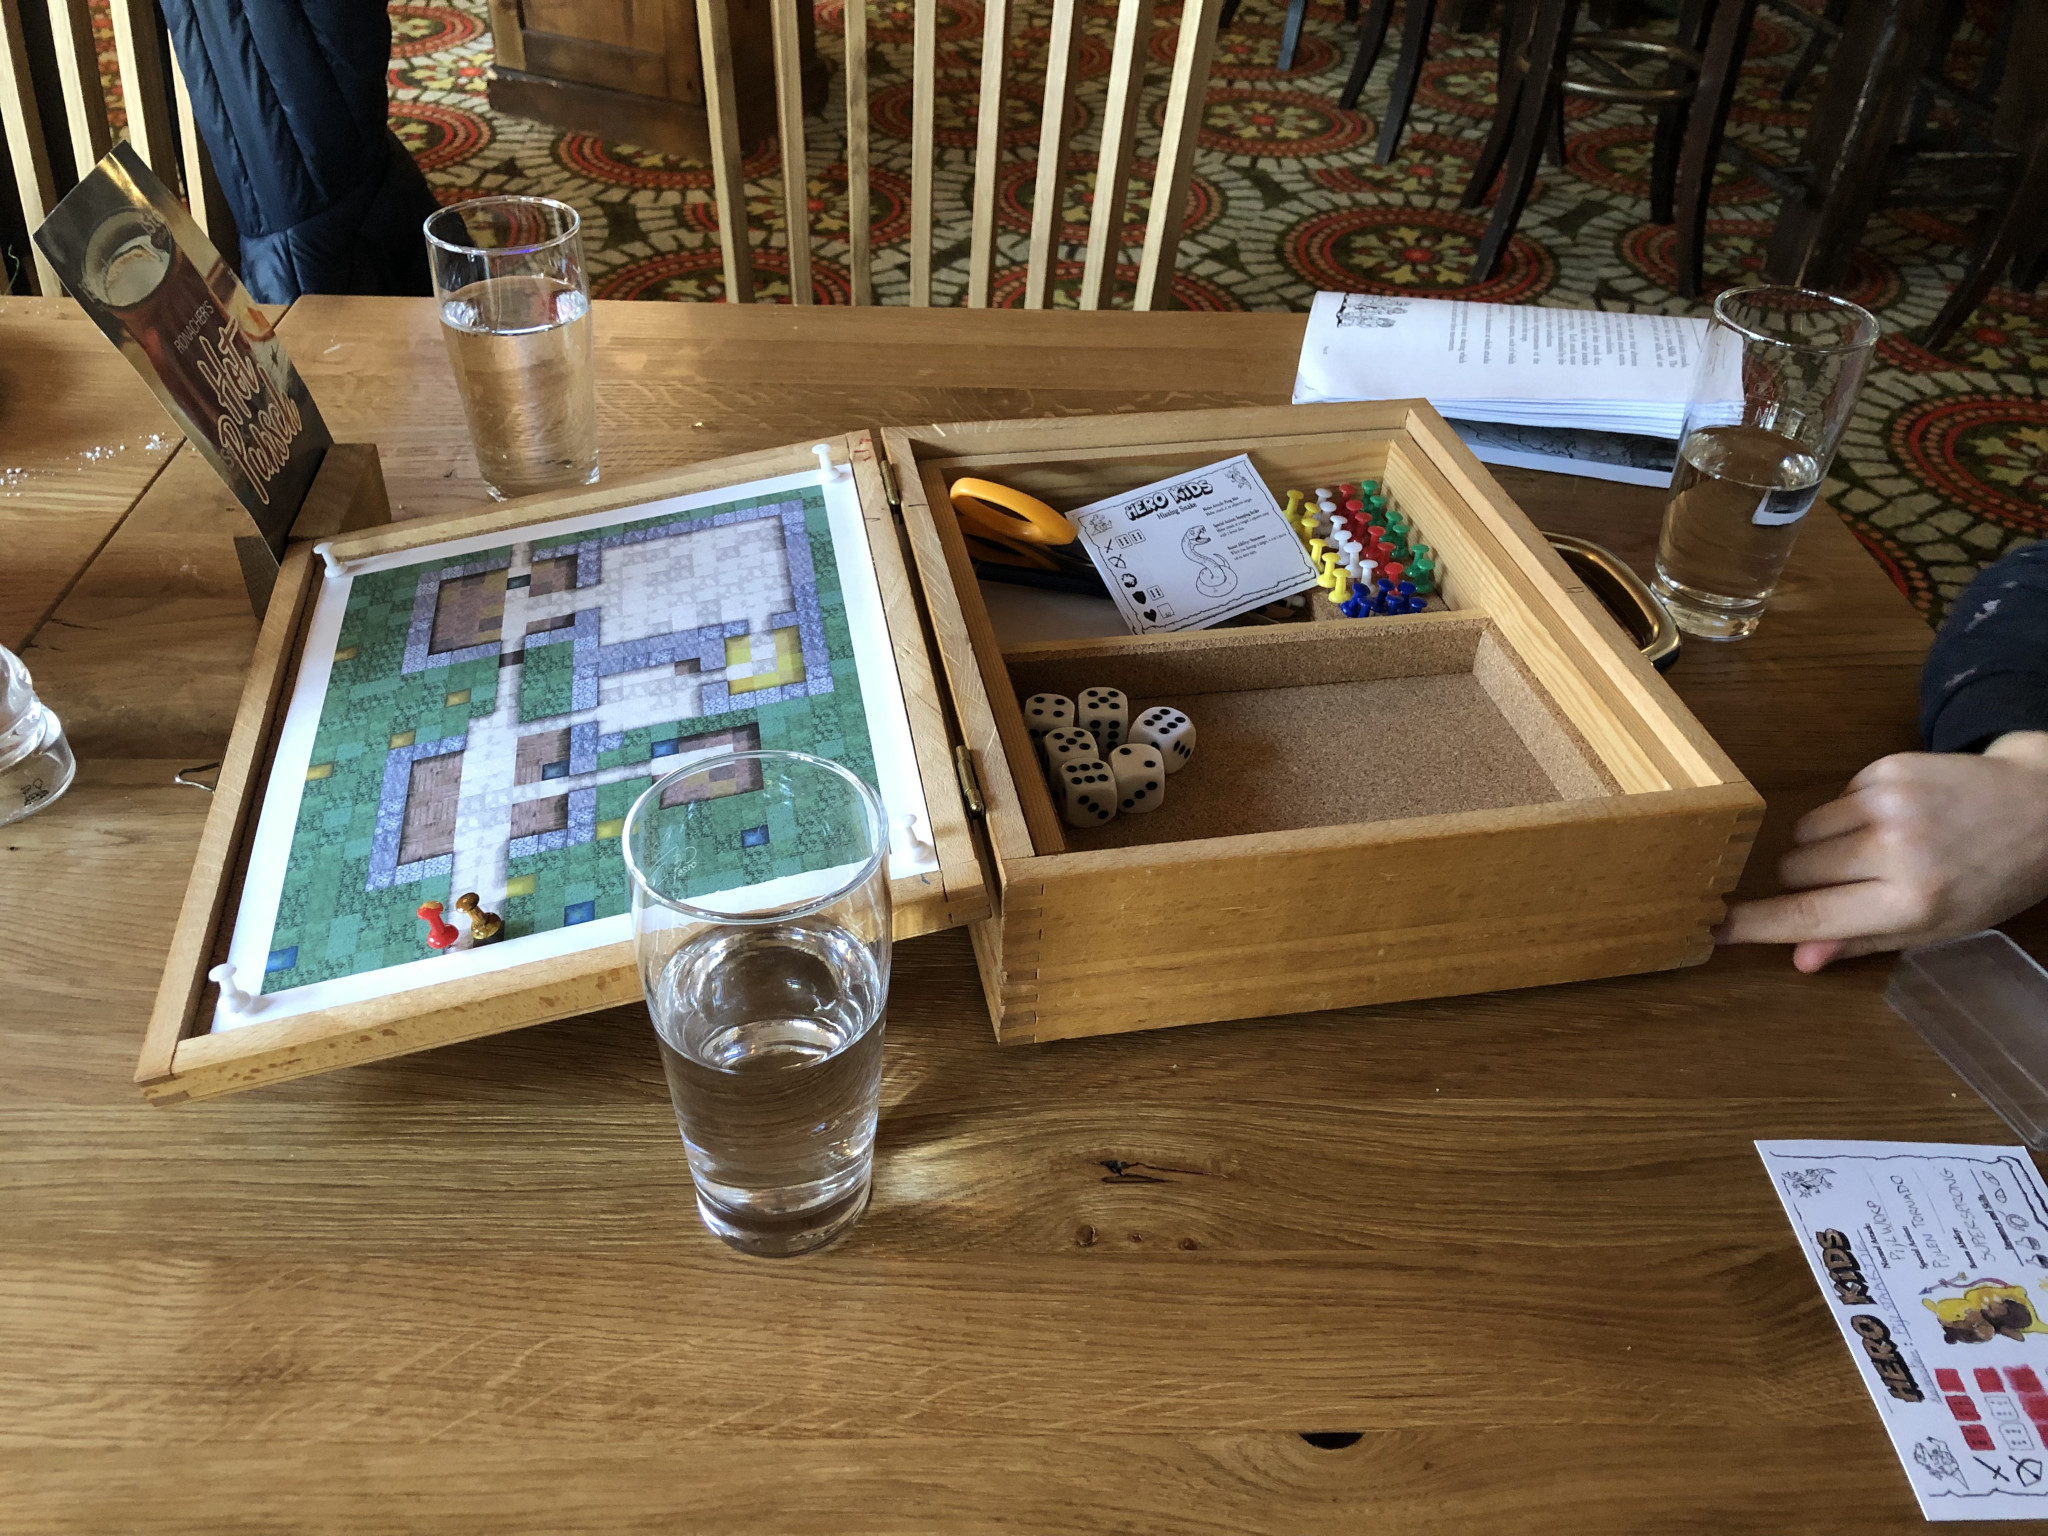
With the box drying, I started on the next component. I wanted a drawer I could take out. The drawer would store the dice and figurines, as well as any papers (more on that later). The maps would be stored underneath the drawer, invisible to curious players!
For the drawer bottom I used a piece of wood that was purchased 12 years ago as part of a sheet to cover a painted pasteboard kitchen table.
The sideds were sawed from thicker stock. This is important as it give a sturdy frame, with the thicker edges taking more glue. Another consideration were the pins that would be sticking out of the box lid when closed. The drawer sides need to clear these pins!
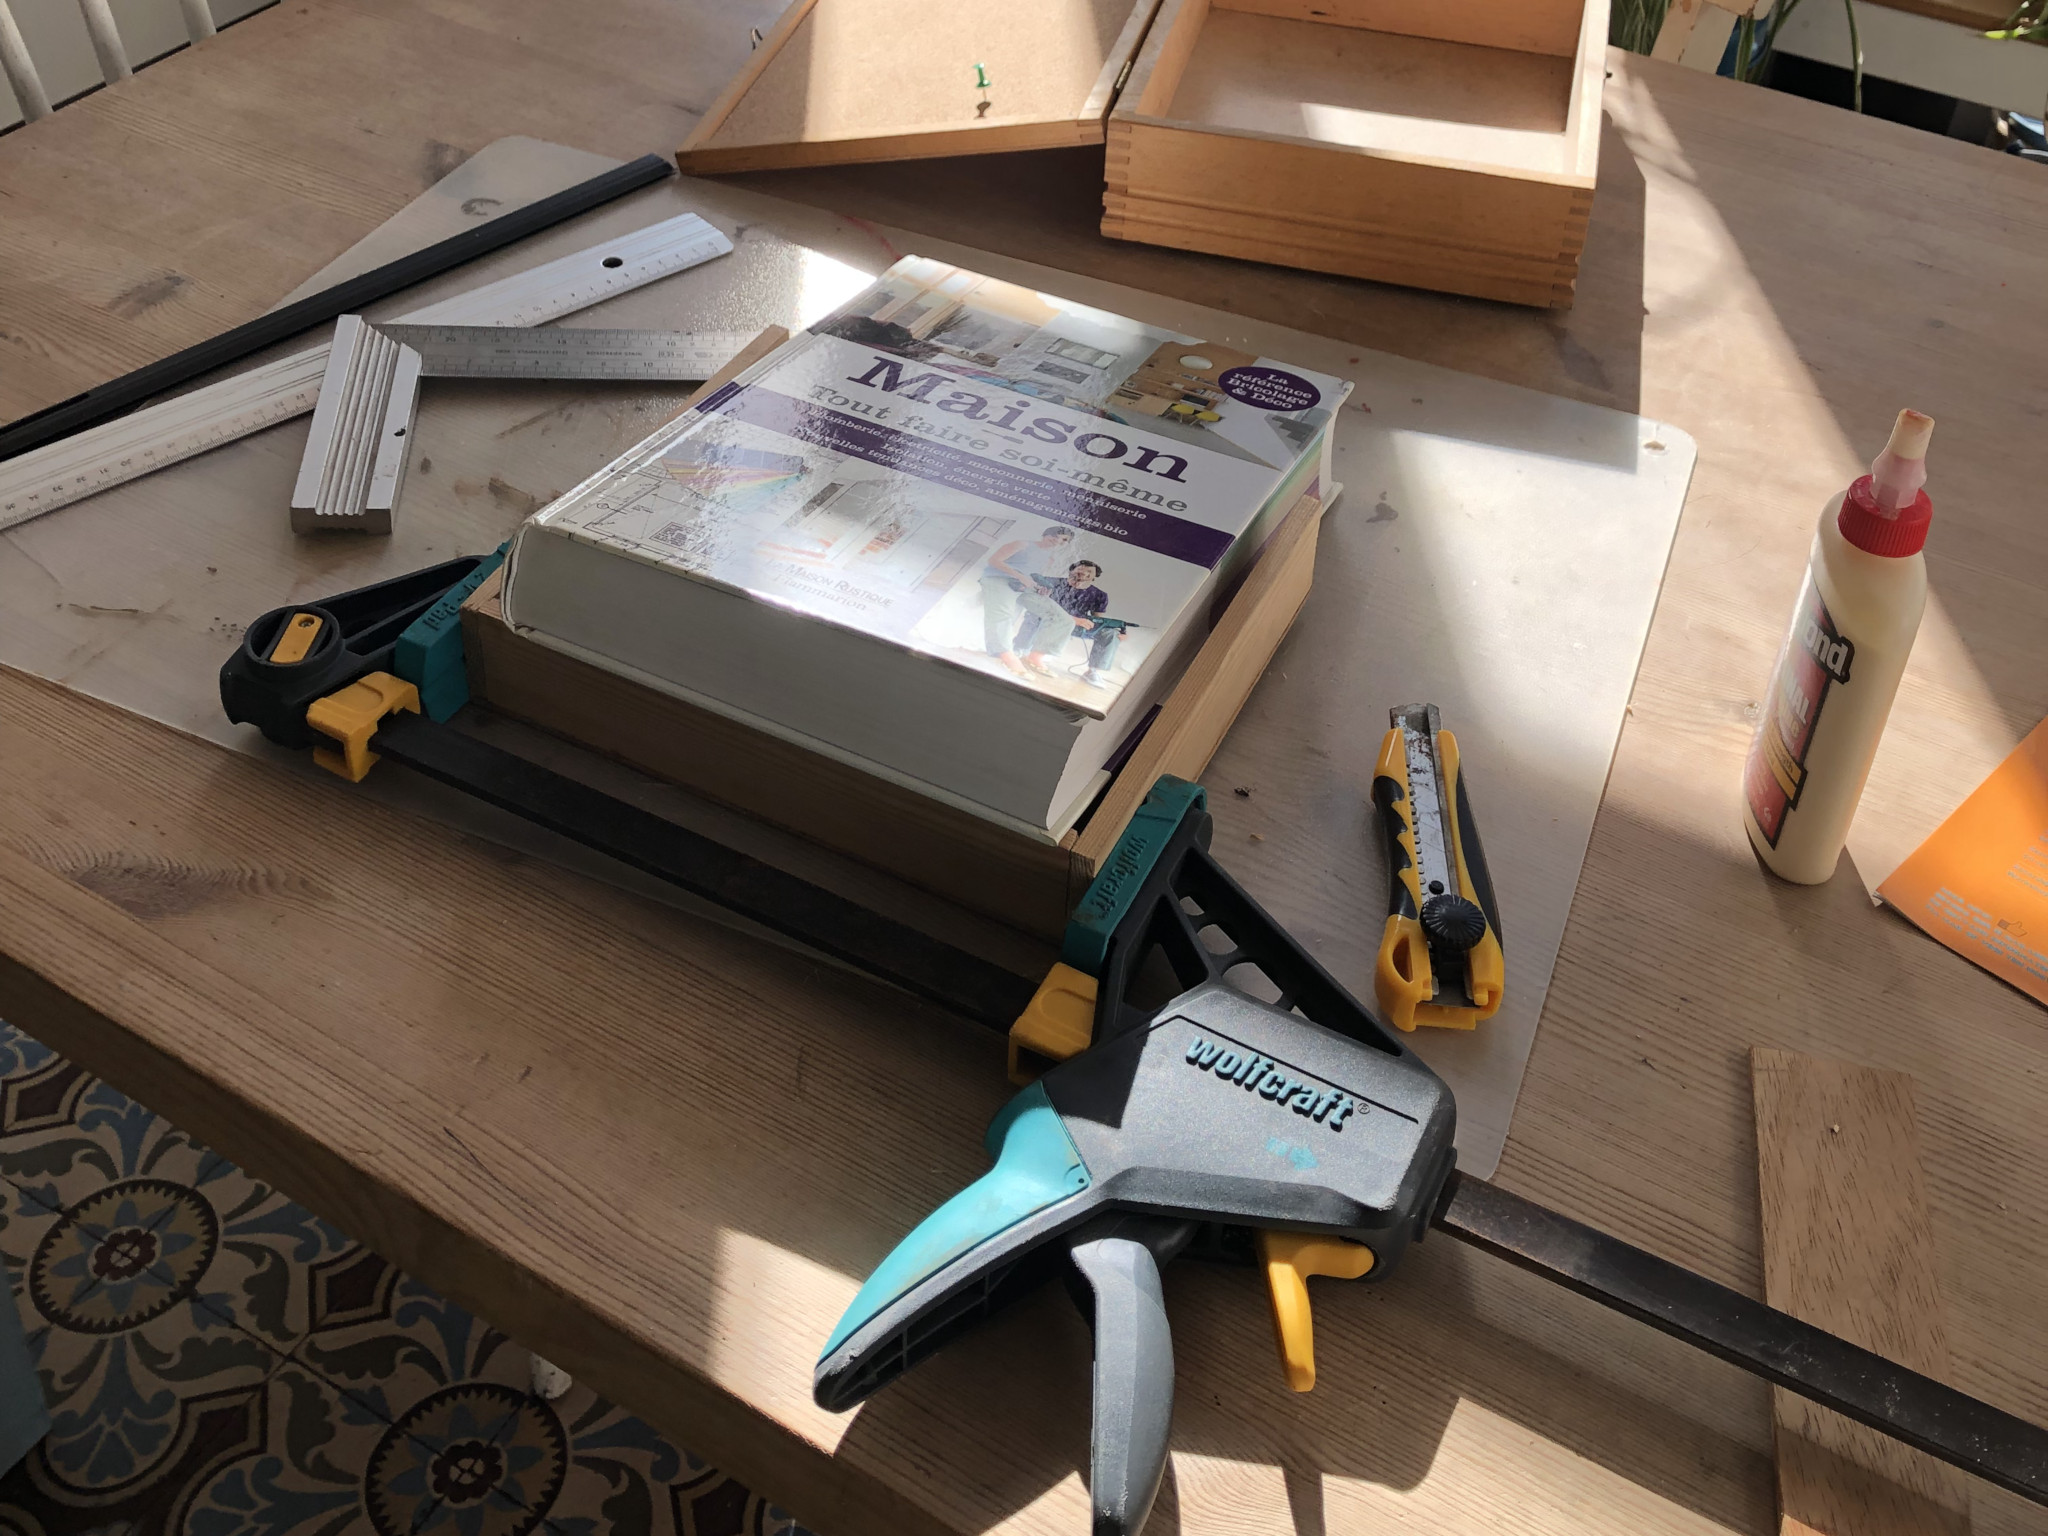
I glued on the first long side with wood glue, again using a book to clamp with its weight.
Once the one side had been glued, I could use it to clamp the two short sides together. The book on top still pushes the first long side into the bottom panel.
Then the center divider was glued in, and the last side panel was glued in and clamped.
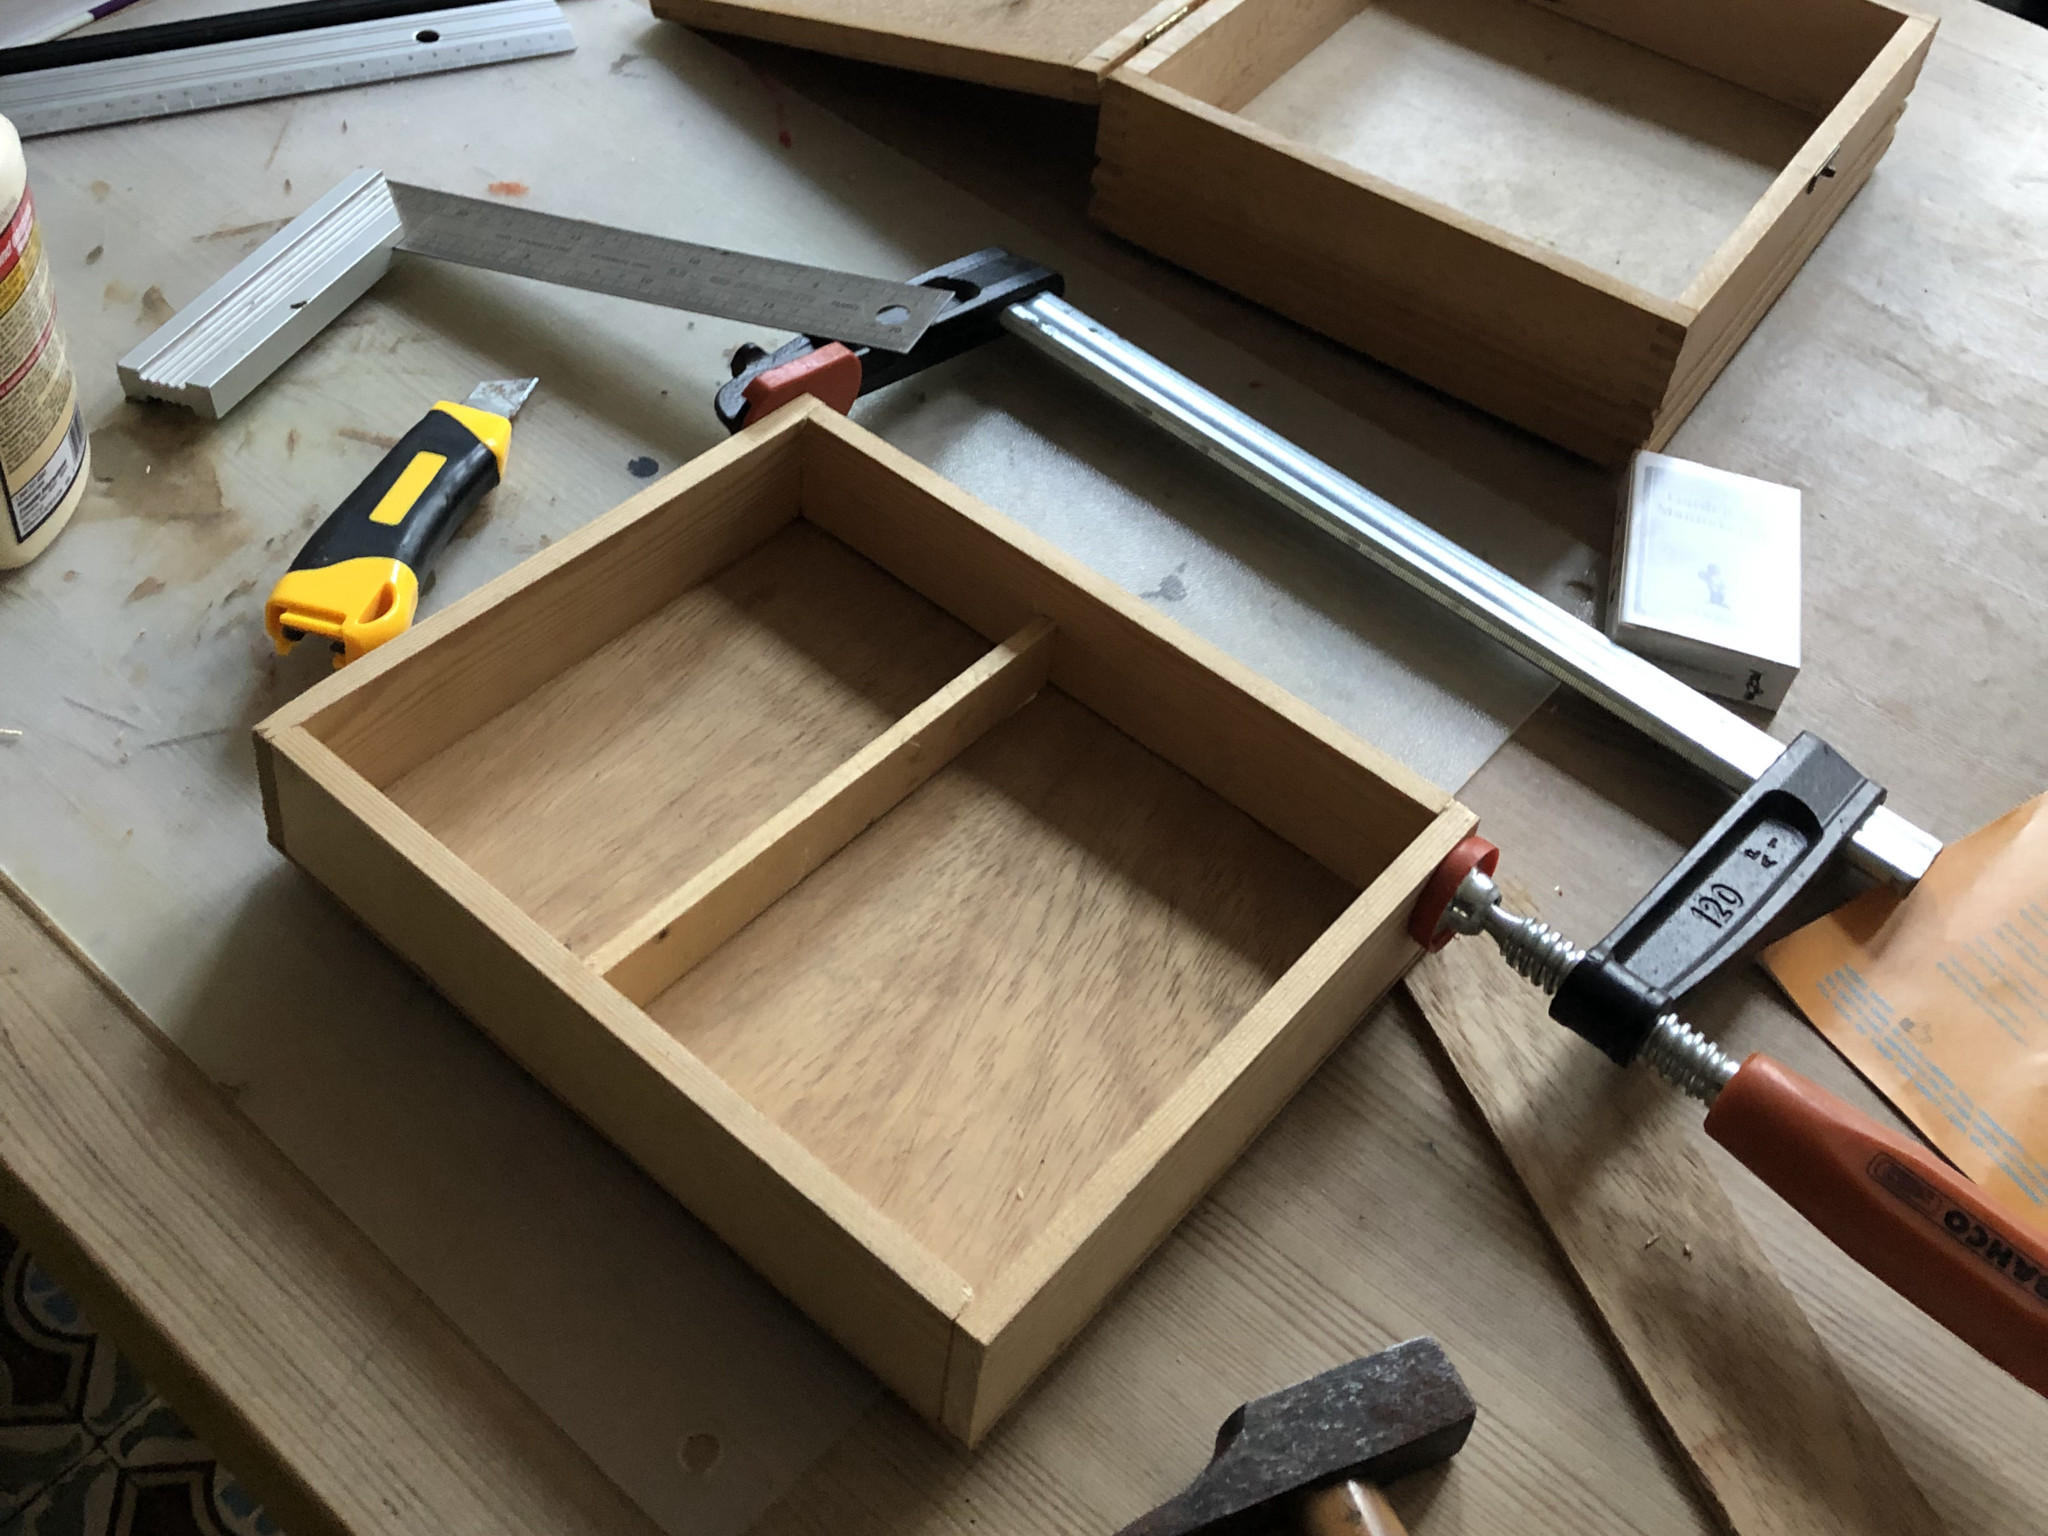
The dice roll part of the drawer was then ready to receive cork! At the bottom I simply glued a piece of cork cut to size. Then the edges were glued in as well.
The finishing
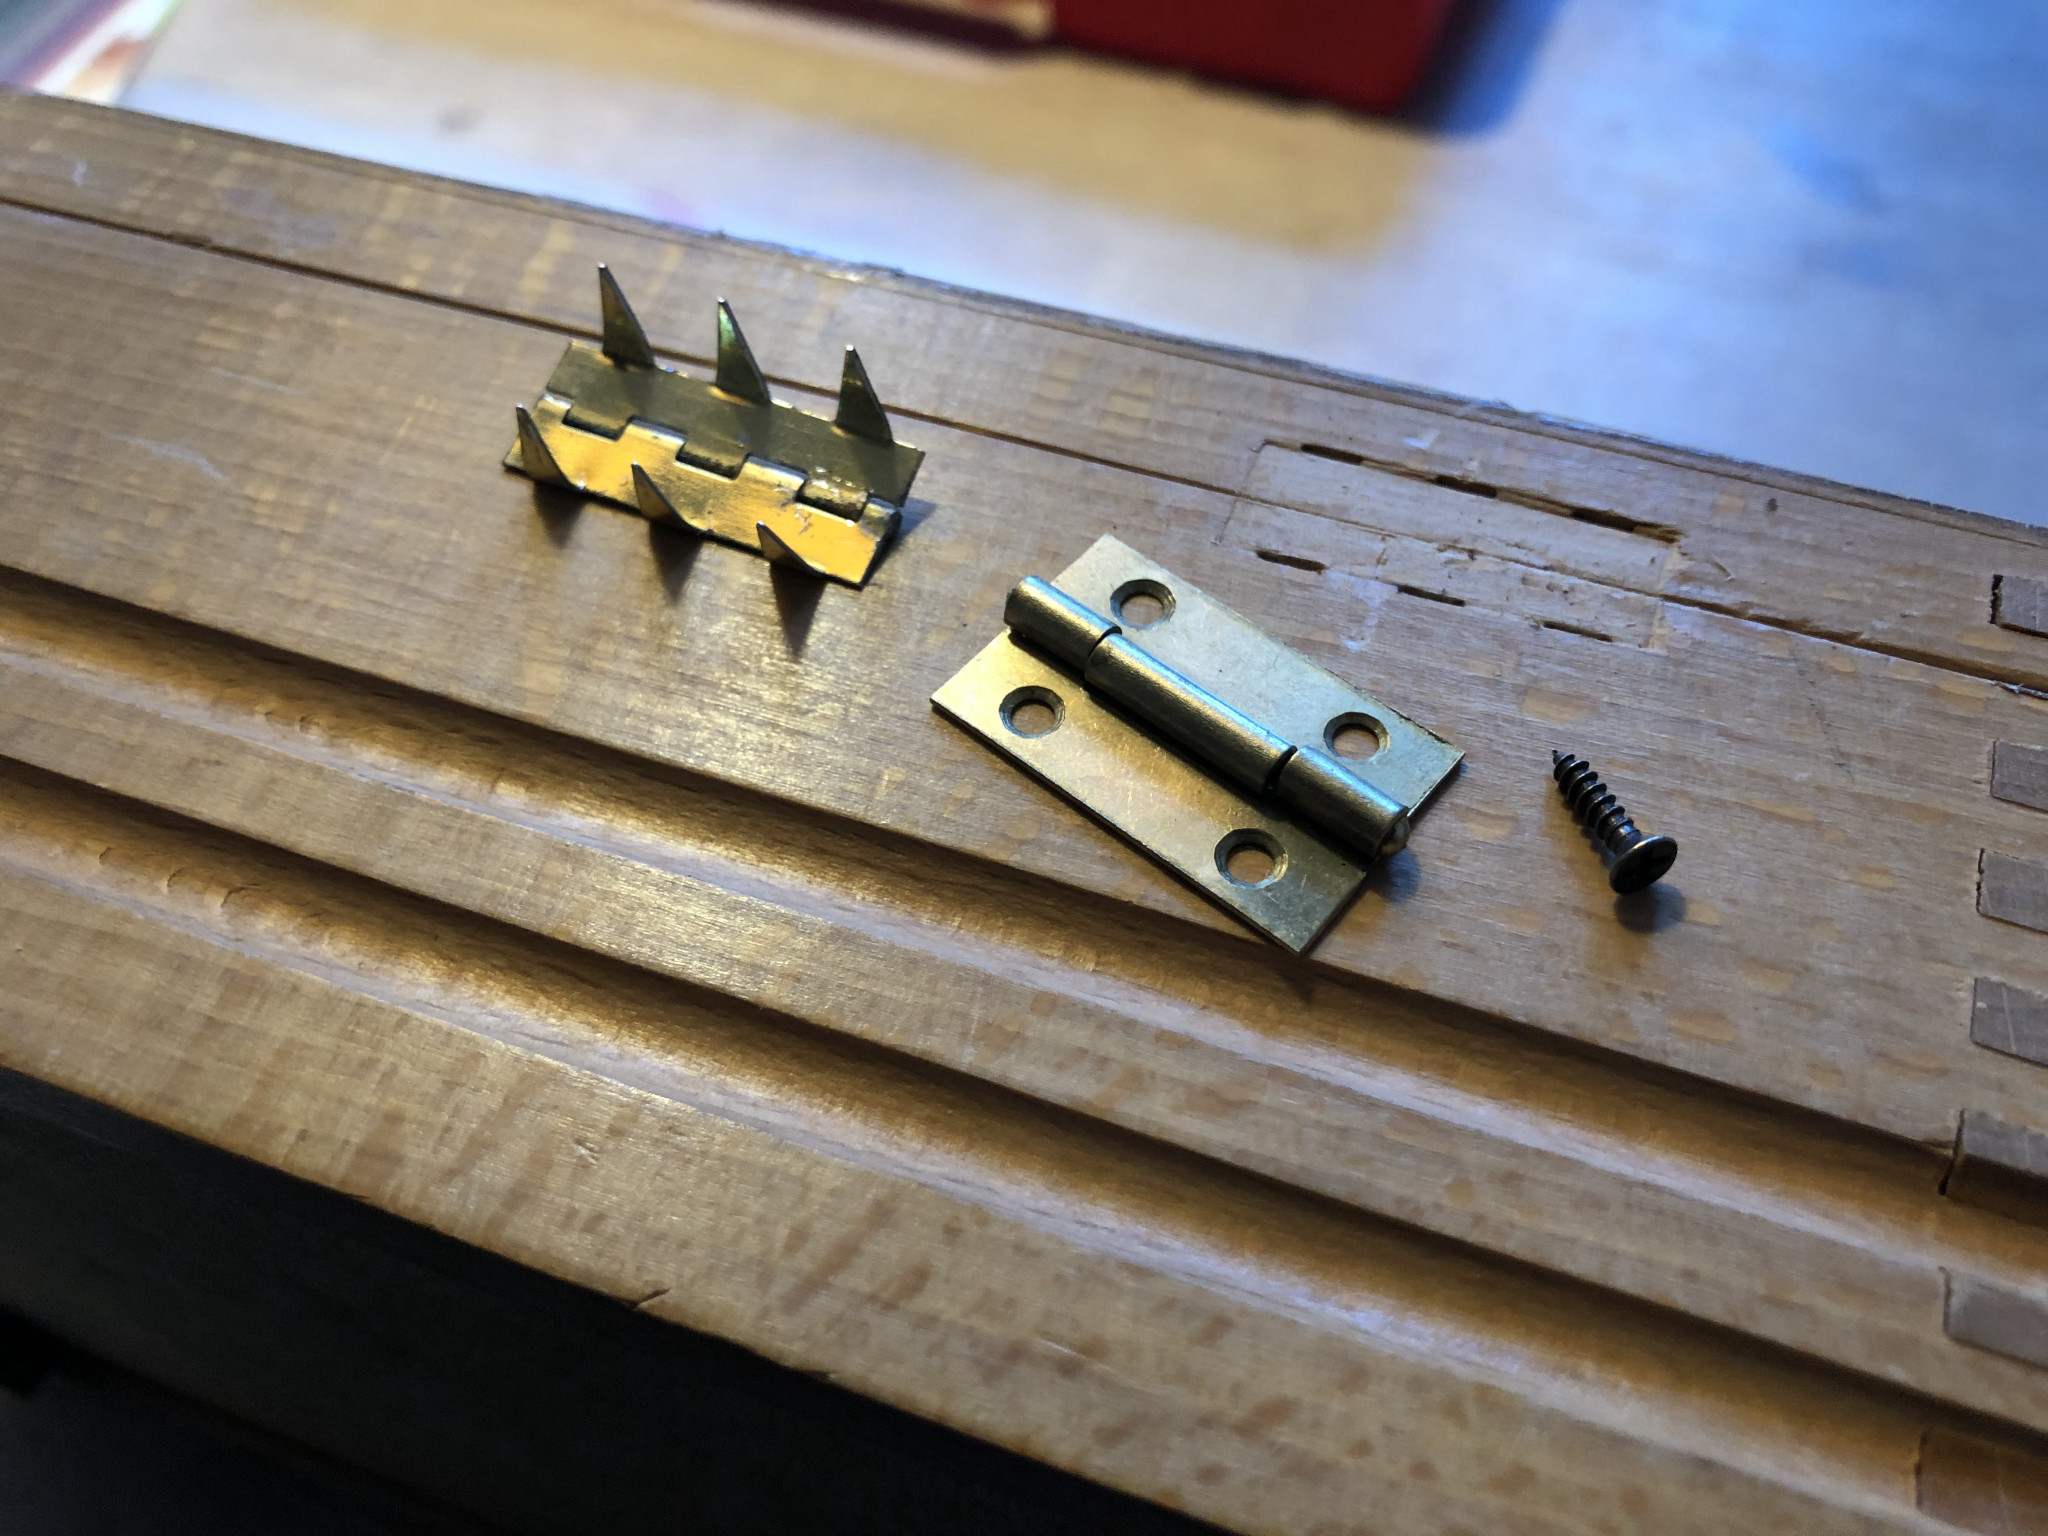
The final finishing touches were to put a handle on the suitcase and some new hinges.
First came the hinges. The lid when open has to remain horizontal. It also needs to withstand the force of pins being put in clumsily.
So it's important that the hinges are strong. I replaced the original nail hinges with screw-in hinges. Alas this is temporary, as I'll need to add hinges later on that are much stronger.
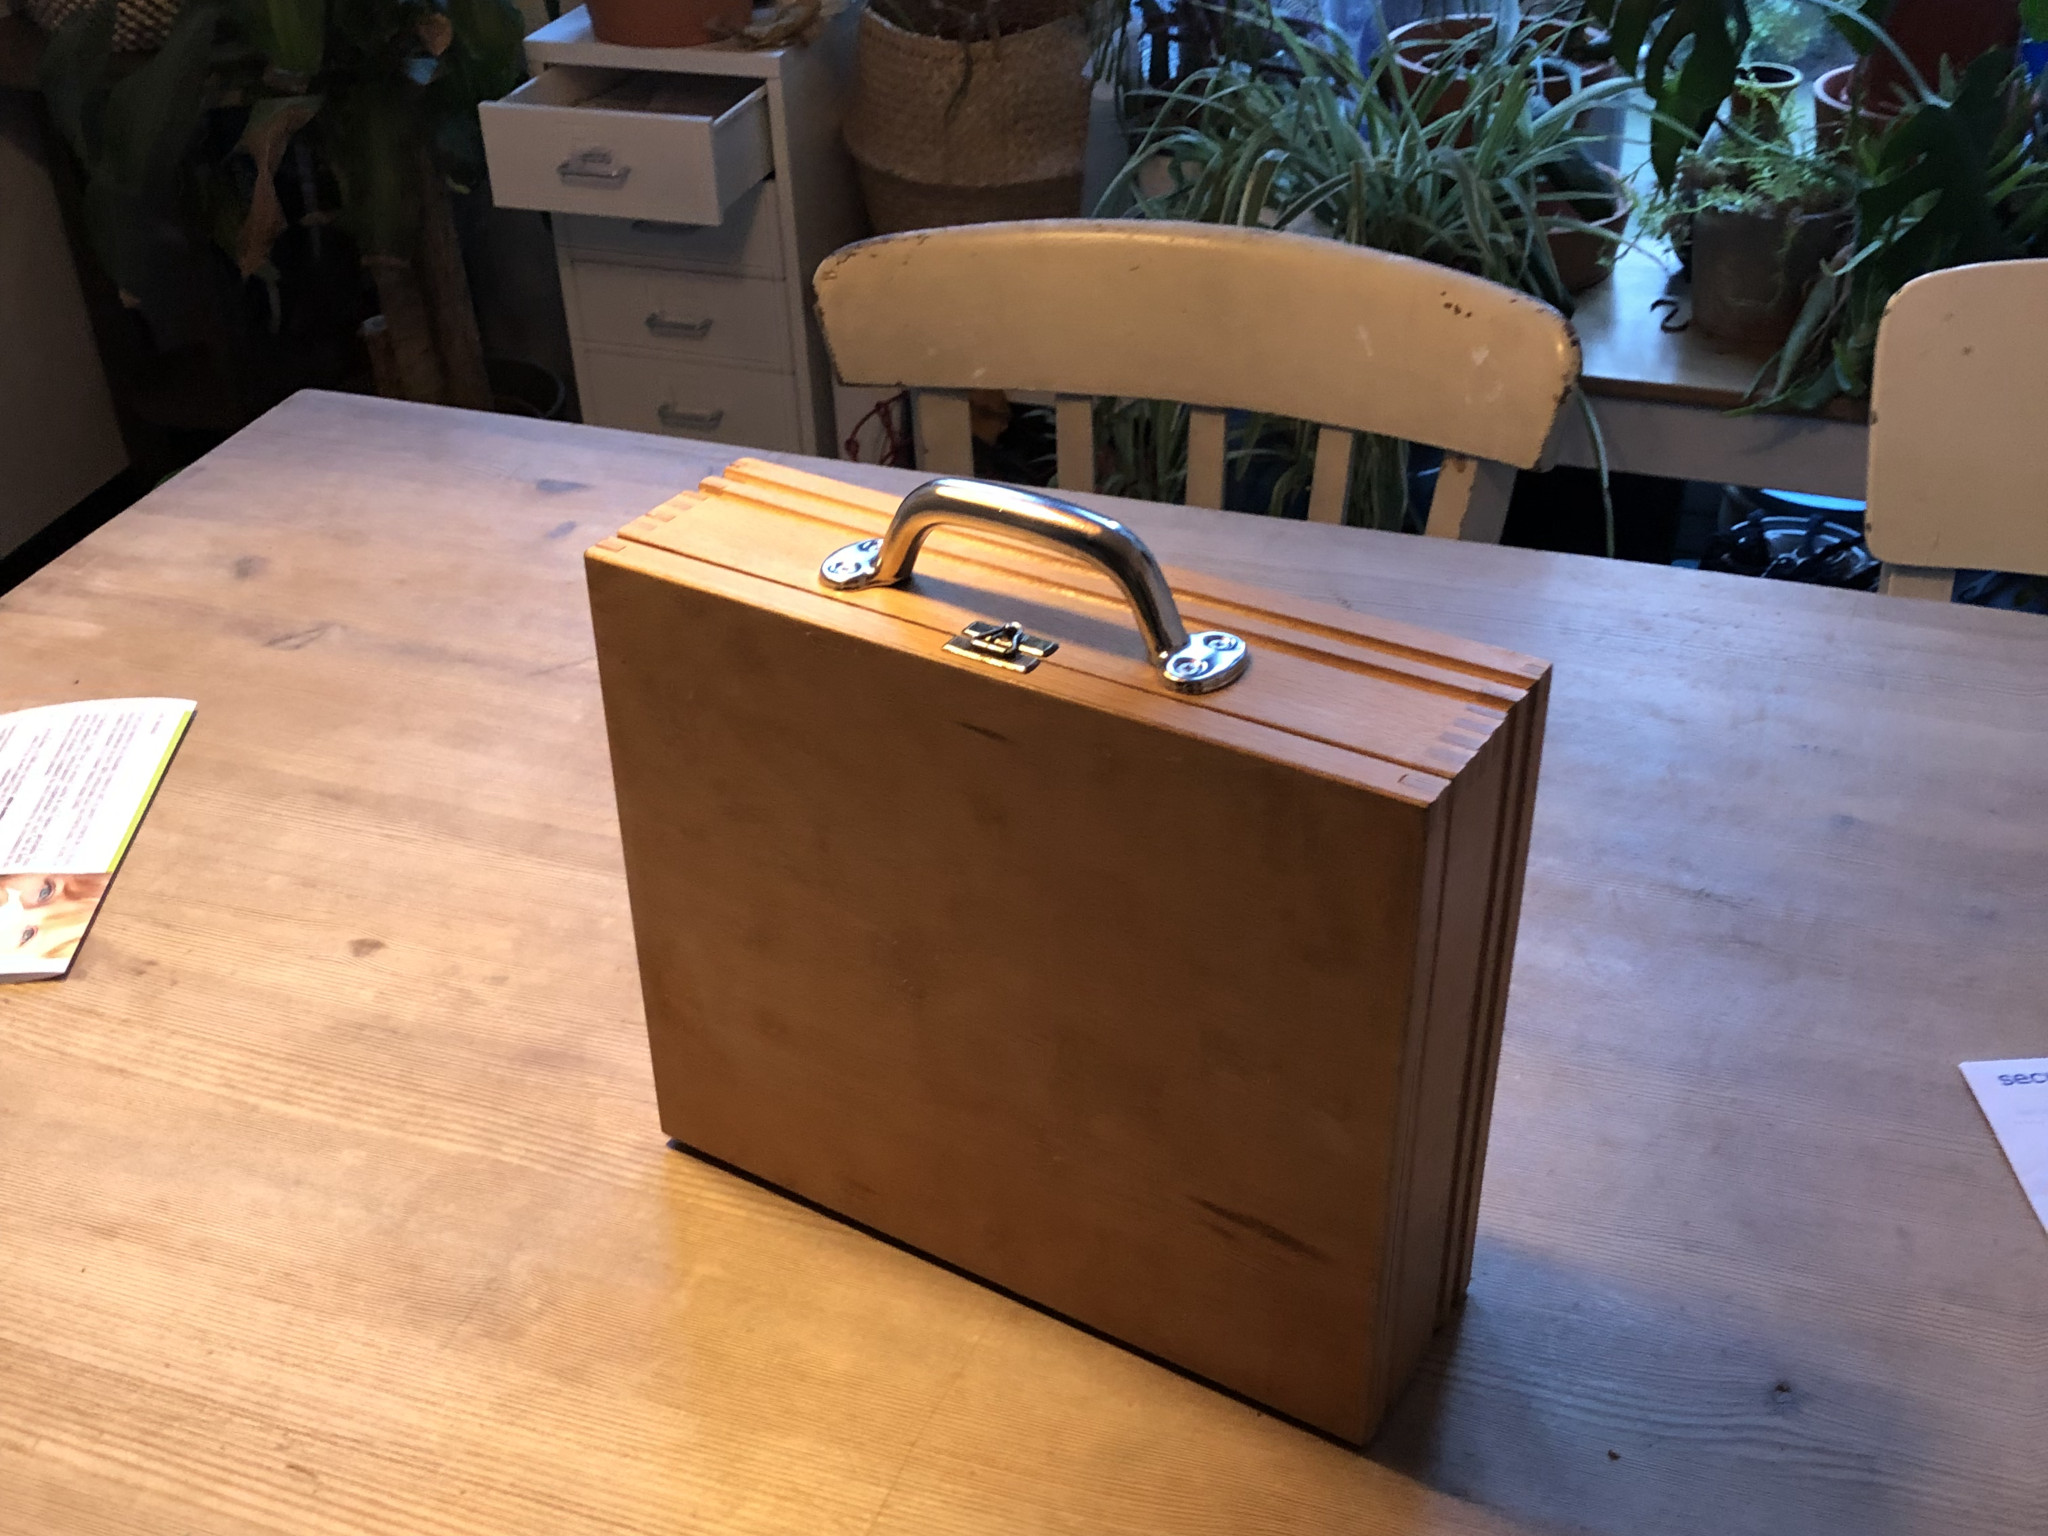
For the handle, I would have liked a nice recessed handle, or a hinged handle. As per usual, all was done in a hurry. (Hurrah for parenting life. And, you know. Project issues)
So the handle was a cheap static one.
The game
My kids have long moved on from vanilla Herokids, but I found it useful to carry the Herokids monster cards along. These, and the character sheets, were printed out smalle enough to take along. A few other stationary items, the pins (in their separate cork board) and a set of D6 dice completed the box.
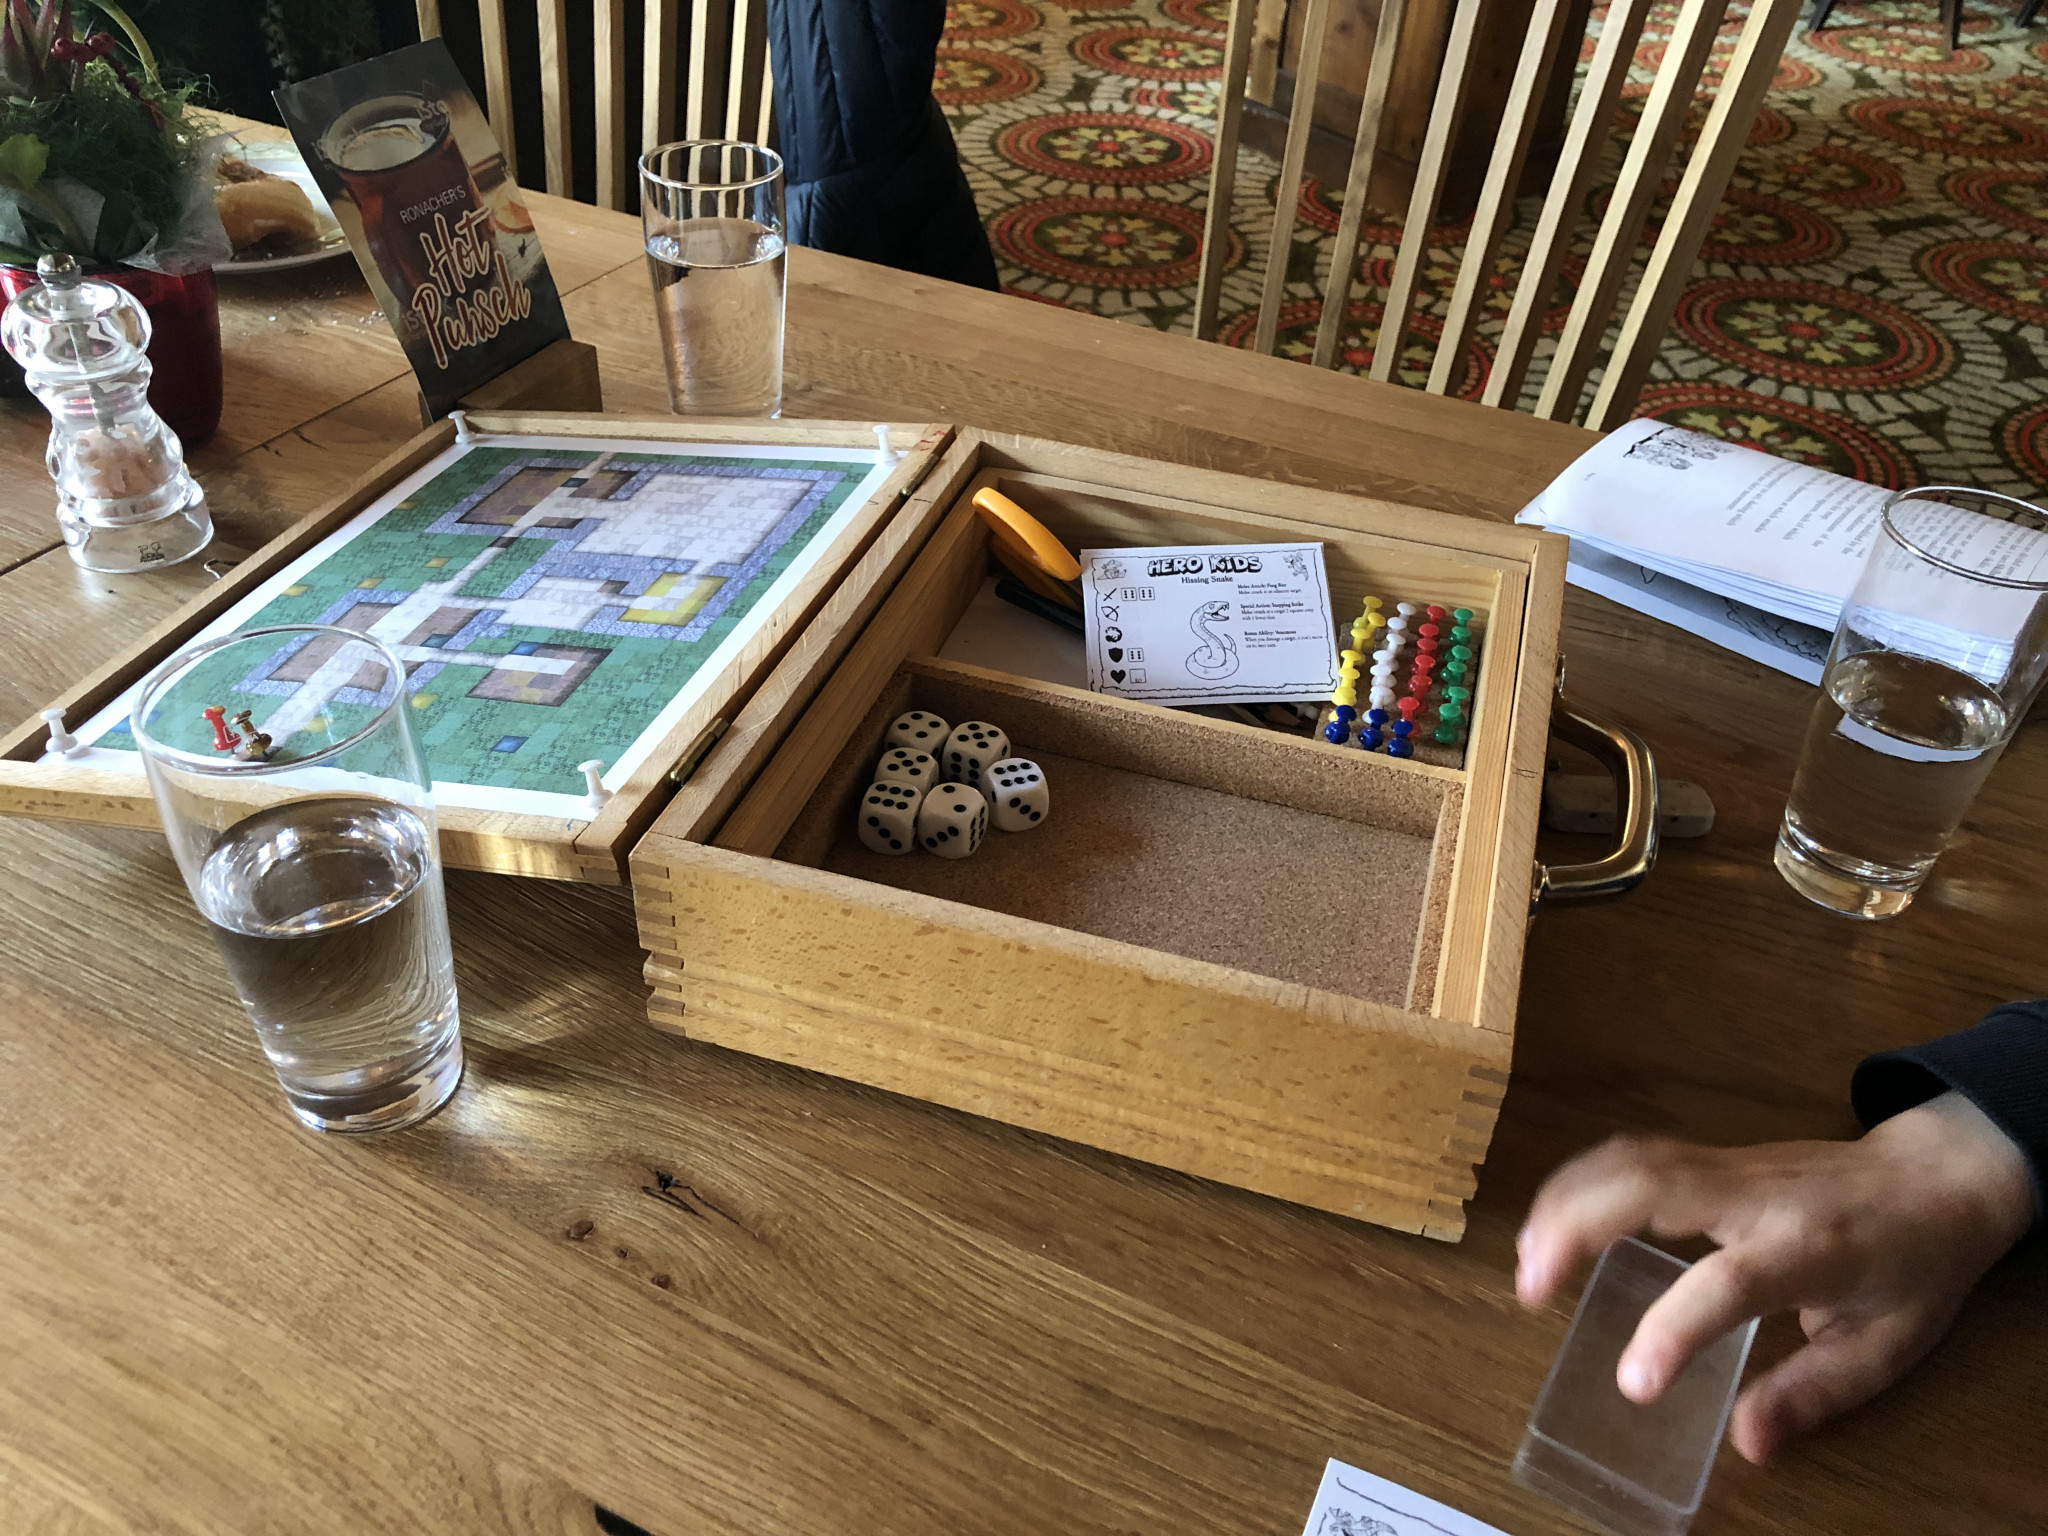
Everything worked pretty well, though the hinges could have been sturdier. I could use the box wherever a small table was available, back in the hotel room or in the common areas. I've since used it at home too, as it makes clearing up the RPG stuff a lot less hassle.
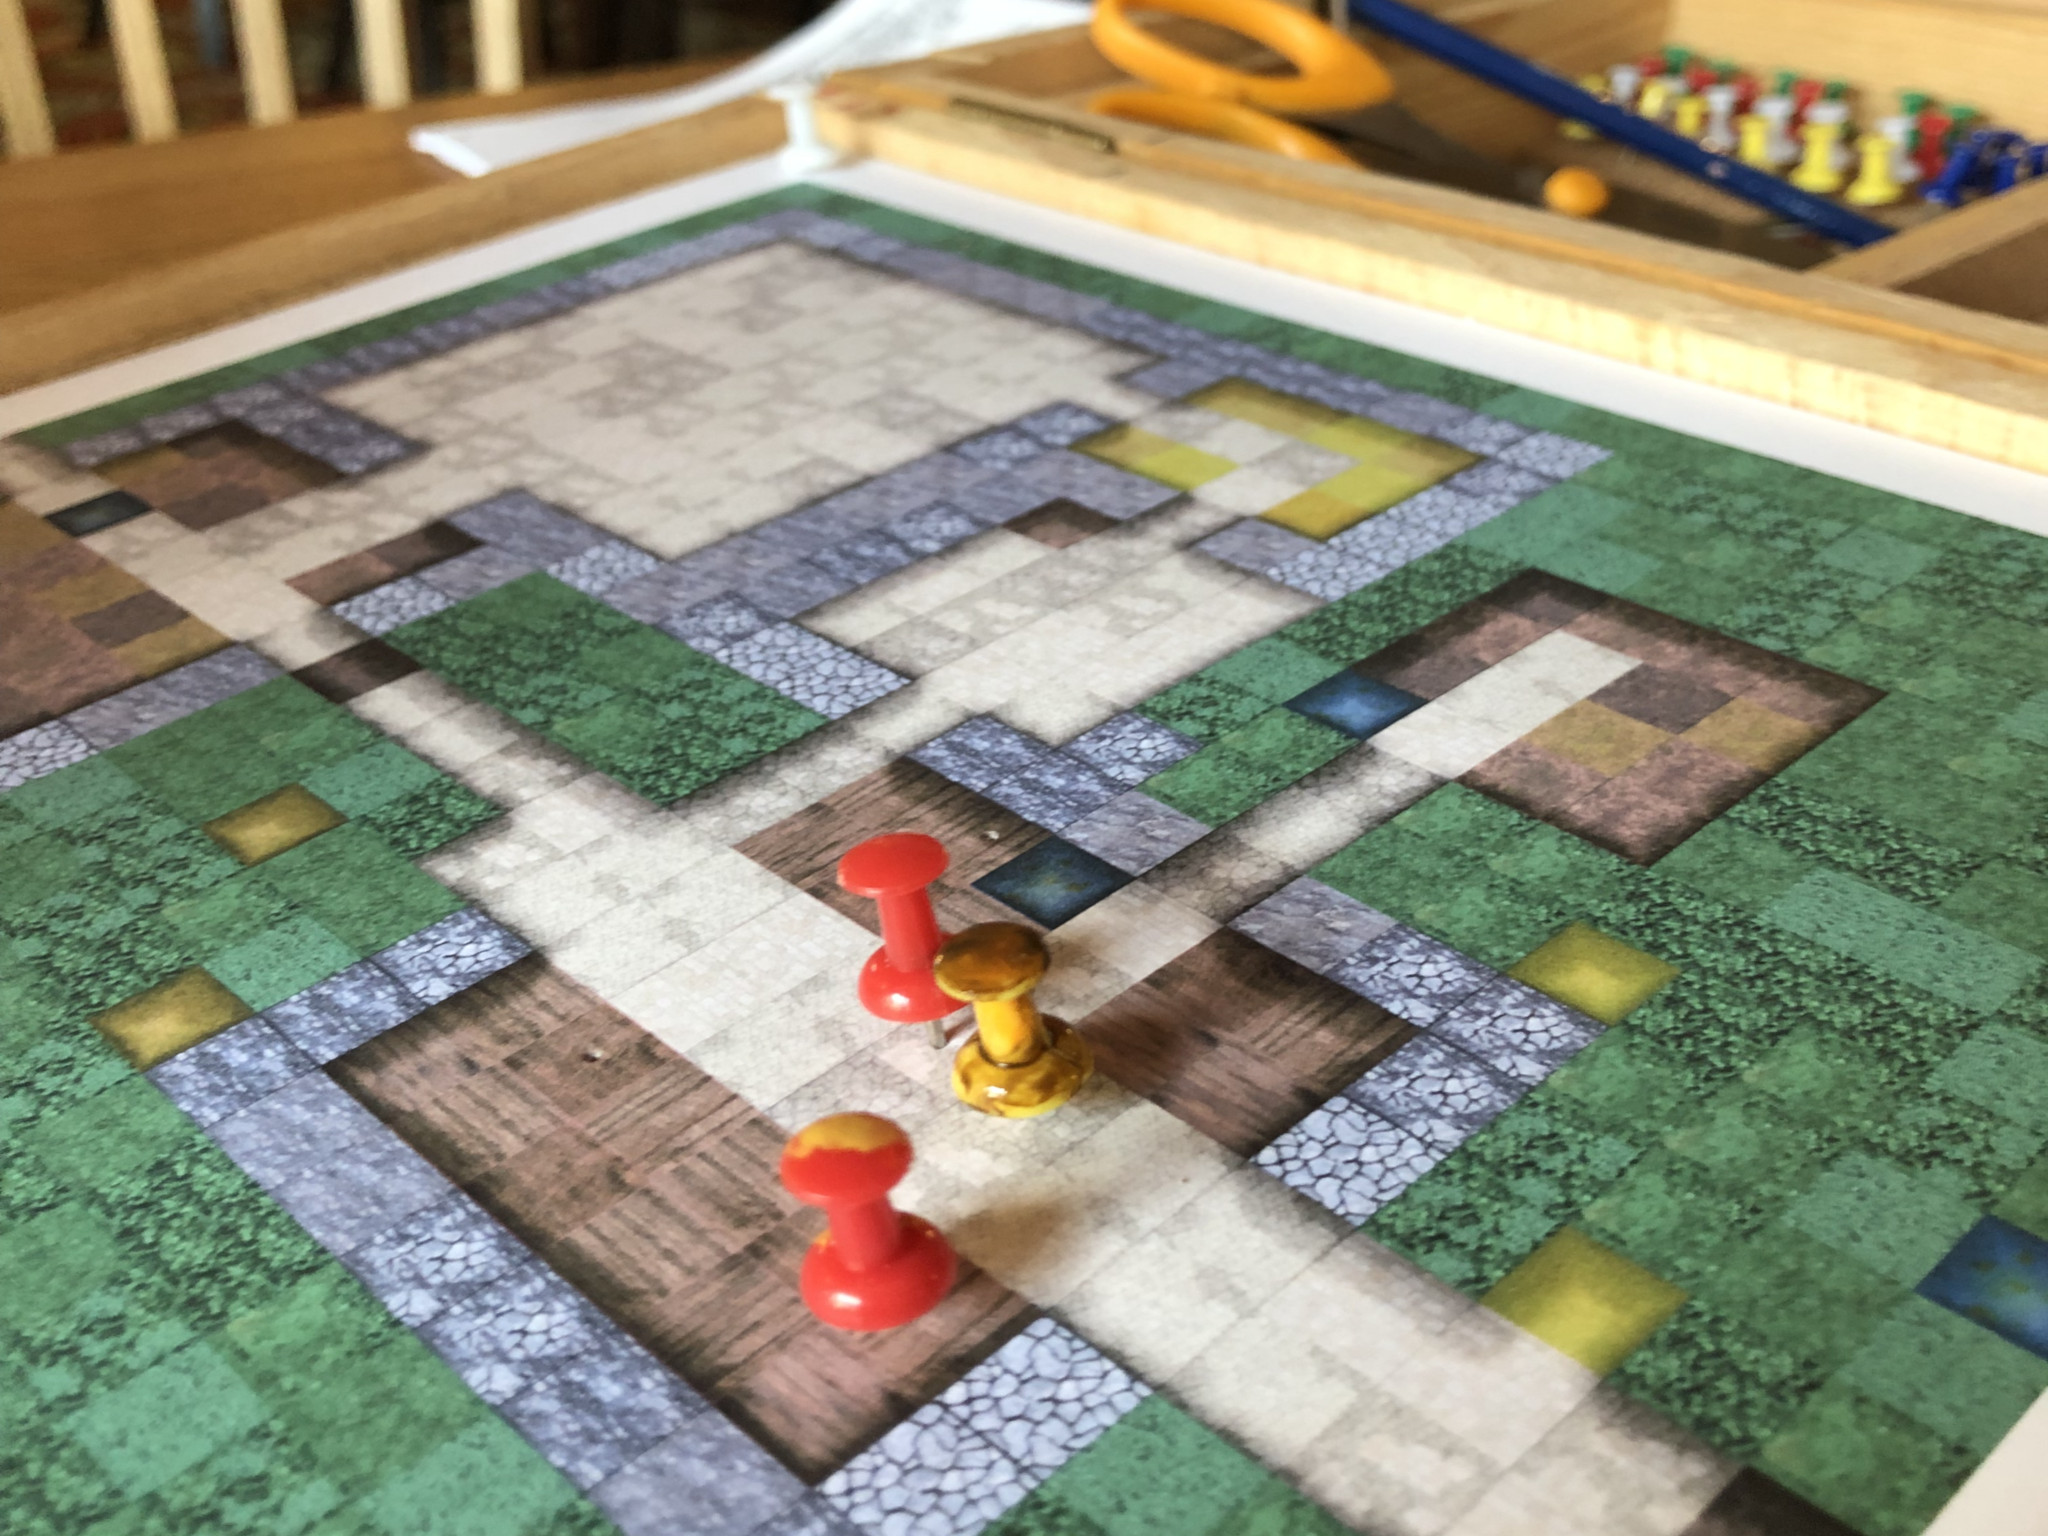
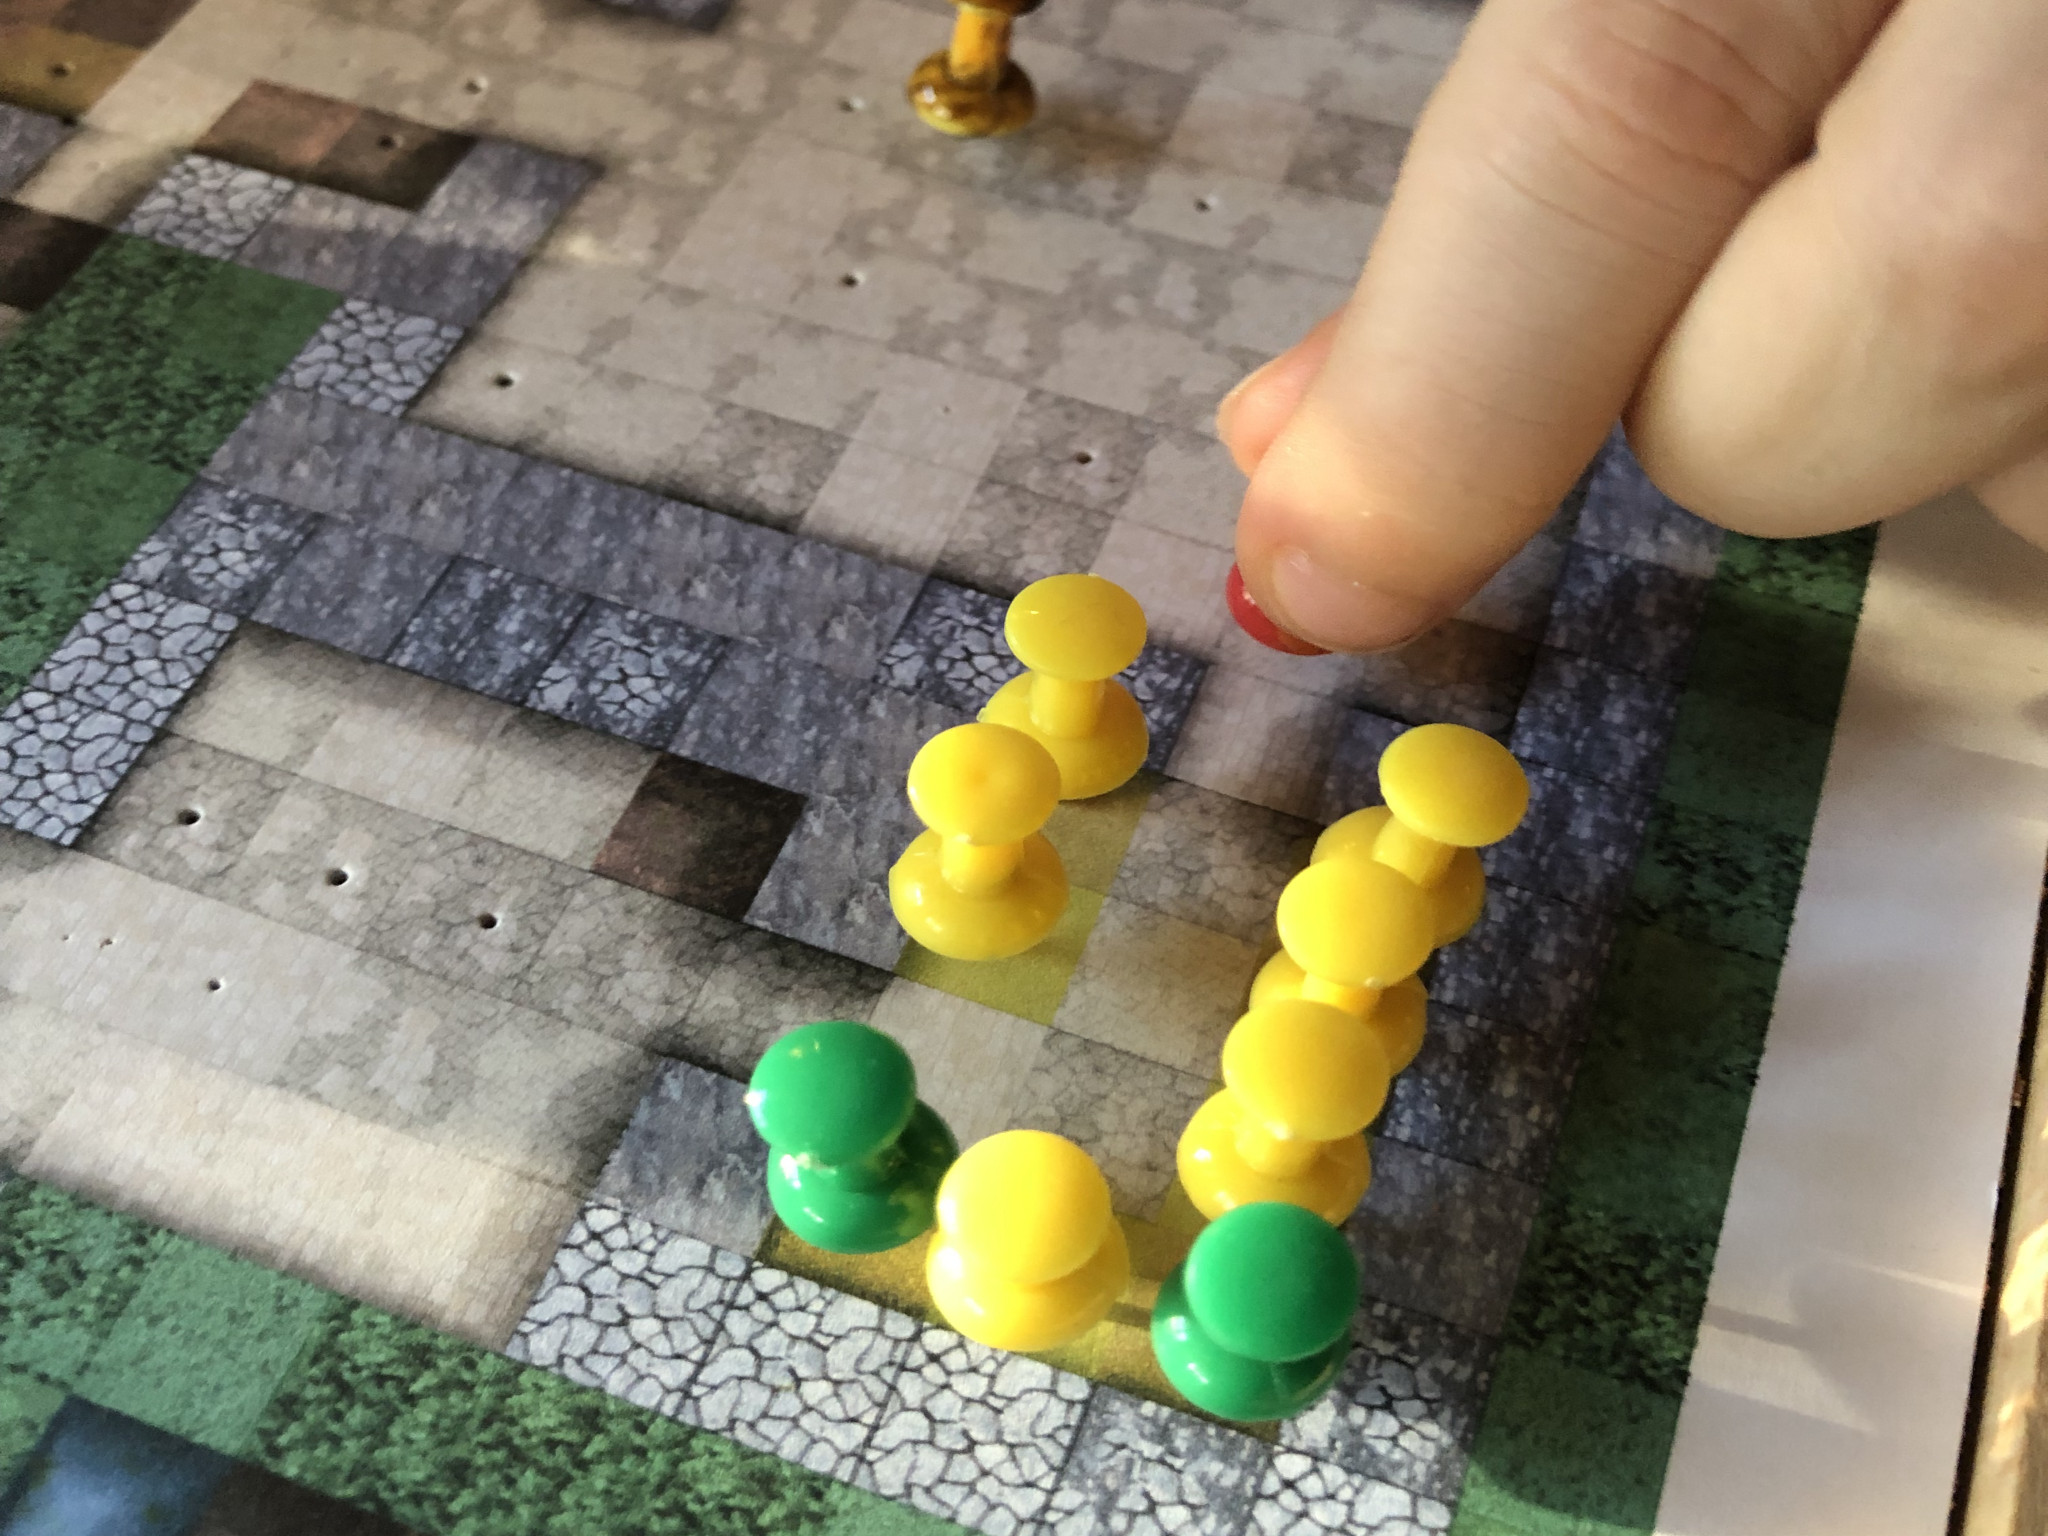
My oldest enters a room full of spider eggs. Don't expect him to sneak out quietly...
Onwards
more is coming... when I get round to doing it!